此篇其實是在Line Chat Bot開發完成後因應中國廠區的需求,利用WeChat企業號搭建廠區內使用的Chat Bot
開發的方式如下:
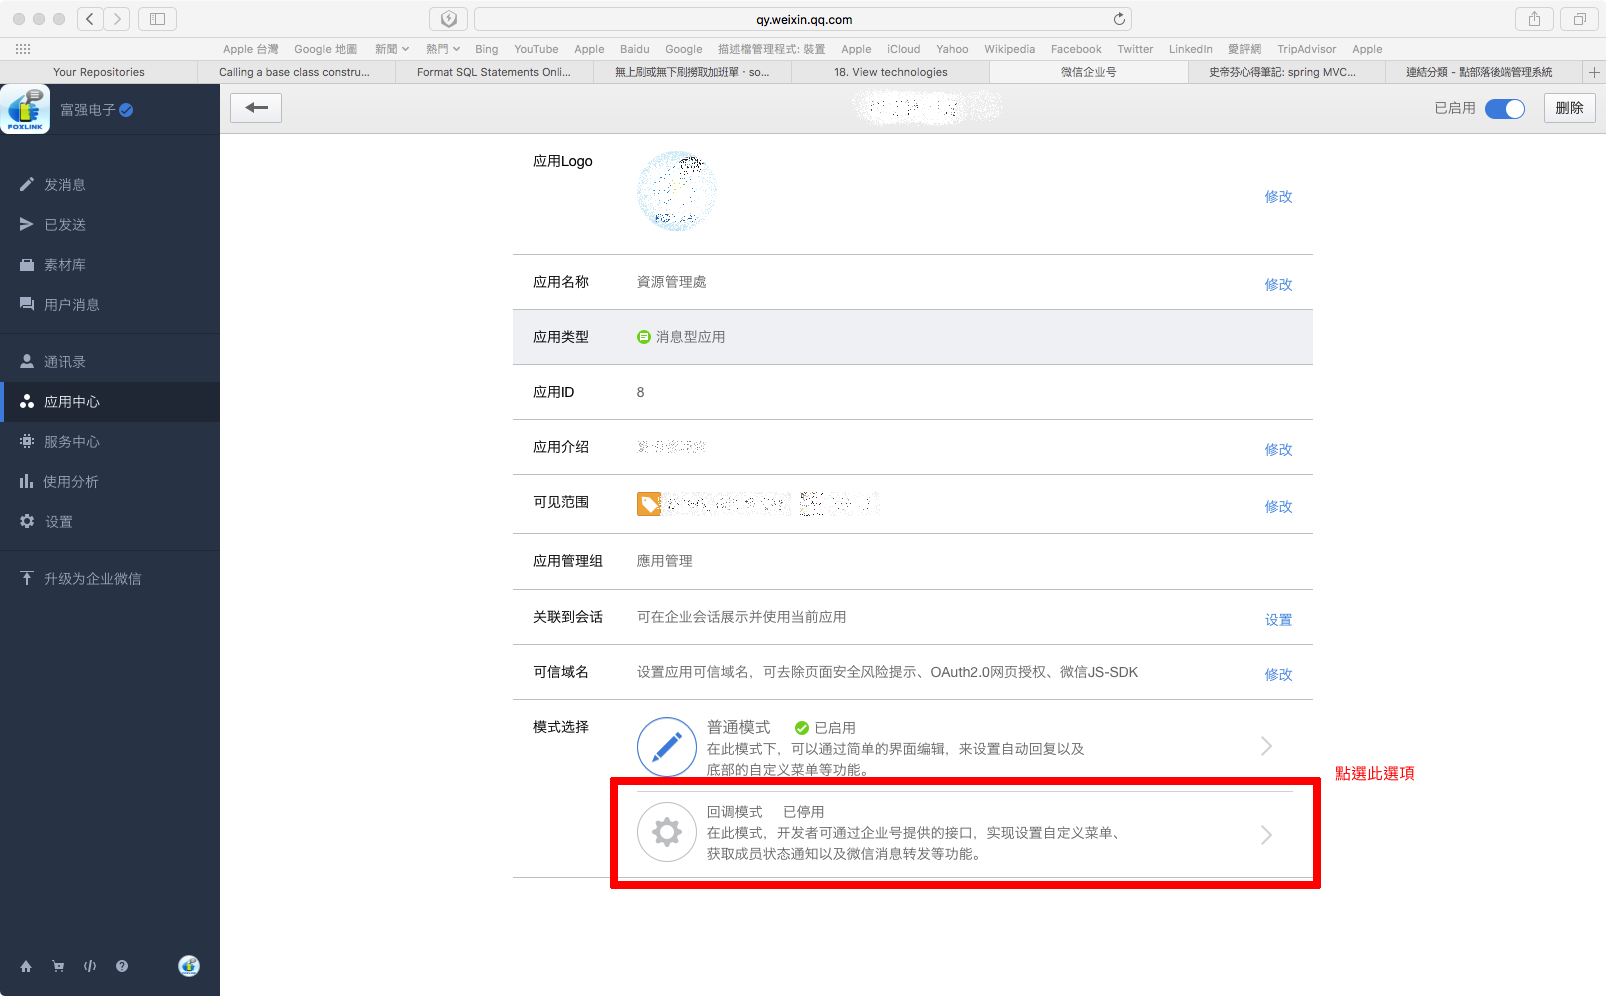
Step 1: 企業微信管理後台 > 應用中心 >應用>在模式選擇部分點選「回調模式」
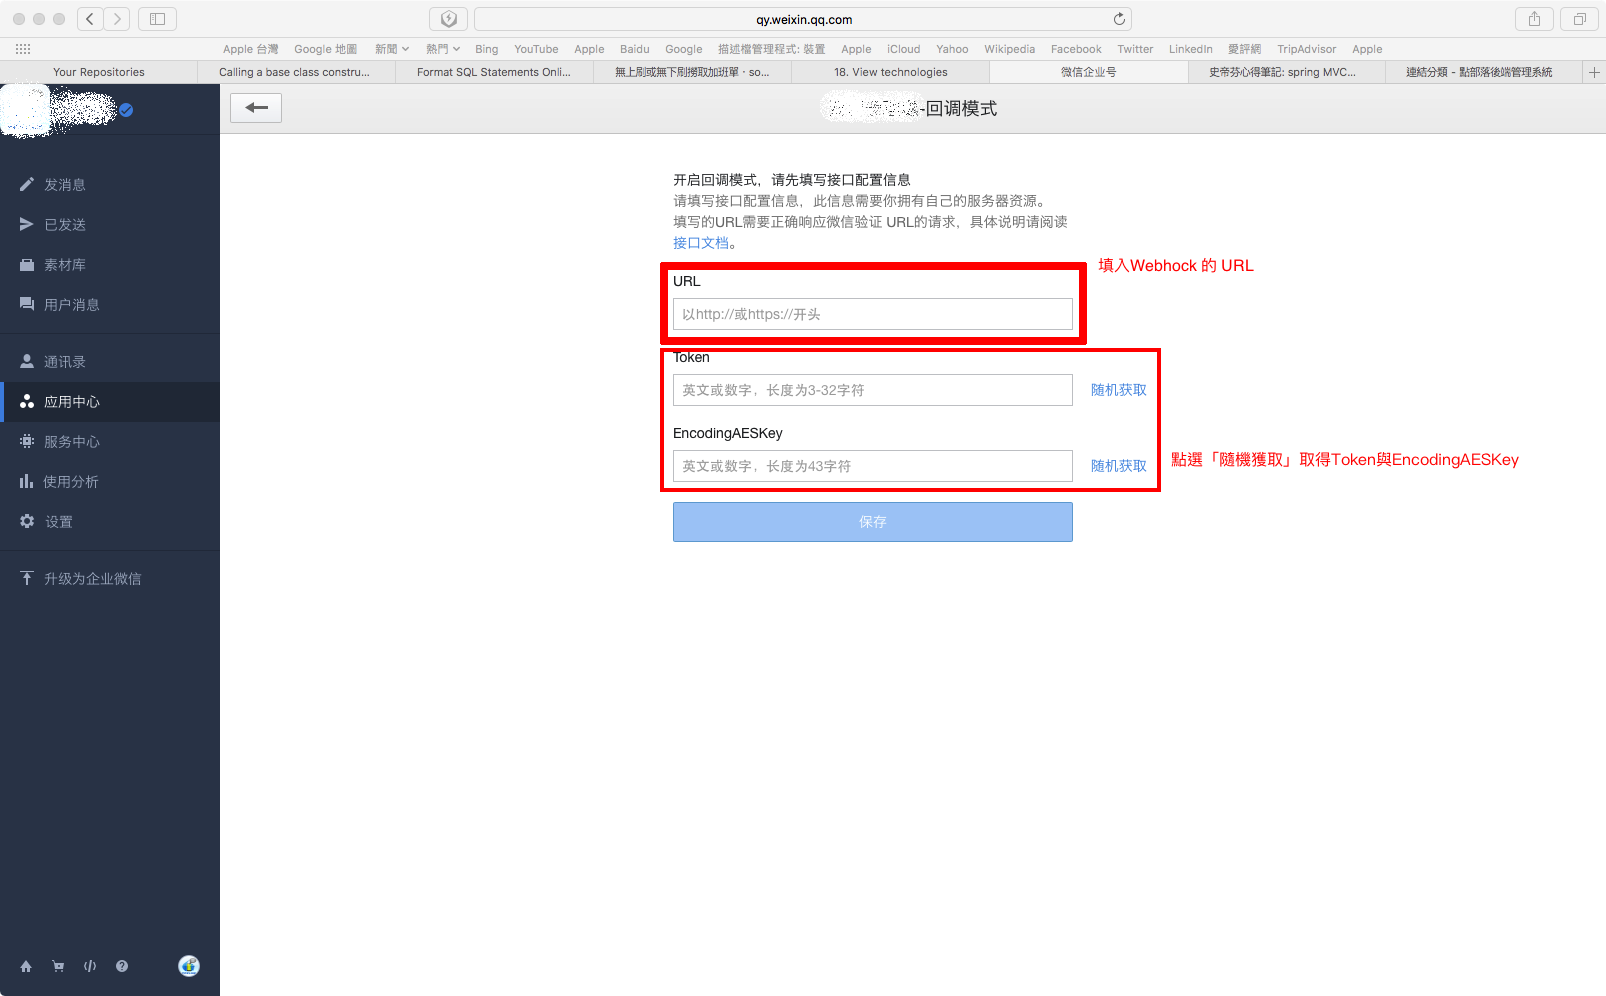
Step 2: 點選「回調模式」,會看到以下三個欄位,分別是:url、token 及 encodingAESkey。
url請填入你所開發的webhock url (注意!!當你按下保存後微信會針對此url傳送一個httpget 的request進行認證)
token 及 encodingAESkey可點選「隨機獲取」取得相關訊息(此資訊要妥善保存,在發送給user的訊息會需要使用)
Step 3: 至微信企業號的開發者文檔 http://qydev.weixin.qq.com/wiki/index.php?title=回调模式
微信會把使用者的訊息進行加密後傳送至你的webhock,webhock會收到的格式如下:
<xml>
   <ToUserName><![CDATA[toUser]]</ToUserName>
   <AgentID><![CDATA[toAgentID]]</AgentID>
   <Encrypt><![CDATA[msg_encrypt]]</Encrypt>
</xml>
其中<Encrypt> tag 中的資料經過加密,要得知裡面的內容需要進行解密
解密的函式如下:
	public WeChatMessage DecryptMsgFromClient(String sReqMsgSig,String sReqTimeStamp,String sReqNonce,String sReqData) {
		WXBizMsgCrypt wxcpt=null;
		String decryptMsg=null;
		WeChatMessage WeChatMsg=null;
		try {
			WeChatMsg=new WeChatMessage();
			wxcpt= new WXBizMsgCrypt(sToken, sEncodingAESKey, sCorpID);
			decryptMsg=wxcpt.DecryptMsg(sReqMsgSig, sReqTimeStamp, sReqNonce, sReqData);
			DocumentBuilderFactory dbf = DocumentBuilderFactory.newInstance();
			DocumentBuilder db = dbf.newDocumentBuilder();
			StringReader sr = new StringReader(decryptMsg);
			InputSource is = new InputSource(sr);
			Document document = db.parse(is);
			Element root = document.getDocumentElement();
			WeChatMsg.setContent(root.getElementsByTagName("Content").item(0).getTextContent());
			WeChatMsg.setCreateTime(root.getElementsByTagName("CreateTime").item(0).getTextContent());
			WeChatMsg.setFromUserName(root.getElementsByTagName("FromUserName").item(0).getTextContent());
			WeChatMsg.setToUserName(root.getElementsByTagName("ToUserName").item(0).getTextContent());
			WeChatMsg.setMsgType(root.getElementsByTagName("MsgType").item(0).getTextContent());
			System.out.println(WeChatMsg.getContent()+" , "+WeChatMsg.getCreateTime()+" , "+WeChatMsg.getFromUserName()+" , "+
					WeChatMsg.getToUserName()+" , "+WeChatMsg.getMsgType());
		}
		catch(Exception ex) {
			logger.error("DecryptMsgFromClient is failed, due to: ",ex);
			decryptMsg="DecryptFailed";
		}
		return WeChatMsg;
	}
WeChat有提供加解密的函式庫,可以在這裡找到。上面的function係依據WeChat提供的函式庫進行改寫。
此外,要特別注意的是java.security.InvalidKeyException:illegal Key Size 的異常
處理的方式請參照以下內容(引用微信企業號開發者文檔)
在官方网站下载JCE无限制权限策略文件(请到官网下载对应的版本, 例如JDK7的下载地址:http://www.oracle.com/technetwork/java/javase/downloads/jce-7-download-432124.html ):
下载后解压,可以看到local_policy.jar和US_export_policy.jar以及readme.txt。如果安装了JRE,将两个jar文件放到%JRE_HOME% \lib\security目录下覆盖原来的文件,如果安装了JDK,将两个jar文件放到%JDK_HOME%\jre\lib\security目录下覆盖原来文件。
解密後得到的訊息如下(以文字訊息為例):
<xml>
   <ToUserName><![CDATA[toUser]]></ToUserName>
   <FromUserName><![CDATA[fromUser]]></FromUserName>
   <CreateTime>1348831860</CreateTime>
   <MsgType><![CDATA[text]]></MsgType>
   <Content><![CDATA[this is a test]]></Content>
   <MsgId>1234567890123456</MsgId>
   <AgentID>1</AgentID>
</xml>
| 参数 | 说明 |
|---|---|
| ToUserName | 企业号CorpID |
| FromUserName | 成员UserID |
| CreateTime | 消息创建时间(整型) |
| MsgType | 消息类型,此时固定为:text |
| Content | 文本消息内容 |
| MsgId | 消息id,64位整型 |
| AgentID | 企业应用的id,整型。可在应用的设置页面查看 |
Step 4 取得使用者傳送的訊息,並傳至Dialogflow進行語意分析
WeChatMessage decryptMsg=weChatUtil.DecryptMsgFromClient(msgSignature, timestamp, nonce, httpRequestBody);
/*Ai解析*/
AiUtils aiUtil=new AiUtils(this.DialogflowToken);
AiResponse AiAgentResponse=aiUtil.filterAiResponseMsg(decryptMsg.getContent());
Dialogflow的相關function:
public AiResponse filterAiResponseMsg(String msg2AiAgent) {
		AIConfiguration config=null;
		AIDataService dataService=null;
		AIRequest request=null;
		AIResponse response=null;
		AiResponse responseContent=null;
		try {
			config=new AIConfiguration(DialogFlowToken);
			dataService=new AIDataService(config);
			request=new AIRequest(msg2AiAgent);
			request.setLanguage("zh-TW");
			response=dataService.request(request);

			if(response.getStatus().getCode()==200) {
				String intent=response.getResult().getMetadata().getIntentName();
				HashMap<String,JsonElement> parameters=response.getResult().getParameters();
				responseContent=new AiResponse();
				responseContent.setIntentName(intent);
				responseContent.setParameters(parameters);
				System.out.println("AI Response Content: "+responseContent);
			}
			else {
				System.err.println(response.getStatus().getErrorDetails());
			}
		}
		catch(Exception ex) {
			ex.printStackTrace();
		}
		return responseContent;
	}
將解析完的Intent 與 Entity傳至後端的KM,後端KM回傳對應的資料(此部份就不張貼任何Code)
Step 5 將KM回傳的資料傳給使用者。要特別注意,訊息會經由WeChat Server傳至使用者。
因此,傳到WeChat Server的訊息必需加密。加密的方式如下:
/*產生回傳至使用者的訊息(未加密)*/
public String GenerateReply2ClientMsg(String content,String FromUserName,String ToUserName,String CreateTime,
			String sReqTimeStamp,String sReqNonce) {
		String reply2Client="";
		String encryptMsg2Client="";
		WeChatMessage WeChatMsg=null;
		try {
			WeChatMsg=new WeChatMessage();
			WeChatMsg.setContent(content);
			WeChatMsg.setFromUserName(FromUserName);
			WeChatMsg.setToUserName(ToUserName);
			WeChatMsg.setCreateTime(CreateTime);
			WeChatMsg.setMsgType("text");
			reply2Client=new Utils().Object2XMLAndEncrypt(WeChatMsg);
			encryptMsg2Client=this.EncryptMsg2Client(reply2Client, sReqTimeStamp, sReqNonce);
			System.out.println("Reply to client msg json to xml: "+encryptMsg2Client);
		}
		catch(Exception ex) {
			logger.error("GenerateReply2ClientMsg",ex);
		}
		return encryptMsg2Client;
	}

/*WeChat訊息加密function*/
public String EncryptMsg2Client(String sRespData,String sReqTimeStamp,String sReqNonce) {
		WXBizMsgCrypt wxcpt=null;
		String encryptMsg=null;
		try {
			wxcpt= new WXBizMsgCrypt(sToken, sEncodingAESKey, sCorpID);
			encryptMsg=wxcpt.EncryptMsg(sRespData, sReqTimeStamp, sReqNonce);
		}
		catch(Exception ex) {
			logger.error("EncryptMsg2Client is failed, due to: ",ex);
			encryptMsg="EncryptFailed";
		}
		return encryptMsg;
	}
加密後的訊息結構如下:
<xml>
<Encrypt><![CDATA[Q0N2ATVp+eZRkkrxIPy8NcIhyUTe0Wu8BhMGDQIKJ59PmSX1rxFZ3mHnvWJcpKmdUwzuALCTv+EYQj+JIp0pyjWxgSQXWvDVHQ2RBNiIuvLlRSx7lhSDyG+bfp5nUB7gmixWS03vCwMWFUBy4X1mxmfWF+TkWZ2wWcNSfoTI90cjHJ3hgGSmPemHyieaYgqDTtRxMhlkleI9rBbYcWty9zQLVetF/EctHlRYP8OUfqHNHwOa4OjI3dZD5qitMMBnL2JDMJb0WrZWJVYlJaP29QO4i3ivScxAh+PKshBEajJFnTljUIYAMKFhHPpnWJr/TBxlnhrs7jU7I68y+15R75rZEWDXpnOFVYWXjNl6ERM4FStwKvCXjiz1BIyIhBY24pt76FLM+LDUBVqWI1OvpH4+Ej3+NCfzuSd/lh0aX70qXNU5B4i7TkWqfFIQYSJpY5bT/B251NjRoh9uvfH+4Q==]]></Encrypt>
<MsgSignature><![CDATA[968c2e4181d3cf8579469189d505bbae79ad255c]]></MsgSignature>
<TimeStamp>1512465992</TimeStamp>
<Nonce><![CDATA[1006649846]]></Nonce>
</xml>
將上面的內容回傳給WeChat Server,回傳的方式可如下:
@RequestMapping(value="/wechatcallback",method=RequestMethod.POST)
	@ResponseBody
	public ResponseEntity<String> handleWeChatCallBack(HttpServletRequest request,HttpServletResponse response,
			@RequestParam(value="msg_signature")String msgSignature,
			@RequestParam(value="timestamp")String timestamp,
			@RequestParam(value="nonce")String nonce) {
		String httpRequestBody=null;
		WeChatUtils weChatUtil=null;
		String reply2ClientMsg="";
		try {
			weChatUtil=new WeChatUtils(WeChatToken,WeChatAESKey,WeChatCorpID);
			request.setCharacterEncoding("UTF-8");
			InputStream inputStream=request.getInputStream();
			BufferedReader reader=new BufferedReader(new InputStreamReader(inputStream,"utf-8"));
			httpRequestBody=IOUtils.toString(reader);
			WeChatMessage decryptMsg=weChatUtil.DecryptMsgFromClient(msgSignature, timestamp, nonce, httpRequestBody);
			/*省略...*/
			reply2ClientMsg=weChatUtil.GenerateReply2ClientMsg(KMResponseMsg, this.WeChatCorpID,
					decryptMsg.getFromUserName(), decryptMsg.getCreateTime(), timestamp, nonce);
		}
		catch(Exception ex) {
			logger.error("handleWeChatCallBack is failed",ex);
		}
		return ResponseEntity.ok().contentType(MediaType.TEXT_PLAIN).body(reply2ClientMsg);
	}
微信服务器在五秒内收不到响应会断掉连接,并且重新发起请求,总共重试三次。如果在调试中,发现成员无法收到响应的消息,可以检查是否消息处理超时。
当接收成功后,http头部返回200表示接收ok,其他错误码一律当做失败并发起重试
所以在回傳時,也要設定HttpStatus為200,WeChat Server才能正確無誤收到訊息
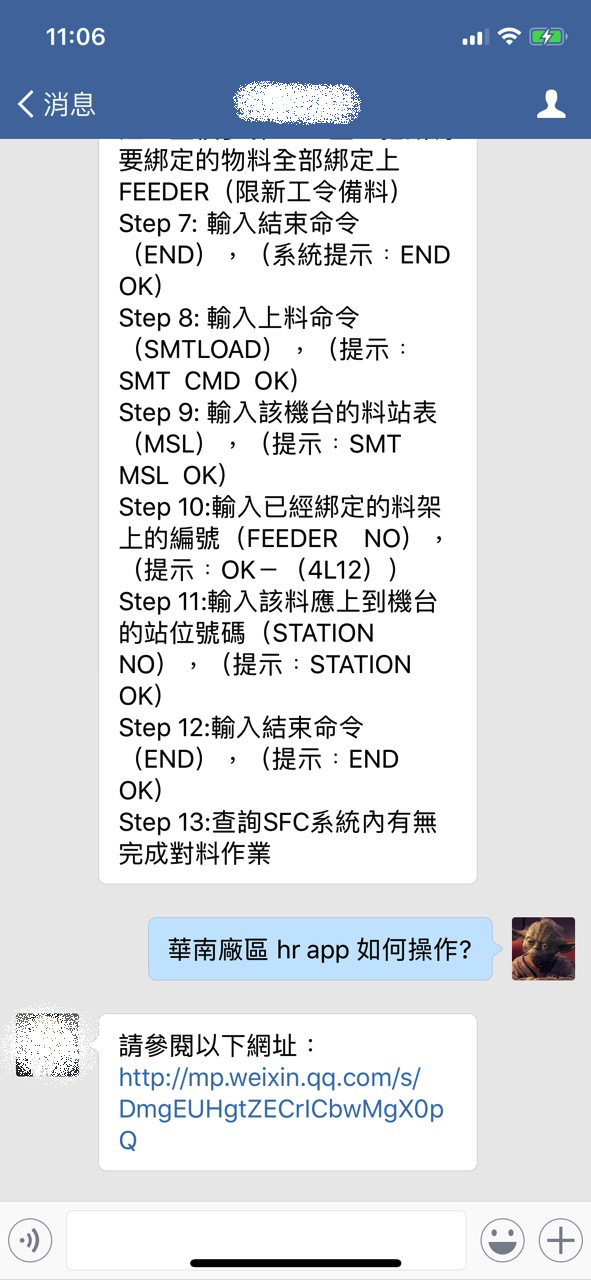
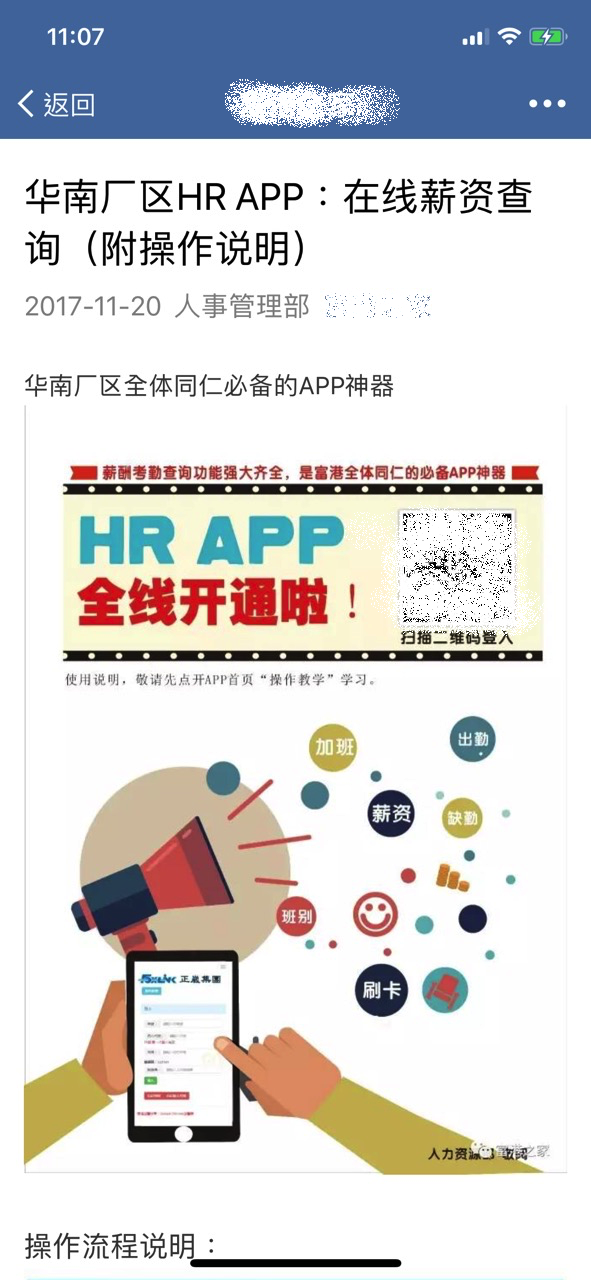
Step 6 實際測試
以上就是在WeChat企業號上開發與建置Chat Bot的全部流程
提供大家參考