工作日誌 Day 4
本篇文章,我們使用偷懶的方法,選用內建的Activity ( Navigation Drawer Activity 如下圖 ) 當作起點開始改編(實現速度大幅提升↑↑)
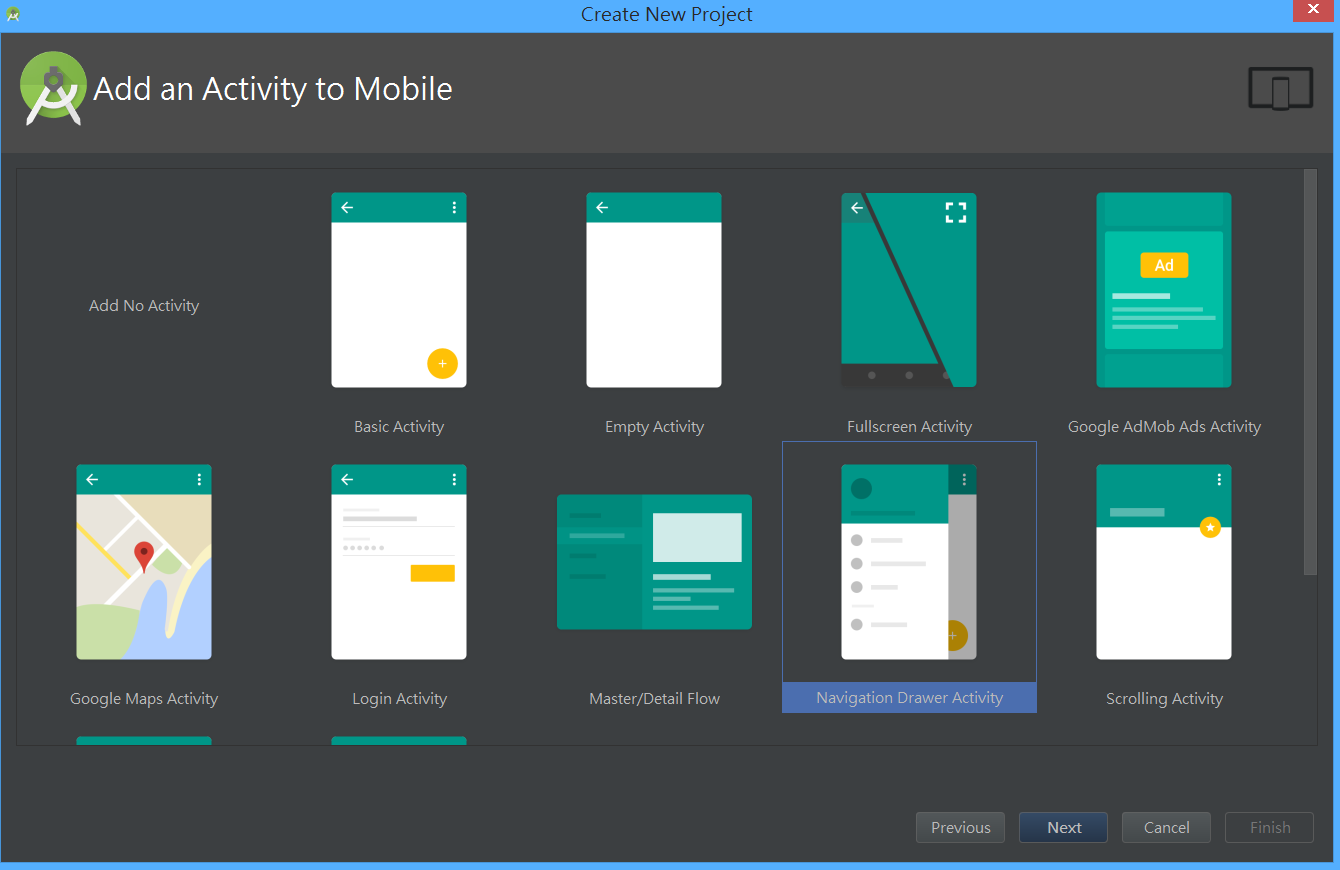
簡單介紹一下,Navigation Drawer 其實就是建立在Drawer Layout的基礎上,只是將Drawer原本的 Menu 改用為 Navigation 實作
而 Navigation 就是將一個 menu 分為上下兩部份, 上半部呼叫一個layout表單,下半部呼叫一個menu表單
app:headerLayout="@layout/nav_header_main"  // app:headerLayout 呼叫上半部xml檔
app:menu="@menu/activity_main_drawer" // app:menu 呼叫下半部xml檔
這樣的優點是,下半部menu部分,Android Studio新增了許多讓你可以直接"用拉的"就可以快速做出漂亮又好看的選單
但缺點就是,格式被寫死,不能自由發揮
所以本篇文章其實就是教你怎麼開啟內建的Navigation Drawer Activity,然後把Navigation部分改成你可以自由發揮的xml檔
成品如下圖(本人美感很差還請見諒,但相信客官學成後一定能改出屬於自己的漂亮menu)
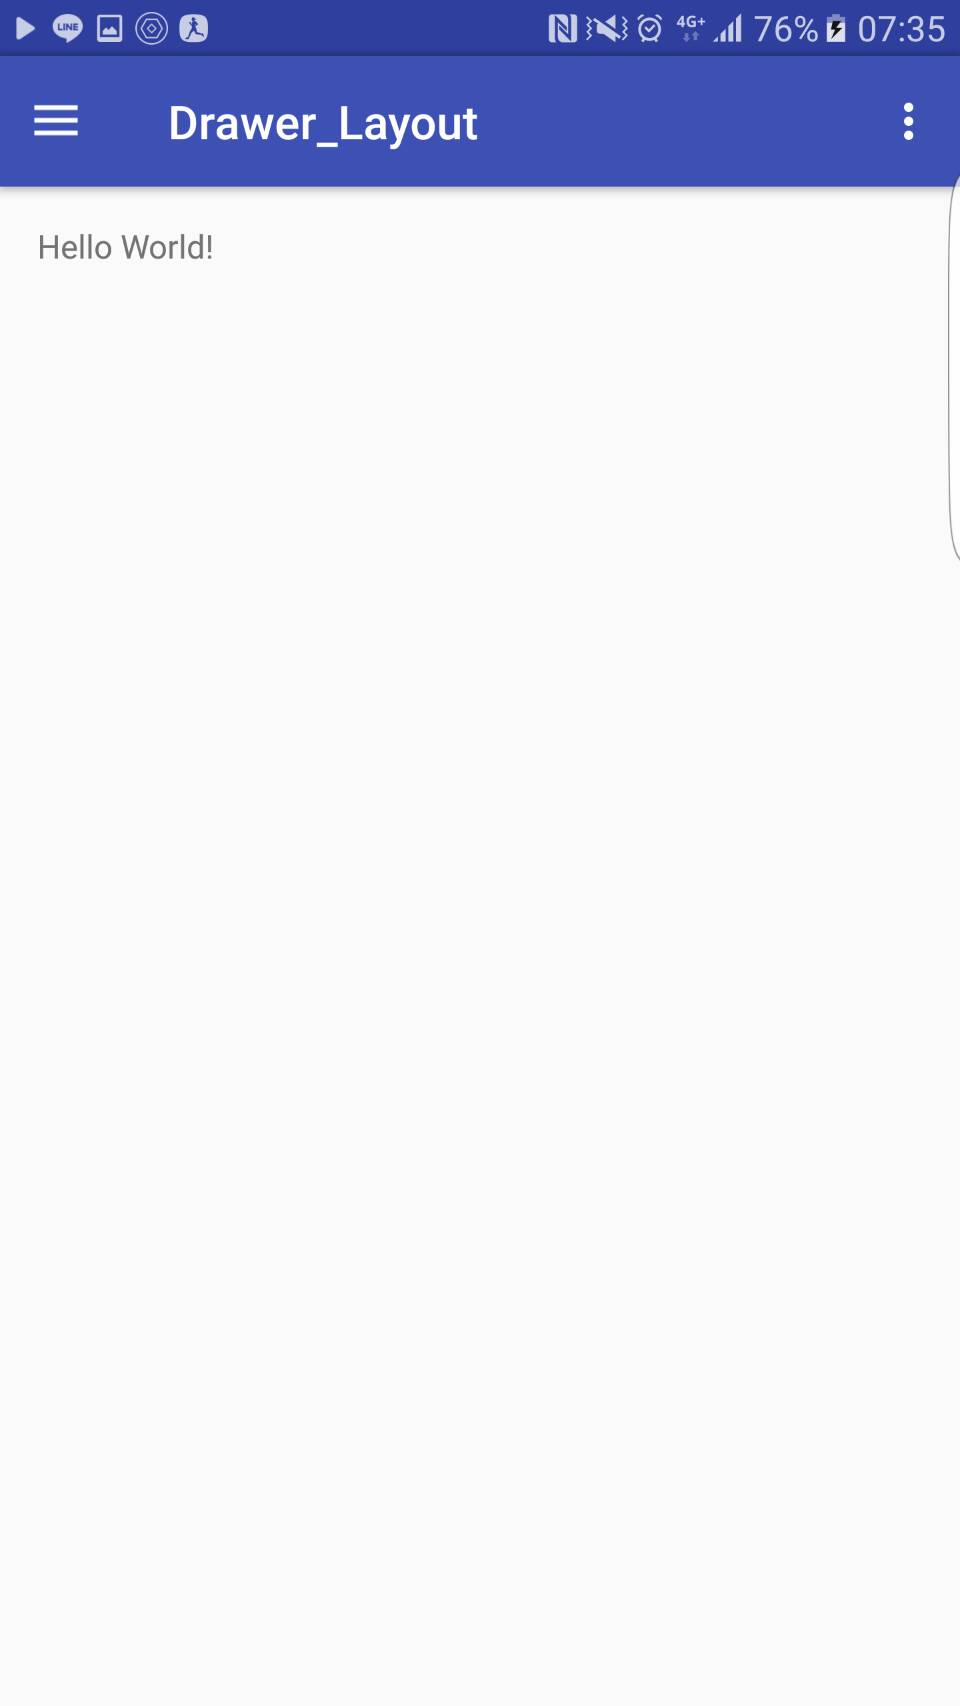
點選左上角的「三」或手滑動左邊螢幕就會秀出選單,如下圖:
Step 1
建立一個新的 Navigation Drawer Activity
Setp 2
打開 activity_main.xml
程式碼中間有
<include
    layout="@layout/app_bar_main"
    android:layout_width="match_parent"
    android:layout_height="match_parent" />
他就是用<include>去嵌入一個xml檔,這裡放的是你的主畫面
在include下面有
<android.support.design.widget.NavigationView
    android:id="@+id/nav_view"
    android:layout_width="wrap_content"
    android:layout_height="match_parent"
    android:layout_gravity="start"
    android:fitsSystemWindows="true"
    app:headerLayout="@layout/nav_header_main"
    app:menu="@menu/activity_main_drawer" />
可以看到他的標題是 NavigationView
這段就是嵌入menu的程式碼
我們要把它改掉,改成自己可以發揮
改成
    <LinearLayout
        android:id="@+id/nav_view"
        android:orientation="horizontal"
        android:layout_width="250dp"
        android:layout_height="match_parent"
        android:layout_gravity="left">

        <include
            layout="@layout/nav_header_main"
            android:layout_width="match_parent"
            android:layout_height="match_parent"
            android:layout_weight="1" />
    </LinearLayout>
其中,值得注意的是
android:layout_width 設定選單拉出來的寬度
android:layout_gravity 設定選單從左還是右拉出 (改成right就可以從右邊)
layout="@layout/nav_header_main" 放入讓你可以自由發揮的layout檔
在此貼出我自己寫的layout檔,方便讓你們可以快速看到成果(很醜,但可以自己在修改)
點開 nav_header_main.xml
把以下程式碼完全覆蓋上去即可
<?xml version="1.0" encoding="utf-8"?>
<LinearLayout xmlns:android="http://schemas.android.com/apk/res/android"
    android:layout_width="match_parent"
    android:layout_height="match_parent"
    android:background="@drawable/side_nav_bar"
    android:orientation="vertical">

    <LinearLayout
        android:layout_width="match_parent"
        android:layout_height="150dp"
        android:background="#0097a7"
        android:orientation="horizontal">

        <TextView
            android:id="@+id/name"
            android:layout_width="wrap_content"
            android:layout_height="wrap_content"
            android:layout_gravity="bottom"
            android:layout_marginLeft="24dp"
            android:layout_marginStart="24dp"
            android:paddingBottom="8dp"
            android:text="您目前位於選單..."
            android:textColor="#fff"
            android:textSize="14sp"
            android:textStyle="bold" />
    </LinearLayout>

    <LinearLayout
        android:layout_width="match_parent"
        android:layout_height="match_parent"
        android:orientation="vertical">

        <LinearLayout
            android:orientation="horizontal"
            android:layout_width="match_parent"
            android:layout_height="wrap_content">

            <Button
                android:text="購物車"
                android:layout_width="wrap_content"
                android:layout_height="wrap_content"
                android:id="@+id/btn1"
                android:layout_weight="1"
                android:background="@android:color/holo_green_light"
                android:drawableTop="@android:drawable/btn_star_big_on"
                android:padding="5dp" />

            <Button
                android:text="訂單"
                android:layout_width="wrap_content"
                android:layout_height="wrap_content"
                android:id="@+id/btn2"
                android:layout_weight="1"
                android:drawableTop="@android:drawable/btn_star_big_on"
                android:background="@android:color/holo_green_light"
                android:padding="5dp" />

            <Button
                android:text="全部商品"
                android:layout_width="wrap_content"
                android:layout_height="wrap_content"
                android:id="@+id/btn3"
                android:layout_weight="1"
                android:background="@android:color/holo_green_light"
                android:drawableTop="@android:drawable/btn_star_big_on"
                android:padding="5dp" />
        </LinearLayout>

        <LinearLayout
            android:orientation="vertical"
            android:layout_width="match_parent"
            android:layout_height="match_parent">

            <LinearLayout
                android:orientation="vertical"
                android:layout_width="match_parent"
                android:layout_height="match_parent"
                android:layout_weight="1">

                <Button
                    android:text="吹風機"
                    android:layout_width="match_parent"
                    android:layout_height="wrap_content"
                    android:id="@+id/button3"
                    android:background="@android:color/transparent" />

                <Button
                    android:text="鍋子"
                    android:layout_width="match_parent"
                    android:layout_height="wrap_content"
                    android:id="@+id/button2"
                    android:background="@android:color/transparent" />

                <Button
                    android:text="電風扇"
                    android:layout_width="match_parent"
                    android:layout_height="wrap_content"
                    android:id="@+id/button"
                    android:background="@android:color/transparent" />
            </LinearLayout>

            <Button
                android:text="返回"
                android:layout_width="match_parent"
                android:layout_height="wrap_content"
                android:id="@+id/btn4"
                android:background="?android:attr/colorFocusedHighlight"
                android:textSize="18sp" />
        </LinearLayout>

    </LinearLayout>

</LinearLayout>
到這邊還不能執行,記得還要把 MainActivity.java 的 onCreate() 內的 這兩行砍掉
NavigationView navigationView = (NavigationView) findViewById(R.id.nav_view);
navigationView.setNavigationItemSelectedListener(this);
接著 打開 drawable 內的 side_nav_bar.xml ,把裡面內容改成
<shape xmlns:android="http://schemas.android.com/apk/res/android"
    android:shape="rectangle">
    <gradient
        android:angle="135"
        android:centerColor="#ffffff"
        android:endColor="#dddddd"
        android:startColor="#009999"
        android:type="linear" />
</shape>
這個神祕的檔案是拿來畫背景的
上面的標籤名稱應該淺顯易懂
centerColor 就是中間的顏色
endColor 就是最下面的顏色
startColor 就是最上面的顏色
angle 設定角度
可以自行依照喜好做調整
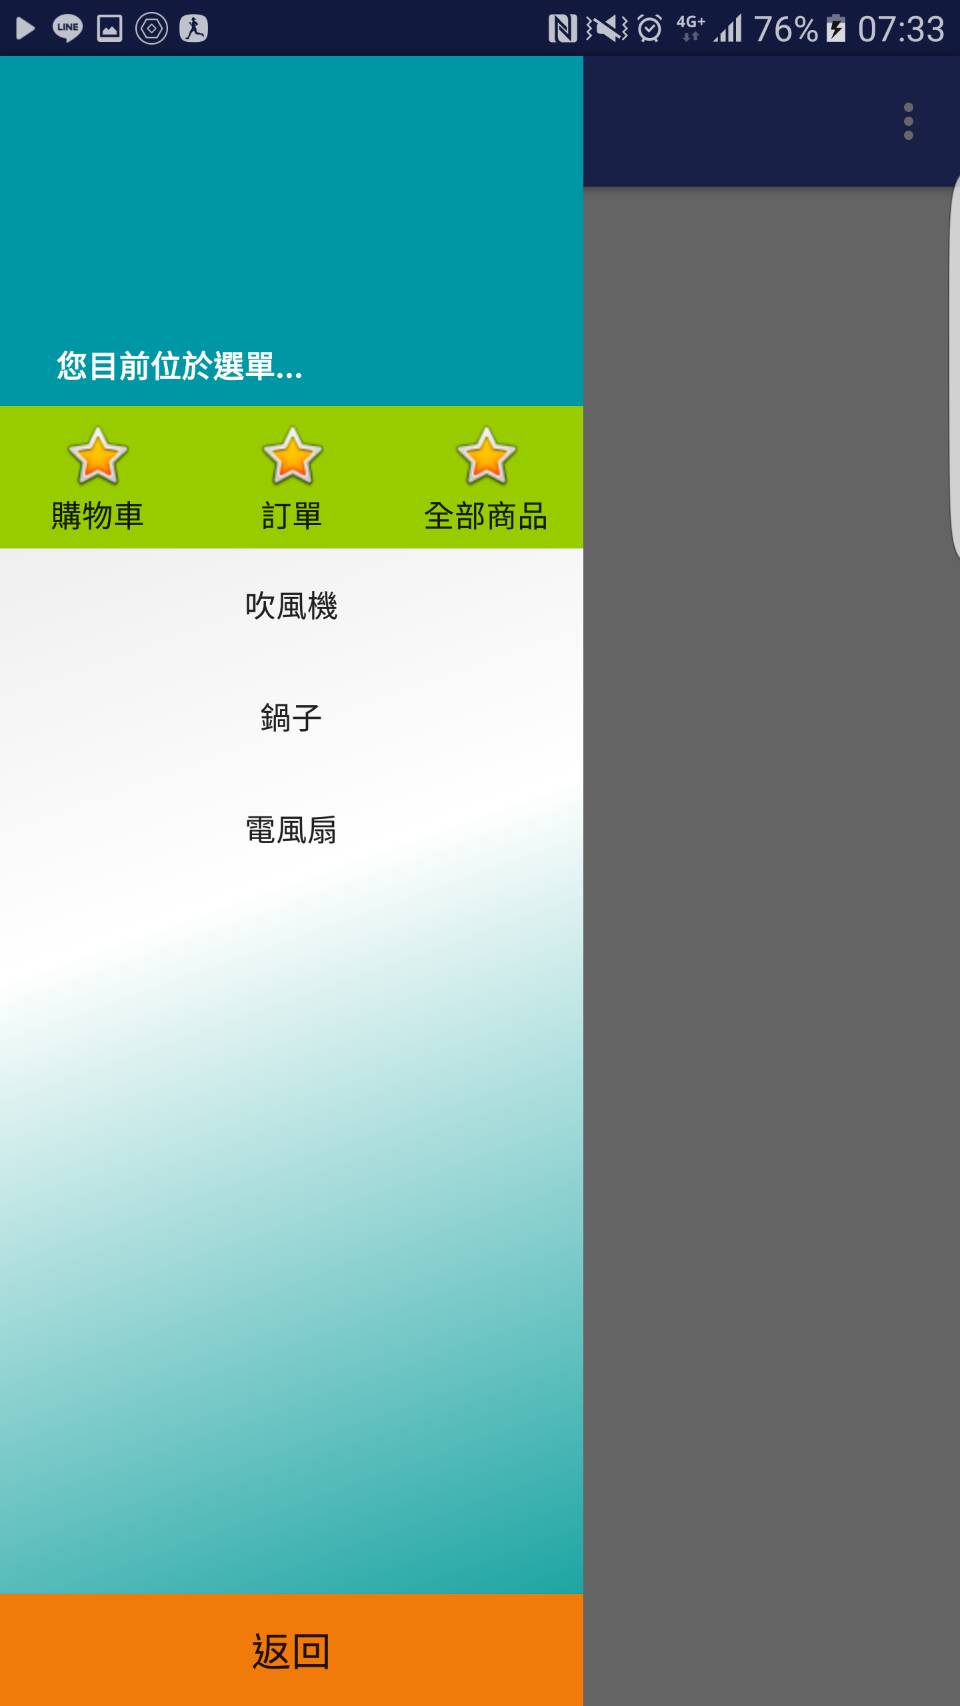
按執行,就可得到以下結果

外表大致完成(很不好看,但是客官只要自行修改 nav_header_main.xml 的內容即可),接下來就剩下這些按鈕怎麼呼叫,怎麼給功能而已了
Step 3
打開 MainActivity.java 於 onCreate() 內加入以下程式
        findViewById(R.id.btn1).setOnClickListener(new View.OnClickListener() {
            @Override
            public void onClick(View v) {
                Toast.makeText(MainActivity.this, "Button1 Click!", Toast.LENGTH_SHORT).show();
                onBackPressed();
            }
        });
        findViewById(R.id.btn2).setOnClickListener(new View.OnClickListener() {
            @Override
            public void onClick(View v) {
                Toast.makeText(MainActivity.this, "Button2 Click!", Toast.LENGTH_SHORT).show();
                onBackPressed();
            }
        });
這只是簡單的將按鈕加上click監聽,讓按下按鈕可以有效果而已
其中
R.id.btn1 指向購物車的按鈕
R.id.btn2 指向訂單的按鈕
剩下看想加什麼功能就自己加吧...
目前執行結果如下圖,按下購物車後:
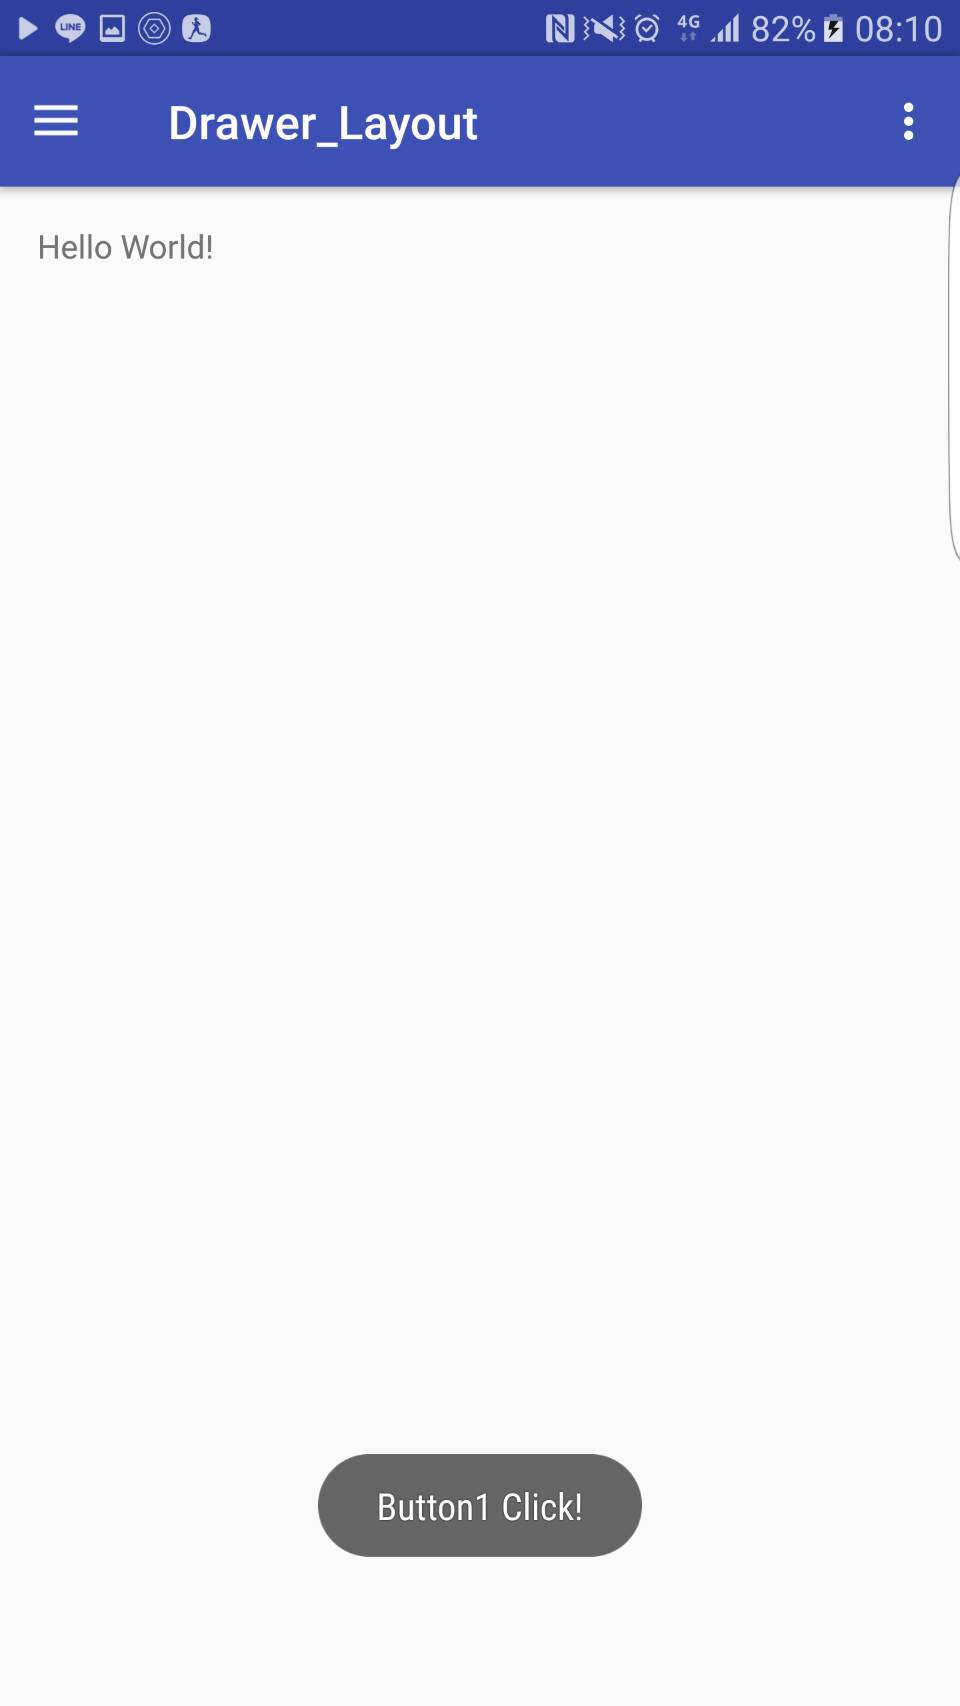
選單會自行收起來,並且跳出 " Button1 Click! "
如果把
        findViewById(R.id.btn1).setOnClickListener(new View.OnClickListener() {
            @Override
            public void onClick(View v) {
                Toast.makeText(MainActivity.this, "Button1 Click!", Toast.LENGTH_SHORT).show();
                onBackPressed();
            }
        });
裡面的 onBackPressed() 拿掉
按下按鈕後,選單就不會收起來
onBackPressed() 內的程式碼很簡單,可以自己研究一下 ( 是內建的 )
大致介紹到這邊,剩下就請自由發揮!
==========================================================================================================================
分享一些小技巧
1) 按鈕圖片變成透明(與背景融合)
我個人認為按鈕預設的樣式非常的醜
可以在按妞標籤加上這條程式碼
android:background="@android:color/transparent"
假設原本是這樣
<Button
    android:text="吹風機"
    android:layout_width="match_parent"
    android:layout_height="wrap_content"
    android:id="@+id/button3"/>
改成這樣
<Button
    android:text="吹風機"
    android:layout_width="match_parent"
    android:layout_height="wrap_content"
    android:id="@+id/button3"
    android:background="@android:color/transparent" />
就可以把按妞融入背景圖案,原本背景長怎樣按鈕就變怎樣
2) 如何在Button上同時有圖片又有文字
只要在 按鈕標籤 加入這行程式即可
android:drawableTop="@android:drawable/btn_star_big_on"
drawer/btn_star_big_on 為圖片路徑
android:drawableTop 改成 android:drawableBottom
可以把圖片放到文字下面,依此類推 還有 drawableLeft , drawableRight 等
結束!
[註]
1. 資料來源... 同事提示+自己摸索出來的...