Xamarin Form 如何讓SplashScreen 有動畫效果
更改預設的Xamarin Form的起始畫面,並像球一樣跳動的動畫效果
IOS=>
Android=>
1.Form 的部分
新增一個class Animate , BallAnimate方法處理球效果的動畫
 public class Animate
    {
        public static async Task BallAnimate(View view,int Top,int reduce,int time)
        {
             //旋轉360度
            await view.RelRotateTo(360, 1000);
            //球上下跳的感覺每次遞減的效果,top => y軸偏移量,reduce=>每次減少多少,time=>跳幾下
            do
            {
                await view.TranslateTo(view.TranslationX, view.TranslationY - Top, 500, Easing.CubicOut);

                await view.TranslateTo(view.TranslationX, view.TranslationY + Top, 300, Easing.CubicIn);

                Top = Top - reduce;
                time--;
            } while (time != 0);

        }
    }
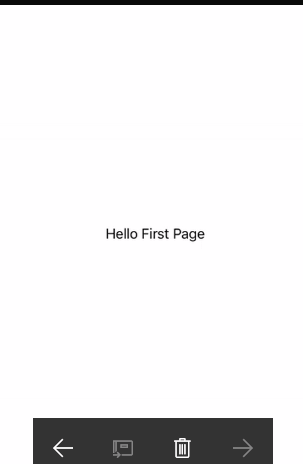
新增一個SplashScreenPage
Xaml的部分
<?xml version="1.0" encoding="utf-8" ?>
<ContentPage xmlns="http://xamarin.com/schemas/2014/forms"
             xmlns:x="http://schemas.microsoft.com/winfx/2009/xaml"
             x:Class="splashScreen.Page.SplashScreenPage"
             BackgroundColor="#3397DA">
    <StackLayout Orientation="Horizontal" HorizontalOptions="CenterAndExpand" VerticalOptions="CenterAndExpand">
        <Image Source="a01.png" x:Name="logoImage"></Image>
    </StackLayout>
</ContentPage>
C#的部分
namespace splashScreen.Page
{
    public partial class SplashScreenPage : ContentPage
    {
        public SplashScreenPage()
        {
            InitializeComponent();
        }

        //畫面顯示完要做的事
        protected async override void OnAppearing()
        {
            base.OnAppearing();

            //imageview 讓他往上偏移50,每次遞減10,跳5次
            await Animate.BallAnimate(this.logoImage,50,10,5);

            //動畫顯示完進入首頁
            await Navigation.PushModalAsync(new FirstPage());

        }
    }
}
2.Android部分
在drawable新增以下2個物件
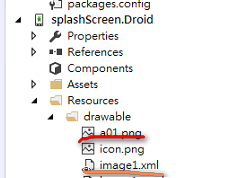
1.新增圖片,a01.png
2.新增xml叫 image1.xml, 將圖片包進layer-list中
<layer-list xmlns:android="http://schemas.android.com/apk/res/android" >
  <item>
    <shape android:shape="rectangle" >
      <solid android:color="#3397DA" />
    </shape>
  </item>
  <item>
    <bitmap xmlns:android="http://schemas.android.com/apk/res/android"
        android:src="@drawable/a01"
        android:background="#3397DA"
        android:gravity="center"/>
  </item>
</layer-list>
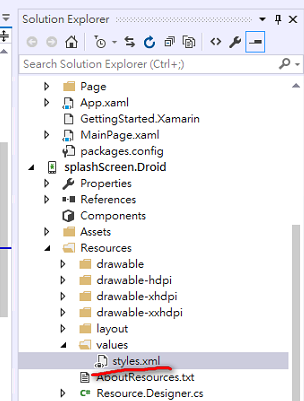
3.在values下的style.xml 中新增一段主題樣式叫Theme.Splash
<style name="Theme.Splash" parent="android:Theme">
<item name="android:windowBackground">@drawable/image1</item>
<item name="android:windowNoTitle">true</item>
<item name="android:colorBackground">#3397DA</item>
</style>
<?xml version="1.0" encoding="utf-8" ?>
<resources>

  <style name="MainTheme" parent="MainTheme.Base">
  </style>
  <!-- Base theme applied no matter what API -->
  <style name="MainTheme.Base" parent="Theme.AppCompat.Light.DarkActionBar">
    <!--If you are using revision 22.1 please use just windowNoTitle. Without android:-->
    <item name="windowNoTitle">true</item>
    <!--We will be using the toolbar so no need to show ActionBar-->
    <item name="windowActionBar">false</item>
    <!-- Set theme colors from http://www.google.com/design/spec/style/color.html#color-color-palette -->
    <!-- colorPrimary is used for the default action bar background -->
    <item name="colorPrimary">#2196F3</item>
    <!-- colorPrimaryDark is used for the status bar -->
    <item name="colorPrimaryDark">#1976D2</item>
    <!-- colorAccent is used as the default value for colorControlActivated
         which is used to tint widgets -->
    <item name="colorAccent">#FF4081</item>
    <!-- You can also set colorControlNormal, colorControlActivated
         colorControlHighlight and colorSwitchThumbNormal. -->
    <item name="windowActionModeOverlay">true</item>

    <item name="android:datePickerDialogTheme">@style/AppCompatDialogStyle</item>
  </style>

  <style name="AppCompatDialogStyle" parent="Theme.AppCompat.Light.Dialog">
    <item name="colorAccent">#FF4081</item>
  </style>

  <style name="Theme.Splash" parent="android:Theme">
    <item name="android:windowBackground">@drawable/image1</item>
    <item name="android:windowNoTitle">true</item>
    <item name="android:colorBackground">#3397DA</item>
  </style>
</resources>
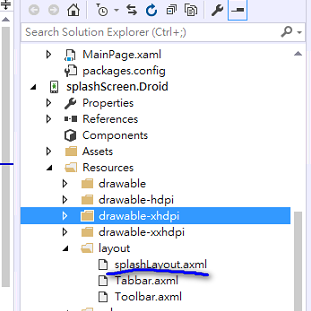
4.在layout 的部分,新增一個android layout , 叫splashLayout.axml
 splashLayout.axml 內容如下
<?xml version="1.0" encoding="utf-8"?>
<LinearLayout xmlns:android="http://schemas.android.com/apk/res/android"
    android:orientation="vertical"
    android:layout_width="fill_parent"
    android:layout_height="fill_parent"
    android:minWidth="25px"
    android:minHeight="25px"
    android:gravity="center"
    android:background="#3397DA">
    <ImageView
        android:src="@drawable/a01"
        android:layout_width="wrap_content"
        android:layout_height="wrap_content"
        android:id="@+id/imageView1"
        android:layout_gravity="center" />
</LinearLayout>
5.新增一個SplaschScreenActivity
namespace splashScreen.Droid
{
    [Activity(Label = "splashScreen", MainLauncher = true, Theme ="@style/Theme.Splash", Icon = "@drawable/icon",
             NoHistory = true)]
    public class SplashActivity : Activity
    {
        protected override void OnCreate(Bundle savedInstanceState)
        {
            base.OnCreate(savedInstanceState);
            SetContentView(Resource.Layout.splashLayout);

            StartActivity(typeof(MainActivity));

        }

    }
}
指定SplashLayout,MainLauncher設定為true, Theme 設定為剛剛在Style.xml 建立的Theme.Splash
launch 畫面 的順序為
=>SplashActivity -> MainActivity -> Xamarin.Form 的SplashScreenPage
6.MainActivity 的 MainLauncher要設定為false
namespace splashScreen.Droid
{
    [Activity(Label = "splashScreen", Icon = "@drawable/icon", Theme = "@style/MainTheme", MainLauncher = false, ConfigurationChanges = ConfigChanges.ScreenSize | ConfigChanges.Orientation)]
    public class MainActivity : global::Xamarin.Forms.Platform.Android.FormsAppCompatActivity
    {
        protected override void OnCreate(Bundle bundle)
        {
            TabLayoutResource = Resource.Layout.Tabbar;
            ToolbarResource = Resource.Layout.Toolbar;

            base.OnCreate(bundle);

            global::Xamarin.Forms.Forms.Init(this, bundle);
            LoadApplication(new App());
        }
    }
}
3.IOS的部分
1.新增a01.png
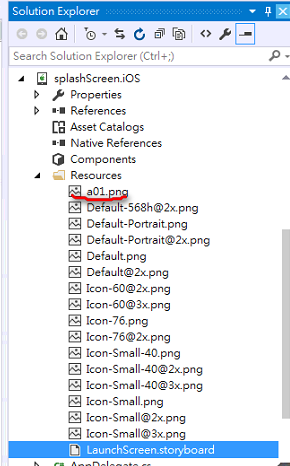
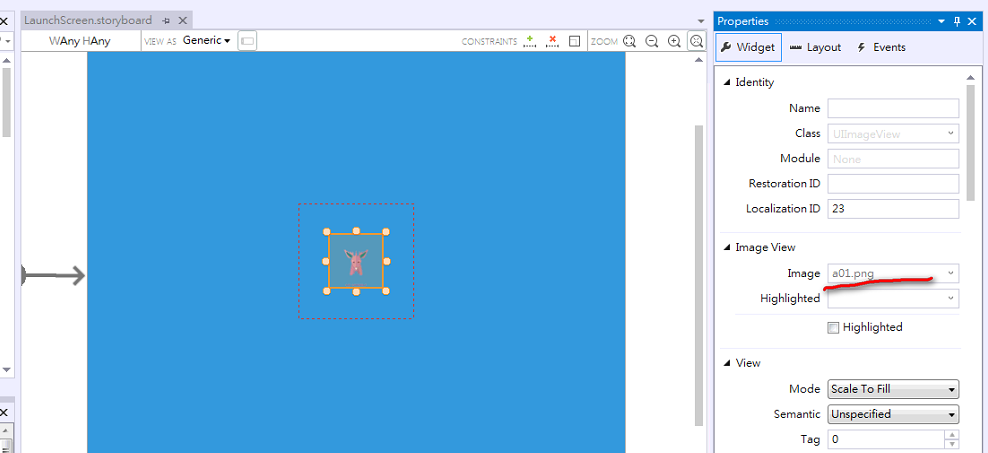
2.點開LaunchScreen.storyborad,並指定圖片
附上github:https://github.com/eggeggss/Xamarin-Form-SplashScreen-Animation
這個作法是參考連結的改良,
只要換掉各平台的SplashScreen , Xamarin Form 做的動畫就像是連貫的 ,app 也可以活潑一點
參考
http://codeworks.it/blog/?p=294
https://channel9.msdn.com/Blogs/MVP-Windows-Dev/Using-Splash-Screen-with-Xamarin-Forms
如果謬誤或寫不好請指導一下,謝謝
