如何在自己的電腦上使用OCI CLI
OCI的主控台有Cloud Shell可以使用,但有些功能仍要在本機端使用OCI CLI在能夠操作(分段上傳等)
以下為如何在本機端安裝並設定OCI CLI
一、安裝OCI CLI
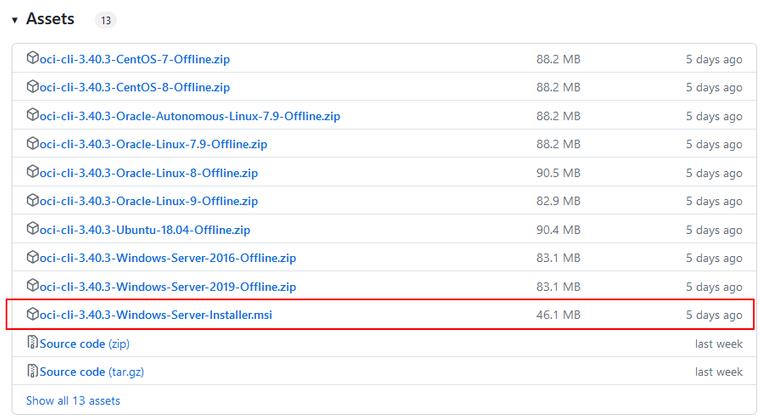
可在Oracle官方文件提供的GitHub下載
安裝步驟沒什麼需要注意的,大概就是選擇安裝位子,然後Next後就會進行安裝。這部分就不寫了。
二、設定參數檔
在使用OCI CLI之前,需要建立一個設定文件,其中包含使用OCI所需要的憑證。
若要讓 CLI 引導您完成首次設定過程,請使用 oci setup config 指令:
要使用 oci setup config 指令前,請先將cmd指到剛剛安裝的路徑中。

oci --version測試確認oci --version沒問題後,進行oci setup config流程
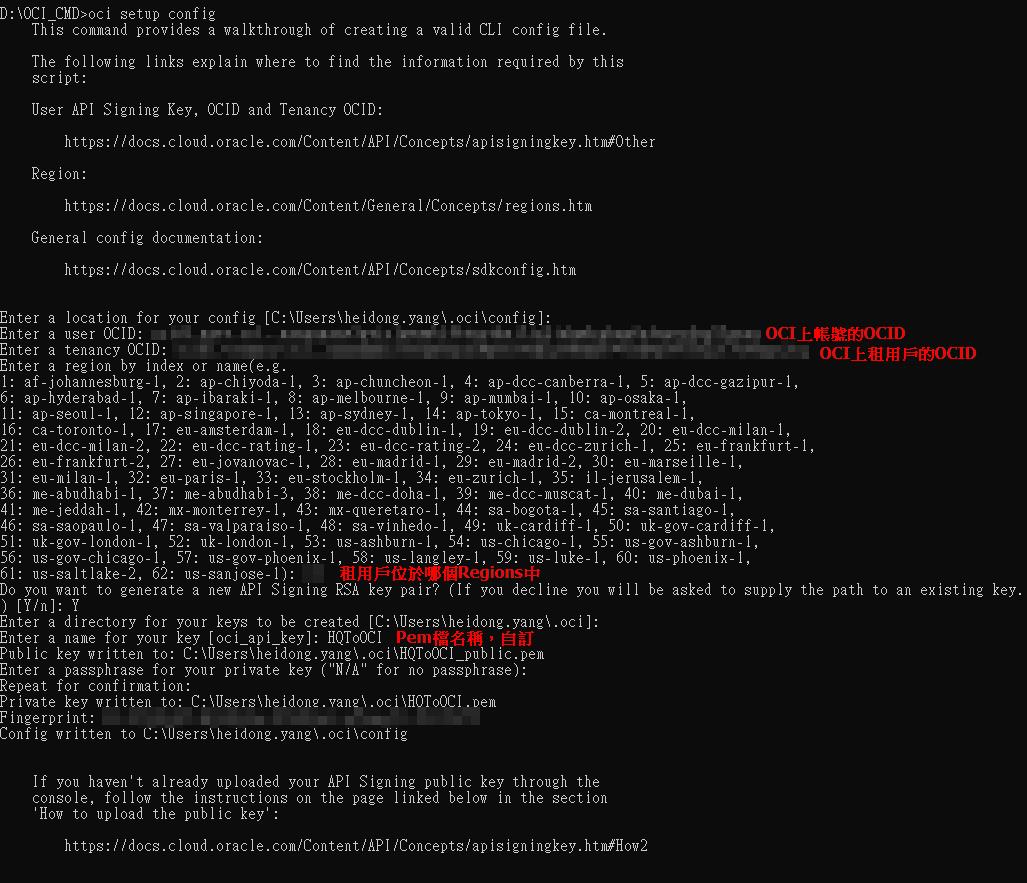
之後可以在指定的路徑中找到這三個檔案

三、 匯入到OCI的指定帳戶
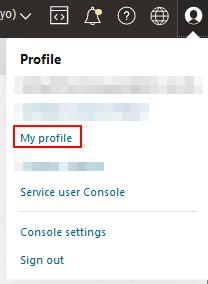
使用指定的帳戶登入OCI的主控台中,在右上角的Profile中點選”My Profile”
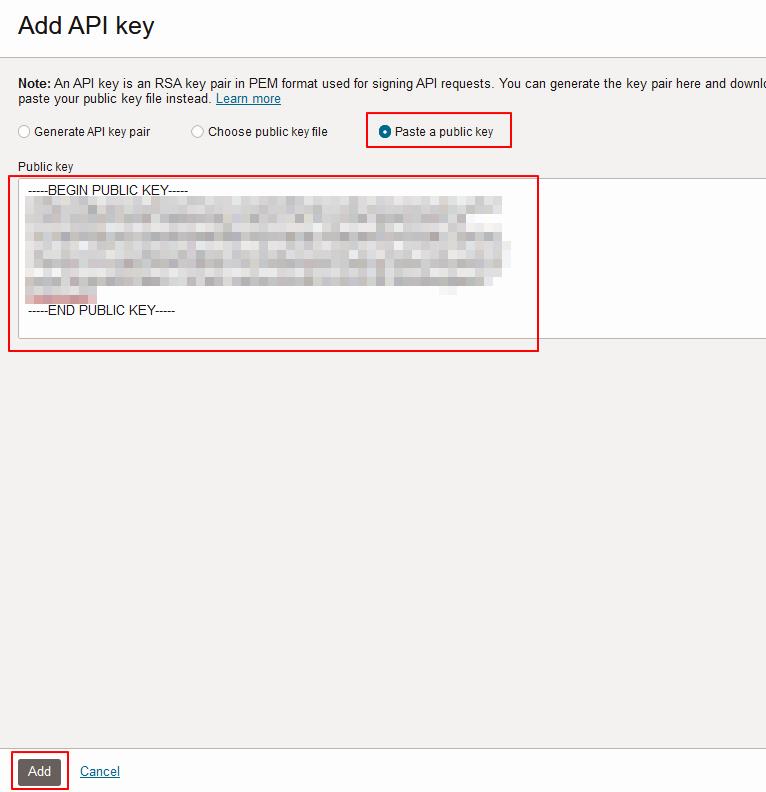
進到”My Profile”後,底下Resources中找到”API Keys” → “Add API Keys”
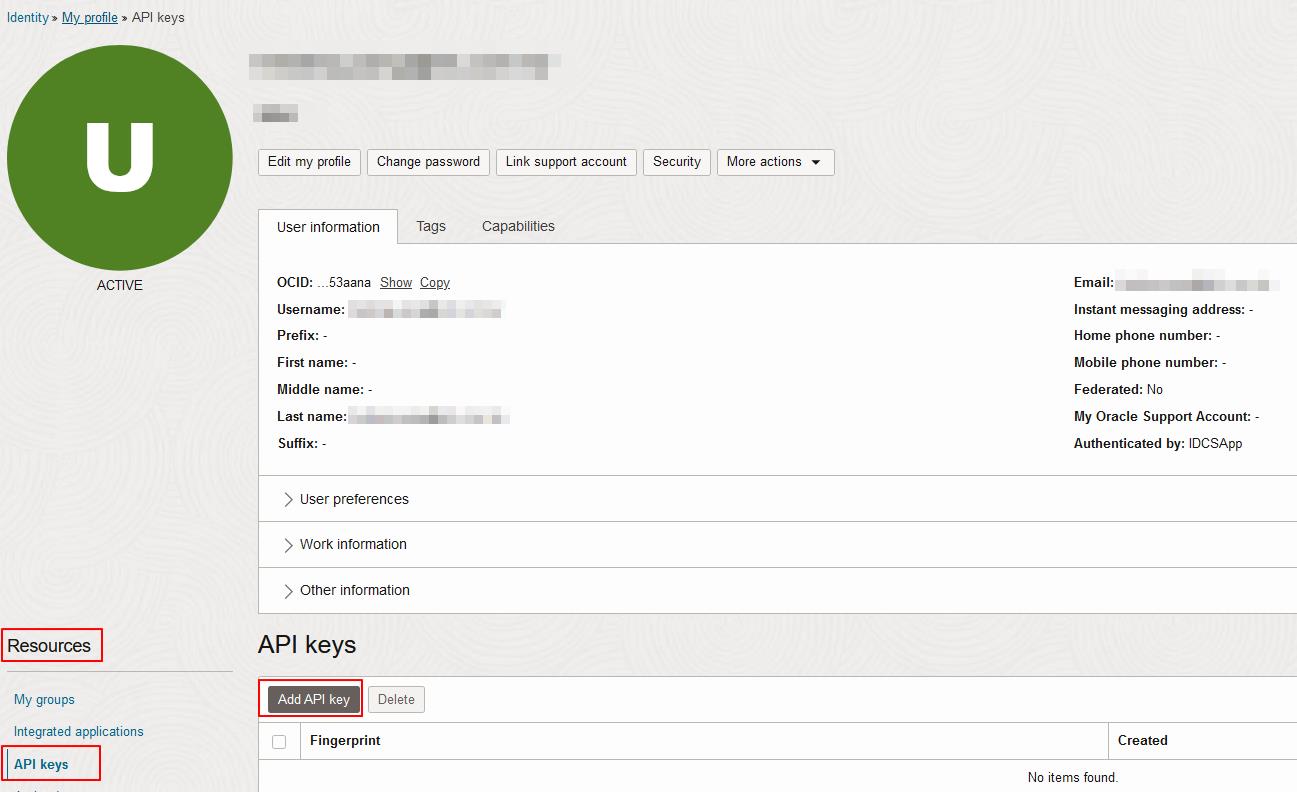
在”Add API key”中,選擇”Paste a public key",並且把剛剛產生出來的public.pem檔中的內容複製上去
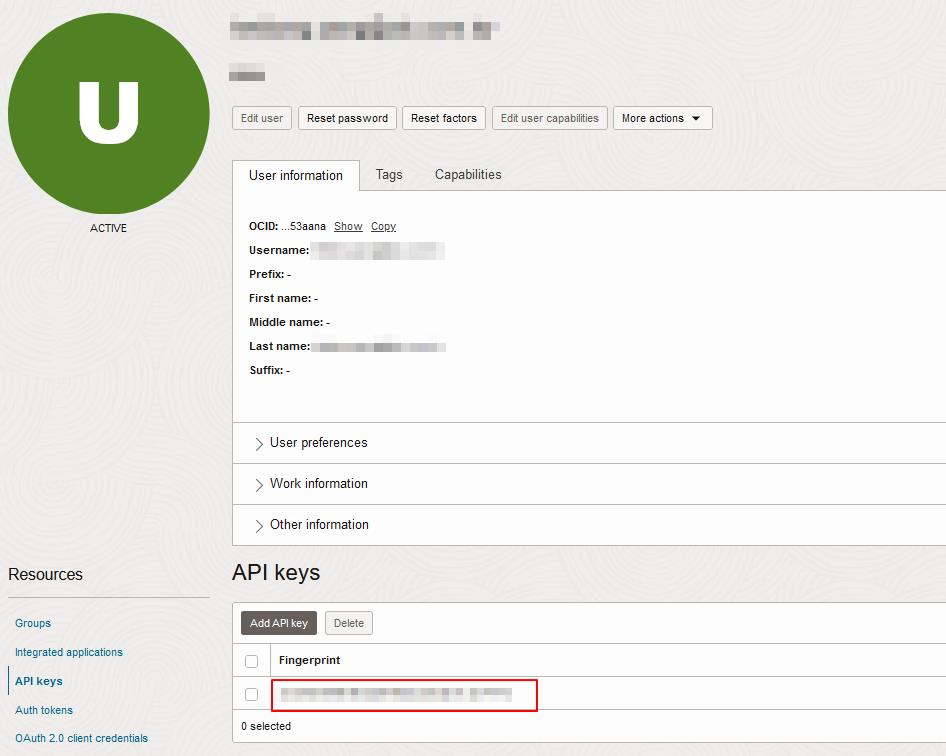
成功後就會在帳號底下看到新的API Key了
完成後就可以在自己的電腦使用OCI CLI指令執行功能了。
其他系統的也可以在官網的Document進行操作設定
Document附上