本文章內容:
Postfix + SASL (courier-authlib) + MySQL -> 實現發郵件服務器 (cyrus-sasl + courier-authlib + mysql就可以用虛擬用戶)
Dovecot + MySQL -> 實現收郵件服務器 (dovecot本身就能認證,結合MySQL就可以用虛擬用戶)
Extmail + Extman + Httpd -> 實現Webmail
RedHat提供的postfix rpm包在編譯的時候不支援基於SASL完成虛擬用戶的認證,所以我們需要重新編譯postfix。
1. 移除系統上的Postfix
[root@postfix-server1 ~]# systemctl stop postfix
[root@postfix-server1 ~]# rpm -e postfix
2. 安裝MySQL
先安裝MySQL,因為我們Postfix要編譯安裝主要是要跟MySQL結合以實現能使用虛擬用戶,不然的話編譯好的Postfix將無法實現基於MySQL認證。
[root@postfix-server1 ~]# yum install mariadb-server mariadb-devel -y
[root@postfix-server1 ~]# mysql -V
mysql  Ver 15.1 Distrib 5.5.68-MariaDB, for Linux (x86_64) using readline 5.1
[root@postfix-server1 ~]# systemctl start mariadb
[root@postfix-server1 ~]# ss -tnl
State      Recv-Q Send-Q                                  Local Address:Port                                                 Peer Address:Port
LISTEN     0      50                                                  *:3306                                                            *:*
...
[root@postfix-server1 ~]# systemctl enable mariadb
Created symlink from /etc/systemd/system/multi-user.target.wants/mariadb.service to /usr/lib/systemd/system/mariadb.service.
2. 安裝Postfix
2.1 創建postfix、postdrop用戶和組
2.1.1 創建postfix用戶、組
[root@postfix-server1 ~]# grep postfix /etc/passwd  #系統已經有postfix用戶,如果沒有則執行useradd -u 2525 -g 2525 -s /sbin/nologin -M postfix
postfix:x:89:89::/var/spool/postfix:/sbin/nologin
[root@postfix-server1 ~]# usermod --uid 2525 postfix  #修改postfix用戶的UID
[root@postfix-server1 ~]# groupmod --gid 2525 postfix  #修改postfix用戶的GID
[root@postfix-server1 ~]# id postfix
uid=2525(postfix) gid=2525(postfix) groups=2525(postfix),12(mail)
2.1.2 創建postdrop用戶、組
[root@postfix-server1 ~]# grep postdrop /etc/group  #系統已有postdrop組,如果沒有則執行groupadd -g 2526 postdrop
postdrop:x:90:
[root@postfix-server1 ~]# groupmod --gid 2526 postfix  #修改postdrop組的GID
[root@postfix-server1 ~]# useradd -u 2526 -g 2526 -s /sbin/nologin -M postdrop  #新增postdrop用戶
[root@postfix-server1 ~]# id postdrop
uid=2526(postdrop) gid=2526(postfix) groups=2526(postfix)
2.2 下載Postfix源代碼
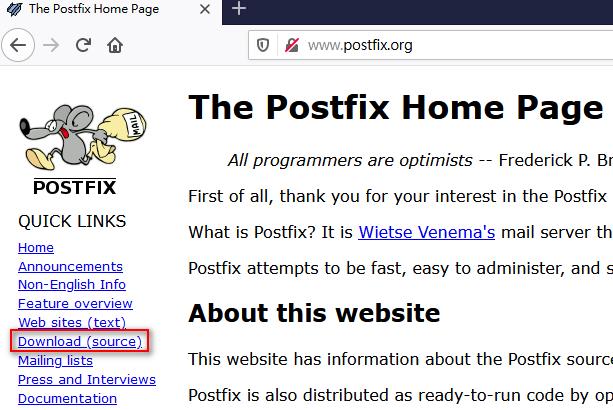
2.2.1 訪問"http://www.postfix.org" -> 點"Download (source)
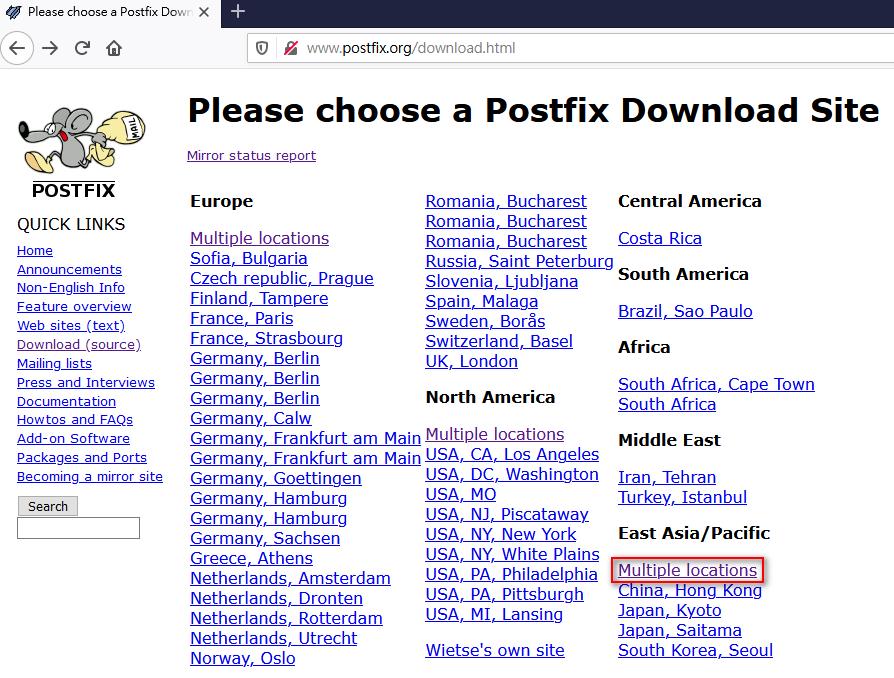
2.2.2 點East Asia/Pacific的"Multiple locations"
2.2.3 使用wget下載Postfix 3.5 stable release的源碼包
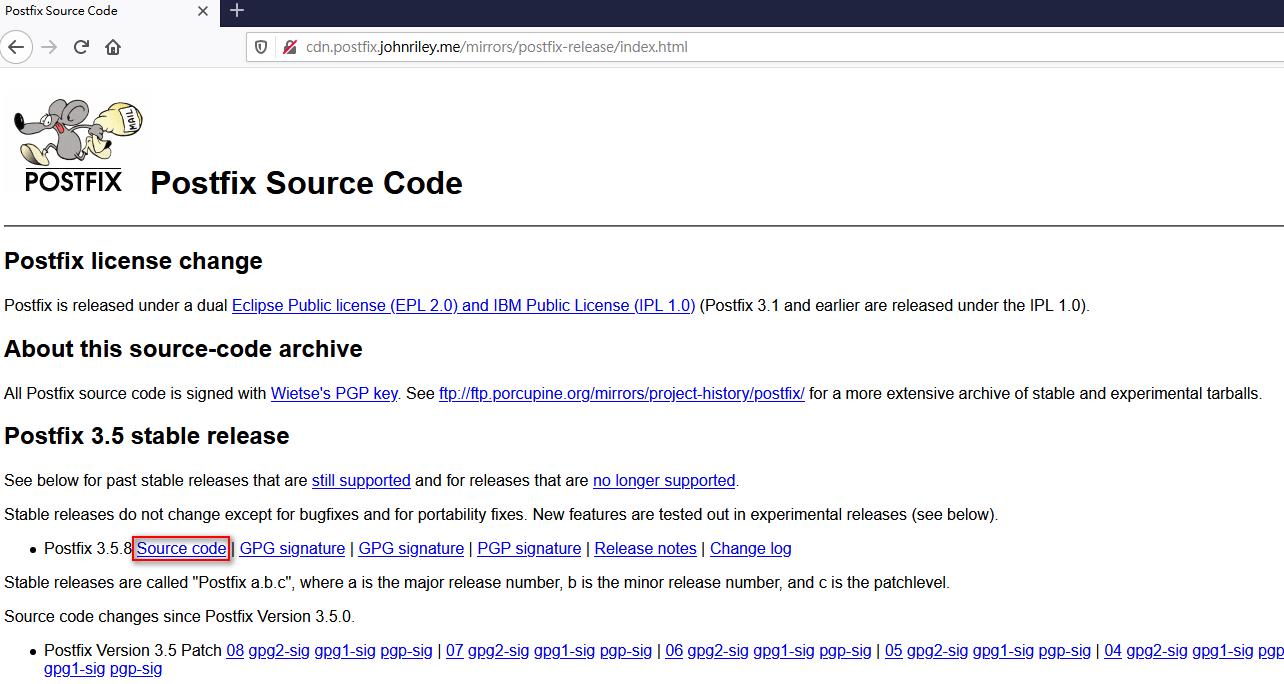
[root@postfix-server1 ~]# wget http://cdn.postfix.johnriley.me/mirrors/postfix-release/official/postfix-3.5.8.tar.gz
[root@postfix-server1 ~]# ll -h
total 4.5M
-rw-------. 1 root root 1.3K Aug 15 05:55 anaconda-ks.cfg
-rw-r--r--. 1 root root 4.5M Nov  7 17:25 postfix-3.5.8.tar.gz
2.3 編譯安裝Postfix
2.3.1 解壓縮postfix-3.5.8.tar.gz -> 進入postfix-3.5.8
[root@postfix-server1 ~]# tar xf postfix-3.5.8.tar.gz
[root@postfix-server1 ~]# cd postfix-3.5.8
[root@postfix-server1 postfix-3.5.8]# ls  #編譯方法比較獨特,因為沒有config腳本,所以我們沒有辦法使用./config -> make -> make install這樣的編譯方式來安裝
AAAREADME      HISTORY               libexec        mantools                proto              RELEASE_NOTES-2.10  RELEASE_NOTES-2.7  RELEASE_NOTES-3.4
auxiliary      html                  LICENSE        meta                    README_FILES       RELEASE_NOTES-2.11  RELEASE_NOTES-2.8  src
bin            implementation-notes  makedefs       pflogsumm_quickfix.txt  RELEASE_NOTES      RELEASE_NOTES-2.2   RELEASE_NOTES-2.9  TLS_ACKNOWLEDGEMENTS
COMPATIBILITY  include               Makefile       plugins                 RELEASE_NOTES-1.0  RELEASE_NOTES-2.3   RELEASE_NOTES-3.0  TLS_CHANGES
conf           INSTALL               Makefile.in    PORTING                 RELEASE_NOTES-1.1  RELEASE_NOTES-2.4   RELEASE_NOTES-3.1  TLS_LICENSE
COPYRIGHT      IPv6-ChangeLog        Makefile.init  postfix-env.sh          RELEASE_NOTES-2.0  RELEASE_NOTES-2.5   RELEASE_NOTES-3.2  TLS_TODO
examples       lib                   man            postfix-install         RELEASE_NOTES-2.1  RELEASE_NOTES-2.6   RELEASE_NOTES-3.3  US_PATENT_6321267
2.3.2