目前visual studio 專案範本看起來只有出到 angular 4 但是我想用 6 XD
所以花了不少時間在研究他
前言
這一次實作以 .NET CORE 2.0 來加入angular 6,未來版本可能會有些不同
文章中若有錯誤的地方麻煩請告知我! <(_ _)>
前置動作
- 確認是否安裝 .NET CORE
- 確認是否安裝 Node.js 及 npm
- Angular CLI 也可參考 Angular.io 的 quick start 進行安裝
創建及設定 ASP.NET CORE Web API 專案
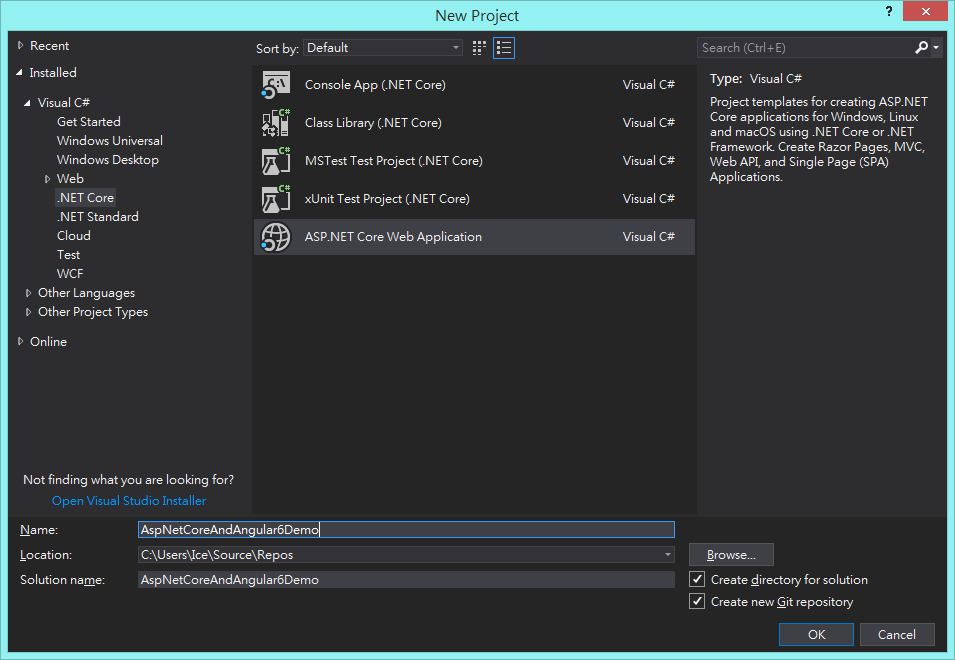
開啟 Visual Studio 新增一個 Web API 的 .NET CORE 專案
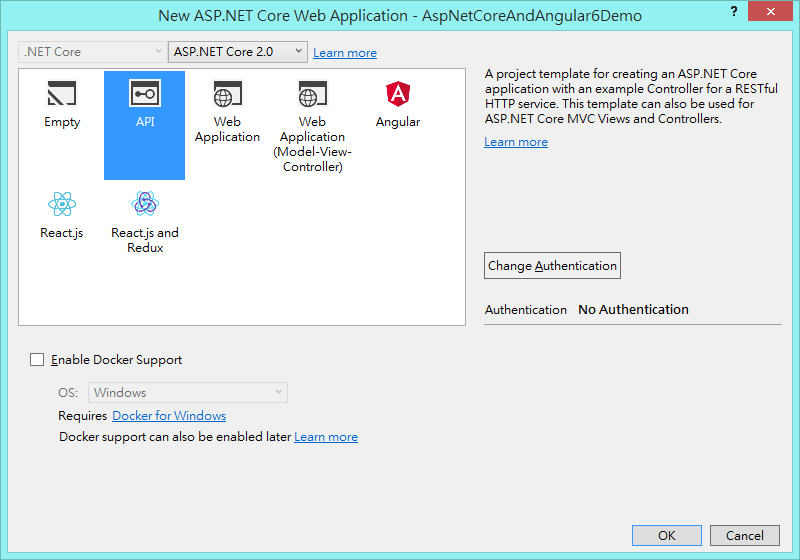
按下 OK 後選取「API」再按下 OK
成功開啟後,為了只需要讓 Angular CLI 幫我們編譯,所以需要設定專案設定檔
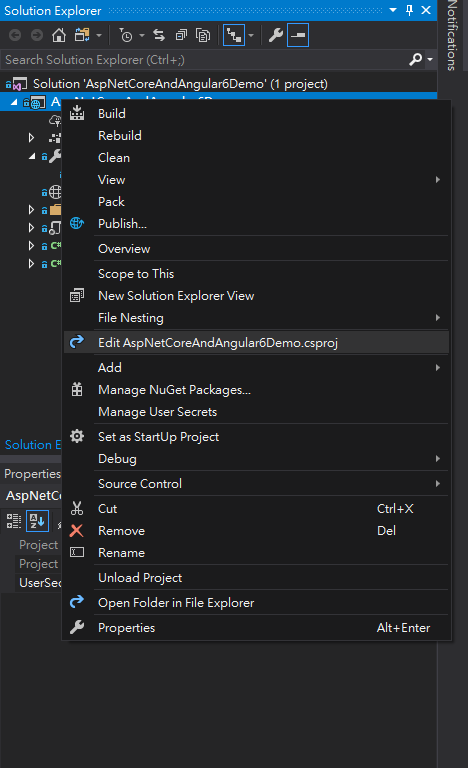
在 csproj 檔中加入以下的程式碼
<PropertyGroup>
     <TypeScriptCompileBlocked>true</TypeScriptCompileBlocked>
</PropertyGroup>
創建 Web API專案時,會預設開啟 api/values 這個頁面 所以為了避免這樣的動作,要到 Properties 中的 launchSettings.json 進行設定,將 launchUrl 設為空就可以了
所有的 launchSettings.json 的 Code 如下
{
  "iisSettings": {
    "windowsAuthentication": false,
    "anonymousAuthentication": true,
    "iisExpress": {
      "applicationUrl": "http://localhost:8572/",
      "sslPort": 0
    }
  },
  "profiles": {
    "IIS Express": {
      "commandName": "IISExpress",
      "launchBrowser": true,
      "launchUrl": "",
      "environmentVariables": {
        "ASPNETCORE_ENVIRONMENT": "Development"
      }
    },
    "AspNetCoreAndAngular6Demo": {
      "commandName": "Project",
      "launchBrowser": true,
      "launchUrl": "",
      "environmentVariables": {
        "ASPNETCORE_ENVIRONMENT": "Development"
      },
      "applicationUrl": "http://localhost:8573/"
    }
  }
}
接著就需要判斷進來的 request 是需要存取網頁還是要api了,所以在Startup.cs中的 Configure 要加入以下的程式碼
app.Use(async (context, next) =>
{
    await next();
    if (context.Response.StatusCode == 404 &&                       // 該資源不存在
        !System.IO.Path.HasExtension(context.Request.Path.Value) && // 網址最後沒有帶副檔名
        !context.Request.Path.Value.StartsWith("/api"))             // 網址不是 /api 開頭(不是發送 API 需求)
    {
        context.Request.Path = "/index.html";                       // 將網址改成 /index.html
        context.Response.StatusCode = 200;                          // 並將 HTTP 狀態碼修改為 200 成功

        await next();
    }
});
因為將要使用 Angular CLI會幫助我們編譯出前端網頁的靜態檔案,所以我們需要可以存取靜態檔案的middleware,所以在 Startup.cs 中的 Configure 要加入兩個方法
- app.UseDefaultFiles()
- app.UseStaticFiles()
目前 Configure 中會變成這個樣子
public void Configure(IApplicationBuilder app, IHostingEnvironment env)
{
    if (env.IsDevelopment())
    {
        app.UseDeveloperExceptionPage();
    }

    app.Use(async (context, next) =>
    {
        await next();
        if (context.Response.StatusCode == 404 &&                       // 該資源不存在
            !System.IO.Path.HasExtension(context.Request.Path.Value) && // 網址最後沒有帶副檔名
            !context.Request.Path.Value.StartsWith("/api"))             // 網址不是 /api 開頭(不是發送 API 需求)
        {
            context.Request.Path = "/index.html";                       // 將網址改成 /index.html
            context.Response.StatusCode = 200;                          // 並將 HTTP 狀態碼修改為 200 成功

            await next();
        }
    });

    app.UseDefaultFiles();
    app.UseStaticFiles();
    app.UseMvc();
}
創建 Angular CLI 專案
接下來開始創建Angular CLI 的專案了!
這邊要注意的是,Angular CLI專案的 ng new 方法會在你所屬的資料夾底下創建一個資料夾然後放進去,所以你如果你照著前面的步驟到這裡來的話,你應該要到有 .sln檔的地方下 ng new 的指令來創建專案
這裡使用以下指令來創建專案
- -g 不建立版控,因為已經建立過了
- --routing 建立路由模組
補充: 來自 Poy Chang 的建議

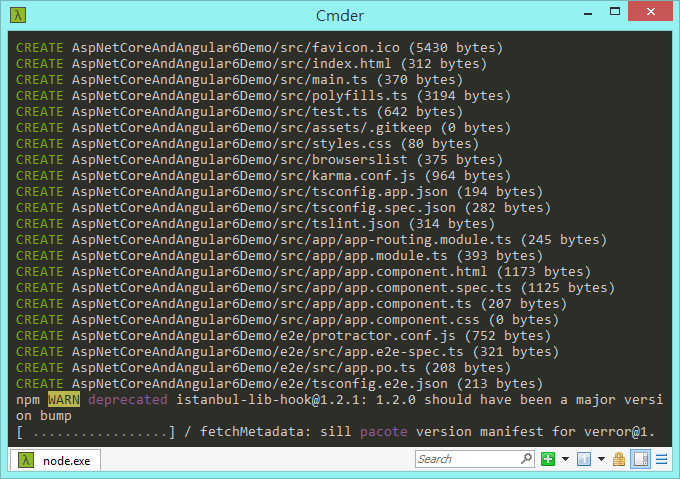
下指令之後會自動執行 npm install
整合起來
執行完畢後,有幾個需要修正的地方
- "src" 資料夾的命名建議修改為 "client-src" 這樣方便辨認是否為前端的程式碼
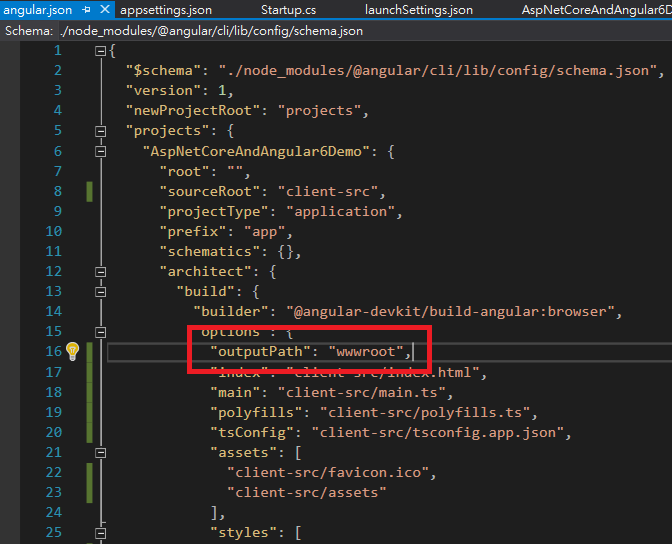
- 如果修改了 src資料夾名稱為 client-src 請把所有 angular.json內 "src" 的文字修改為 "client-src"
- outputPath 從 dist/ [your project name] 修改為 wwwroot (如下圖)
- 修改.gitignore檔=>新增 /wwwroot
接下來執行
- ng build
- 在 visual studio 中執行 ctrl + f5(啟動但不偵錯)
這時候你就可以看到 angular 的頁面囉!!!

本篇參考: Angular CLI 和 ASP.NET Core Web API 專案整合步驟 1 2 3