在上一篇 Hello WebAPI中,已經介紹了如何使用 Visual Studio 2015建立 .Net Core WebAPI的專案,並且使用 Self-Host運行在本機上,接著將繼續介紹如何透過 EntityFramework.Core 1.0.0來存取資料庫。
安裝EntityFramework相關套件
如果要使用 EntityFramework.Core來存取 SqlServer資料庫,並須先安裝以下套件
- Microsoft.EntityFrameworkCore.SqlServer
- Microsoft.EntityFrameworkCore.Tools
- Microsoft.EntityFrameworkCore.SqlServer.Design
其中因為 Microsoft.EntityFrameworkCore.Tools目前還在 Preview的階段,所以安裝時需要特別使用,如果是使用 Nuget安裝,那搜尋時需要將"包括搶鮮版"的框框打勾,如果是使用指令安裝時則需要在最後多加 -pre。
安裝完成後,可以在 Project.json中的 "dependencies"節點看到參考
"Microsoft.EntityFrameworkCore.SqlServer": "1.0.0",
"Microsoft.EntityFrameworkCore.SqlServer.Design": "1.0.0",
"Microsoft.EntityFrameworkCore.Tools": "1.0.0-preview2-final"
另外,還需要手動在 "tools"節點中加上
"Microsoft.EntityFrameworkCore.Tools": "1.0.0-preview2-final"
這樣就完成了 EntityFramework.Core的套件安裝。
新增 DbContext
套件安裝完成後,就可以在套件管理器主控台透過指令來新增 DbContext
Scaffold-DbContext "Server=[your db server];Database=HelloWebAPI;user id=[your user id];password=[your pw]" Microsoft.EntityFrameworkCore.SqlServer -OutputDir Model\Table -verbose
稍微解釋一下參數的部分
- OutputDir : 這邊指的是在專案下的輸出路徑,如果路徑中有包含資料夾,則會自動產生資料夾。
- verbose : 會將整個指令的執行過程顯示在管理主控台上
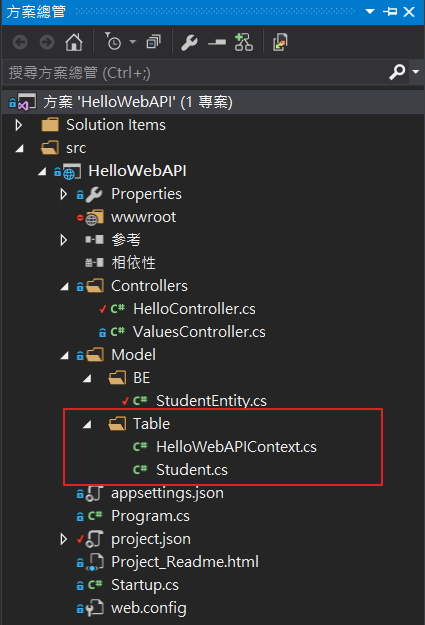
指令完成後就可以在專案下看到自動產出的 DbContext和 Class
接著,在官方的文件中建議,將 DbContext中的 OnConfiguration method刪除,並且新增建構式
public HelloWebAPIContext(DbContextOptions<HelloWebAPIContext> options) : base(options)
{}
這裡的修改是希望把原本在 OnConfiguration method做的事,移到 Startup.cs中執行。接著需要在 Startup.cs中,把新增的 DbContext註冊到 DI容器中
var connectionStr = Configuration["ConnectionStrings:Dev"];
services.AddDbContext<HelloWebAPIContext>(options => options.UseSqlServer(connectionStr));
再把連線字串新增到 appsettings.json中
{
    "Logging": {
        "IncludeScopes": false,
        "LogLevel": {
            "Default": "Debug",
            "System": "Information",
            "Microsoft": "Information"
        }
    },
    "ConnectionStrings": {
        "Dev": "Server=[your db server];Database=HelloWebAPI;user id=[your user id];password=[your pw]"
    }
}
這樣就完成了初始化設定了。
資料庫CRUD
DbContext新增完成後,就可以來對資料庫進行 新增、刪除、修改、查詢的動作,先新增一個 WebAPI Controller命名為 StudentController,並且加上查詢、新增、修改、刪除的 Action
public IStudentService _studentService;

public StudentController(IStudentService studentService)
{
    this._studentService = studentService;
}

/// <summary>
/// 取得學生清單.
/// </summary>
/// <returns></returns>
[HttpGet]
[Route("List")]
public IEnumerable<StudentEntity> GetStudents()
{
    var result = this._studentService.GetStudents();
    return result;
}

/// <summary>
/// 新增學生資料
/// </summary>
/// <param name="entity">學生資訊</param>
/// <returns></returns>
[HttpPost]
[Route("CreateStudent")]
public string CreateStudent([FromBody]StudentEntity entity)
{
    this._studentService.InsertStudent(entity);
    return "Success";
}

/// <summary>
/// 修改學生資料
/// </summary>
/// <param name="entity">學生資訊</param>
/// <returns></returns>
[HttpPost]
[Route("Edit")]
public string EditStudent([FromBody] StudentEntity entity)
{
    this._studentService.EditStudent(entity);

    return "Success";
}

/// <summary>
/// 刪除學生資料
/// </summary>
/// <param name="id">學號</param>
/// <returns></returns>
[HttpPost]
[Route("Delete")]
public string Delete(string id)
{
    this._studentService.DeleteStudent(id);

    return "Success";
}
再新增一個 StudentService類別與介面,存取資料庫中的學生資料一律透過這一個 Service,而不在 Controller裡直接存取資料庫
/// <summary>
/// The _DB context
/// </summary>
private HelloWebAPIContext _dbContext;

/// <summary>
/// Initializes a new instance of the <see cref="StudentService"/> class.
/// </summary>
/// <param name="dbContext">The database context.</param>
public StudentService(HelloWebAPIContext dbContext)
{
    this._dbContext = dbContext;
}

/// <summary>
/// Gets the students.
/// </summary>
/// <returns></returns>
public List<StudentEntity> GetStudents()
{
    var result = this._dbContext.Student
                     .ToList()
                     .Select(p =>
                     {
                         var studentEntity = new StudentEntity
                         {
                             Id = p.StudentId.ToString(),
                             Name = p.StudentName,
                             Gender = p.StudentGender
                         };
                         return studentEntity;
                     })
                     .ToList();
    return result;
}

/// <summary>
/// Inserts the student.
/// </summary>
/// <param name="entity">The student info</param>
public void InsertStudent(StudentEntity entity)
{
    var student = new Student
    {
        StudentId = Guid.NewGuid(),
        StudentName = entity.Name,
        StudentGender = entity.Gender,
        StudentCreateDateTime = DateTime.Now
    };

    this._dbContext.Student.Add(student);
    this._dbContext.SaveChanges();
}

/// <summary>
/// Edits the student.
/// </summary>
/// <param name="entity">The student info</param>
public void EditStudent(StudentEntity entity)
{
    var studentId = new Guid(entity.Id);
    var student = this._dbContext.Student.First(p => p.StudentId == studentId);

    student.StudentName = entity.Name;
    this._dbContext.SaveChanges();
}

/// <summary>
/// Deletes the student.
/// </summary>
/// <param name="id">The identifier.</param>
public void DeleteStudent(string id)
{
    var studentId = new Guid(id);
    var student = this._dbContext.Student.First(p => p.StudentId == studentId);

    this._dbContext.Student.Remove(student);
    this._dbContext.SaveChanges();
}
都新增完成後,可以在程式碼中發現類別裡所使用到的實體都是透過 DI的方式注進建構式中,所以這邊需要將 StudentService類別也註冊到 DI容器中,新增一行程式碼到 Startup.cs中的 ConfigureServices method中
services.AddScoped<IStudentService, StudentService>();
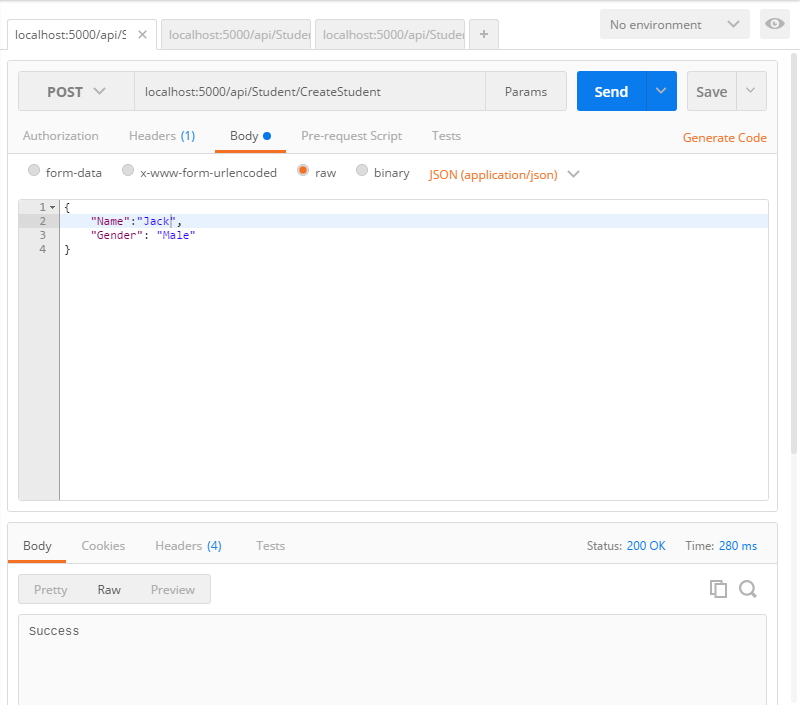
這樣就完成學生資料的 CRUD,接著可以將 WebAPI運行起來測試看看。首先,來新增一筆學生資料進資料庫中
查詢資料庫確認資料是否有正確寫入資料庫

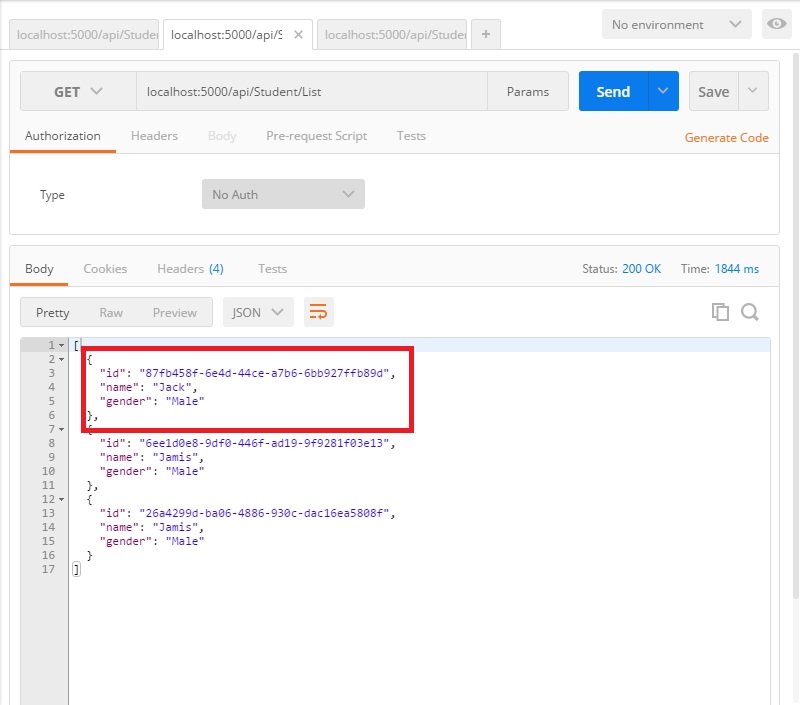
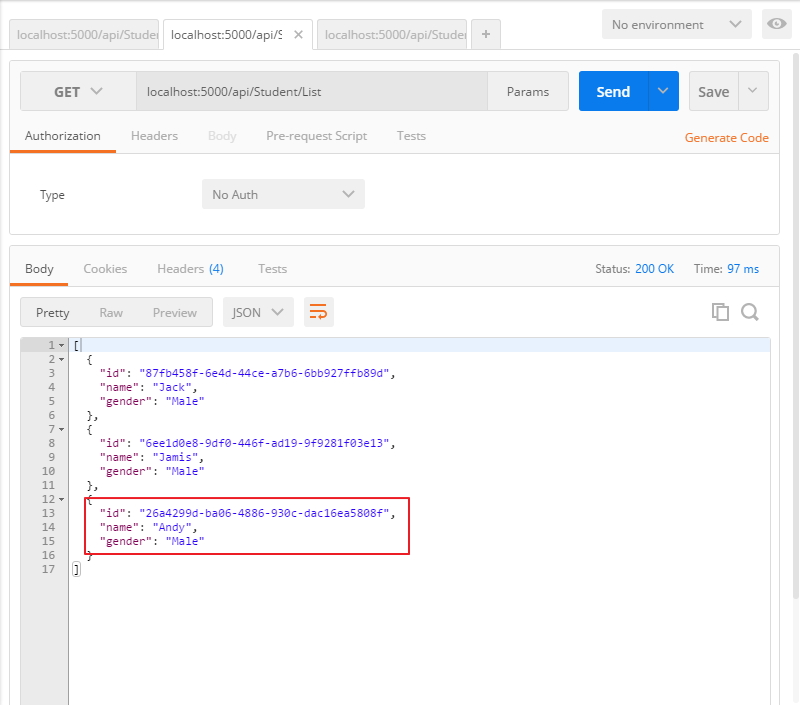
再透過取得學生清單的功能驗證是否可以取得剛剛寫入的資料
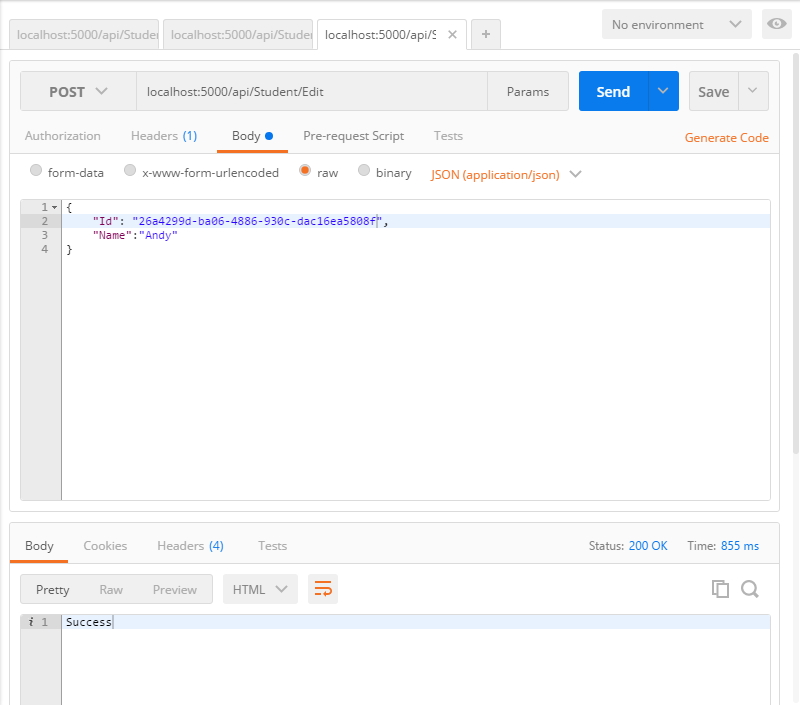
針對 id為 265a4299d-ba06-4886-930c-dacl16ea5808f的學生資料進行修改,將其姓名改成 Andy
查詢是否有正確修改
最後測試刪除功能,將剛剛修改的學生資料刪除
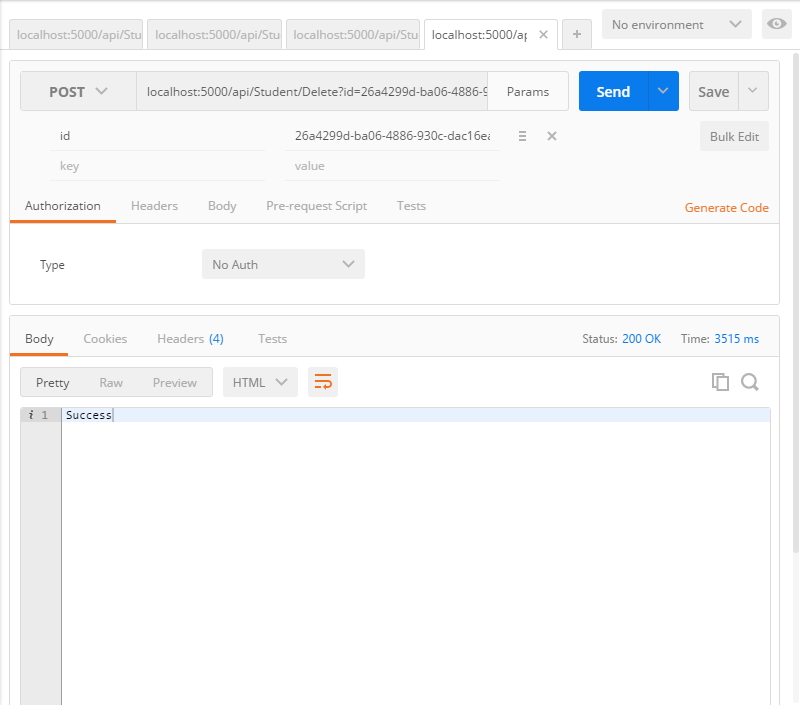
查詢是否有刪除成功
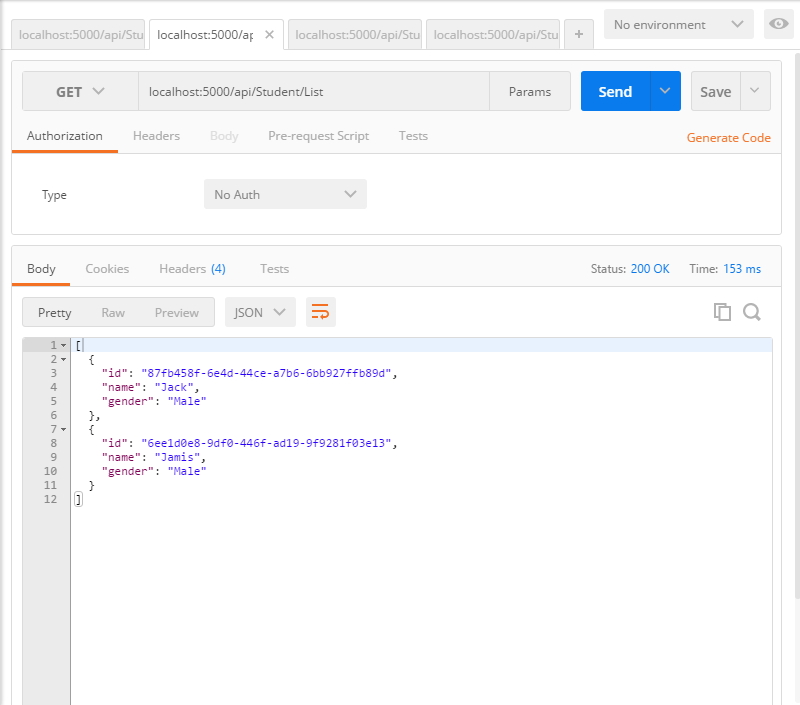
可以看到剛剛那一筆姓名為 Andy的資料已經被成功刪除了。
小節
在這一篇文章中,說明從安裝 EntityFramework.Core的套件,透過指令產生 DbContext,最後到 CRUD的程式撰寫,並且實際將 WebAPI運行起來,驗證是否能夠確實地進行 CRUD。在一下篇中,將介紹在原本 Asp.Net中,廣泛被使用的 AutoMapper在 .Net Core中如何安裝及使用。
參考連結
源碼下載
免責聲明:
"文章一定有好壞,文章內容有對有錯,使用前應詳閱公開說明書"


