Robotframework 安裝教學
目前網頁有很多自動化的程式,查看一下Robotframework比較好用且支援多種功能
相關敘述如下:
The Robot Framework IDE (RIDE) is the integrated development environment to implement automated tests for the Robot Framework. The Robot Framework is a generic test-automatation framework. A quick overview on the Robot Framework is available from the following introduction slides.
話不多少開始安裝,跟著我一起安裝
Install Python
1. 先下載Python https://www.python.org/downloads/ (筆者是3.10.5,建議使用3的開發,2020年Python2不再支援)
2. 在C:\下建立一個Folder名為Python
3. 安裝Python在C:\Python下
4. 安裝完畢後請設定環境變數(安裝過程中,可以透過Python設定,不用自己在設定環境變數)
5. 找到Path這個變數後在後面加入 ;C:\Python;C:\Python\Scripts (在安裝的時候可以自動加入環境變數)
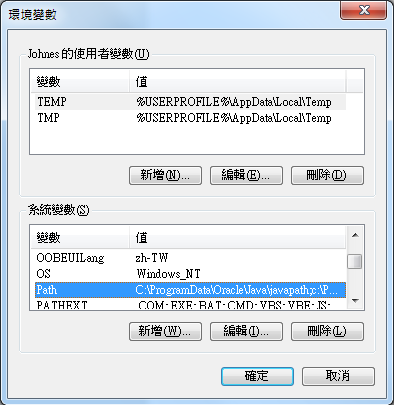
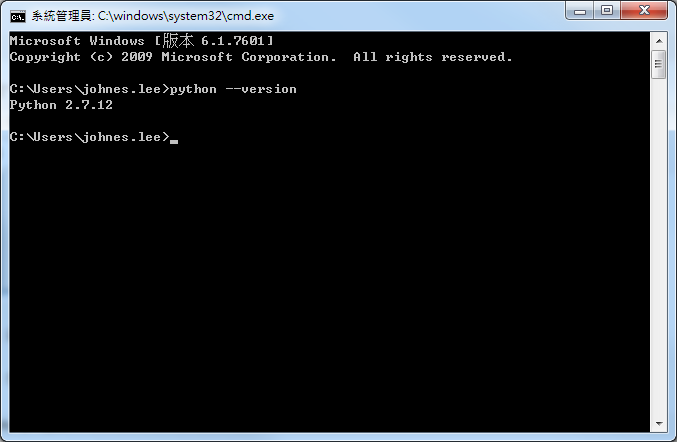
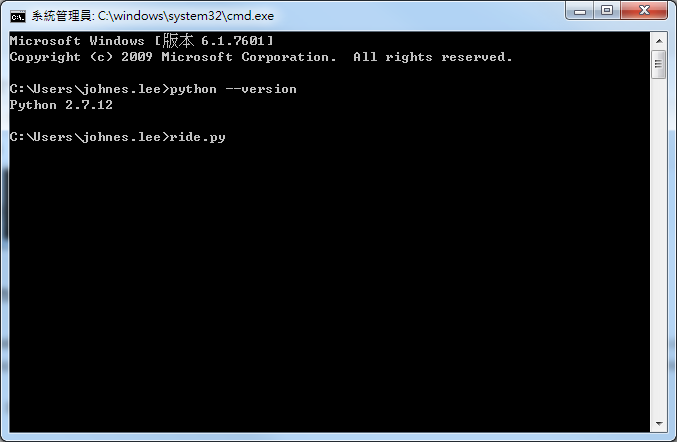
6. 安下確定按鈕後,確認Python有無安裝成功
7. 在Command line 輸入 python --version
Install Requests Library
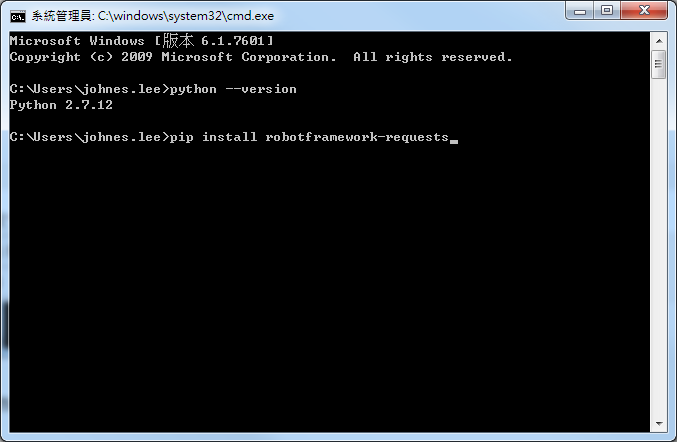
1. 執行command line,輸入 pip install requests
2. 再輸入 pip install robotframework-requests
Install Robotframework and Database library
Robot Framework is a generic test automation framework for acceptance testing and acceptance test-driven development (ATDD). It has easy-to-use tabular test data syntax and it utilizes the keyword-driven testing approach. Its testing capabilities can be extended by test libraries implemented either with Python or Java, and users can create new higher-level keywords from existing ones using the same syntax that is used for creating test cases.
1. 執行command line,輸入 pip install robotframework
2. 再輸入 pip install robotframework-seleniumlibrary
3. 再輸入 pip install pymssql (如果沒用到資料庫,請跳過)
4. 再輸入 pip install robotframework-databaselibrary
Install Autolit library
AutoItLibrary is a Robot Framework keyword library wrapper for for the freeware AutoIt tool (http://www.autoitscript.com/autoit3/index.shtml) using AutoIt’s AutoItX.dll COM object. The AutoItLibrary class provides a proxy for the AutoIt keywords callable on the AutoIt COM object and provides additional high-level keywords implemented as methods in this class.
1. 輸入 pip install robotframework-autoitlibrary (如果沒有要驗證檔案上傳,請跳過)
假如安裝有錯誤,請執行下面這段程式碼
pip install -U robotframework-autoitlibrary --no-cache-dir --preInstall Robotframework IDE
1. 執行command line,輸入 pip install robotframework-ride (不一定要使用Ride開發,也可以用Visual Studio Code開發,但目前Ride是比較簡單)
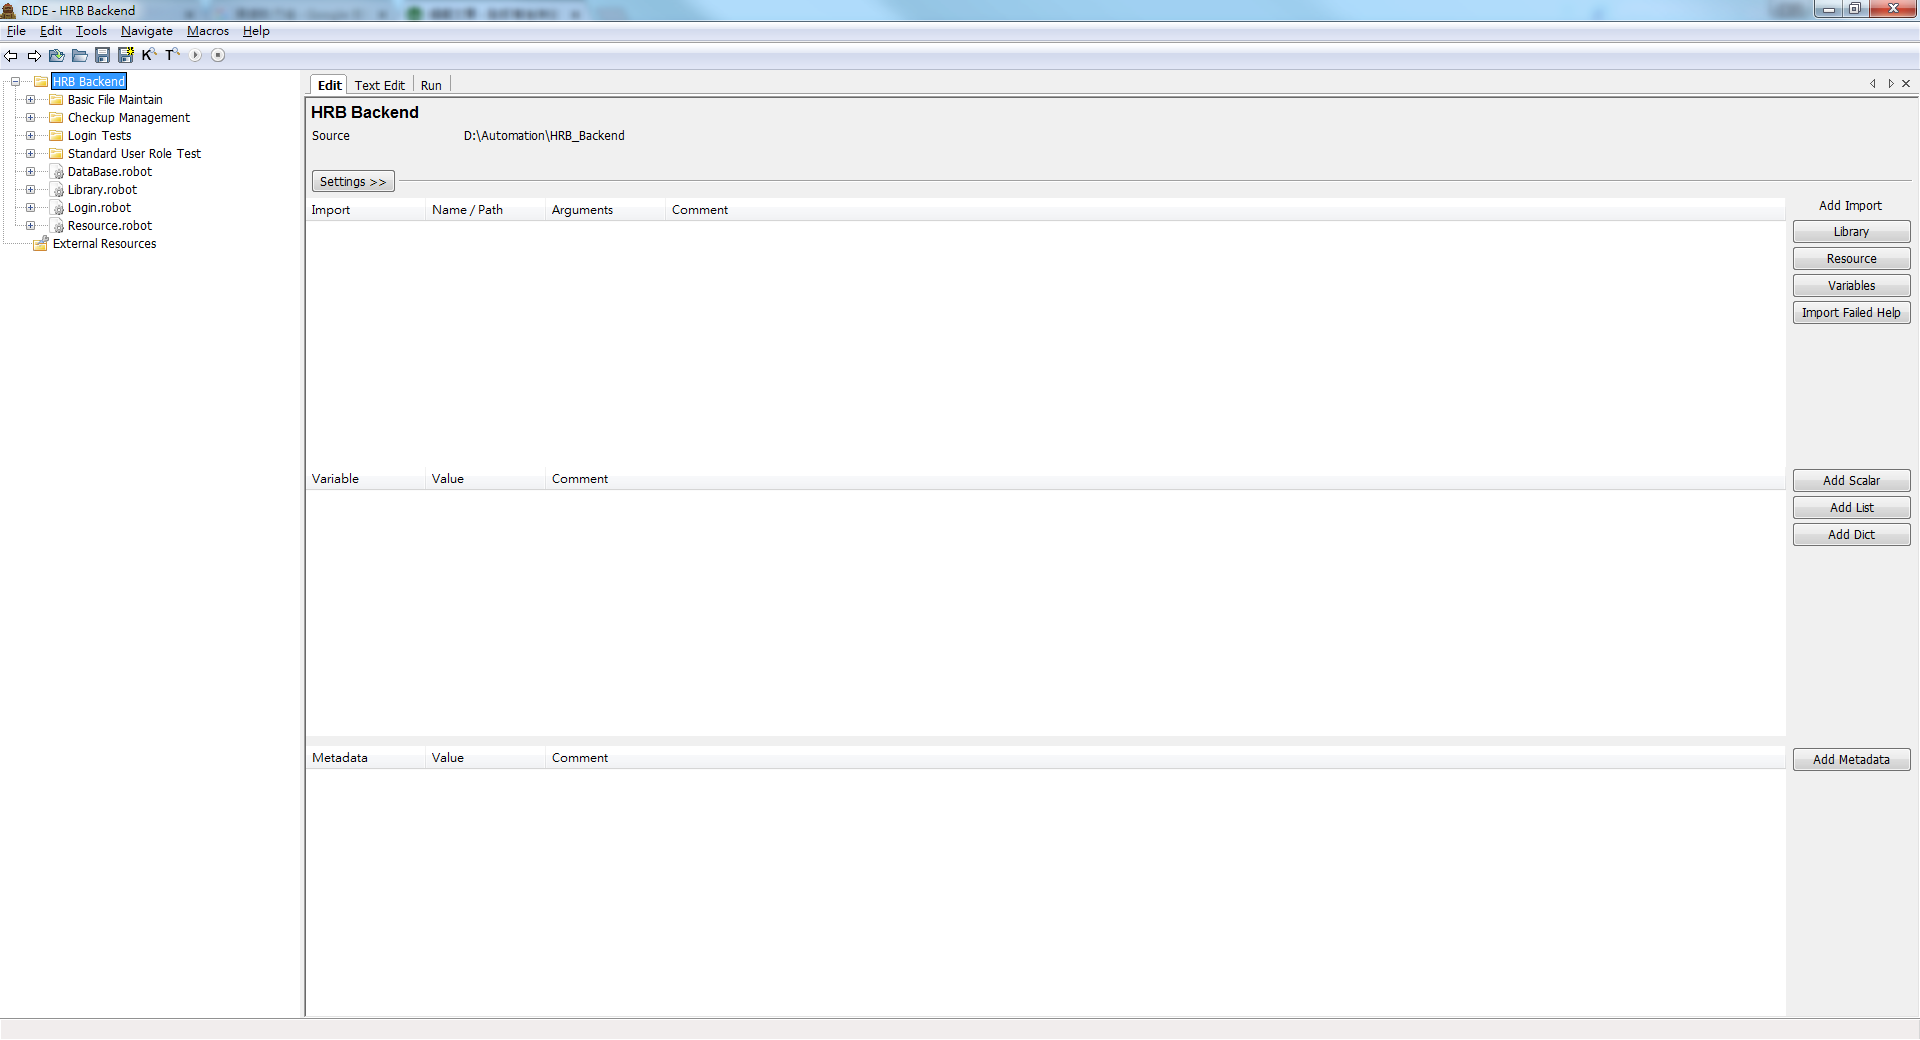
2. 驗證Robotframewok有無安裝起來,在command line 輸入 ride.py
3. 看到畫面跑起來的結果
如果開不起來,請執行下面這段程式碼且錯誤訊息是 ModuleNotFoundError: No module named 'packaging
執行下面語法
pip install packagingpython -m pip install -U https://github.com/HelioGuilherme66/RIDE/archive/colours.zipInstall Highlights for Text Edit
1. 執行command line,輸入 pip install pygments
2. Restart the IDE,並驗證

Create the shortcut to desktop
1. 在搜尋畫面打ride.py
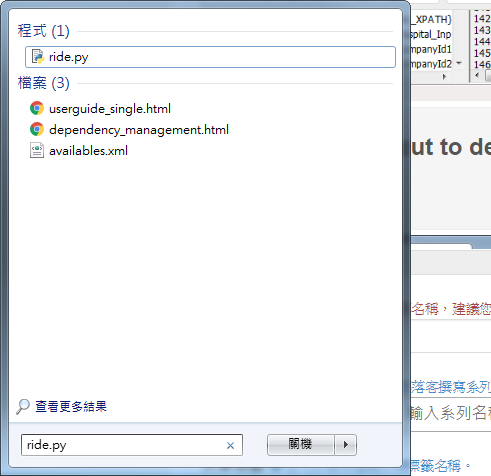
2. 對此按下右鍵->內容
3.點選變更圖示
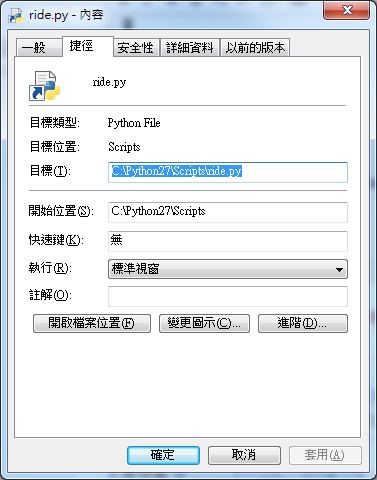
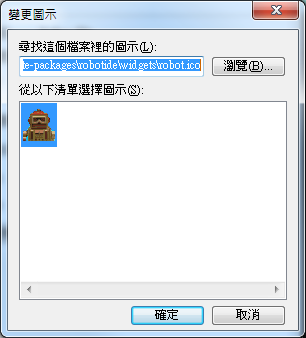
4. 輸入 %SystemDrive%\Python27\Lib\site-packages\robotide\widgets\robot.ico
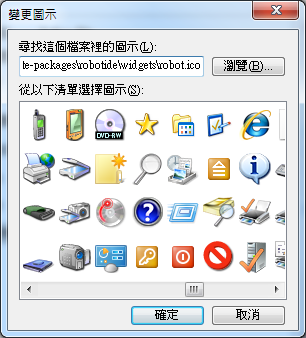
5. 出現圖示後按下確定
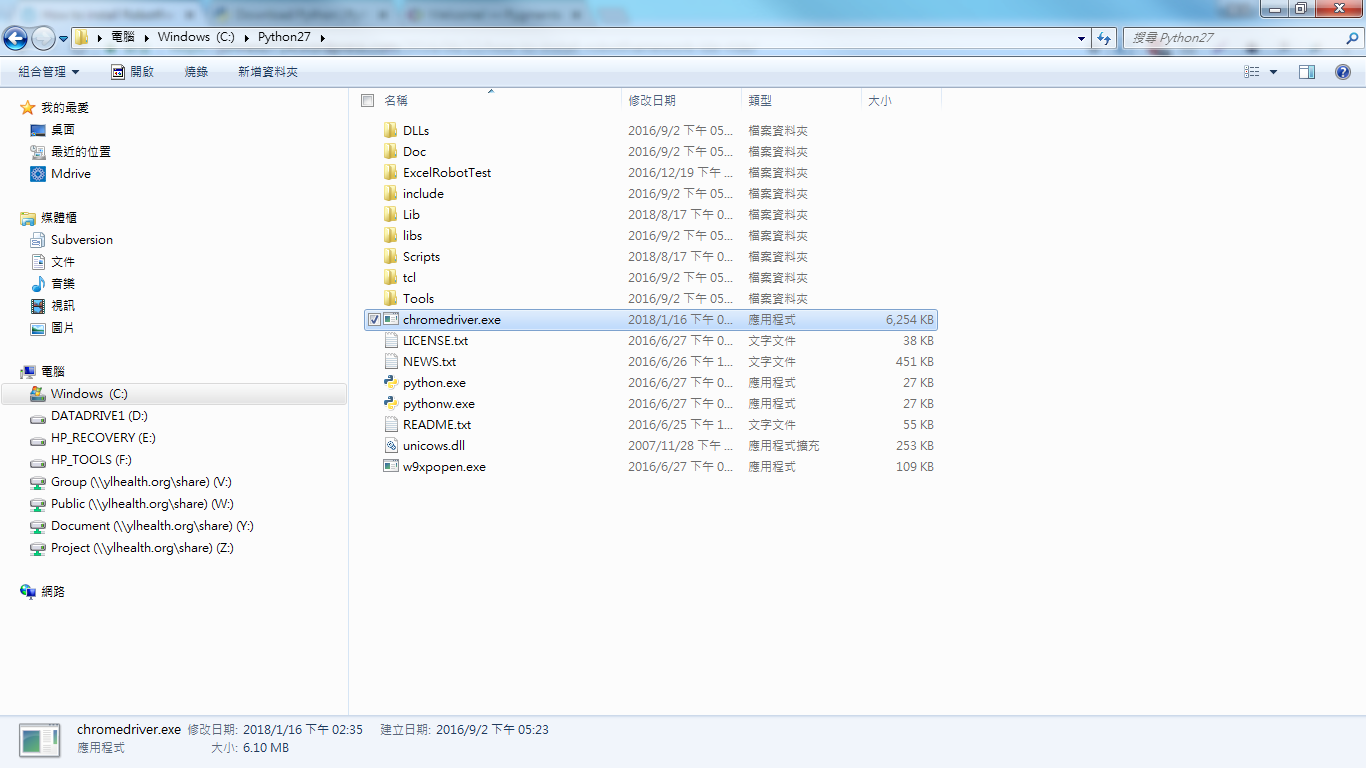
Install Chrome driver for Google web testing
Go to download page, then unzip it. Save it to python path.