將Asp .Net Identity 所需要的資料表
以「Entity Framework Code First」的模式,加入至所指定的資料庫中。
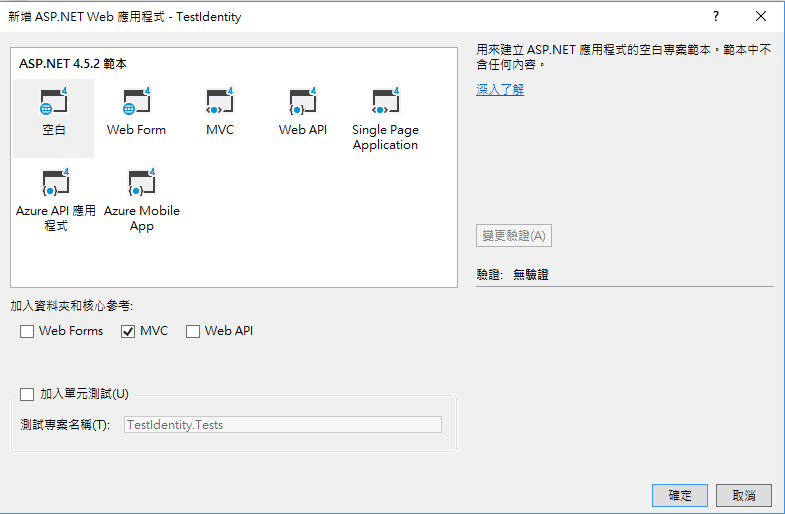
首先,我們建立一個Asp.Net MVC 架構的空白專案。
環境準備:
一、用Nuget抓取以下四個參考,分別為:
1. Microsoft.Owin.Host.SystemWeb
2. Microsoft.Owin.Security.Cookies
3. Microsoft.AspNet.Identity.EntityFramework
4.Microsoft.AspNet.Identity.Owin
二、建立HomeCntroller並新增對應的View執行看看。
此時發現出現以下錯誤:
查明原因後,發現需要Owin啟動類別,因此在專案底下中新增「Startup.cs」類別
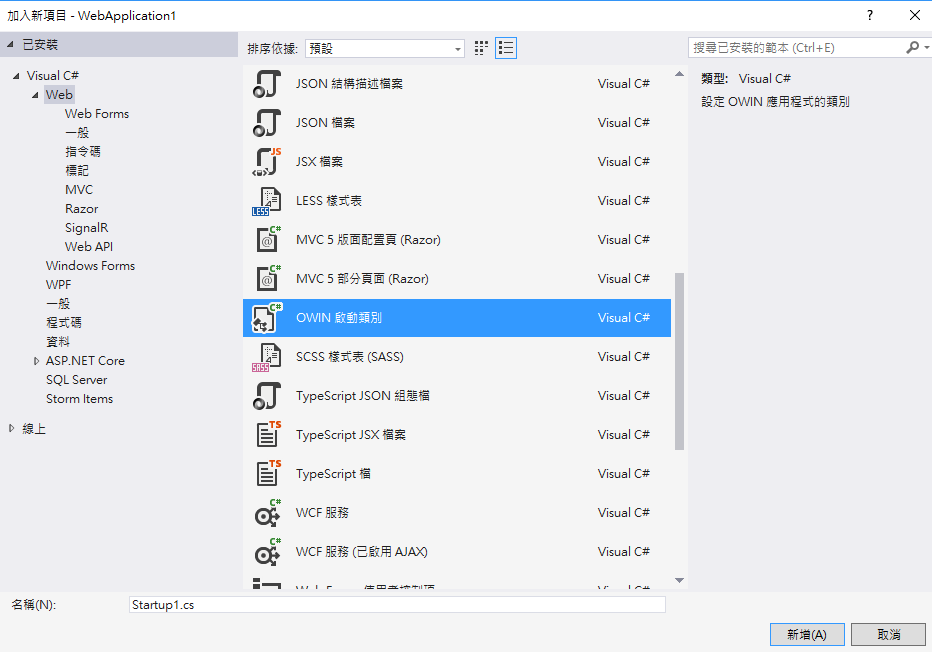
如果要自己新增類別也可以,但記得在類別中加入下面的方法,而此方法會在後面其他篇章中,再進行介紹與使用。
   public class Startup
    {
        public void Configuration(IAppBuilder app)
        {
            // For more information on how to configure your application, visit https://go.microsoft.com/fwlink/?LinkID=316888
        }
    }
此時再執行一次時,便可以順利運行。
三、加入一個測試用的Local資料庫,並放進「App_Data」資料夾,

四、在「Web.config」檔案中,加入該資料庫之連線字串:
  <connectionStrings>
    <add name="名稱" connectionString="資料庫連線字串" providerName="System.Data.SqlClient"/>
  </connectionStrings>
五、參考微軟原本的方式,在「Models」資料夾中,加入:「IdentityModels.cs」檔案,並實作以下幾個類別
必要:
加入 繼承「IdentityDbContext」的類別,也是此文章的重點,將透過此類別來進行資料庫的操作。
 public class MyAppDbContext : IdentityDbContext<IdentityUser>
    {
        //DefaultConnection 剛才所設定之連線字串名稱
        //注意,該連線字串不可為Entity Framework Database First的連線字串
        public MyAppDbContext(): base("DefaultConnection", throwIfV1Schema: false)
        {
        }

    }
而以下類別在資料表需要客製化時,才進行新增與繼承動作
1.「IdentityUser」
2.「IdentityRole」
3.「IdentityUserLogin」
4.「IdentityUserRole」
5.「IdentityUserClaim」
而在此我們以新增一個客製化的「IdentityUser」當範例,我們需要在該資料表中加入年齡的欄位
  public class MyAppUser : IdentityUser
    {
        public int Age { get; set; }
    }
建好之後,將我們所客製化的「MyAppUser」來代替「MyAppDbContext」建構函式中的泛型「IdentityUser」,
  public class MyAppDbContext : IdentityDbContext<MyAppUser>
    {
        //DefaultConnection 剛才所設定之連線字串名稱
        //注意,該連線字串不可為Entity Framework Database First的連線字串
        public MyAppDbContext(): base("DefaultConnection", throwIfV1Schema: false)
        {
        }

    }
在這裡要注意建構函式的泛型順序。
接下來在自製的「IdentityDbContext」建立資料表時的覆寫方法
    protected override void OnModelCreating(DbModelBuilder modelBuilder)
        {
            base.OnModelCreating(modelBuilder);

            //更改預設資料表名稱
            modelBuilder.Entity<MyAppUser>().ToTable("MyAppUser");
        }
六、準備就緒之後,在主控台依順序輸入以下三個指令
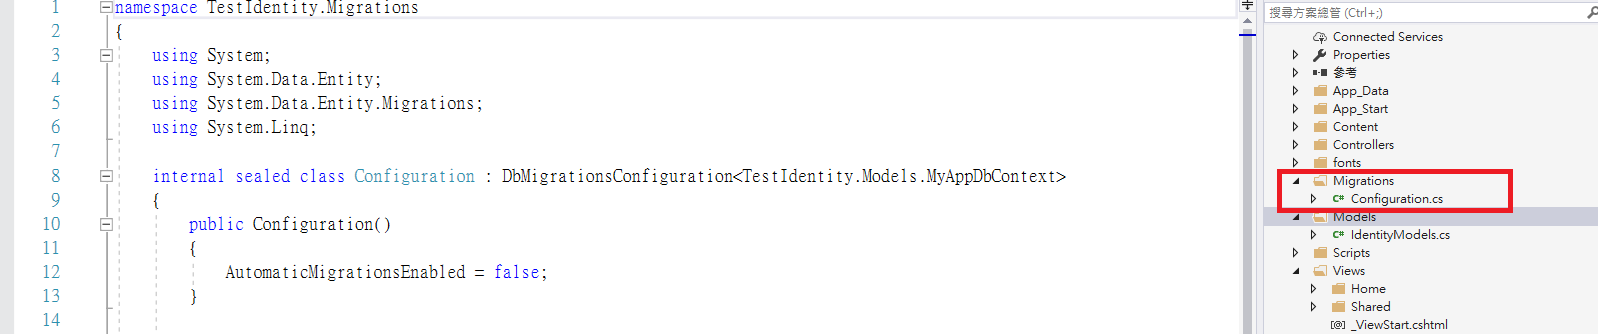
1.Enable-Migrations (產生遷移配置)
執行後會產生以下檔案
2.Add-Migration 文件名稱(產生自上次以來的變更的遷移)
執行後會產生以下檔案

3.Update-Database(透過上面所產生的遷移檔,進行資料庫的更新)
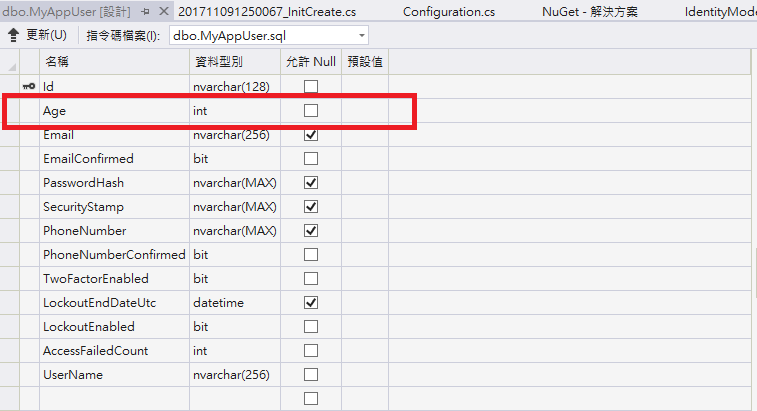
執行完後,刷新資料庫將會發現Identiity所需要的五個資料表便已產生在資料庫中。
於此我們打開剛才所客製的資料表,如果有看到Age欄位,表示我們客製化該資料表成功。

以上實作完畢。
