InstallShield Limited Edition for Visual Studio 建立安裝專案與發佈安裝檔
1. 建立安裝專案
2. 設定安裝檔
3. 建置安裝檔
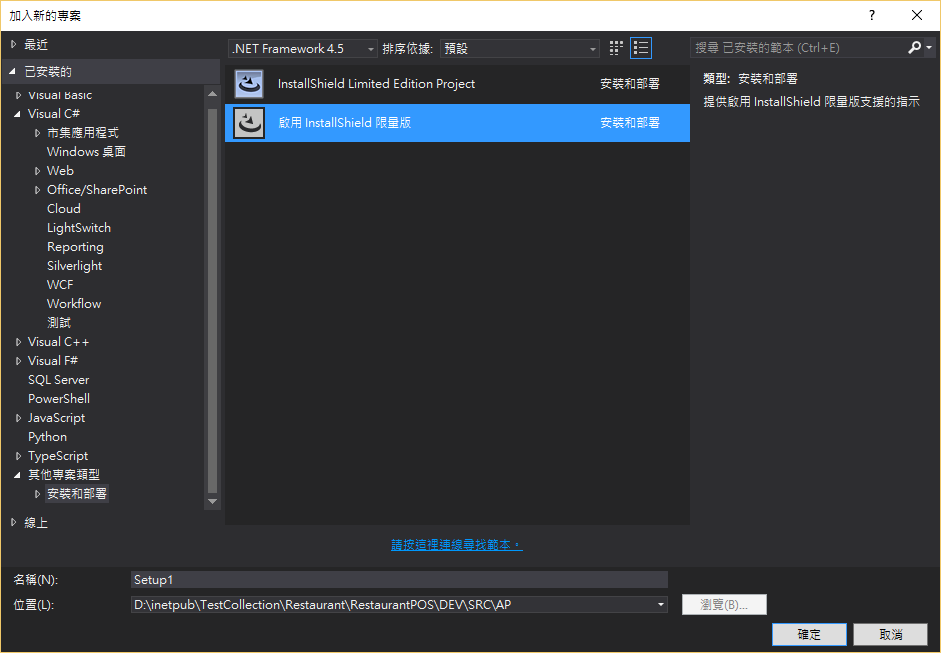
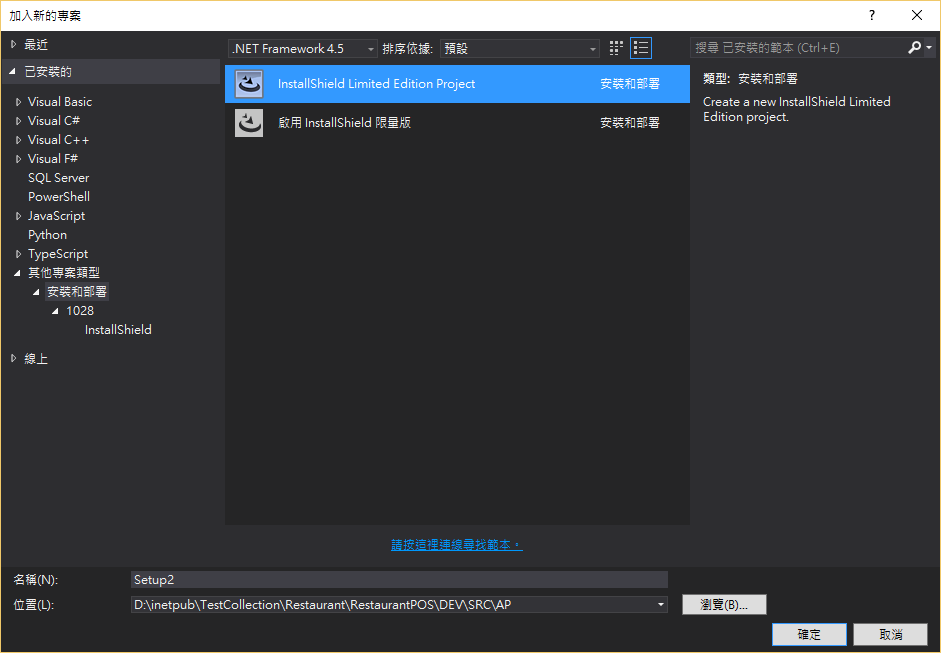
【其他專案類型】.【安裝和部署】.【啟用InstallShield 限量版】
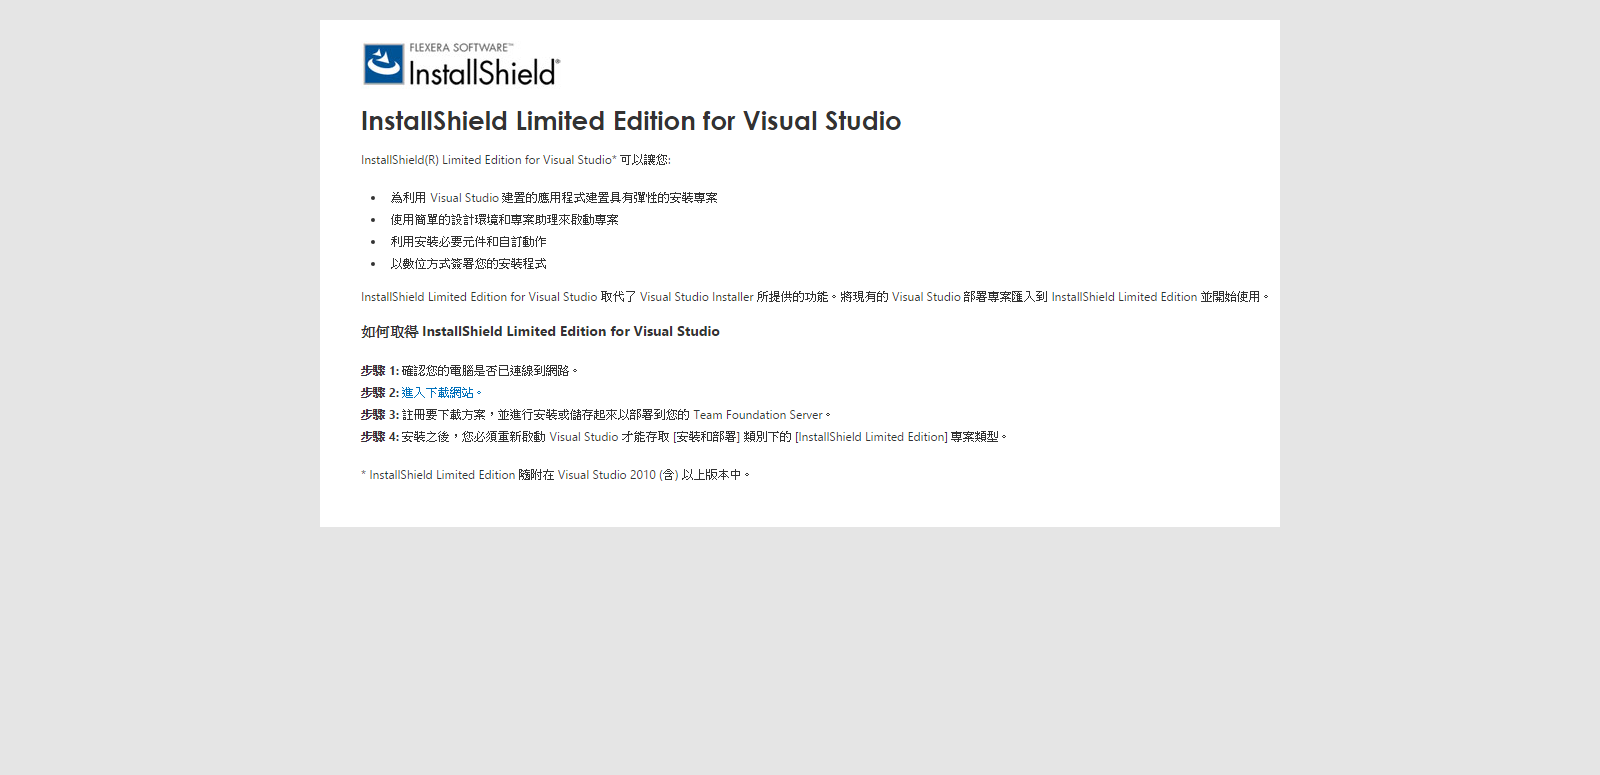
網頁教你如何安裝InstallShield,反正最後你會拿到安裝檔裝起來就對了,記得VS先關掉
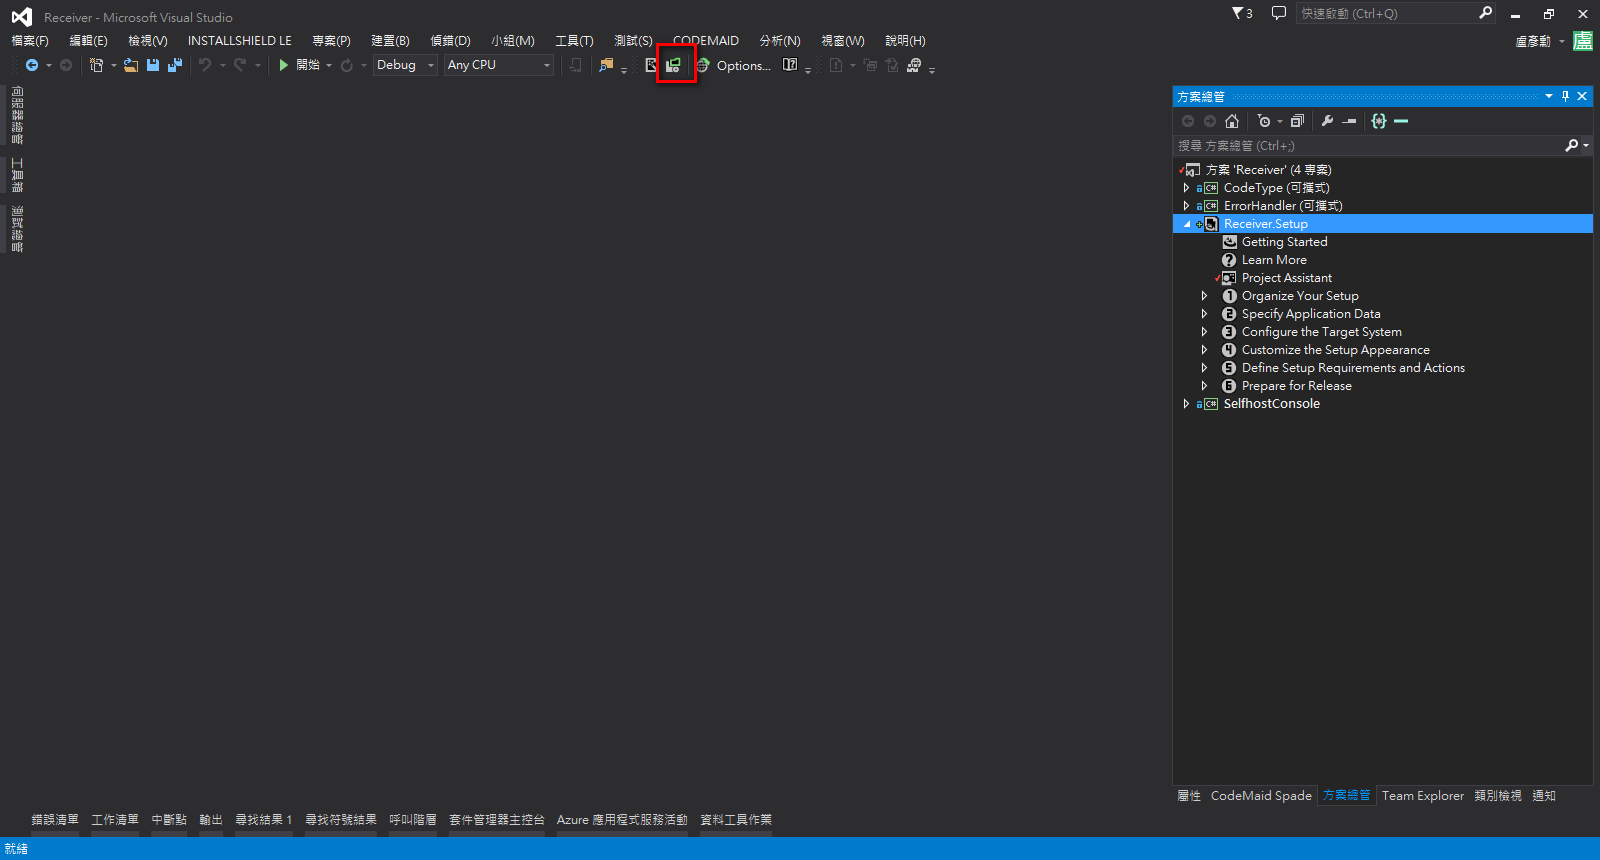
【其他專案類型】.【安裝和部署】.【InstallShield Limited Edition Project】,安裝完成後才會跑出來,之後都直接點他新增專案
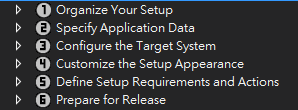
新增完成後會預設開啟【Project Assistant】,這個助手(精靈)會導引你做完大部分的設定(紅框)
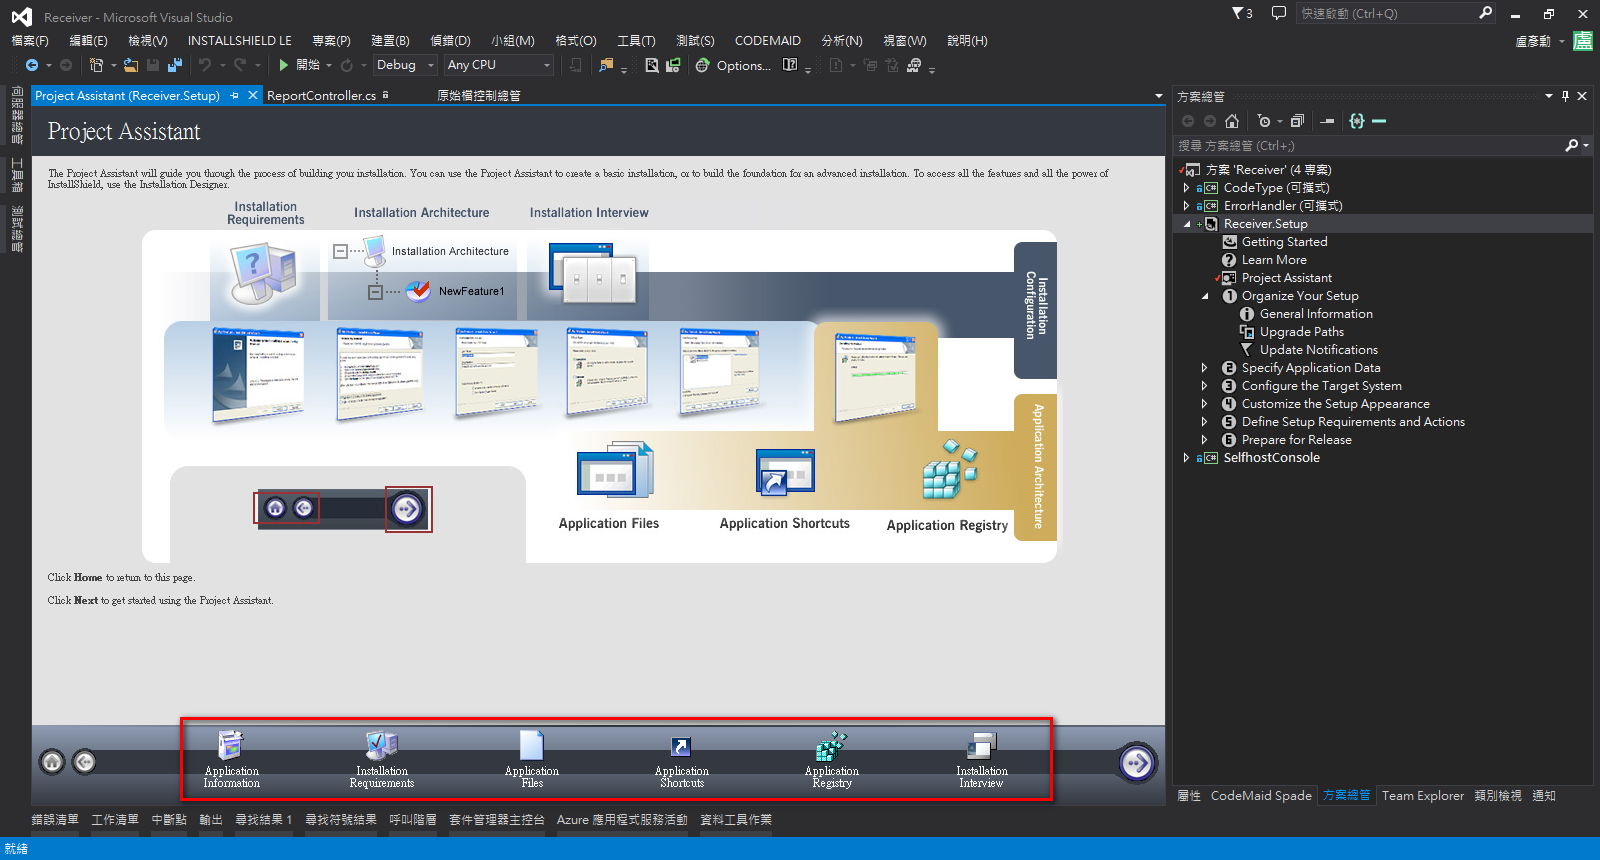
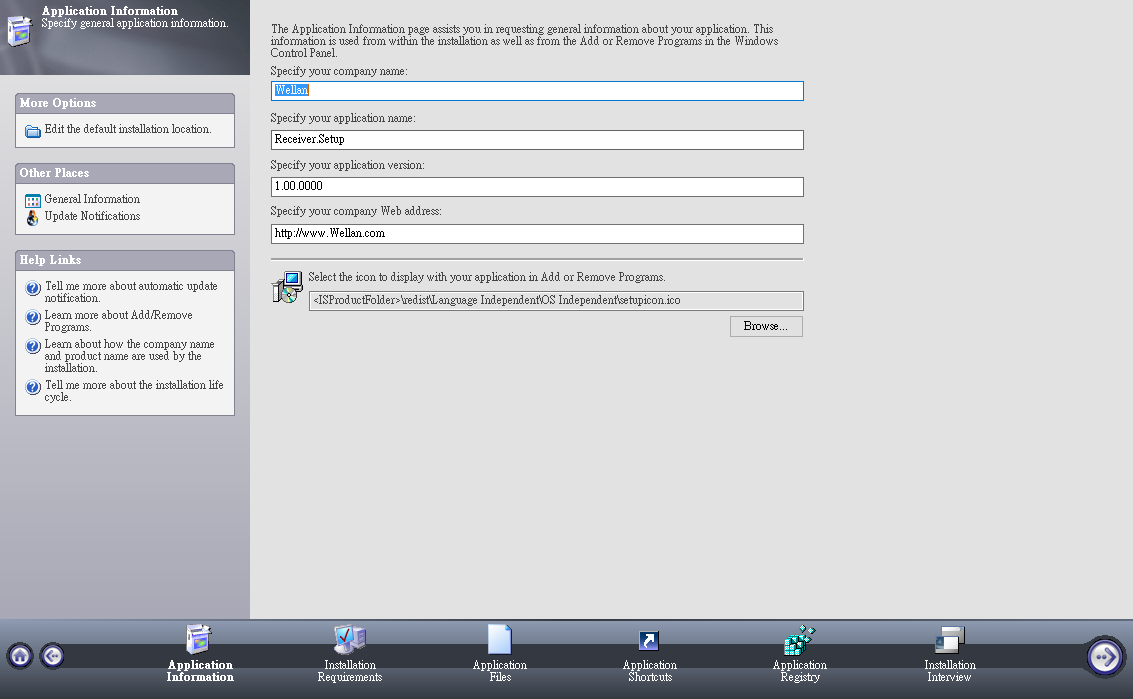
【Application Information】填入應用程式資訊,公司名稱、應用程式名稱、版號、公司網站、新增/移除顯示Icon
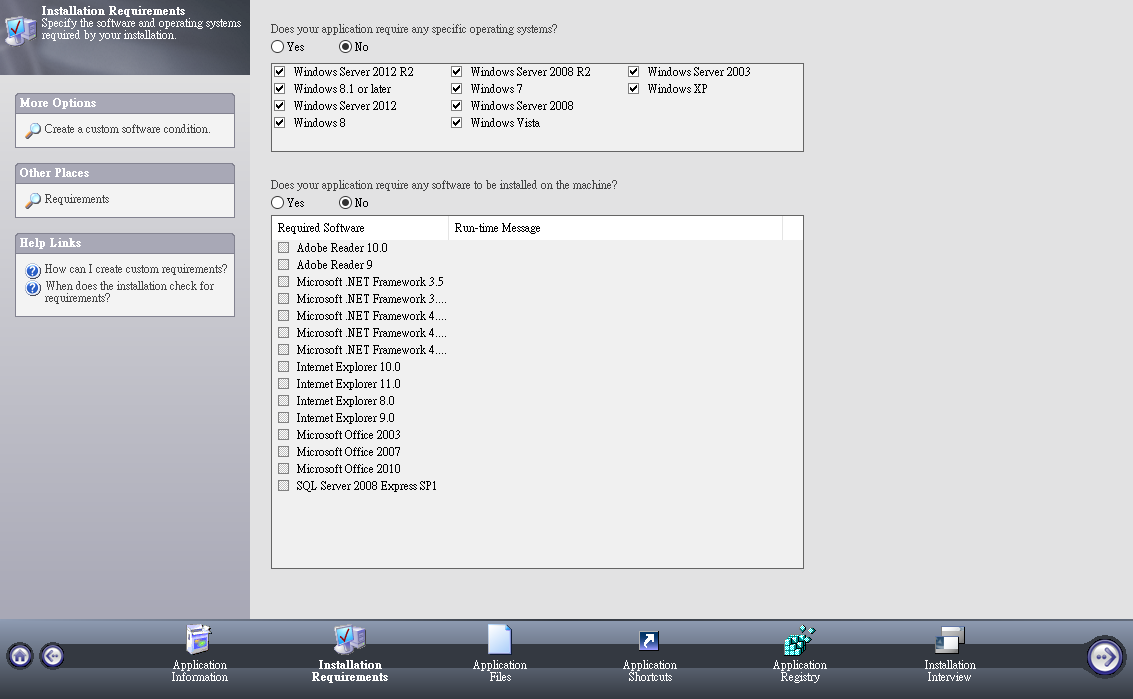
【Installation Requirements】安裝條件限制OS和軟體
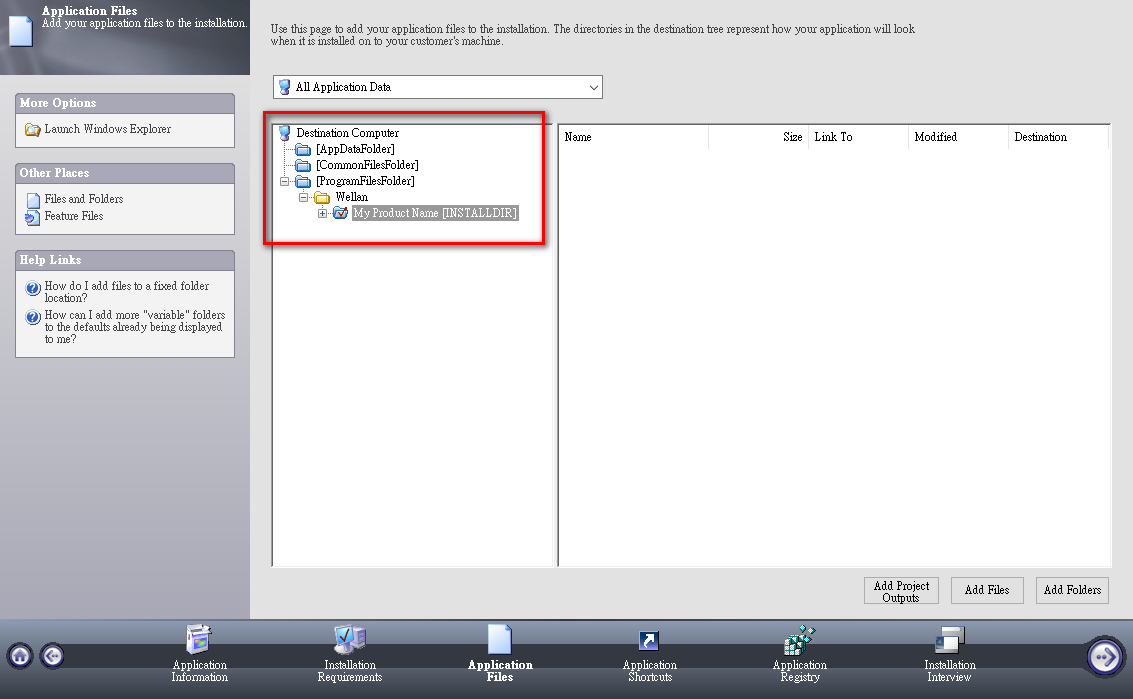
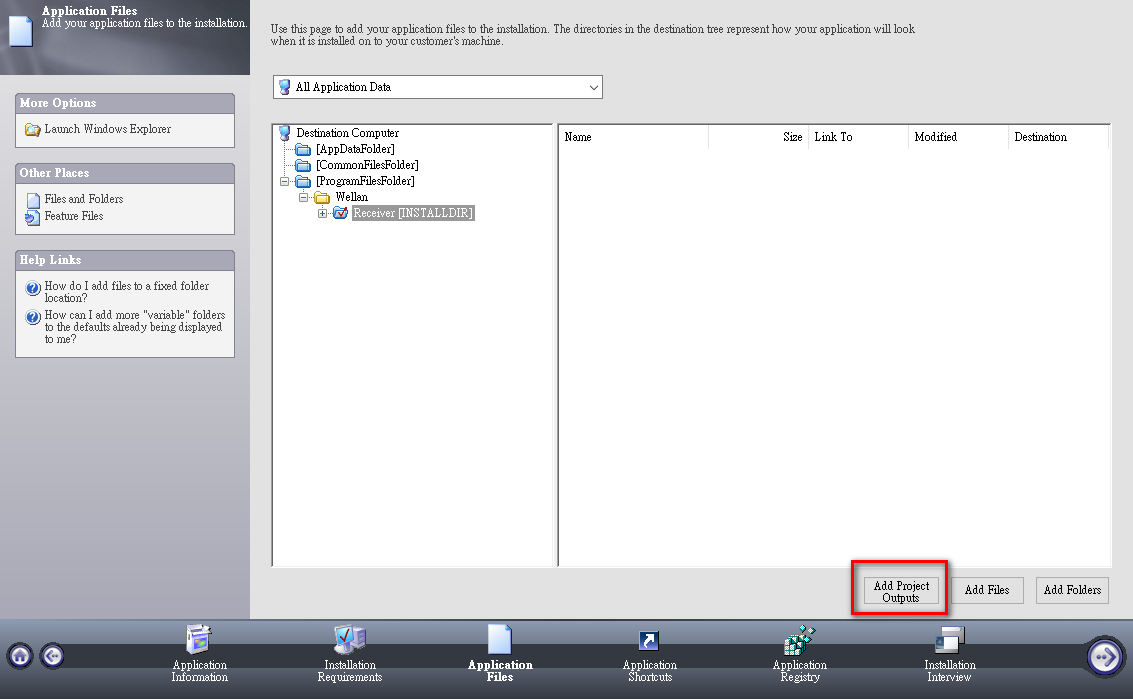
【Application Files】要封裝的應用程式檔案
紅框處的樹狀圖是模擬安裝目的的預設路徑,
安裝時會預設路徑C:\Program Files\Wellan\My Product Name\
【My Product Name】.【右鍵】.【Rename】改成你想要的名字
還有一些其他功能像New Folder.....這裡就不贅述了
【安裝目錄(Receiver)】.【Add Project Outputs】
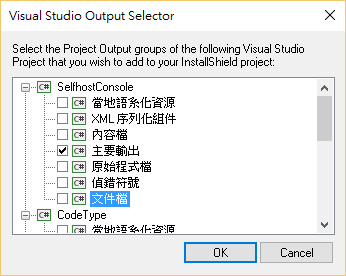
【要封裝的專案】.【主要輸出】
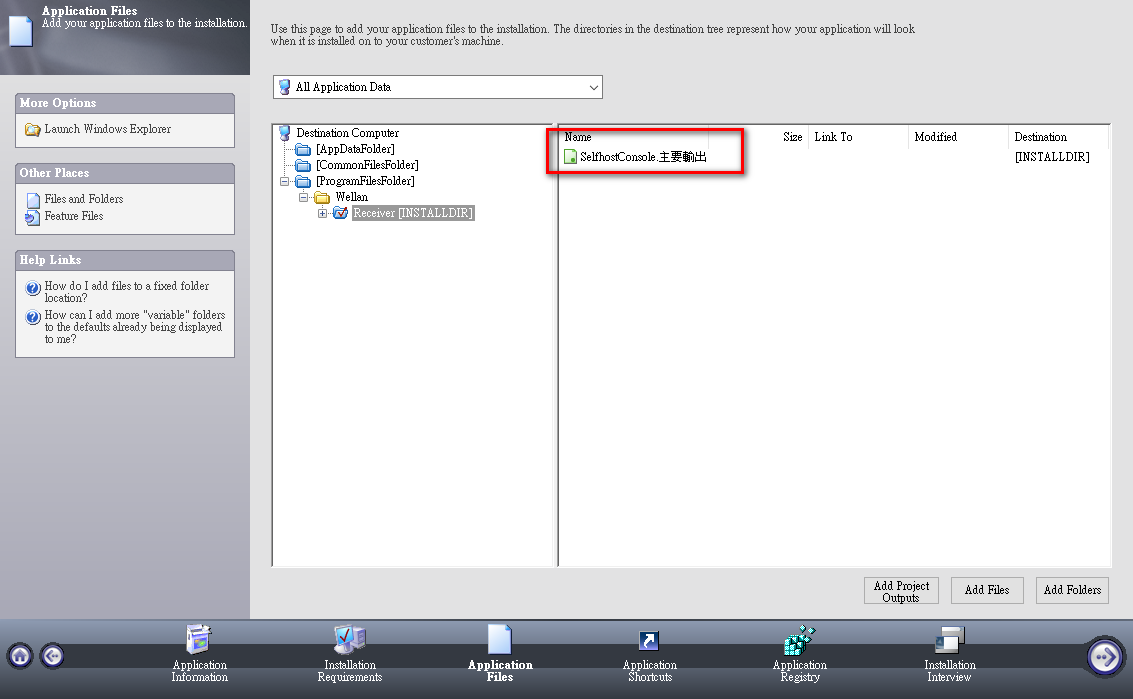
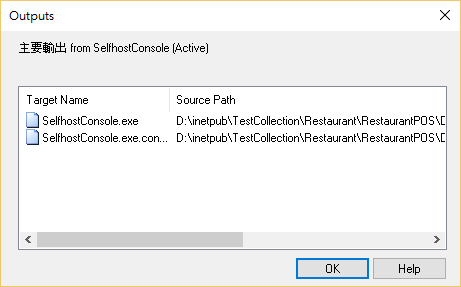
【右鍵】.【主要輸出】.【Resolve Project Output...】
在這會看到主要輸出的檔案 .exe .config,安裝過程中還會複製其他相依的物件 .dll ......
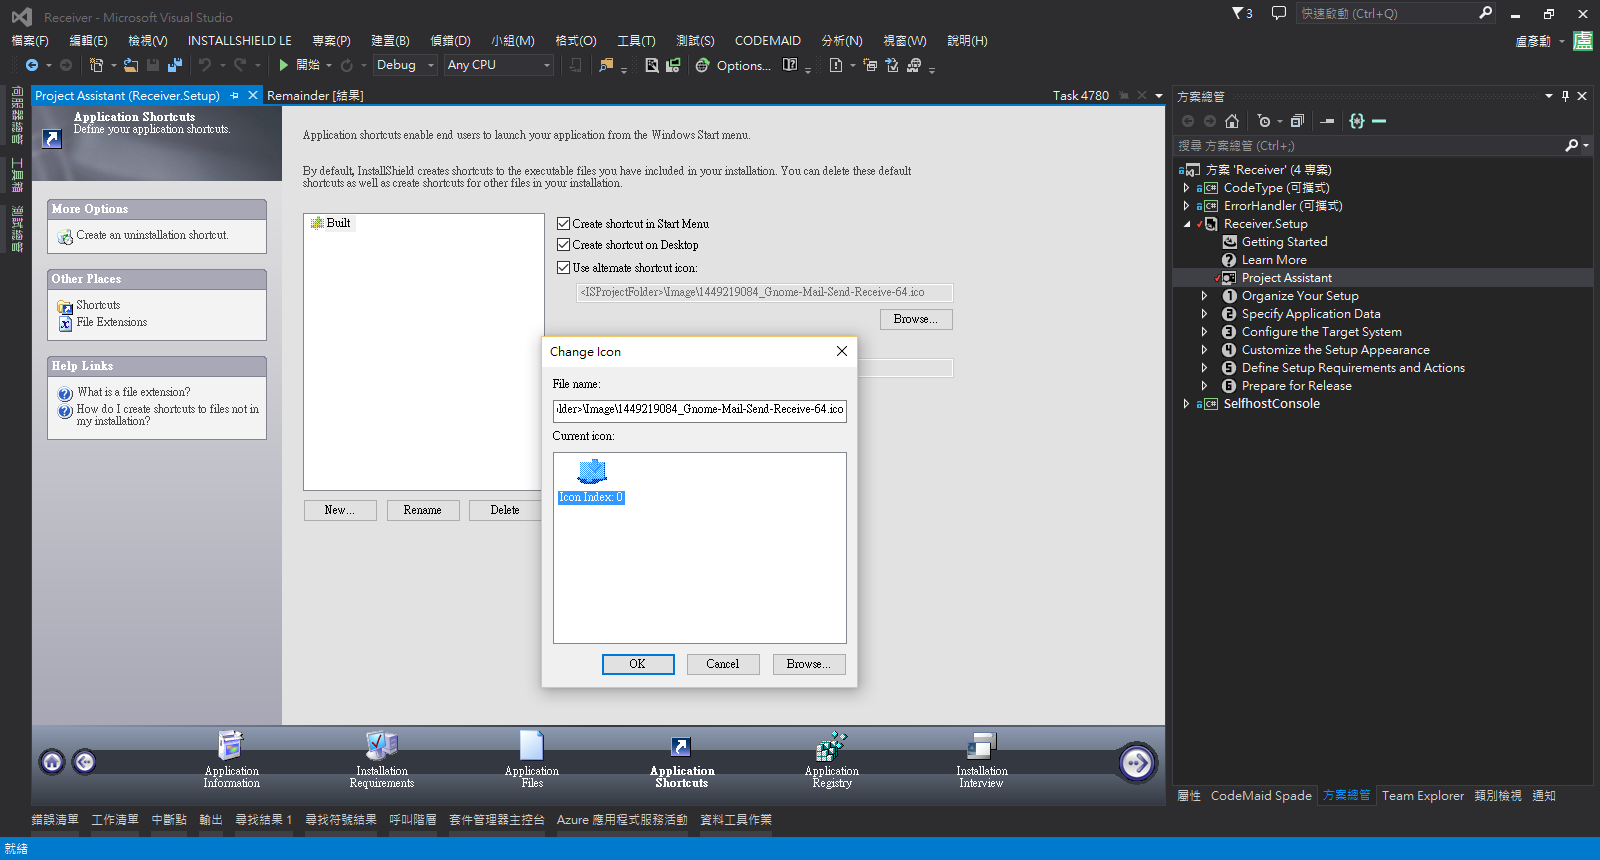
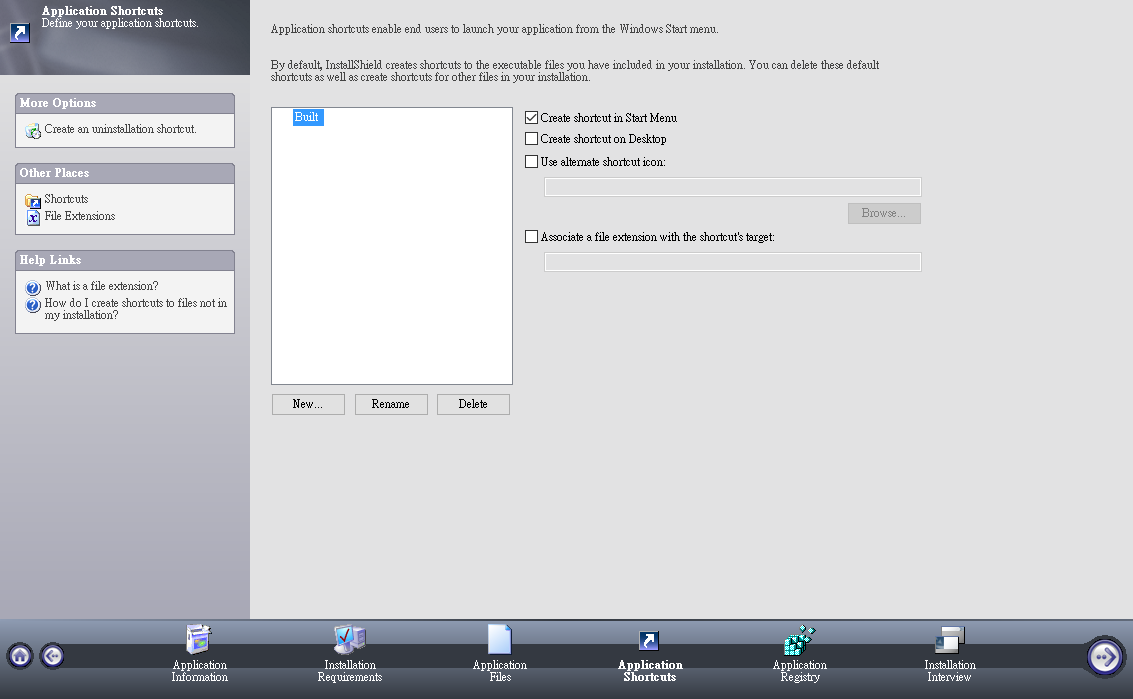
【Application Shortcuts】安裝完成後的桌面捷徑、開始清單......
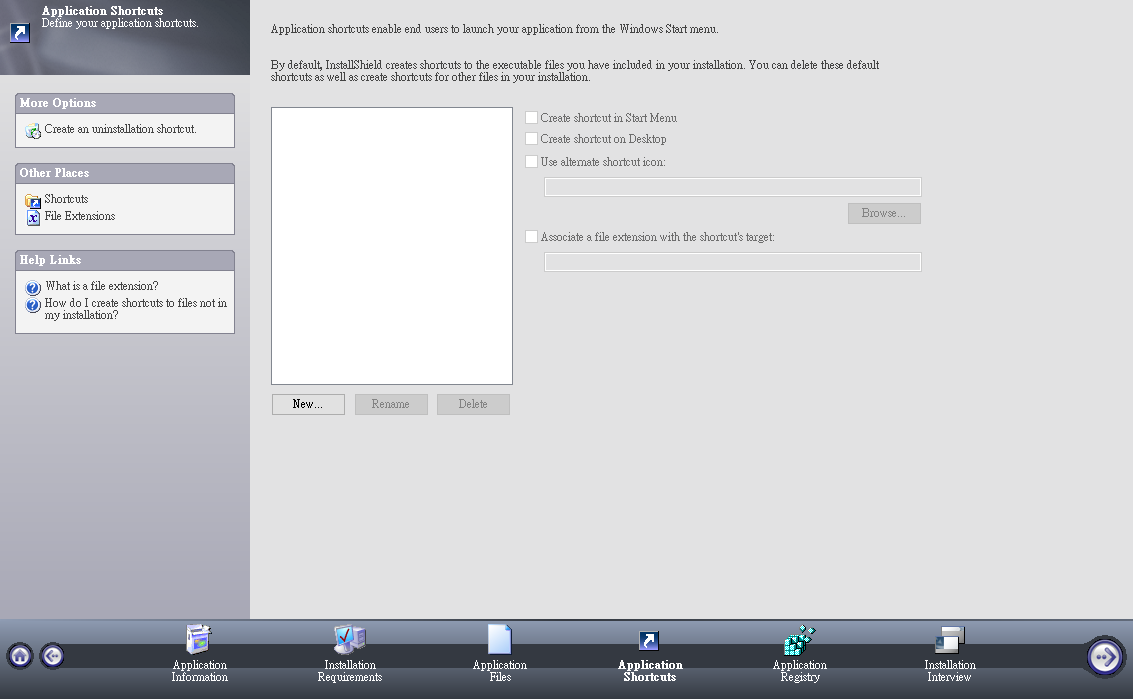
點選【New】

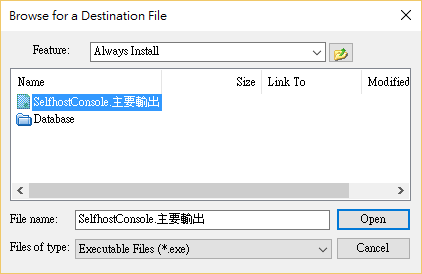
選擇路徑至【主要輸出】檔案
【Create shortcut in Start Menu】安裝後會應用程式圖示會出現在開始清單
【Create shortcut on Desktop】建立應用程式捷徑在桌面
【Use alternate shortcut icon】選擇應用程式圖示,
若沒指定圖示有可能發生問題(-3204 Cannot extract icon with index 0 from file)
Built 記得改名不然你就會發現他出現在開始工作列表裡
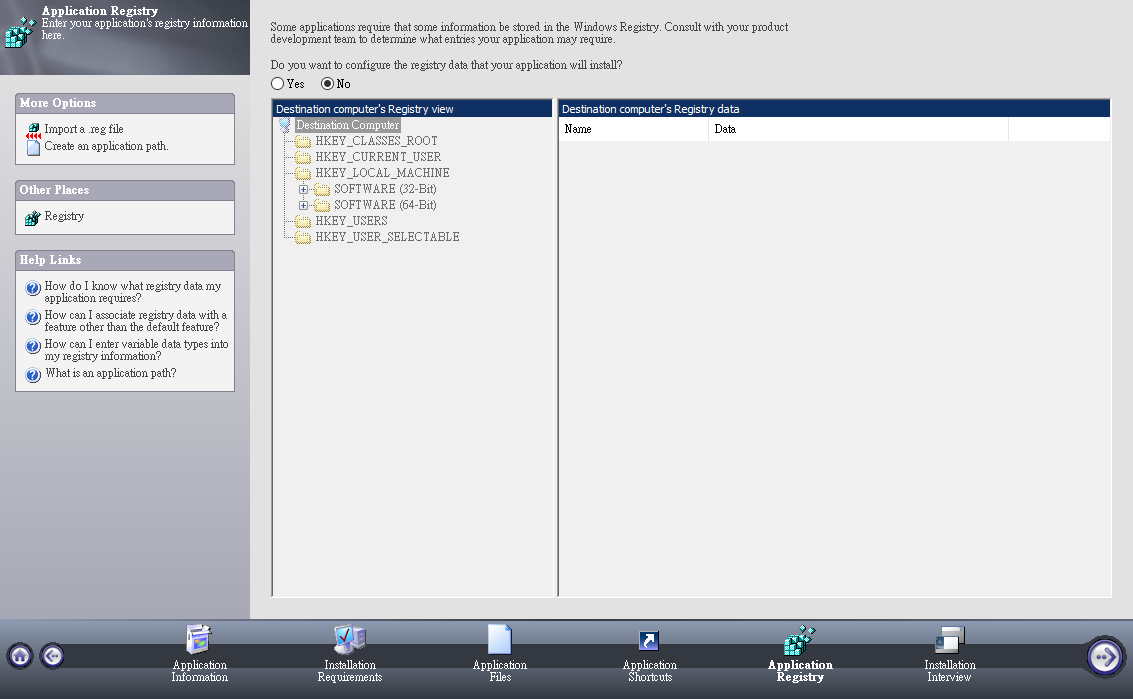
【Application Registry】改動目標電腦的註冊檔
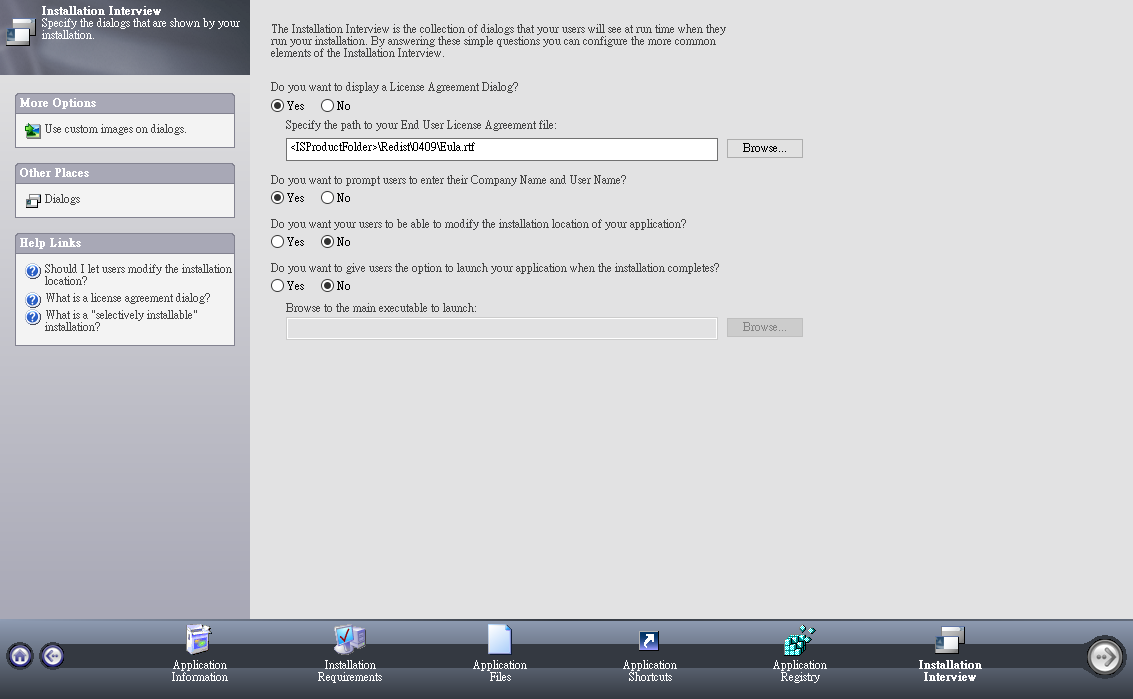
【Installation Interview】安裝總覽
【Do you wnat to display a License Agreement Dialog?】授權對話視窗(同意、不同意)
【Do you want to prompt users to enter their Company Name and User Name?】安裝過程要填公司和使用者
【Do you want your users to be able to modify the installation location of your application?】使用者可不可以更改預設的安裝路徑(在Application Files選的位置)
【Do you want to give users the option th launch your application when the installation completes?】安裝完成後要不要啟動程式
【更多細節設定】
除了用助手設定外,你可以在以下設定檔做更多的設定
【儲存檔案】專案有進版控的可以先把安裝專案簽出,免得發生一些小問題
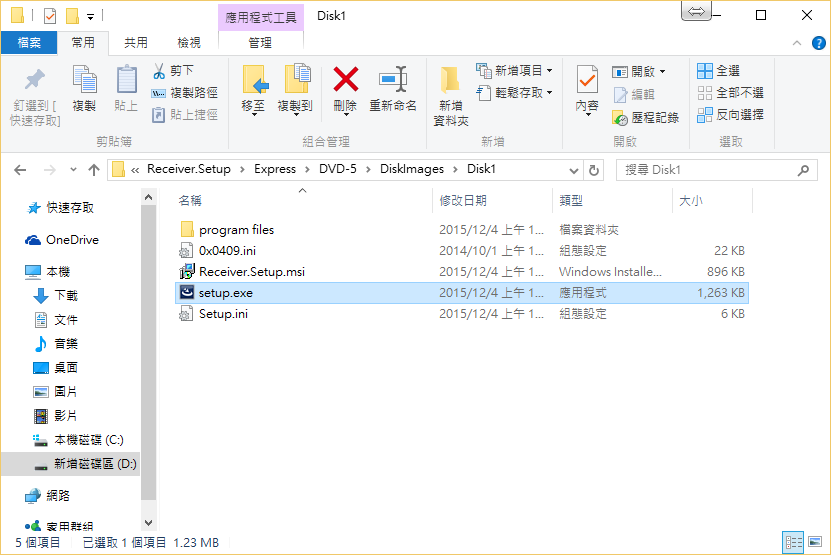
選擇SingleImage建置
請先點選【安裝專案】(工具列才會出現)
在工具列上點選【Open Release Folder】會幫你開輸出目錄
1. -3204 Cannot extract icon with index 0 from file ..............
解法: 直接設定一個Icon給shortcuts,為避免圖檔遺失我把.ico檔放在安裝專案的目錄下簽進版控