在這裡用的是Ubuntu的系統
遇到問你要不要繼續就按 Y + Enter,
通常直接按Enter也可以.
Ubuntu架設apache2
更新套件
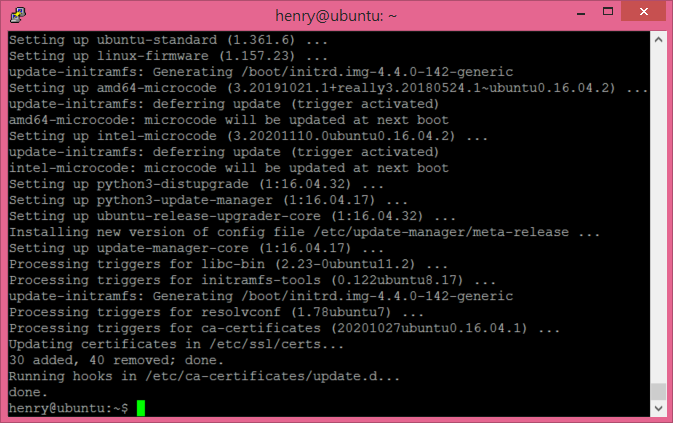
sudo apt-get update
sudo apt-get upgrade
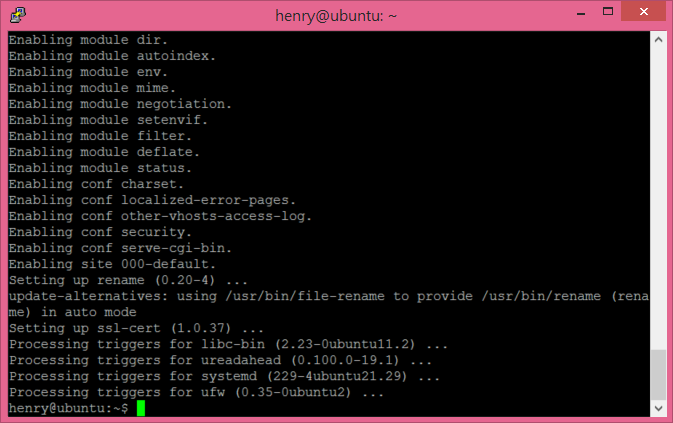
安裝apache2
sudo apt-get install apache2
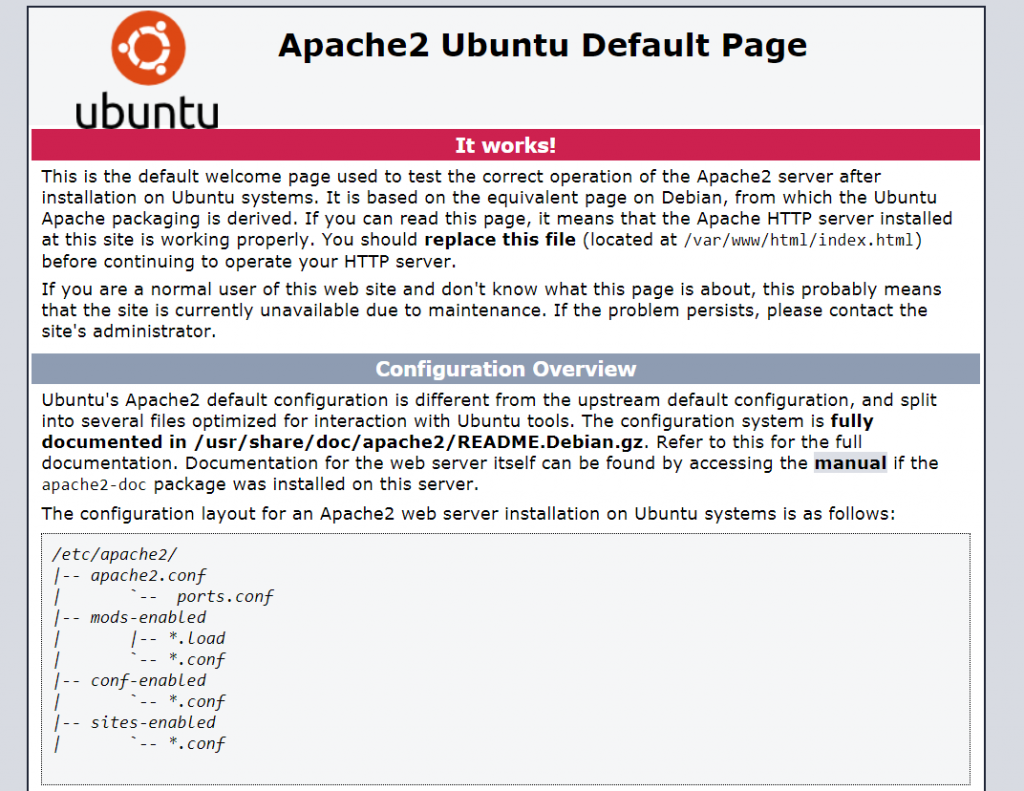
這時候可以直接輸入網址看有沒有成功
Ubuntu安裝PHP
和Windows不一樣,
Windows是安裝PHP的時候會把所有套件都安裝好,
直接在php.ini調整要載入哪些就可以,
但是Linux則是要安裝什麼都要自己輸入指令,
安裝PHP就真的是只安裝基本的PHP,
所以只修改php.ini是沒有意義的.
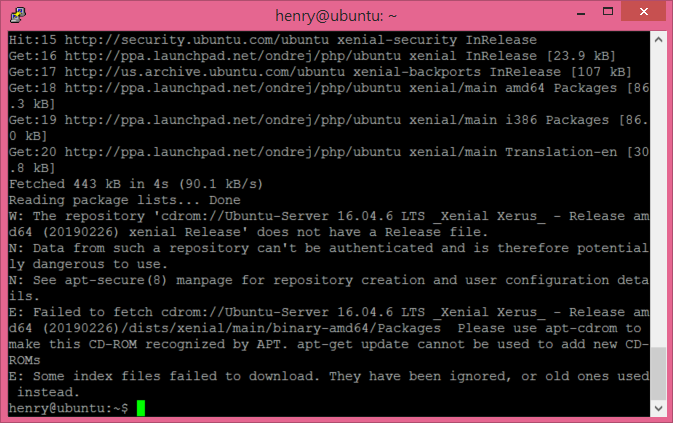
sudo apt-get install software-properties-common python-software-properties
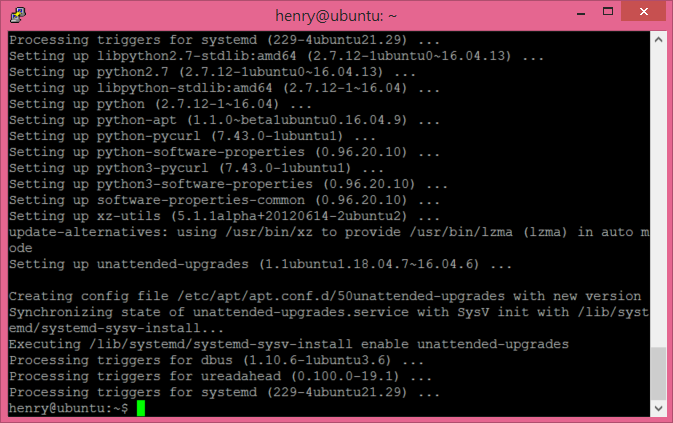
sudo add-apt-repository ppa:ondrej/php

sudo apt-get update
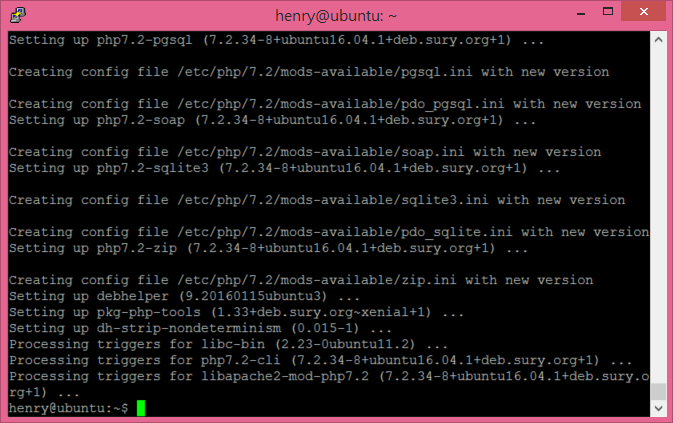
安裝PHP及擴充
sudo apt-get -y install php7.2 php7.2-common php7.2-cli php7.2-curl php7.2-gd php7.2-json php7.2-dev php7.2-pgsql php7.2-sqlite3 php7.2-memcached php7.2-imap php7.2-mysql php7.2-mbstring php7.2-xml php7.2-zip php7.2-bcmath php7.2-soap php7.2-intl php7.2-readline
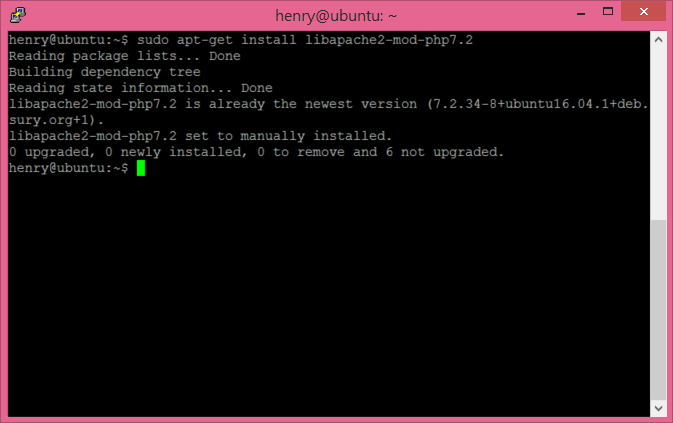
安裝 Apache 的 PHP 模組
sudo apt-get install libapache2-mod-php7.2
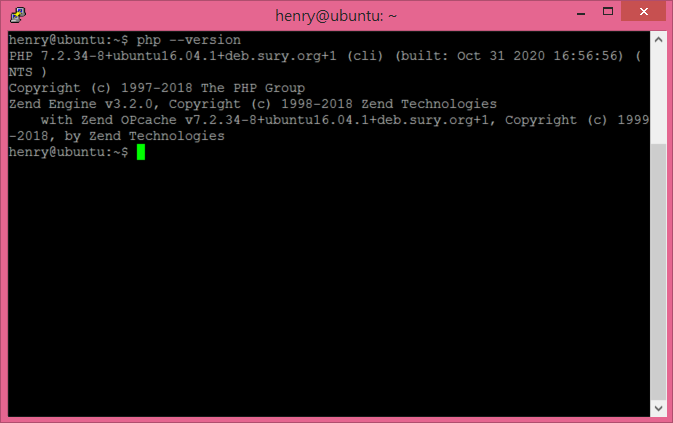
查看PHP版本, 確認安裝完成
php --version
如果之前有其他版本PHP,在這邊禁用掉
sudo a2dismod php5 (禁用)
sudo a2enmod php7.2 (啟用)
Ubuntu安裝MySql
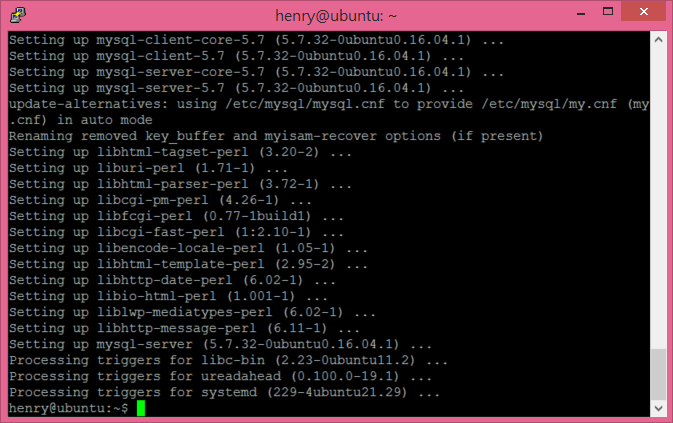
安裝MySql
sudo apt-get install mysql-server
輸入新密碼(要輸入同樣的密碼兩次)
輸入完後自動安裝
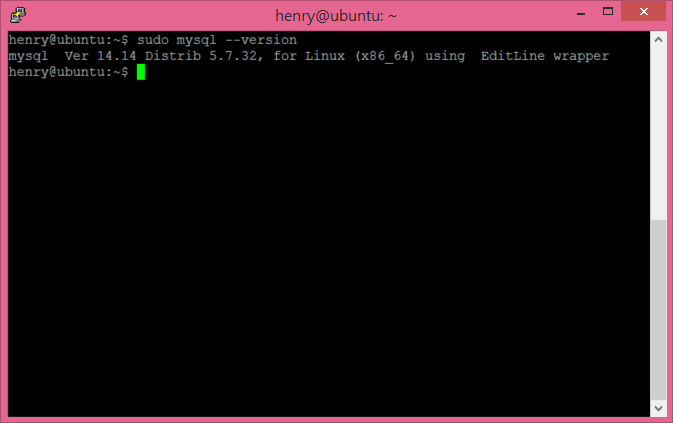
檢查安裝版本
sudo mysql --version
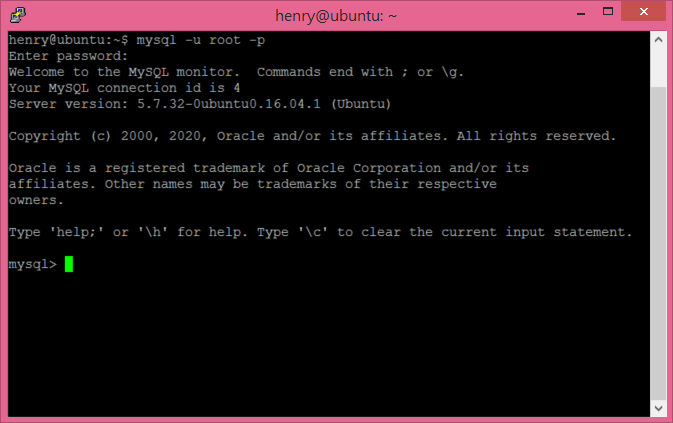
進入mysql環境中
mysql -u root -p
輸入密碼
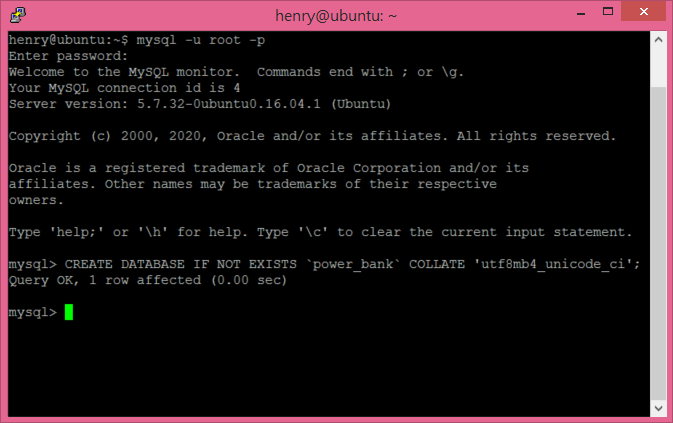
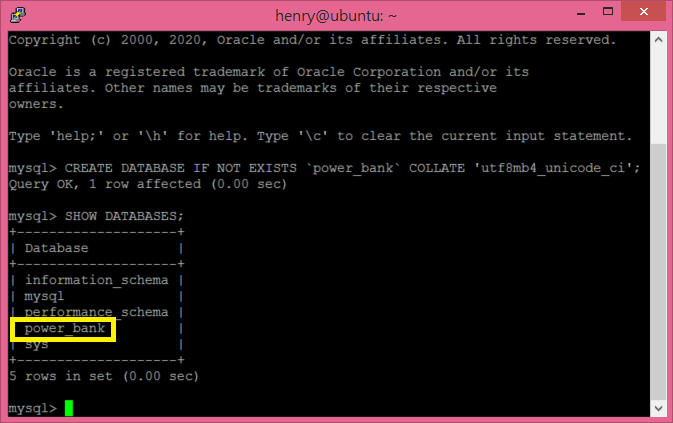
先新增Laravel要用的資料庫,資料庫名稱請自行視情況調整CREATE DATABASE IF NOT EXISTS `資料庫名稱` COLLATE 'utf8mb4_unicode_ci';
列出所有資料庫,確認一下資料庫在不在
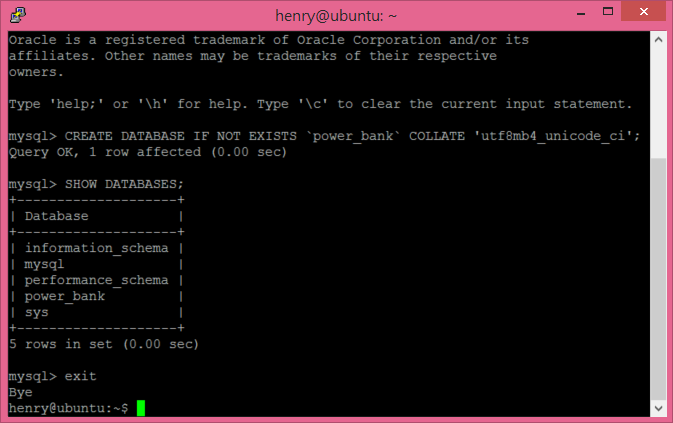
SHOW DATABASES;
要離開時可以用exit離開
下載安裝Composer
Composer是PHP廣為使用的相依管理工具, 可以自己寫函式庫, 也可以直接引用別人寫好的函式庫.
下載composer
sudo php -r "copy('https://getcomposer.org/installer', 'composer-setup.php');"

確認composer並下載
php -r "if (hash_file('SHA384', 'composer-setup.php') === '544e09ee996cdf60ece3804abc52599c22b1f40f4323403c44d44fdfdd586475ca9813a858088ffbc1f233e9b180f061') { echo 'Installer verified'; } else { echo 'Installer corrupt'; unlink('composer-setup.php'); } echo PHP_EOL;"
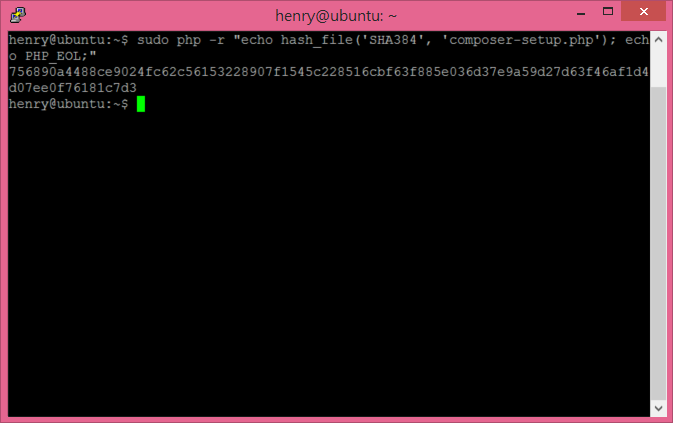
這段指令會從 Composer 官網下載 composer-setup.php 這個安裝程式, 裡面的安全碼要上官網找, 應該是怕下載到不明來源的檔案, 如果不怕死的話也可以直接安裝
sudo php -r "echo hash_file('SHA384', 'composer-setup.php'); echo PHP_EOL;"
其中PHP_EOL是換行用的
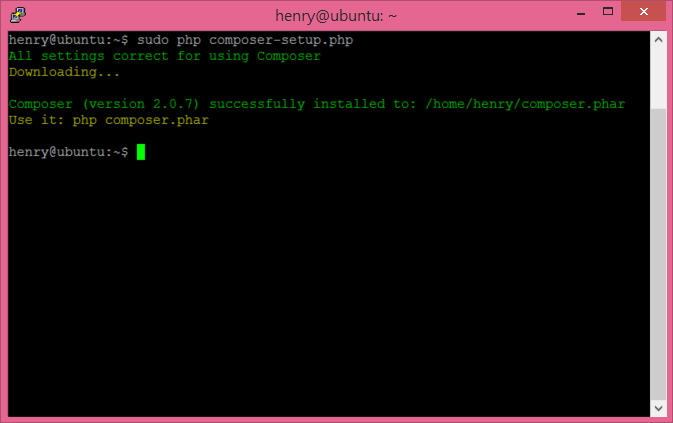
安裝composer
sudo php composer-setup.php
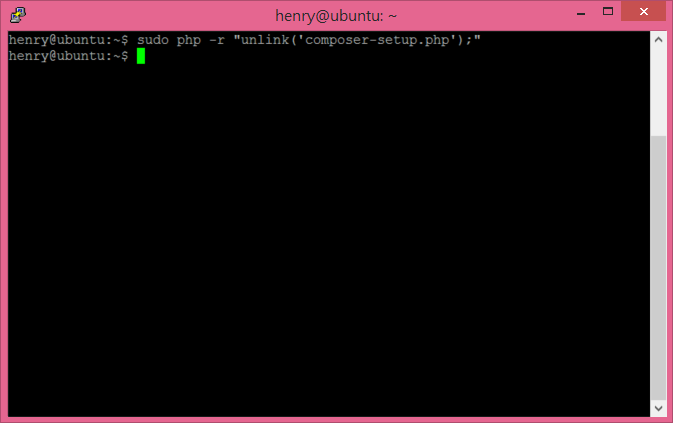
取消連結官網的composer安裝檔案
sudo php -r "unlink('composer-setup.php');"
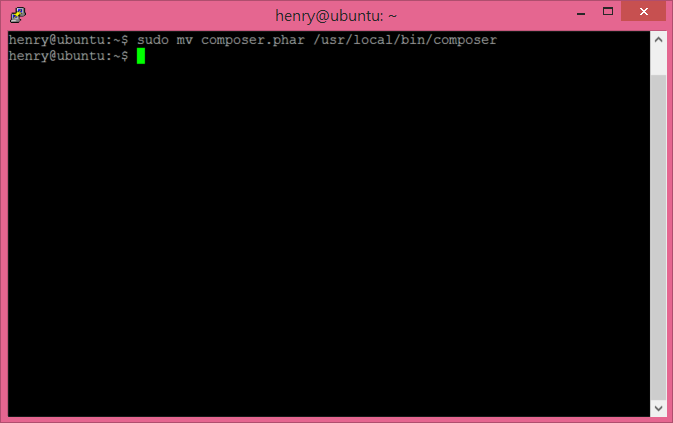
完成後,可以把 composer.phar 變成全域指令:
sudo mv composer.phar /usr/local/bin/composer
最後,透過取得安裝版本來測試一下是否成功安裝。
composer --version
composer

Ubuntu安裝Laravel
有了以上的基礎建設後, 要安裝 Laravel 就變得非常簡單, 不過因為我們常常需要同時開發多個 Laravel 專案, 所以可以在自己的家目錄底下開個專門放專案的目錄, 然後在這個專案目錄底下建立 Laravel 專案
mkdir ~/Projects
cd ~/Projects
composer create-project laravel/laravel --prefer-dist
我習慣在Windows開發Laravel,
所以都是直接搬過來,
上面的步驟就省略.
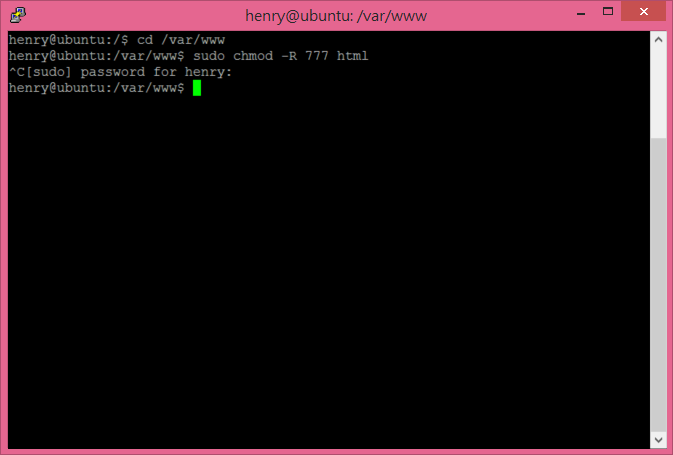
如果要直接搬到/var/www/html裡面,
要先把目錄的權限改掉
cd /var/www
sudo chmod -R 777 html
(安全的部分看個人功力, 在這邊不多談)
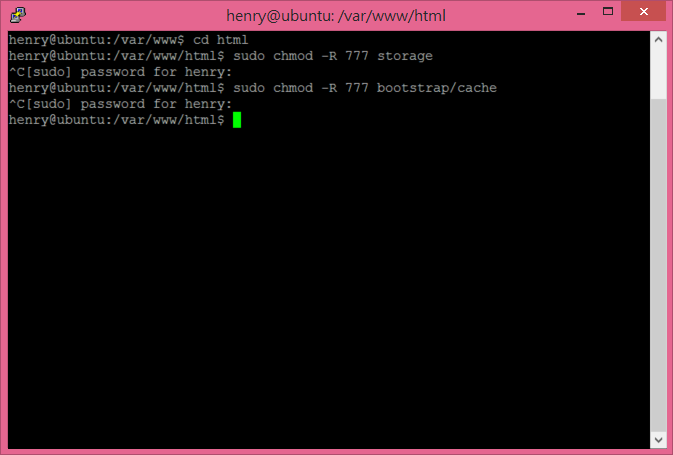
Laravel 在運行的時候,會將應用程式的 cache 及 log 寫入檔案,因此別忘了把資料夾權限開大:
sudo chmod -R 777 storage
sudo chmod -R 777 bootstrap/cache
Ubuntu伺服器相關設定修改
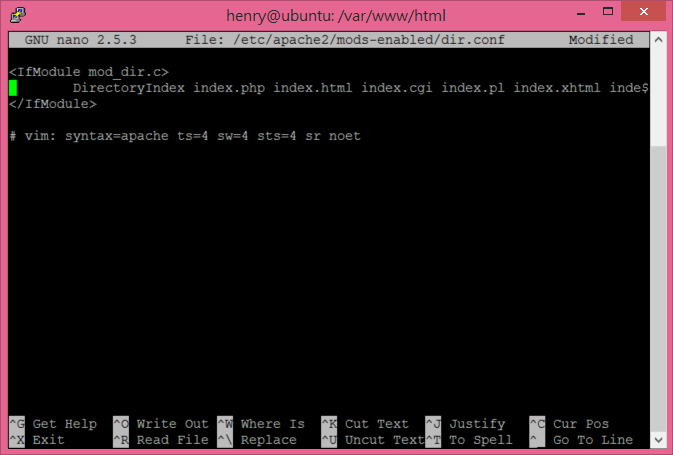
編輯執行順序
sudo nano /etc/apache2/mods-enabled/dir.conf
將index.php移到最前面,
然後儲存檔案:點擊Ctrl-X、按Y確認、再按Enter
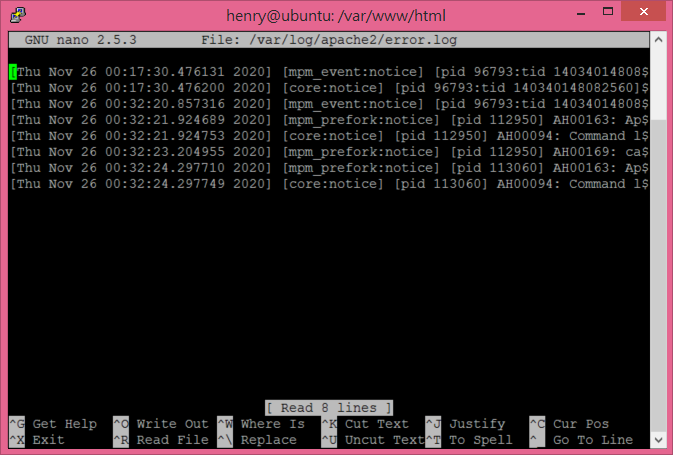
apache的錯誤訊息會在 /var/log/apache2/error.log裡面
sudo nano /var/log/apache2/error.log
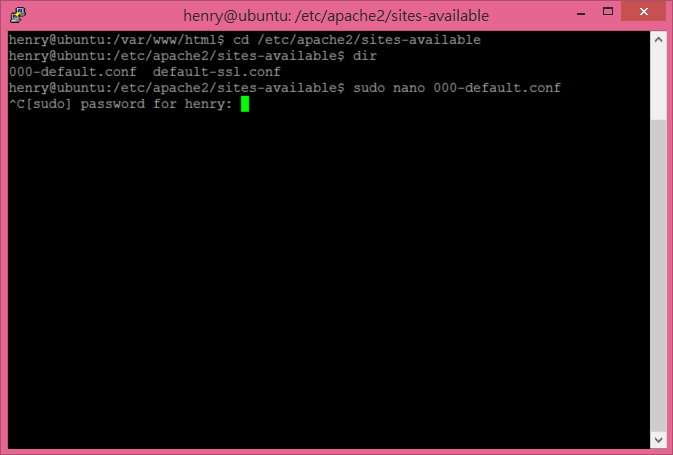
伺服器的設定在 /etc/apache2/sites-available/ 資料夾底下
cd /etc/apache2/sites-available
dir
sudo nano 000-default.conf (從dir看到的設定檔案名稱)
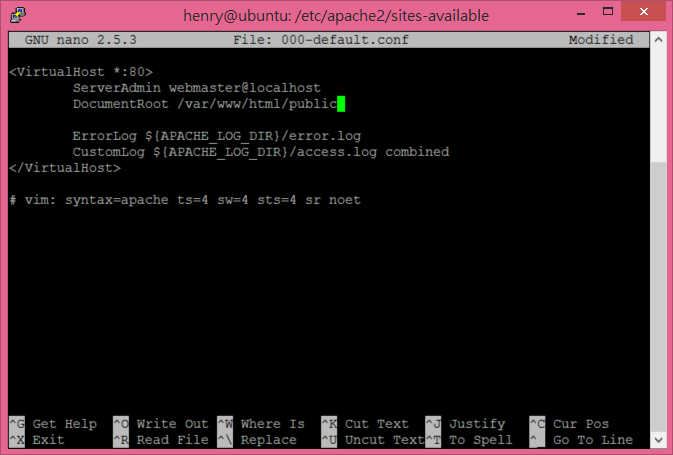
我習慣把註解都刪掉免得礙眼.(Ctrl-K 刪除整行)
將DocumentRoot改到public資料夾
按 Ctrl + X → y → Enter 儲存檔案
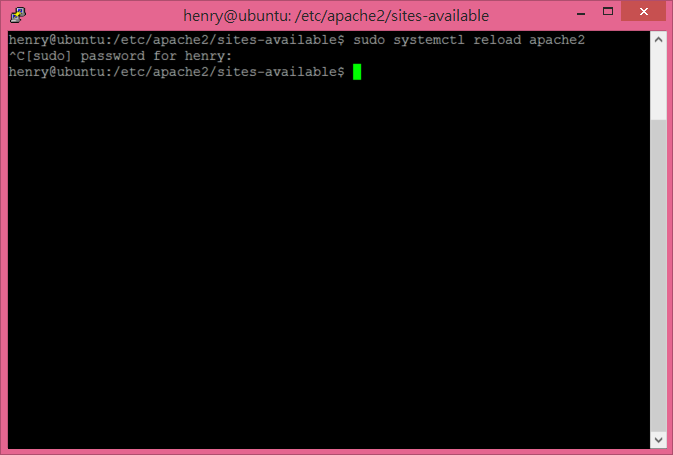
重新載入 Apache 設定檔
sudo systemctl reload apache2
修改conf檔案
sudo nano /etc/apache2/apache2.conf
找到
<Directory /var/www />
Options Indexes FollowSymLinks
AllowOverride None
Require all granted
</Directory>
開啟Rewrite功能
Apache預設會安裝rewrite,但預設會關閉,必須要打開才能用
sudo a2enmod rewrite
重新啟動Apache2
sudo systemctl restart apache2

其他設定
public資料夾底下的storage必須是捷徑,
如果直接複製到伺服器會變成資料夾,
這時候可以刪掉重新建立捷徑.
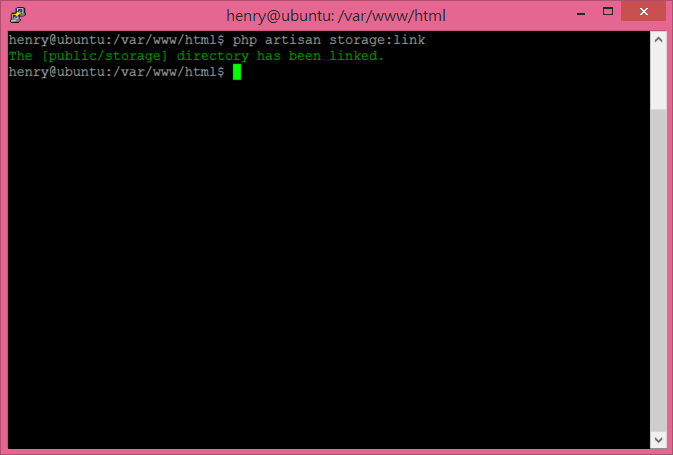
public資料夾建一個storage的捷徑
php artisan storage:link
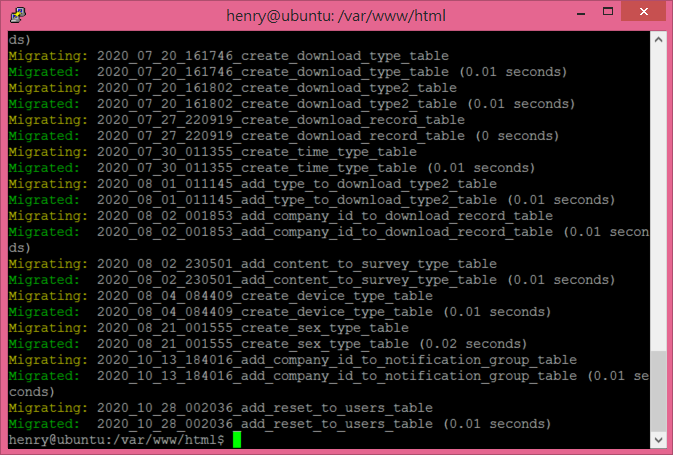
把檔案都複製過去之後記得要執行migrate(要移到Laravel目錄)
php artisan migrate
這時候可以輸入網址看看有沒有成功(省略)