簡單介紹如何將原始碼版本控制系統從 TFS 快速轉換成 GIT
一直以來公司都有在使用原始碼版本控制,只是隨著時間的遷移,工具就著變化;從一開始的 SVN 到 TFS 到現在的 GIT,在轉移機制的過程中,都會遇到一個問題就是之前使用舊的版本控制系統專案庫要怎麼保留,從 SVN 到 TFS 因為那時數量很少,所以那時也就算了,但是到了從 TFS 轉到 GIT 的時候,因為專案與版本都開始龐大起來,不太可能直接忽略它,所以就 Google 了一下如何轉移
找到了一個非常好用的工具 Git-TF,這套工具提供了幾乎所有會用到的功能,從 TFS 複製專案到變成 GIT Repository 直接一行指令碼解決
在這邊紀錄一下,避免以後還是要用到又忘了
Step 1. 相關工具安裝
在 Windows 上安裝 git-tf 最好的方式是透過 Chocolatey 來進行安裝動作,因為它會自動幫你寫入 PATH 變數。
當然也可以手動安裝 git-tf,其專案在 git-tf 上,可自行去下載與看如何安裝
安裝 Chocolatey
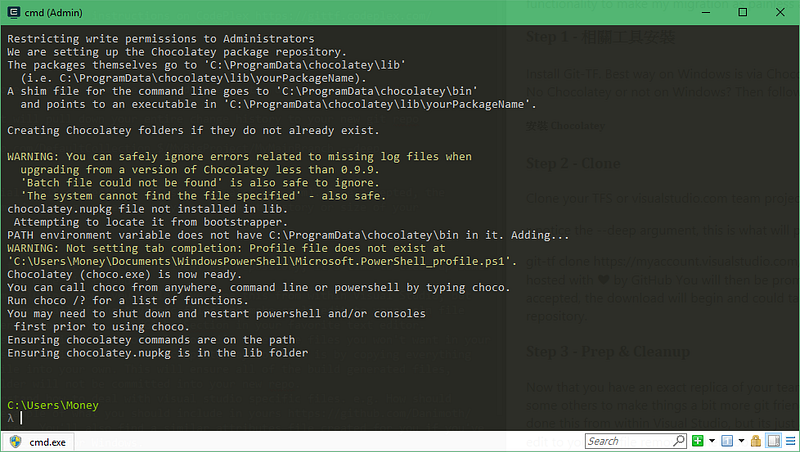
官網上提供了幾種方式來進行安裝:Cmd.exe, PowerShell.exe, PowerShell v3+,我這邊使用 Cmd.exe 來安裝,在 CMD 中執行以下指令
@powershell -NoProfile -ExecutionPolicy Bypass -Command "iex ((New-Object System.Net.WebClient).DownloadString('https://chocolatey.org/install.ps1'))" && SET "PATH=%PATH%;%ALLUSERSPROFILE%\chocolatey\bin"
安裝 Chocolatey

Chocolatey 安裝完畢
確認 Chocolatey 安裝成功

若沒有出現指令,可以先嘗試重開 CMD 視窗
安裝 git-tf
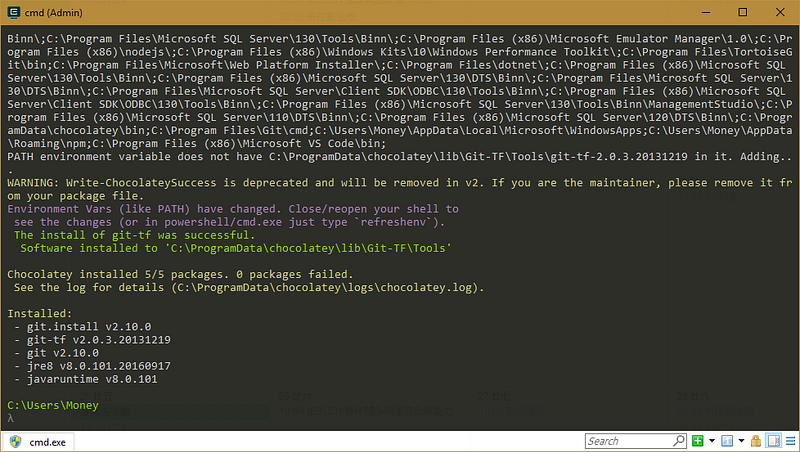
在 Cmd.exe 底下鍵入以下指令即可安裝 git-tf
choco install git-tf -y
安裝 git-tf

git-tf 安裝完畢
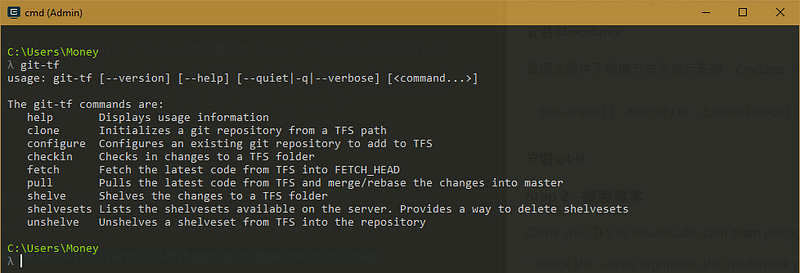
確認 git-tf 安裝成功
Step 2 — 複製專案
透過指令從 TFS 或 visualstudio.com 複製 TFS 專案到本機指定的目錄下
:: notice the --deep argument, this is what will pull down your entire change history to your new git repo
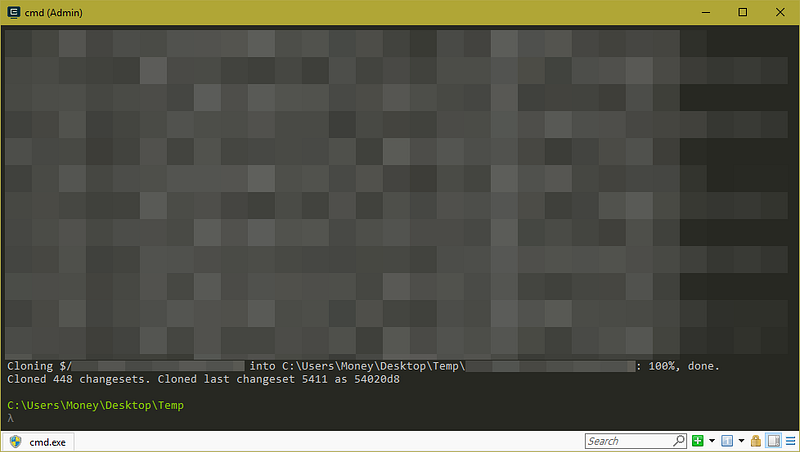
git-tf clone https://{account}.visualstudio.com/DefaultCollection $/{Project}/{Branch} --deep
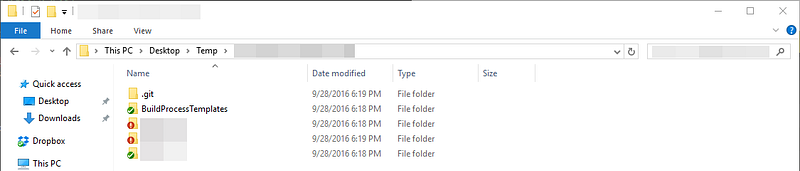
複製 TFS 專案

複製 TFS 專案完畢
複製完後之資料夾列表
複製完後之 CHANGELOG
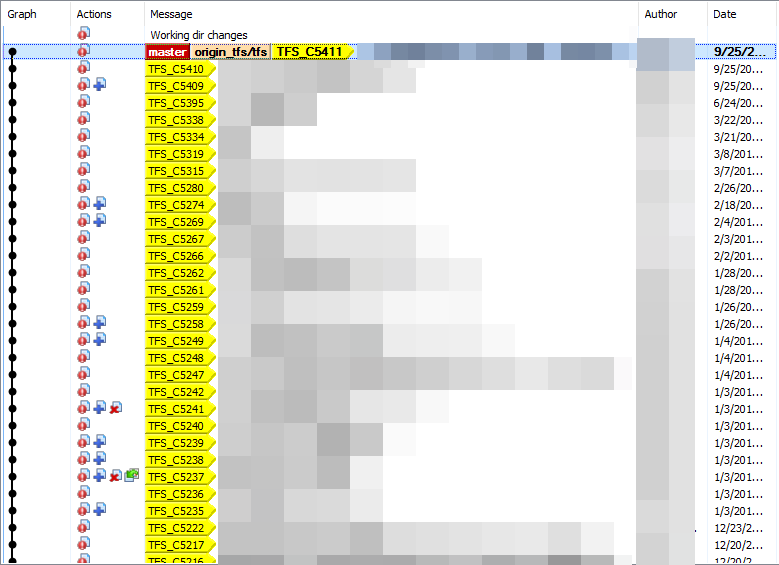
開始執行後,將會需要輸入驗證資訊(如果是使用 visualstudio.com,則需要使用替代驗證方式),一旦輸入完畢且驗證成功後,就會開始複製階段,其花費的時間會依據變更集的數量與 repository 的大小而定
Step 3. 環境整理與設定
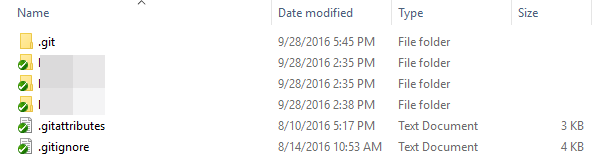
複製完畢後,其版本控制就已經變成一個本地的 git repository,接下來就是要把 TFS 版控的一些檔案與設定給刪除,並加上 GIT 的一些設定檔
Step 4 . Commit & Push
完成以上步驟後,就已建立包含變更集完整的 GIT repository,接下來就看要把這個 repository 發行到哪裡去,例如說 GitHub、Bitbucket 或 visualstudio.com
那發行這部分就不再介紹了~
參考資料
學習學到老,撞牆撞到腦