繼前面「Azure Container Apps 初體驗」之後要來實做持續部署的設定,而在 Azure Container Apps 服務裡面目前支援的是 GitHub Action,而不是 Azure DevOps,本文就針對實做的一些細節和心得作分享。
前言
繼前面「Azure Container Apps 初體驗」之後要來實做持續部署的設定,而在 Azure Container Apps 服務裡面目前支援的是 GitHub Action,而不是 Azure DevOps,本文就針對實做的一些細節和心得作分享。
整個設定好之後的部署流程會是推 Commit 到 GitHub Repository 之後觸發執行 GitHub Action, Build 完之後會打包 Container Image 然後推到 Azure 的 Container Registry,然後再觸發產生新的修訂就完成了自動化部署的流程了。

實做
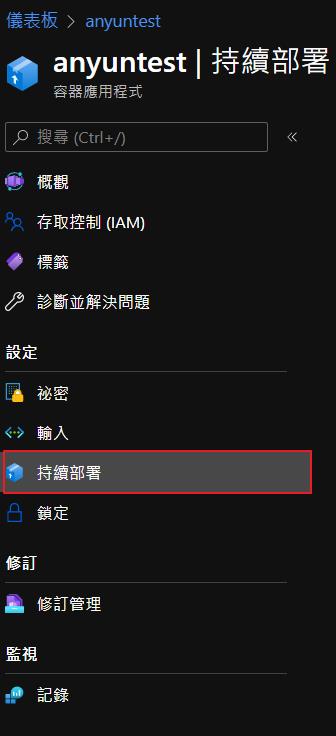
首先點到 Container Apps 的持續部署功能。
接下來會分做三個區塊說明:GitHub、登錄 (Registry)、服務主體 (Service principal)
GitHub
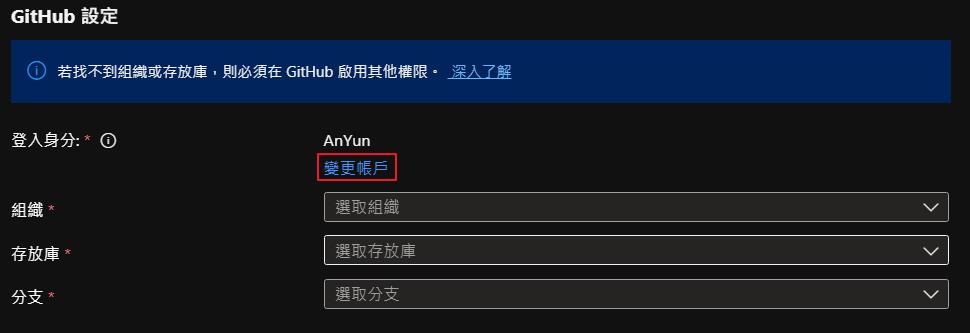
點選變更帳戶,會跳出 GitHub 的登入畫面。
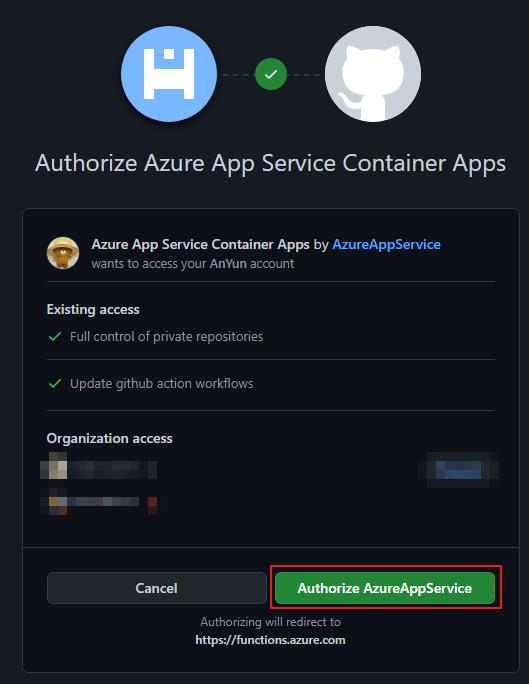
接下來就會出現取得授權的畫面,點選授權之後即可。
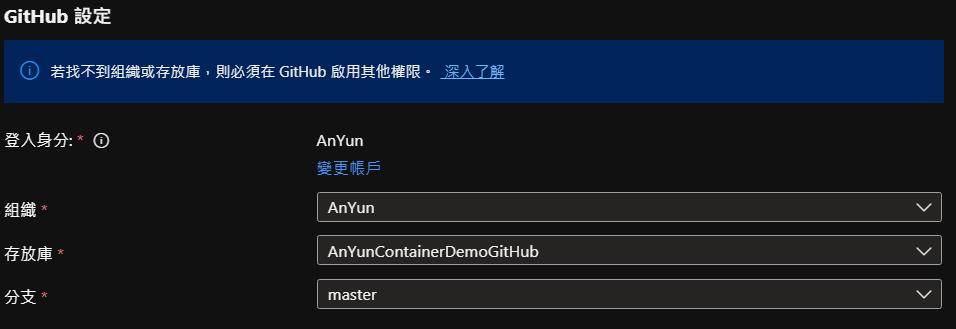
接下來就是選擇要觸發持續部署的 Repository 和分支就完成了第一部份的設定。
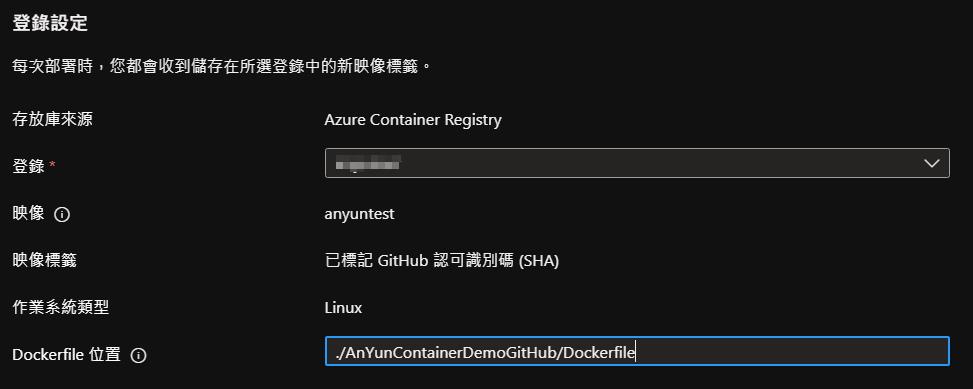
Registry
接下來就是設定 Azure Container Registry (ACR),這邊要注意的是 Registry 要和 Container Apps 同一個訂閱,不然是不會在清單中列出來的,另外要確定 Dockerfile 在專案的路徑位置。
映像 (Image) 的名稱會是目前的 Apps 的名稱,到時候會在 ACR 中產生一個該名稱的 Repository。
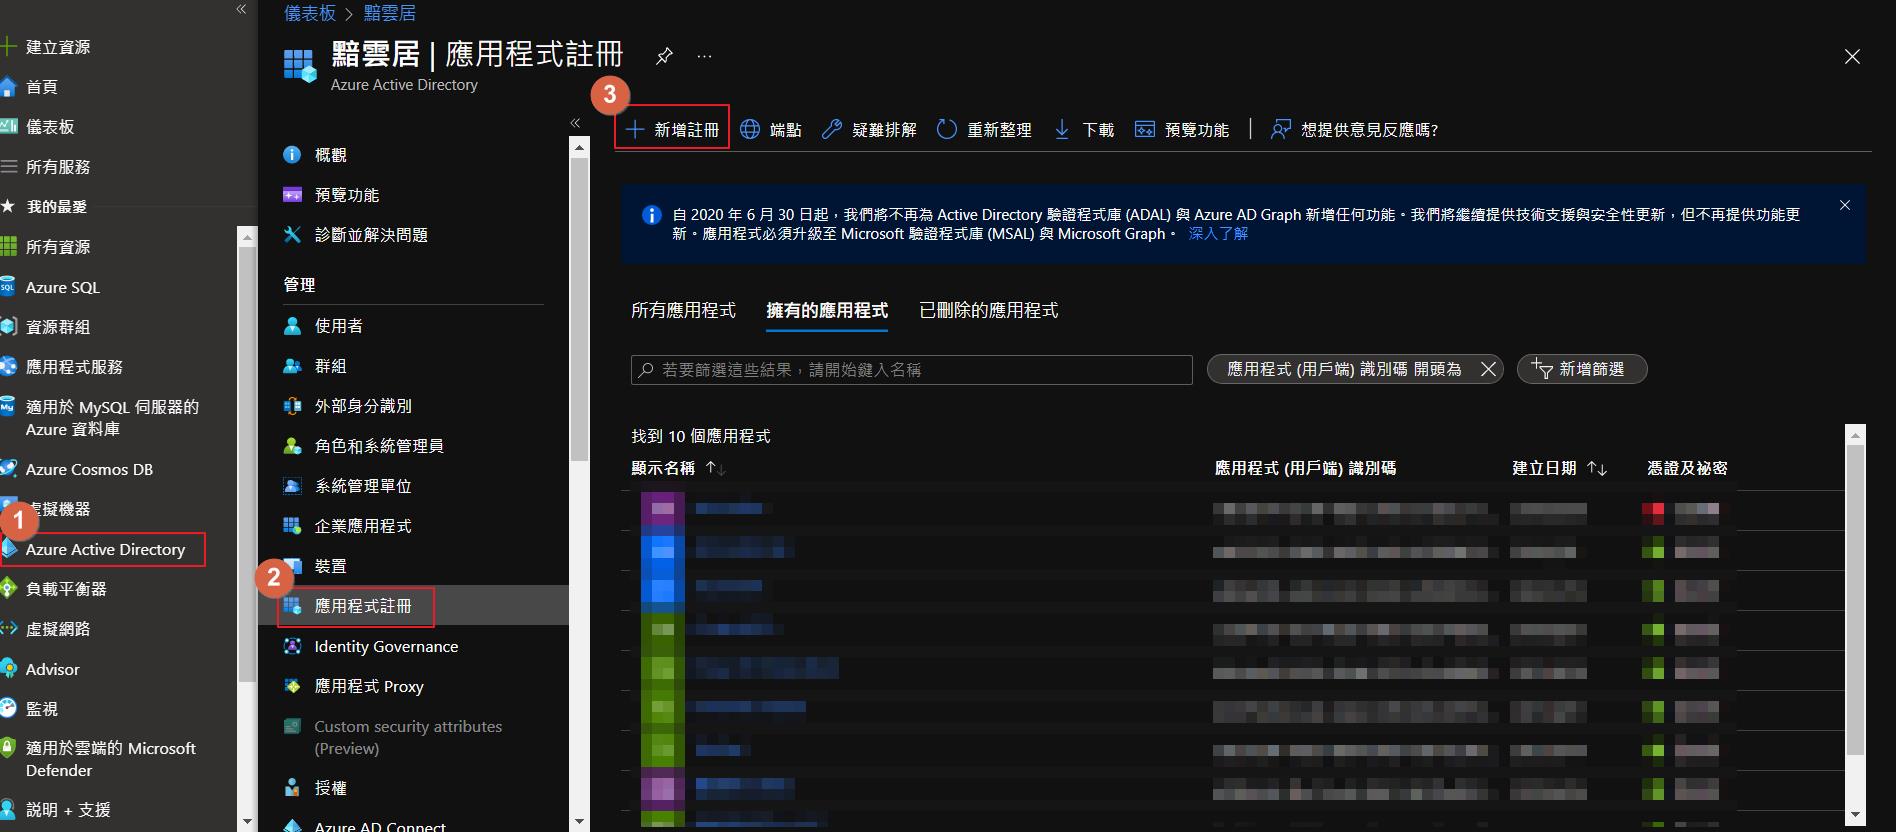
Service principal
接下來到 AAD 底下新增一個應用程式註冊。
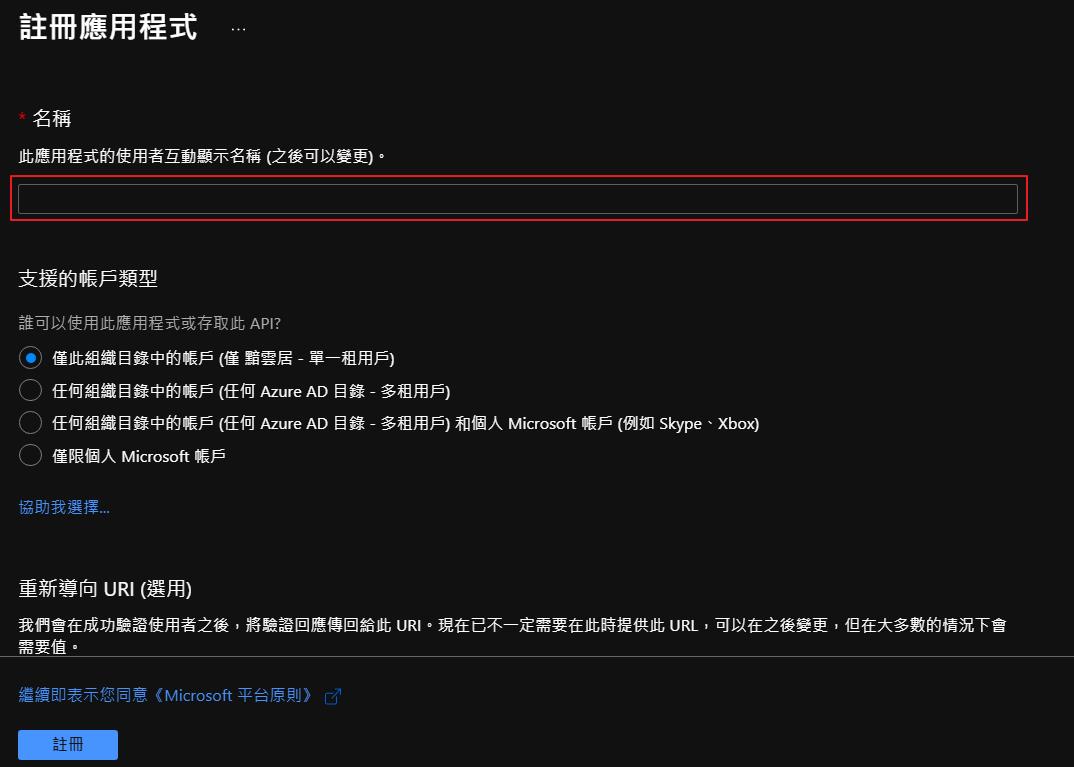
只需要輸入名稱之後點選建立就可以了。
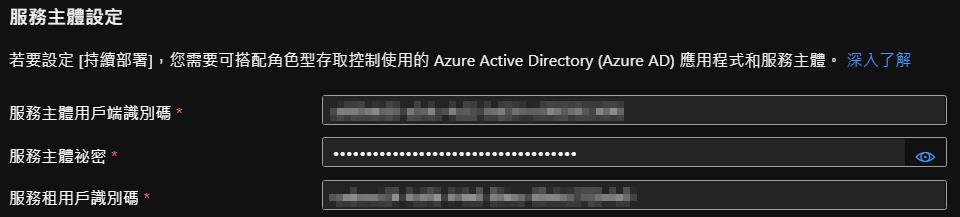
建立好之後可以在概觀取得應用程式識別碼和目錄識別碼。
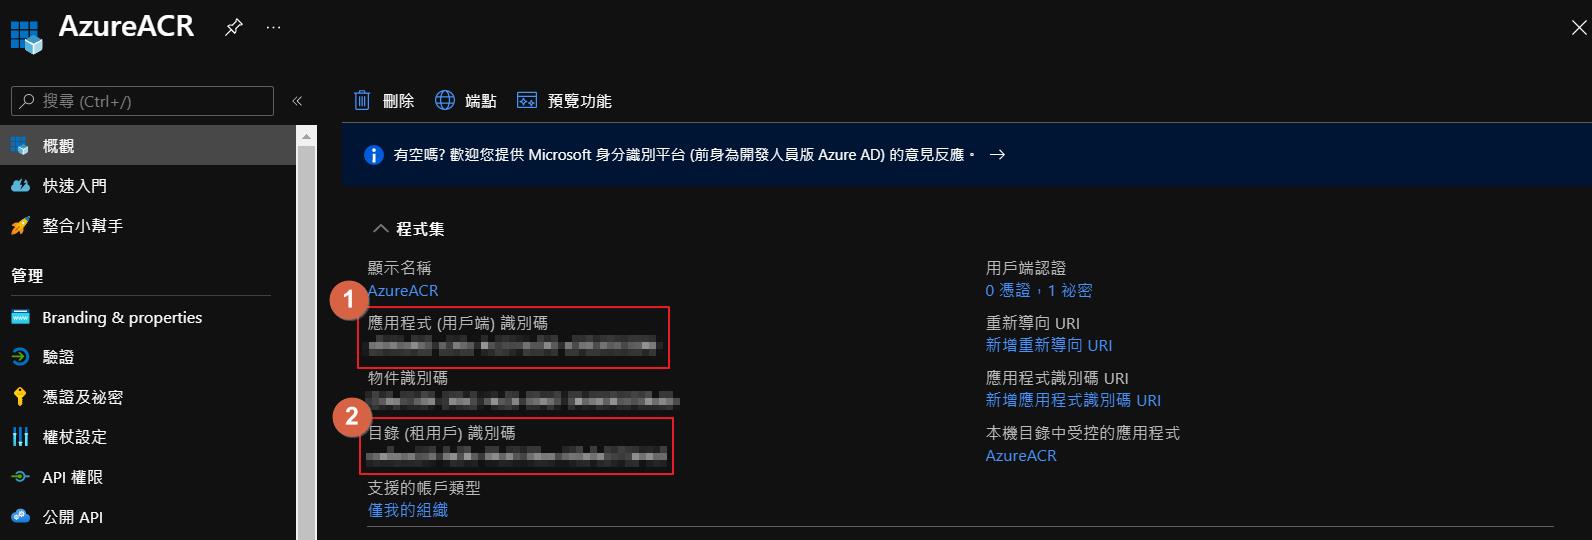
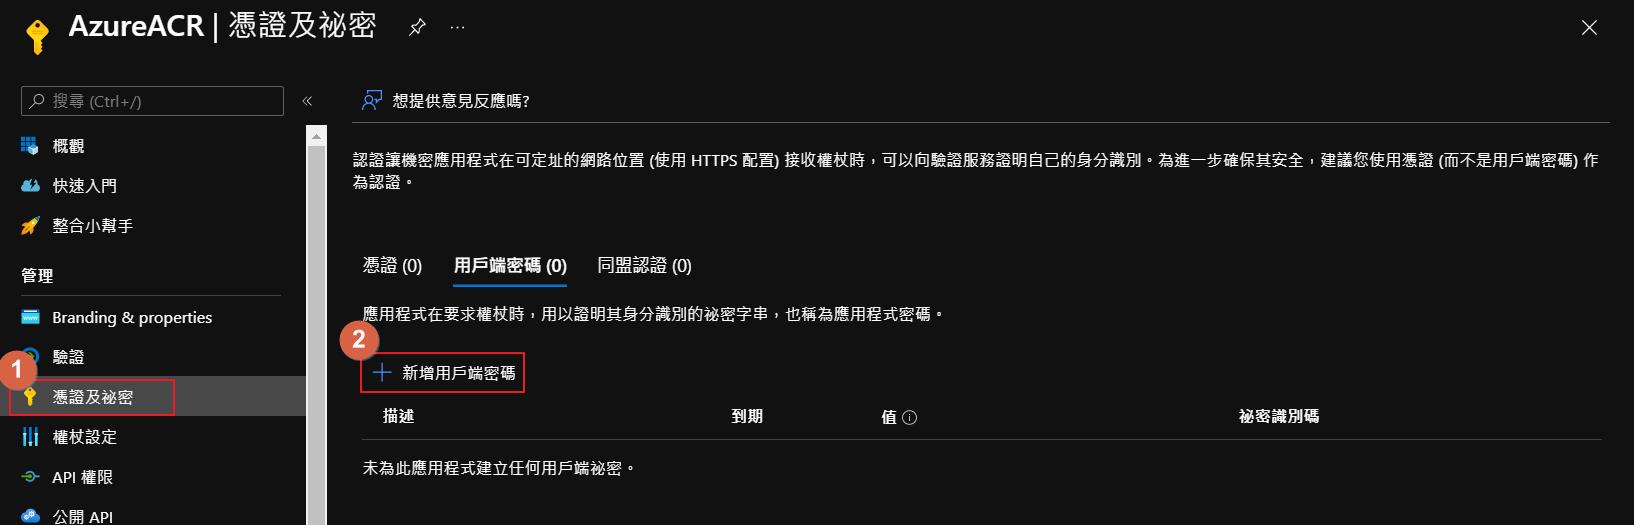
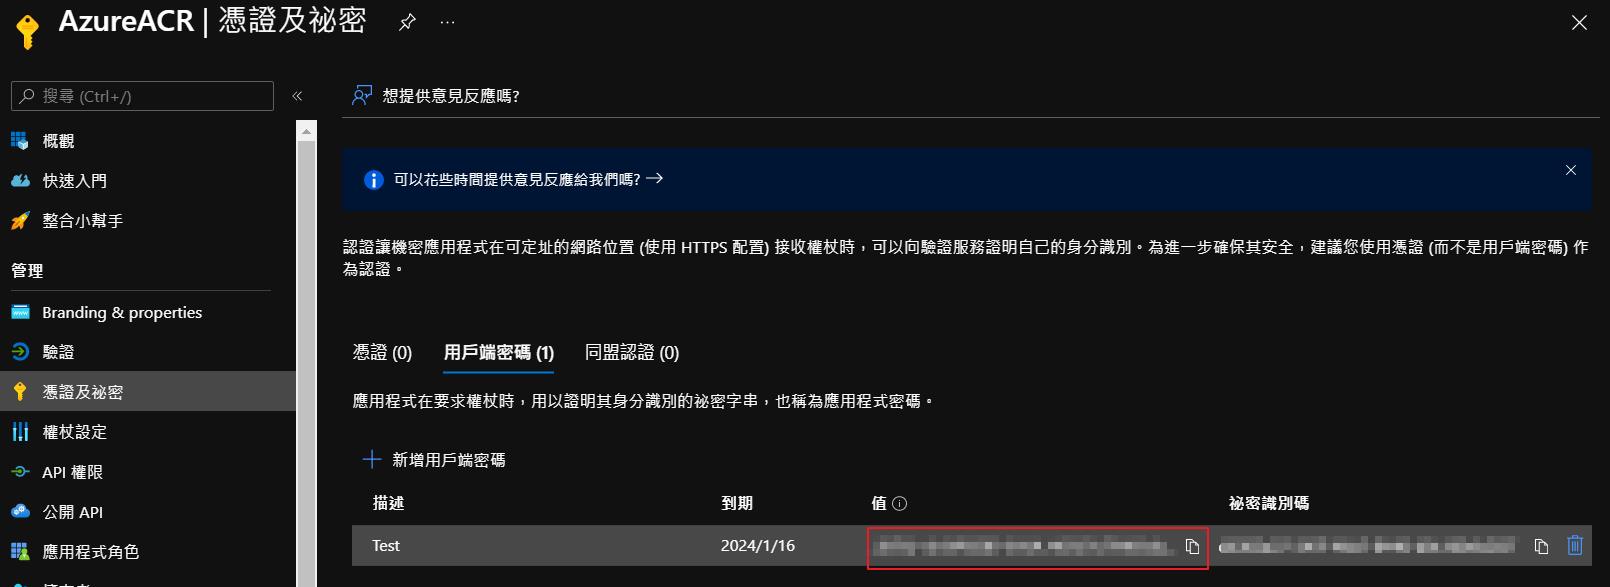
再來點選憑證及秘密新增一組用戶端密碼,複製好密碼之後我們就取得設定需要的三個資訊了。
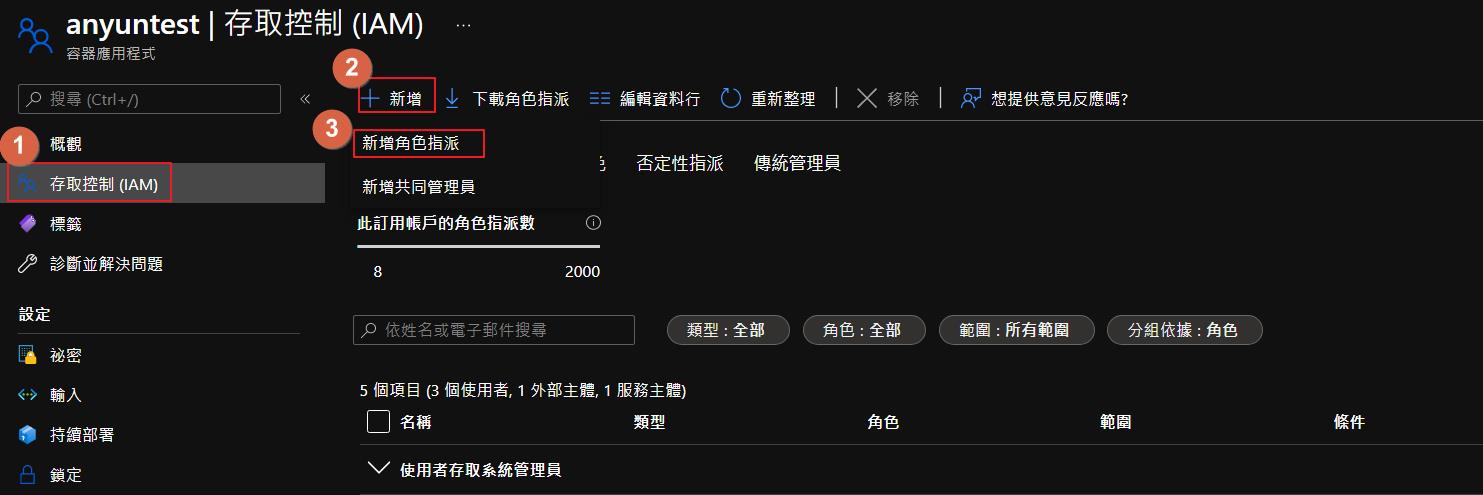
接下來還有一個很重要的步驟,就是將服務主體設定到服務的存取控制 (IAM) 裡面。
要注意的點是需要設定的服務包含了 ACR、Container Apps 和環境,缺一不可,如果是在同一個資源群組裡面可以設定在資源群組 (但是也要避免給到太大的權限),不同的話就要分別設定了。
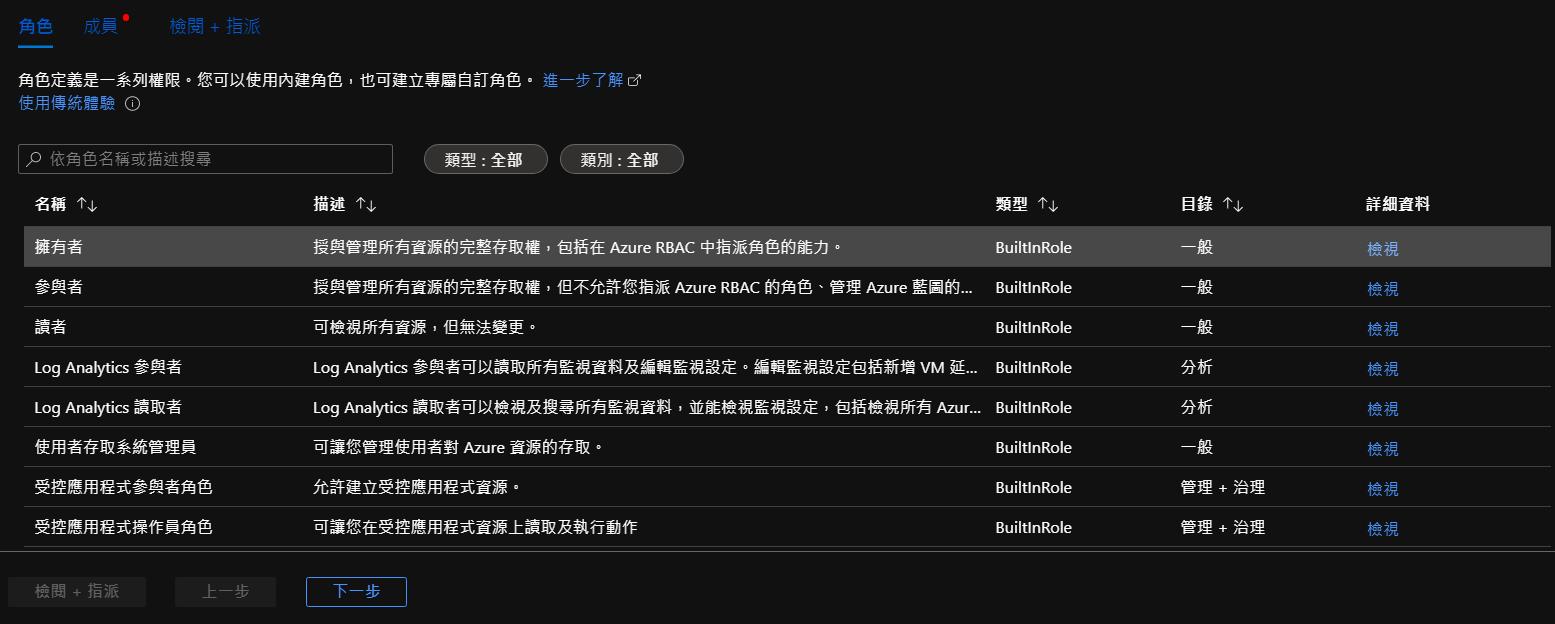
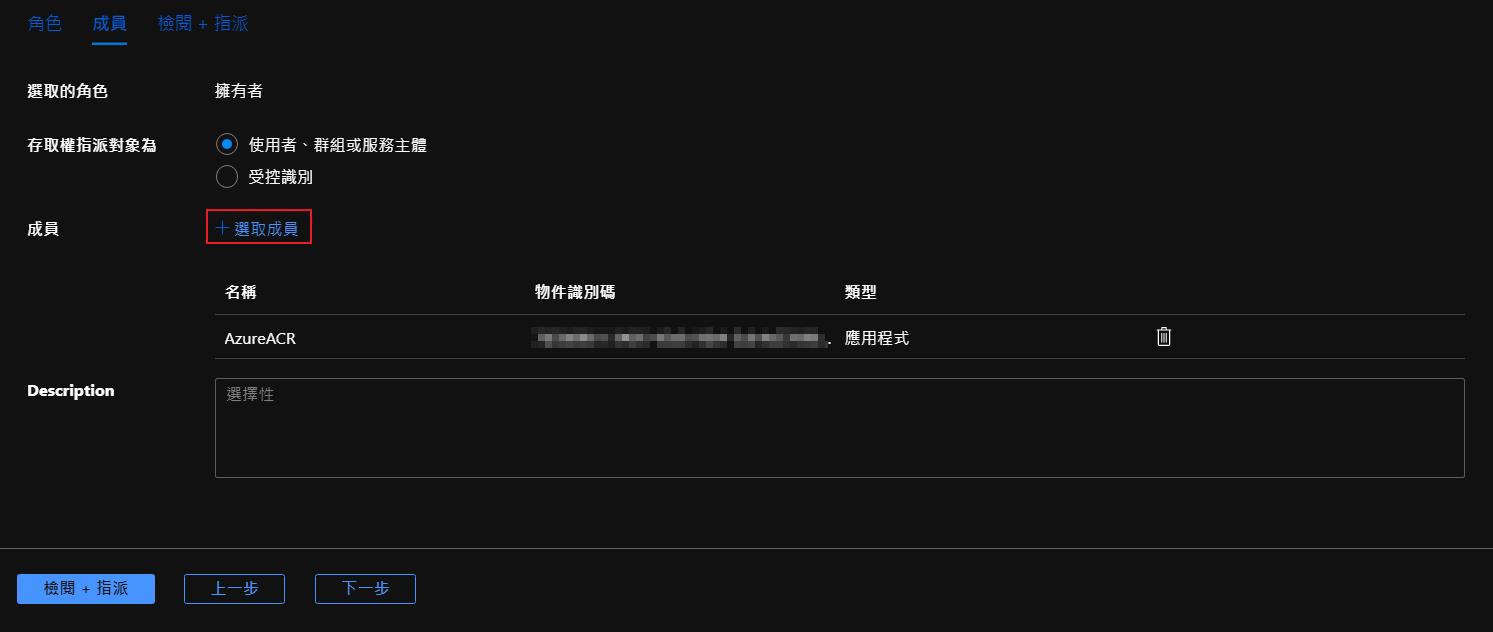
選擇適當的角色權限。
選取剛剛建立的應用程式註冊。
再來回到 Container Apps 進行設定。
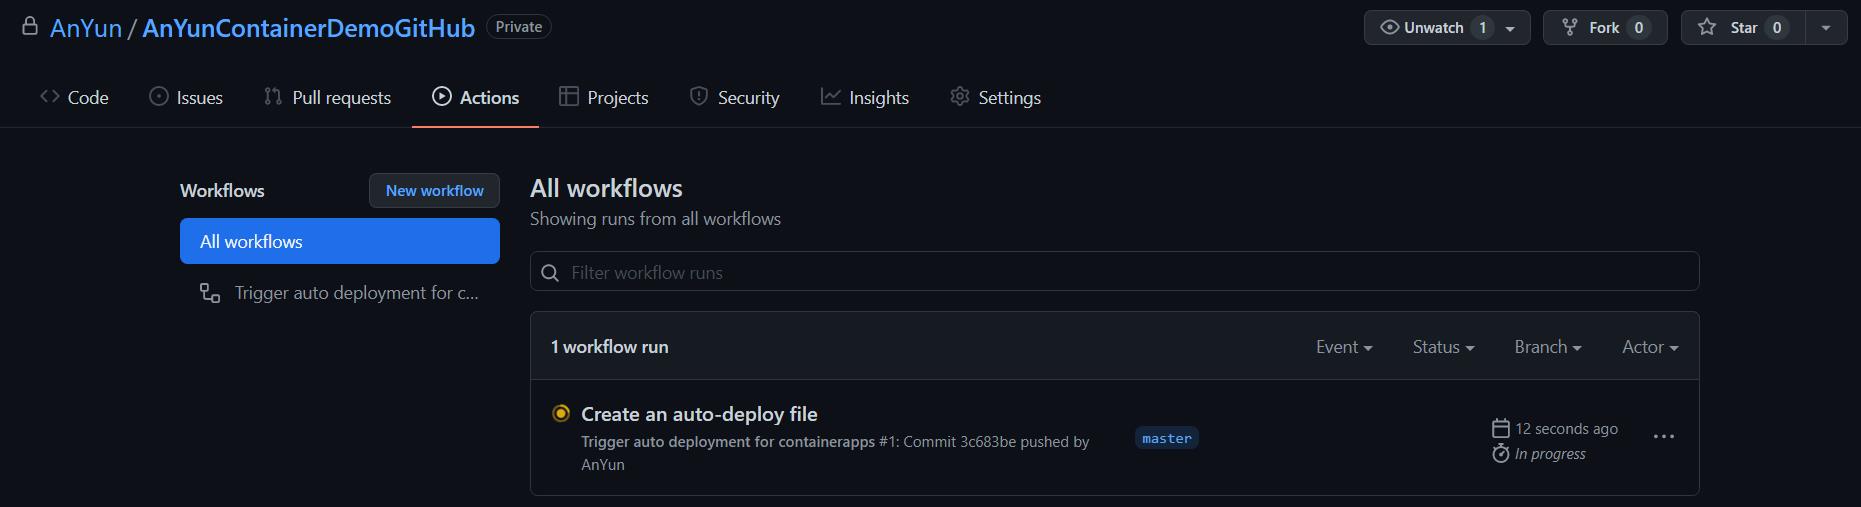
最後啟用持續部署就設定好了。這時候到 GitHub 點選 Actions 就可以看到正在執行第一次的部署了。
這時候到我們的 ACR 察看就會看到和 Apps 同名稱的 Repository 了。

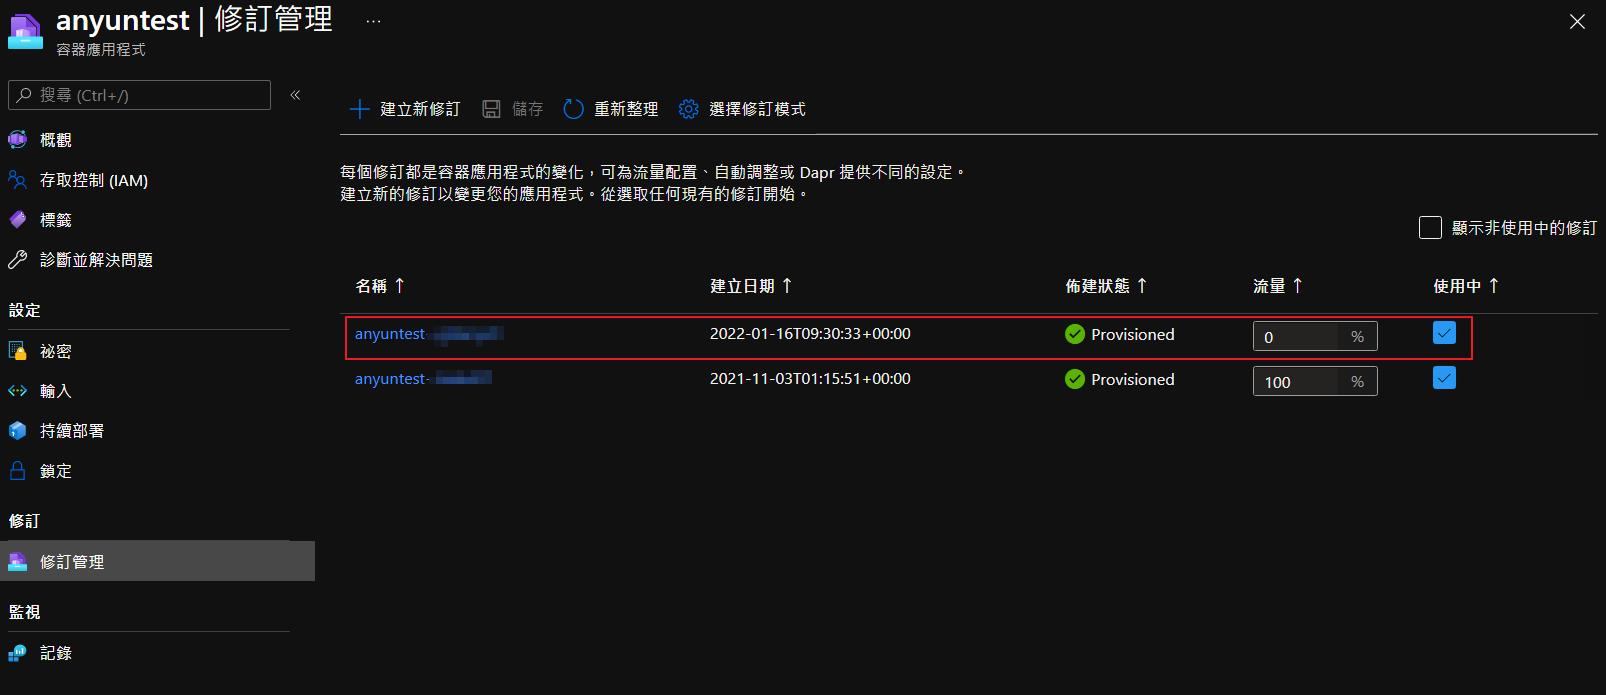
這時候回到修訂管理察看就會看到自動部署上去的修訂了,確認沒問題之後就可以設定流量成 100% 把流量導去新部署好的項目了。
要注意修訂模式不要選擇單一,不然會只保留自動部署上去的修訂,但是預設流量又是 0%,就會導致我們服務直接無法使用。
結論
雖然這服務還在預覽,但是使用起來比起 AKS 相對來說簡單一點,如果不需要部署到很複雜的架構或是覺得 AKS 部署上要寫 Yaml 檔案會相對困難的話,是可以參考使用這一個服務,期待未來 GA 之後能有更多更方便的的功能。