進入 .NET Core 之後,當系統需要與自身之外的 API 溝通時,使用 IHttpClientFactory 已是廣為人知的事情。
而本篇要介紹的,是 HttpClient 的進化版 – Typed client,除了能夠提供 IntelliSense 之外,還能將 API 介接邏輯巧妙地封裝起來。
前言
進入 .NET Core 之後,當需要與系統自身之外的 HTTP API 溝通時,
我們可以透過內建的 DI 機制,從 IHttpClientFactory 取得沒有連線洩漏(Connection Leaking)問題的HttpClient。
而在對接的的過程,通常會須夾帶特定的 Header 的資訊,除了每次建立 HttpClient 後逐一宣告以外,
官方還提供了從兩種 pre-configure 的機制,讓你可以在 Startup.cs 中透過 DI 來預先針對 HttpClient進行配置:
而本次的主角就是 Typed Client,在開始前先來說好處:
- 跟 Named client 一樣,可以在 Startup DI 註冊的階段配置要注入的
HttpClient - 讓呼叫端可以直接走 DI 注入一個具有 IntelliSense 的強型別 Client
- 讓呼叫端無須關注於 API 介接的實作邏輯
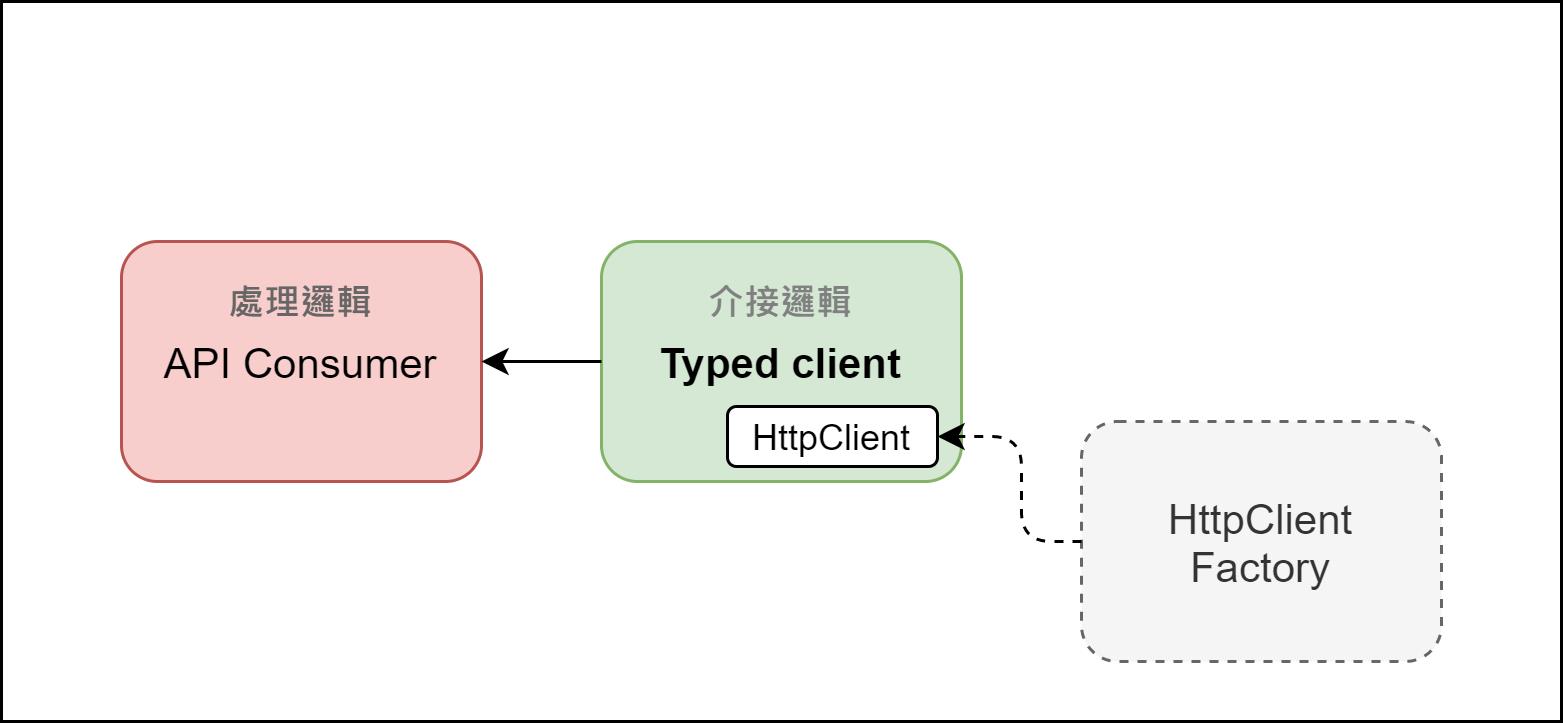
這邊的「呼叫端」指的是 HTTP API 的 API Consumer,也就是用 API 的人。
概念
Typed Client 的概念構想很簡單,
基本上就是在原生的 HttpClient 上再墊一層 wrapper,並將介接的邏輯實作於TypedClient 的方法中。
以往使用 HttpClient 的時候,大多都是透過直接注入 HttpClientFactory的方式來取得。
這樣的方式雖說也沒什麼問題,但卻容易使 API 的「介接邏輯」與「處理邏輯」夾雜在一起。
而透過實作 Typed Client,就可以巧妙地將「介接邏輯」封裝起來,並且讓呼叫端更容易專注在 API 呼叫後的處理邏輯。
實作
講完概念之後我們進入實作的部分,
這邊會建立兩個專案,分別擔任 API Producer 及 API Consumer 的角色:
- WebApplication:擔任 API Producer 的角色。其實就是官方的 Web API 專案範本,主要會以裡面的天氣預測 API 作為例子。
- TypedClientSample:擔任 API Consumer 的角色,主要會向 WebApplication 查詢近五天的天氣預報,並將溫度超過 30 度的日期記錄下來。
在 WebApplication 專案部分,只有一個 API 接口的實作:
- GET
/weatherforecast:取得隨機產生五天內的天氣預報。
接著到 TypedClientSample 專案中來實作 API Consumer 的部分。
這邊新增一個實作 TypedClient 的類別及介面,程式碼如下:
IWeatherForecastClient.cs & WeatherForecastClient.cs
public interface IWeatherForecastClient
{
    Task<IEnumerable<WeatherForecast>> GetWeatherForecasts();
}

public class WeatherForecastClient : IWeatherForecastClient
{
    private readonly HttpClient _httpClient;
    public WeatherForecastClient(HttpClient httpClient)
    {
        _httpClient = httpClient;
    }

    public async Task<IEnumerable<WeatherForecast>> GetWeatherForecasts()
    {
        var url = $"{_httpClient.BaseAddress}/weatherforecast";
        var response = await _httpClient.GetAsync(url);
        var content = await response.Content.ReadAsStringAsync();
        var result = JsonSerializer.Deserialize<List<WeatherForecast>>(content);

        return result;
    }
}
上述程式碼與一般使用 HttpClientFactory的方式非常相似,
差別僅在於建構式是直接注入 HttpClient而非工廠,
不過因為注入的 HttpClient也是從工廠來的,
所以一樣不會有連線洩漏問題,可以安心服用。
接著我們到 Startup中針對 Typed client 的部分進行 DI 註冊,
主要會用到的 overload 方法如下:
AddHttpClient<TClient>(IServiceCollection, Action<HttpClient>)AddHttpClient<TClient>(IServiceCollection, Action<IServiceProvider,HttpClient>)AddHttpClient<TClient,TImplementation>(IServiceCollection, Action<HttpClient>)AddHttpClient<TClient,TImplementation>(IServiceCollection, Action<IServiceProvider,HttpClient>)
其中的差別在於泛型數量及 Action 參數數量,
而 Action 可以讓我們針對HttpClient進行「預配置」,程式碼如下:
Startup.cs - ConfigureServices
public void ConfigureServices(IServiceCollection services)
{
    services.AddControllers();

    services.AddHttpClient<IWeatherForecastClient, WeatherForecastClient>(client =>
    {
        client.BaseAddress = new Uri("http://localhost:5555");
        //Add other headers here. ex: Authorization
        // client.DefaultRequestHeaders.Add("Authorization", "Bearer your_token_here");
    });

}
接著我們分別建立 IWeatherService 及 WeatherService ,
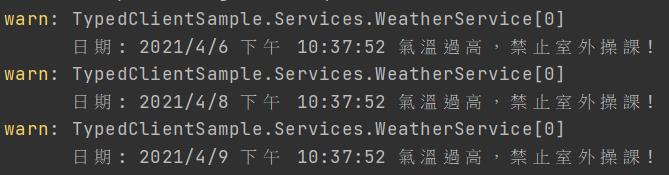
並透過LogOverTemperatureDates()方法將超過 30 度的日期印出來。
public interface IWeatherService
{
    Task LogOverTemperatureDates();
}

public class WeatherService : IWeatherService
{
    private readonly IWeatherForecastClient _weatherForecastClient;
    private readonly ILogger<WeatherService> _logger;

    public WeatherService(IWeatherForecastClient weatherForecastClient,
        ILogger<WeatherService> logger)
    {
        _weatherForecastClient = weatherForecastClient;
        _logger = logger;
    }

    public async Task LogOverTemperatureDates()
    {
        var result = await _weatherForecastClient.GetWeatherForecasts();

        var forecastsOverThan30Degree = result.Where(x => x.TemperatureC > 30);
        foreach (var weatherForecast in forecastsOverThan30Degree)
        {
            _logger.LogWarning($"日期: {weatherForecast.Date} 氣溫過高,禁止室外操課!");
        }
    }
}你可以看到,在使用WeatherForecastClient時,
並不會讓程式碼因為 API 介接邏輯而失焦。
如此一來,我們可以更專注於 API 的處理結果而非過程,
而在必要時也能直接覆用 TypedClient 。
接著回到 Startup 中補上 WeatherService 的 DI 註冊:
public void ConfigureServices(IServiceCollection services)
{

	//...

    services.AddScoped<IWeatherService, WeatherService>();

	//...
}
為了模擬完整 API 的互動流程,我們建立一個 TriggerController 來驅動它:
[ApiController]
[Route("[controller]")]
public class TriggerController : ControllerBase
{
private readonly IWeatherService _weatherService;
public TriggerController(IWeatherService weatherService)
{
_weatherService = weatherService;
}
[HttpGet]
public async Task<string> Get()
{
await _weatherService.LogOverTemperatureDates();
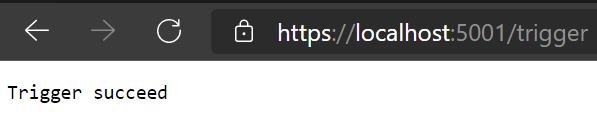
return "Log succeed";
}
}
這邊我使用 .NET CLI 將 WebApplication 起在 localhost:5555:
dotnet run --urls=http://localhost:5555
接著透過 TriggerController 的 GET 來進行觸發,
並透過 IDE 的偵錯模式來觀察 TyedClientSample 的結果。
結語
在上面簡單的範例中,不難發現 TypedClient 實作起來非常簡單,而且與 .NET Core DI 完美結合。
它除了可以使程式碼變得更簡潔之外,其實也很適合用在微服務的場景中。
因為在微服務的架構底下,內部系統之間的呼叫是避免不了的,
而如果替每個 API 都實作一份專用的 Typed client Library ,
就能讓上層的呼叫端透過 Nuget 的安裝方式,直接使用具有 IntelliSense 的強型別 Client!
以上內容如有勘誤,涵請告知指正。
實作程式碼連結:https://github.com/robersonliou/HttpClientSample
[2021-4-6 12:46]原本的 WeatherForecastClient 漏掉介面實作的部分,感謝 91哥提醒,已及時修正!
參考
- Make HTTP requests using IHttpClientFactory in ASP.NET Core | Microsoft Docs
- HttpClientFactoryServiceCollectionExtensions.AddHttpClient Method | Microsoft Docs