安裝Oracle 12c R2 on Oracle Linux 7介面流程 (Advanced Install)
每個步驟的截圖與簡易說明,
留給自己一個記錄, 不然忘了就不好了
安裝Oracle 12c R2介面流程 (Advanced Install)
安裝Oracle 12c R2, 也簡化了不少設定, 結果就是下一步, 下一步, 沒有什麼持別的, 而且網路上這個也太多人寫過了, 不花時間重述各項內容, 因此下列就附上安裝時的貼圖, 除有特別的地方才做說明. (PS. 真有要查的設定功能, 就把指標移到設定選項上, 會跑出一個黃燈泡, 點到它就會有說明)
不過在安裝時有, Typical Install與Advanced Install二種, 在這先放上Advanced Install的安裝步驟, 而Typical則是簡化了Advanced中的步驟6到步驟16.
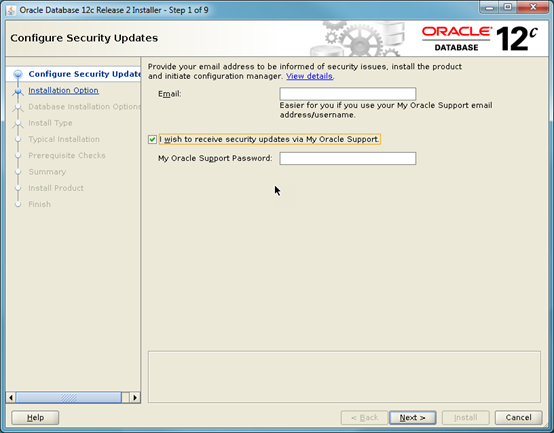
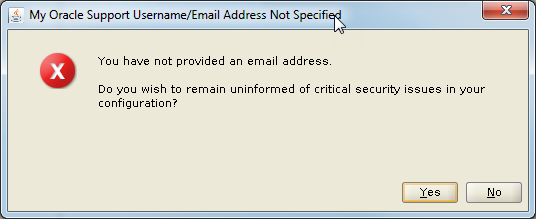
因為沒給Email所以提示錯誤.
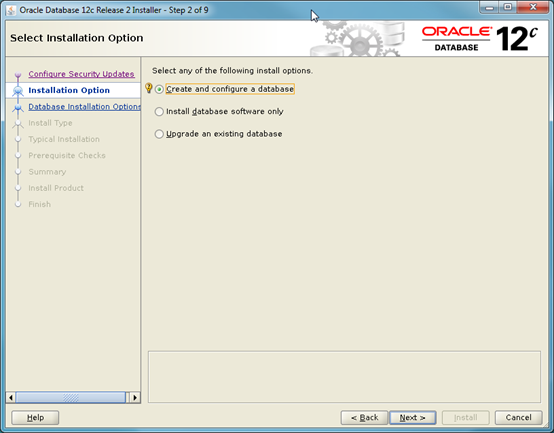
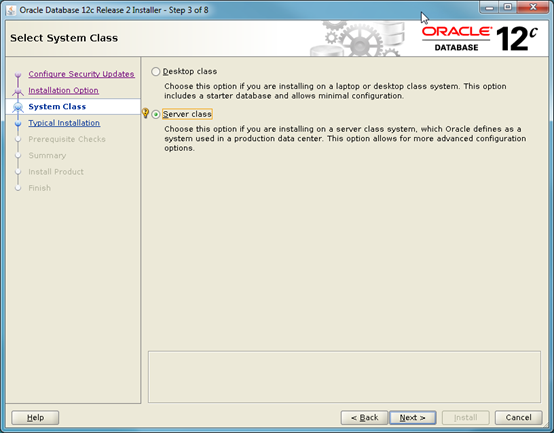
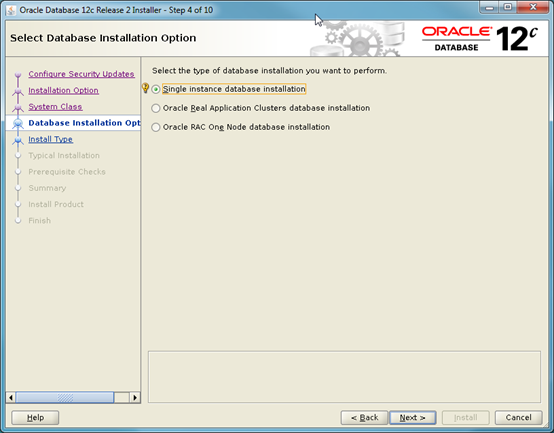
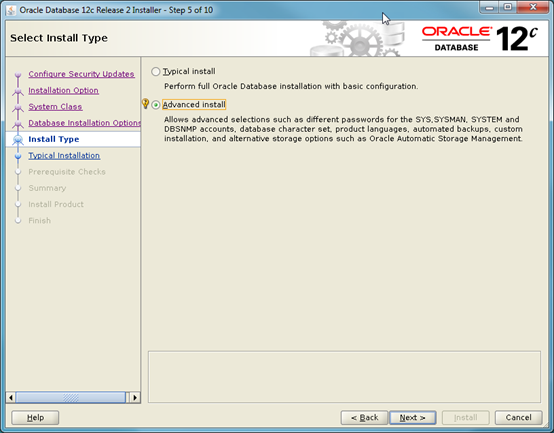
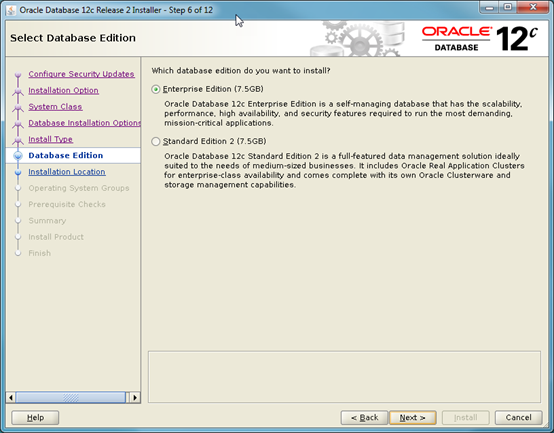
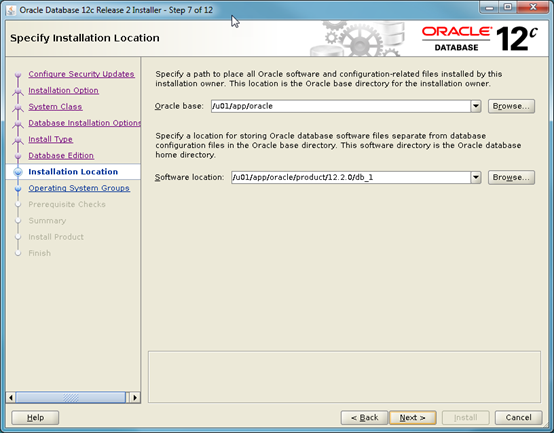
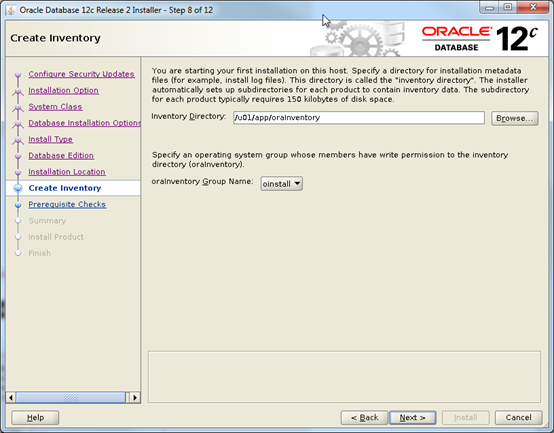
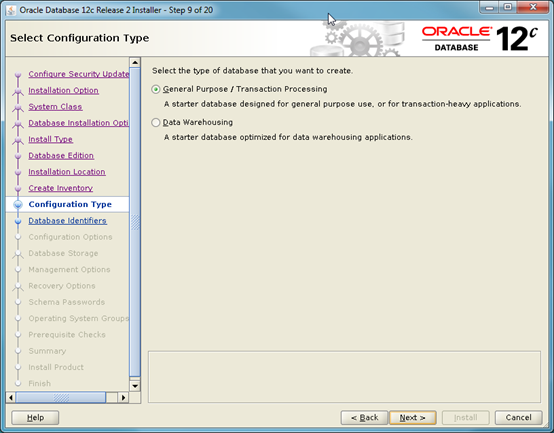
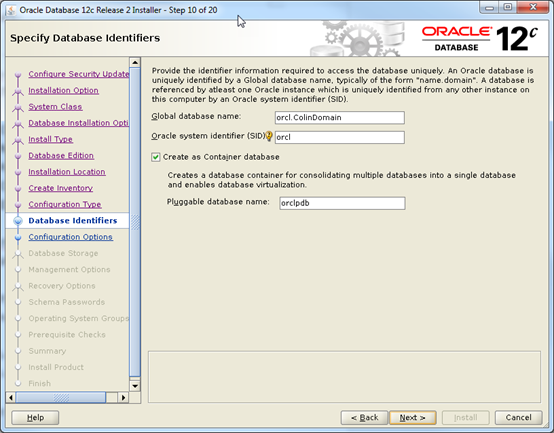
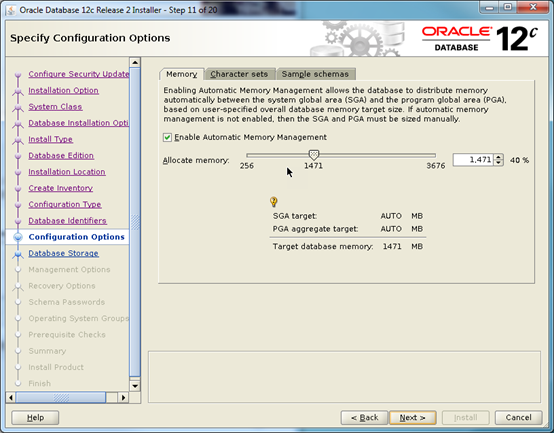
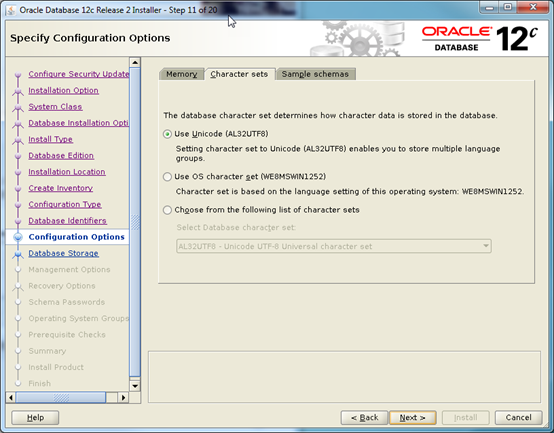
這個打勾會裝HR那個sample database.
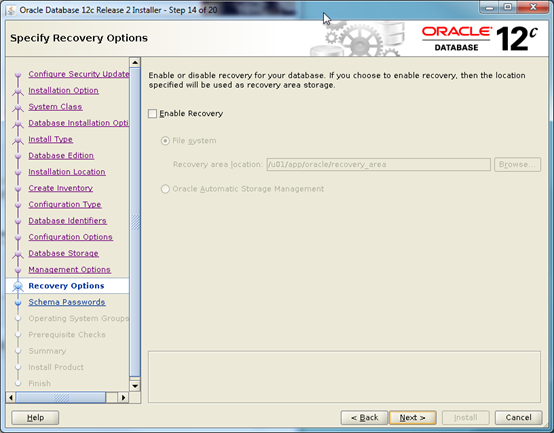
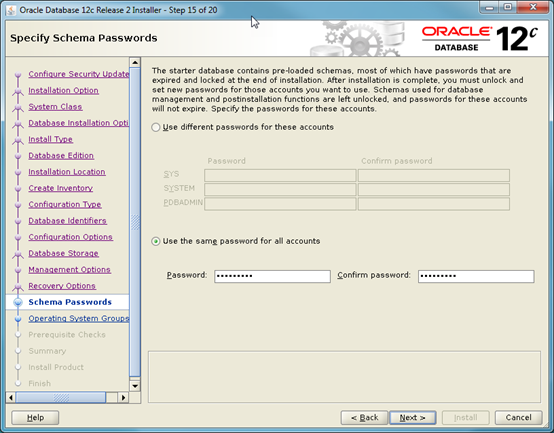
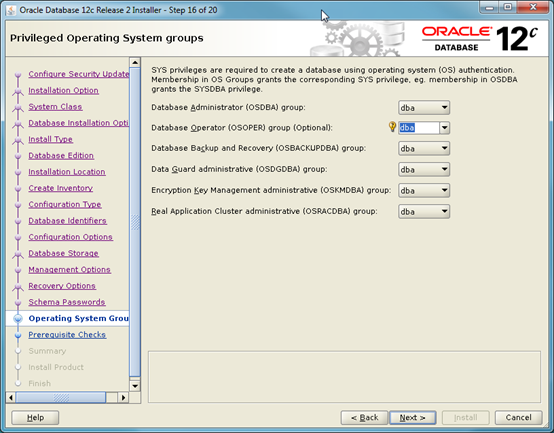
有不少文章說全部改成dba ???
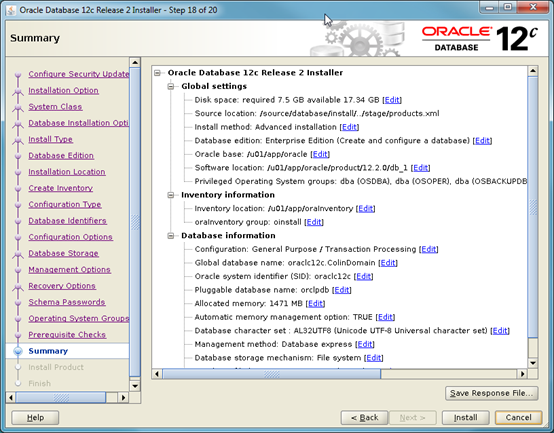
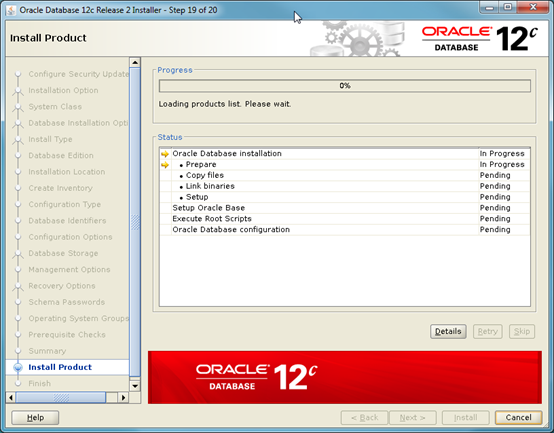
這個比較特別, 就是會要求開一個新的連線, 登入root, 然後執行下列描述中的二個檔案, 執行完了再回來點OK.
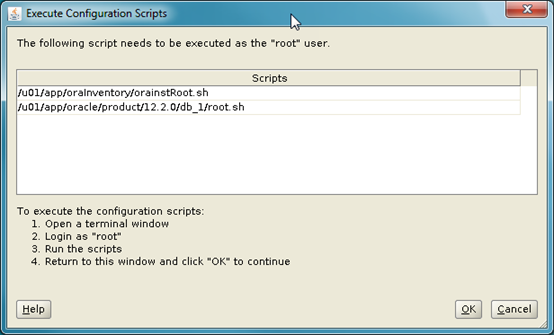
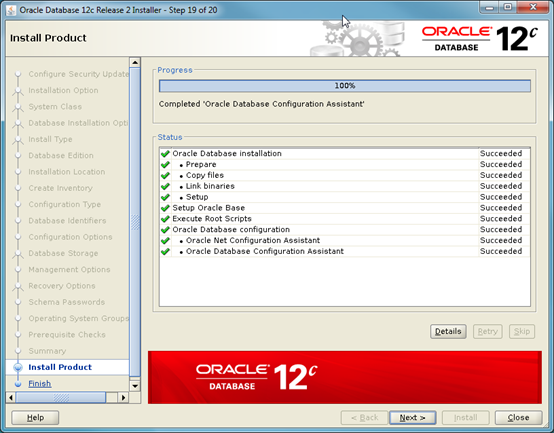
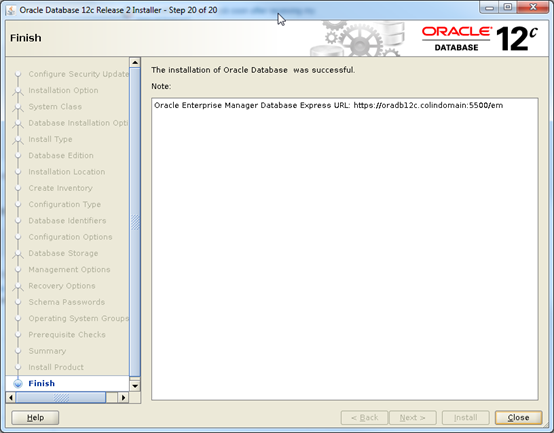
至於先前提到, 在安裝時會跑出要使用root登入, 然後跑的二個command file, 以下是其中的內容:
# /u01/app/oraInventory/orainstRoot.sh
Changing permissions of /u01/app/oraInventory.
Adding read,write permissions for group.
Removing read,write,execute permissions for world.
Changing groupname of /u01/app/oraInventory to oinstall.
The execution of the script is complete.
# /u01/app/oracle/product/12.1.0/db_1/root.sh
Performing root user operation.
The following environment variables are set as:
ORACLE_OWNER= oracle
ORACLE_HOME= /u01/app/oracle/product/12.1.0/db_1
Enter the full pathname of the local bin directory: [/usr/local/bin]:
Copying dbhome to /usr/local/bin ...
Copying oraenv to /usr/local/bin ...
Copying coraenv to /usr/local/bin ...
Creating /etc/oratab file...
Entries will be added to the /etc/oratab file as needed by
Database Configuration Assistant when a database is created
Finished running generic part of root script.
Now product-specific root actions will be performed.
Do you want to setup Oracle Trace File Analyzer (TFA) now ? yes|[no] :
y
Installing Oracle Trace File Analyzer (TFA).
Log File: /u01/app/oracle/product/12.1.0/db_1/install/root_Oracle12c.ColinDomain_2017-06-29_15-54-34-312178345.log
Finished installing Oracle Trace File Analyzer (TFA)
