介紹當您的APP升級之後可以觸發的Background task
不少APP都有支援當更新APP之後的第一次開啟都會顯示一些教學或是小提示(Tips)告訴User有哪些新功能! 今天來介紹的是在如何在UWP的APP下實作當APP更新之後能夠觸發的背景服務!
UWP在10240開始只有支援Out of process Background Task!也就是該Background task跟App本身是兩個不同的Process!直到14393(也就是Anniversary Update)出現了Single process background task的方式。
讓我們直接進入主題吧! 先是開啟Vsiaul Studio並且建立UWP的APP這邊就不加闡述流程,然後建立Runtime component的專案並且在APP的專案中加入參考。
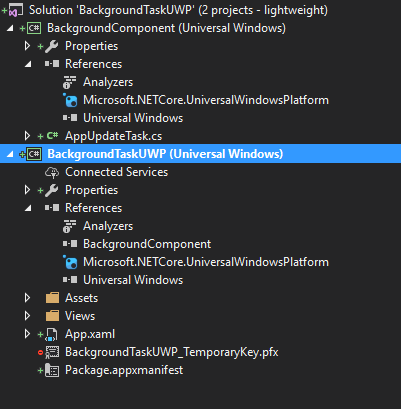
專案結構如下圖所示
 接者使用XML的方式檢視Package.appManifest檔案並在Applications的Node內加入Extensions的Code,如下所示
<Applications>
    <Application Id="App" Executable="$targetnametoken$.exe" EntryPoint="BackgroundTaskUWP.App">
      <uap:VisualElements DisplayName="BackgroundTaskUWP" Square150x150Logo="Assets\Square150x150Logo.png" Square44x44Logo="Assets\Square44x44Logo.png" Description="BackgroundTaskUWP" BackgroundColor="transparent">
        <uap:DefaultTile Wide310x150Logo="Assets\Wide310x150Logo.png">
        </uap:DefaultTile>
        <uap:SplashScreen Image="Assets\SplashScreen.png" />
      </uap:VisualElements>
      <Extensions>
        <Extension Category="windows.updateTask" EntryPoint="BackgroundComponent.AppUpdateTask" />
      </Extensions>
    </Application>
需要特別留意的還是跟一般Background Task的設定一樣在EntryPoint的部分需要是Runtime component的那隻Class的Full Namespace!而且是Case sensitive(大小寫有區分)
然後來實作Background task的Class八~ 如下所示
using System;
using Windows.ApplicationModel.Background;

namespace BackgroundComponent
{
    public sealed class AppUpdateTask : IBackgroundTask
    {
        public void Run(IBackgroundTaskInstance taskInstance)
        {
            var appVersion = Windows.ApplicationModel.Package.Current.Id.Version;
            System.Diagnostics.Debug.WriteLine($"{appVersion.Major}.{appVersion.Minor}.{appVersion.Build}.{appVersion.Revision}");
        }
    }
}
這邊直接實作IBackgroundTask的介面,然後目前展示的是只有放入顯示APP版本的~
這樣就算完成了喔!!! windows.updateTask是不需要在APP中註冊的background task!
接者來看如何測試這個Background Task
- 先是部屬寫好的APP到系統上!
- 接者開啟Package.appxmanifest並使用XML的方式檢視,基本上會如下面XML差不多
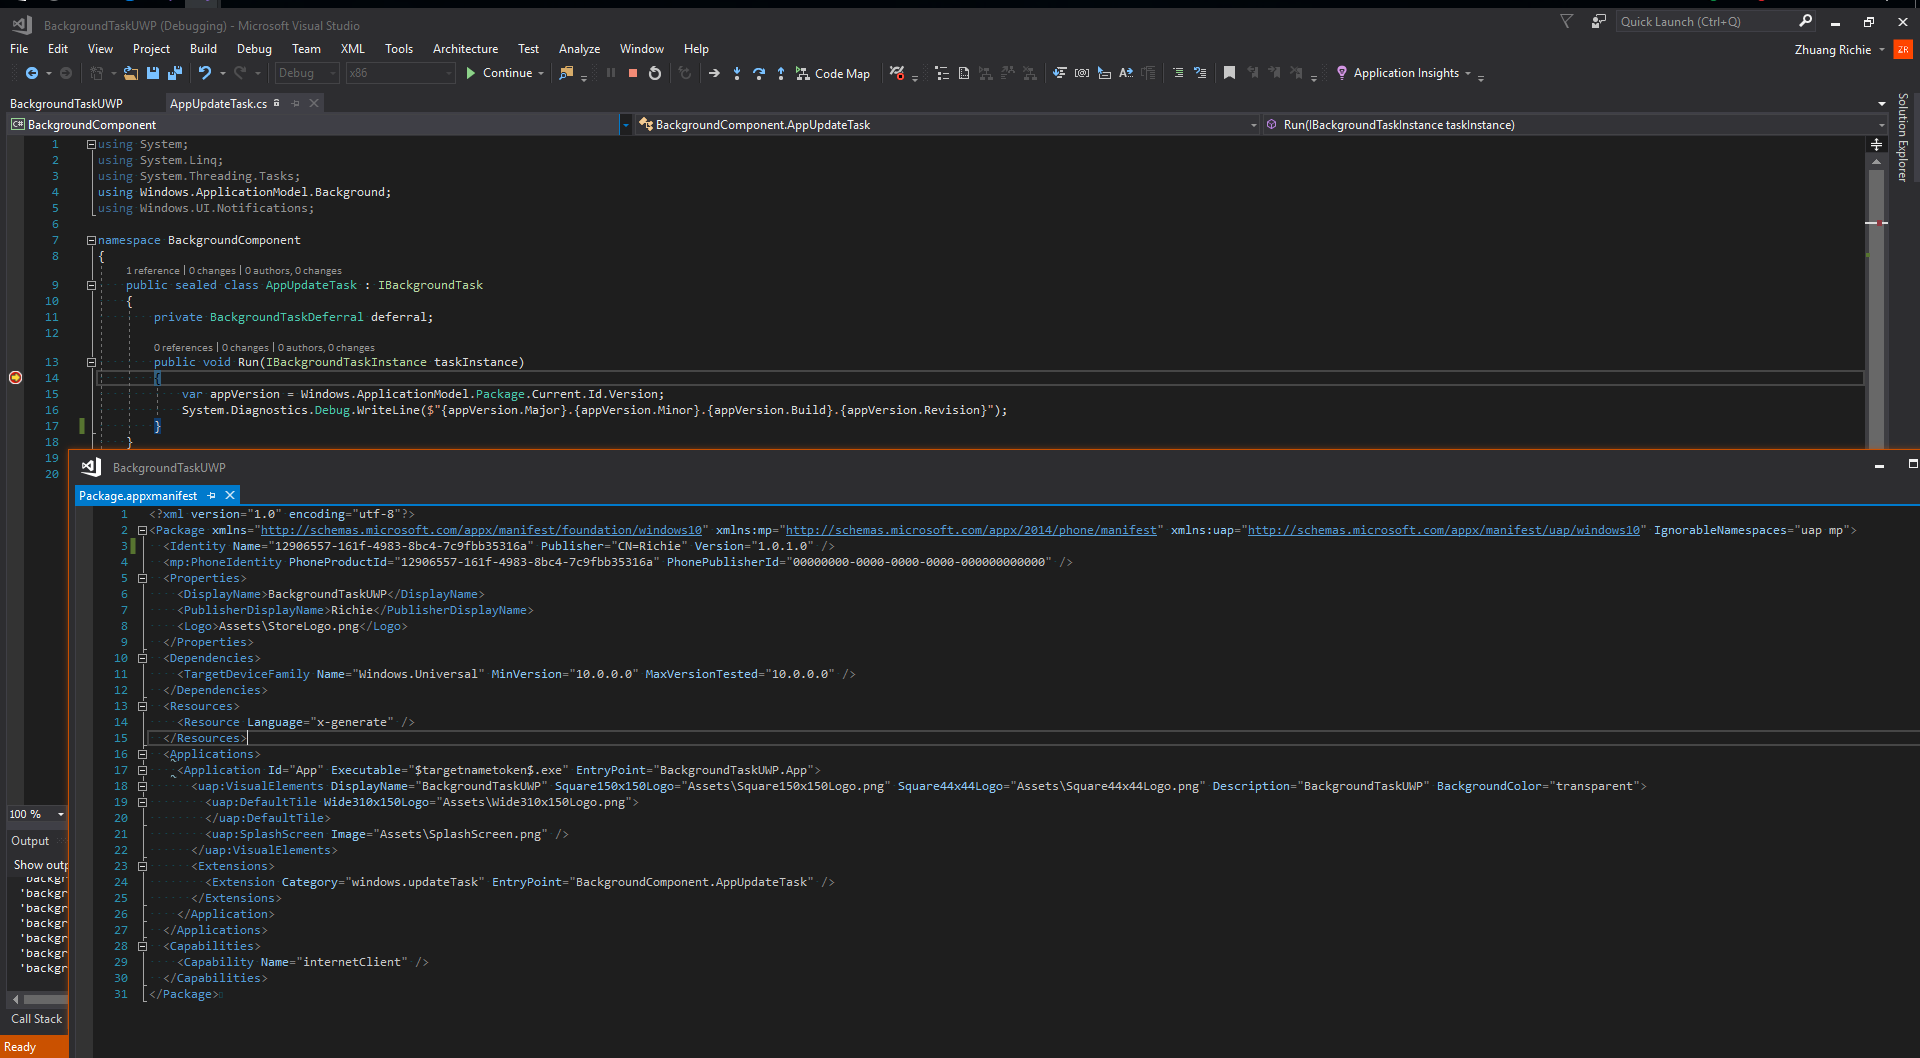
這個地方調整在 Identity的 Version的部分建議調整build的部分也就是第三個0(1.0.0.0)。因為UWP配合Manage code在上架的時候會使用.Net Native所以最後的Reversion會由.Net native來決定!<?xml version="1.0" encoding="utf-8"?> <Package xmlns="http://schemas.microsoft.com/appx/manifest/foundation/windows10" xmlns:mp="http://schemas.microsoft.com/appx/2014/phone/manifest" xmlns:uap="http://schemas.microsoft.com/appx/manifest/uap/windows10" IgnorableNamespaces="uap mp"> <Identity Name="12906557-161f-4983-8bc4-7c9fbb35316a" Publisher="CN=Richie" Version="1.0.0.0" /> <mp:PhoneIdentity PhoneProductId="12906557-161f-4983-8bc4-7c9fbb35316a" PhonePublisherId="00000000-0000-0000-0000-000000000000" /> <Properties> <DisplayName>BackgroundTaskUWP</DisplayName> <PublisherDisplayName>Richie</PublisherDisplayName> <Logo>Assets\StoreLogo.png</Logo> </Properties> <Dependencies> <TargetDeviceFamily Name="Windows.Universal" MinVersion="10.0.0.0" MaxVersionTested="10.0.0.0" /> </Dependencies> <Resources> <Resource Language="x-generate" /> </Resources> <Applications> <Application Id="App" Executable="$targetnametoken$.exe" EntryPoint="BackgroundTaskUWP.App"> <uap:VisualElements DisplayName="BackgroundTaskUWP" Square150x150Logo="Assets\Square150x150Logo.png" Square44x44Logo="Assets\Square44x44Logo.png" Description="BackgroundTaskUWP" BackgroundColor="transparent"> <uap:DefaultTile Wide310x150Logo="Assets\Wide310x150Logo.png"> </uap:DefaultTile> <uap:SplashScreen Image="Assets\SplashScreen.png" /> </uap:VisualElements> <Extensions> <Extension Category="windows.updateTask" EntryPoint="BackgroundComponent.AppUpdateTask" /> </Extensions> </Application> </Applications> <Capabilities> <Capability Name="internetClient" /> </Capabilities> </Package> - 調整APP專案的屬性(對App的專案右鍵的選單中可以看到) 然後到Debug的選項接者把Start acticon(開始選項)中的Do not launch, but debug my code when it starts(不啟動但是偵錯程式碼當啟動時)選起並儲存設定。
- 接者就可以按下F5來偵錯拉~
執行畫面
 這邊可以看到先把Version變更成1.0.1.0之後執行就會直接跑到Runtime component的Code。
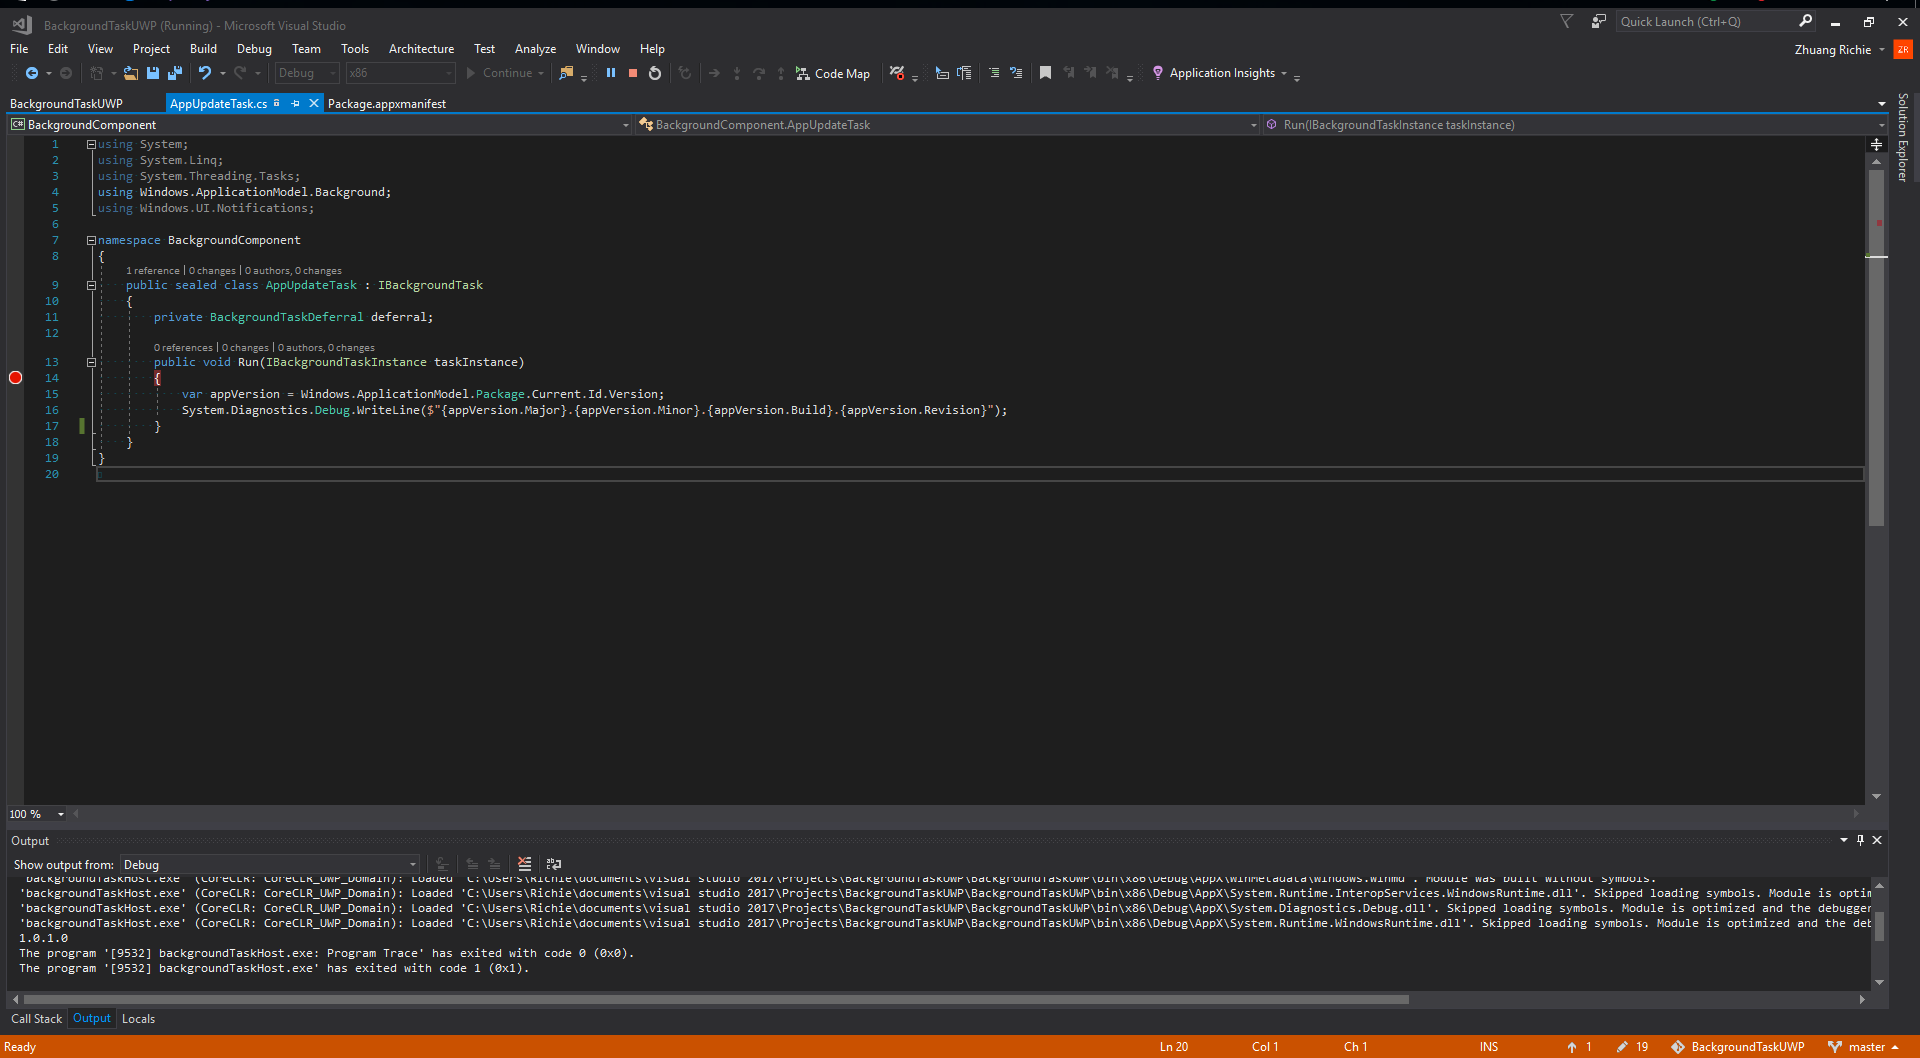 在Output的部分可以看到1.0.1.0的版本資訊!
總結
使用window.updateTask可以讓UWP app收到update之後先執行某些邏輯!(像是顯示Update log資訊、跳出通知訊息提醒...等)這樣強大的Background task可以讓您的app獲得比較大的彈性~
***以上Code以及說明都有可能隨著Windows 10 的版本以及Visual Studio 版本有所調整!***
參考資料 Microsoft Docs
下次再分享Windows 10 的新技術拉~