如何在UWP的App上使用Mobile Center的功能。
今天要介紹的是下一代的HockeyApp,也就是Mobile center!基本上直接整合了CI和CD的部分。
廢話不多說直接來看看實際操作八
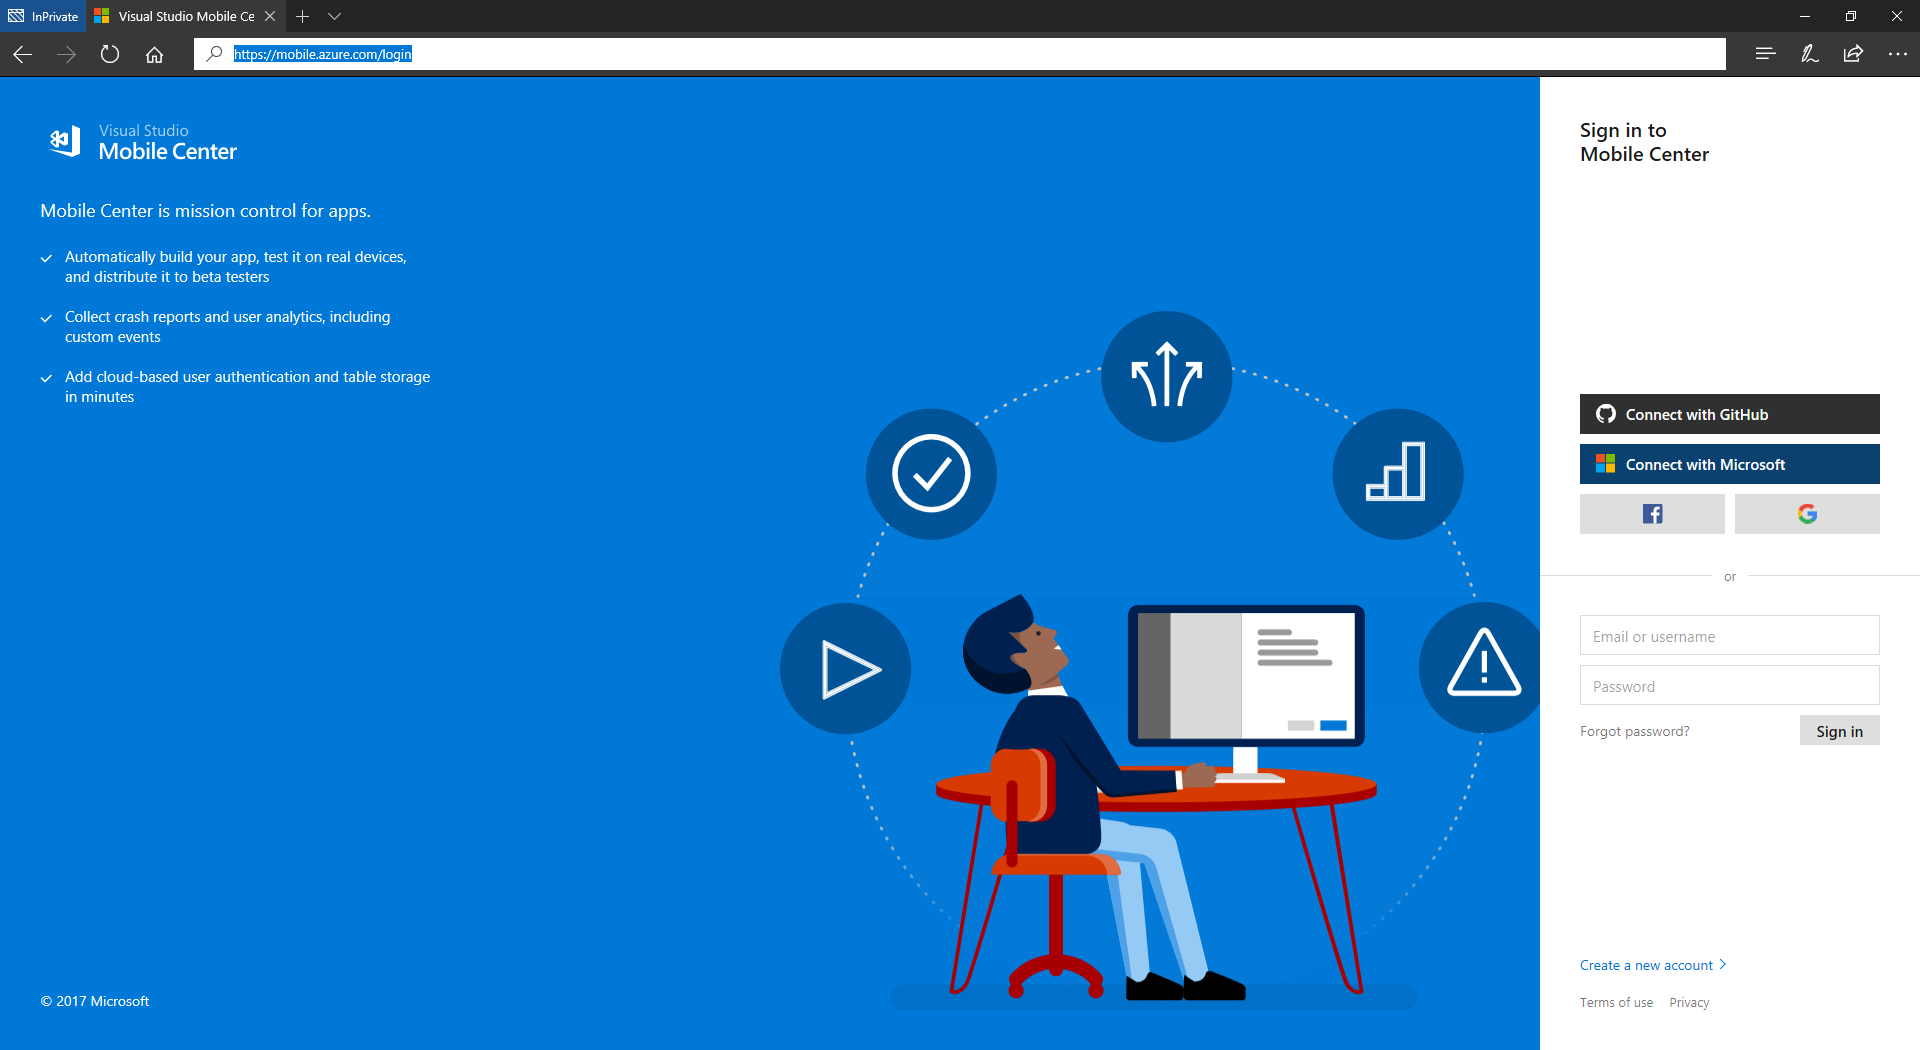 直接登入 https://mobile.azure.com/login 就可以看到如上的畫面~可以支援Github、Microsft、Facebook、Google的Account Pool喔!
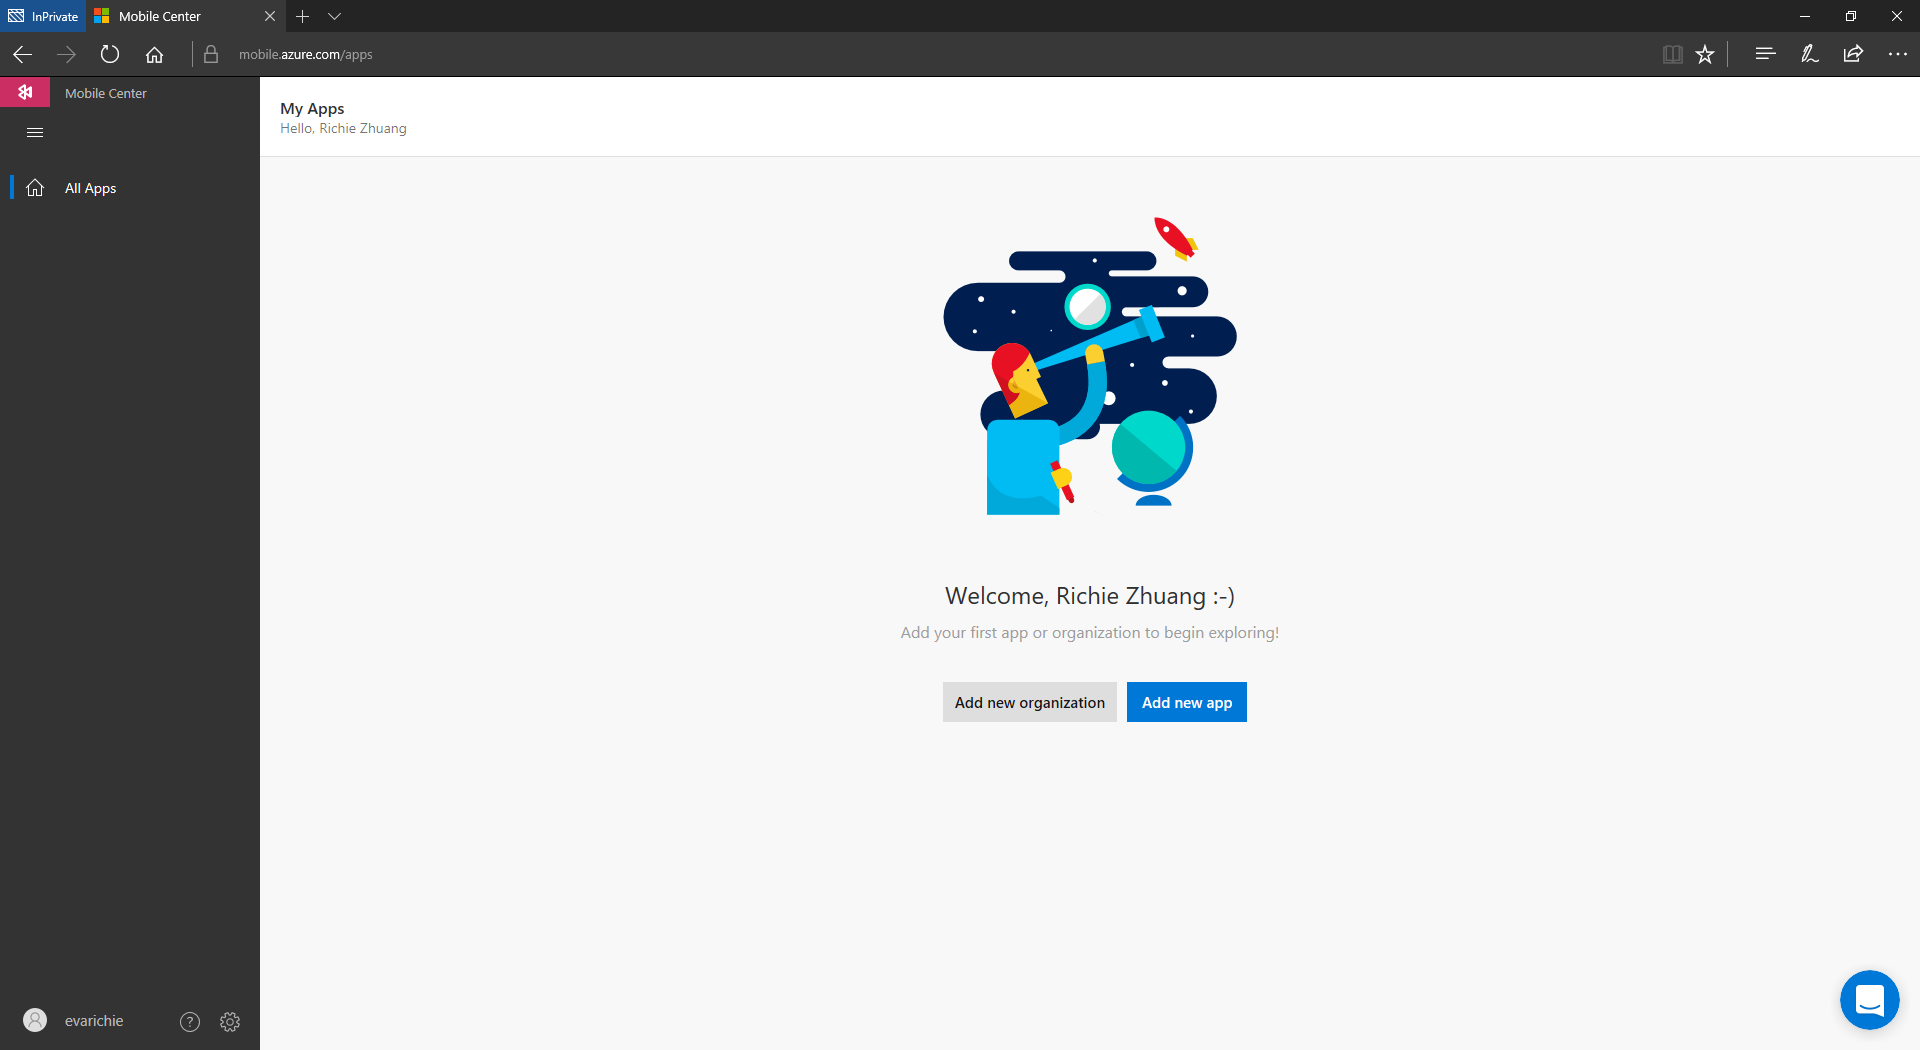 當登入之後就可以看到這樣的畫面~ 按下 Add new app就可以直接建立想要整合Mobile center的App了。
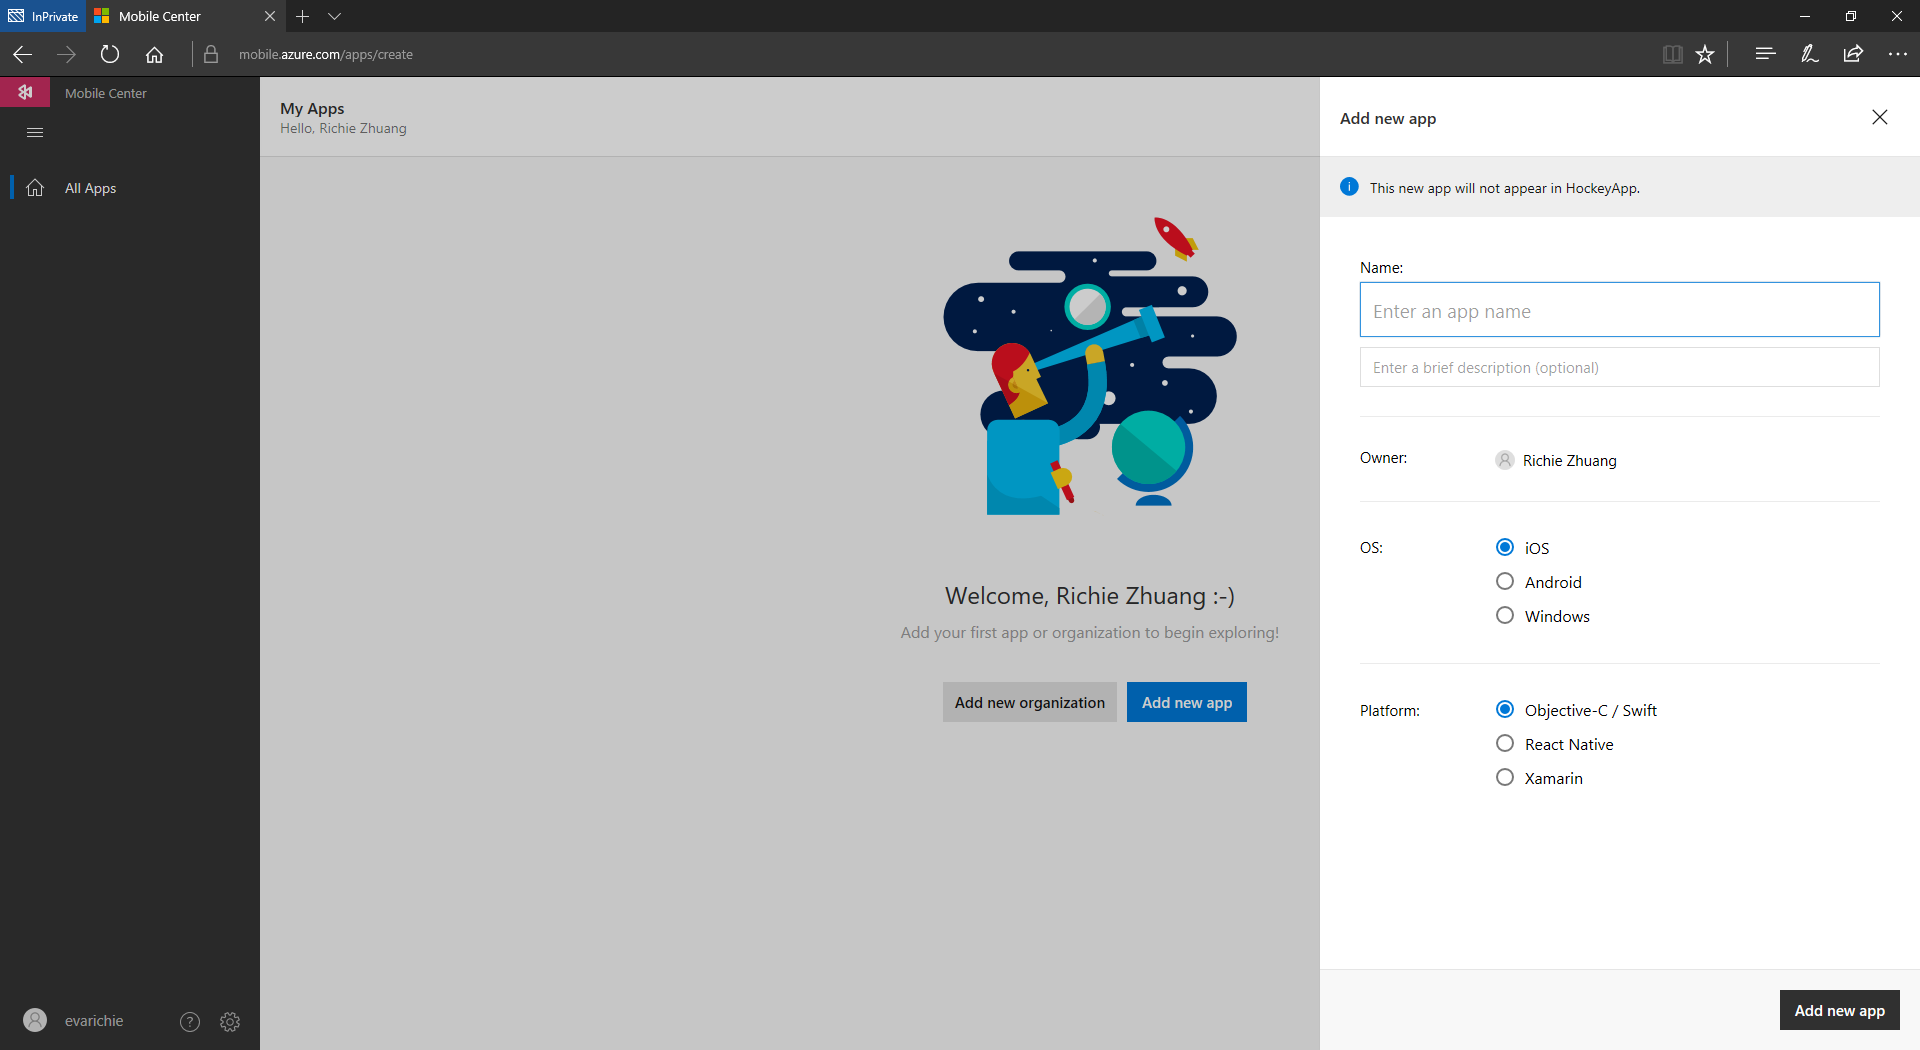 這邊可以選擇iOS、Android、Windows這邊想是在iOS的部分可以支援Objective-C\ Swift的Native開發語言或是使用React Native或是Xamarin來進行與Mobile Center的整合
這邊我們選Windows就只有UWP的整合、如果想要使用Winform或是WPF的話可以使用HockeyApp!這邊就可以看到畫面上有分UWP、Xamarin.Forms的兩個Framework可以與Mobile Center SDK整合。基本上直接在Visual Studio 2017上的Nuget搜尋Mobile Center就可以看到了!
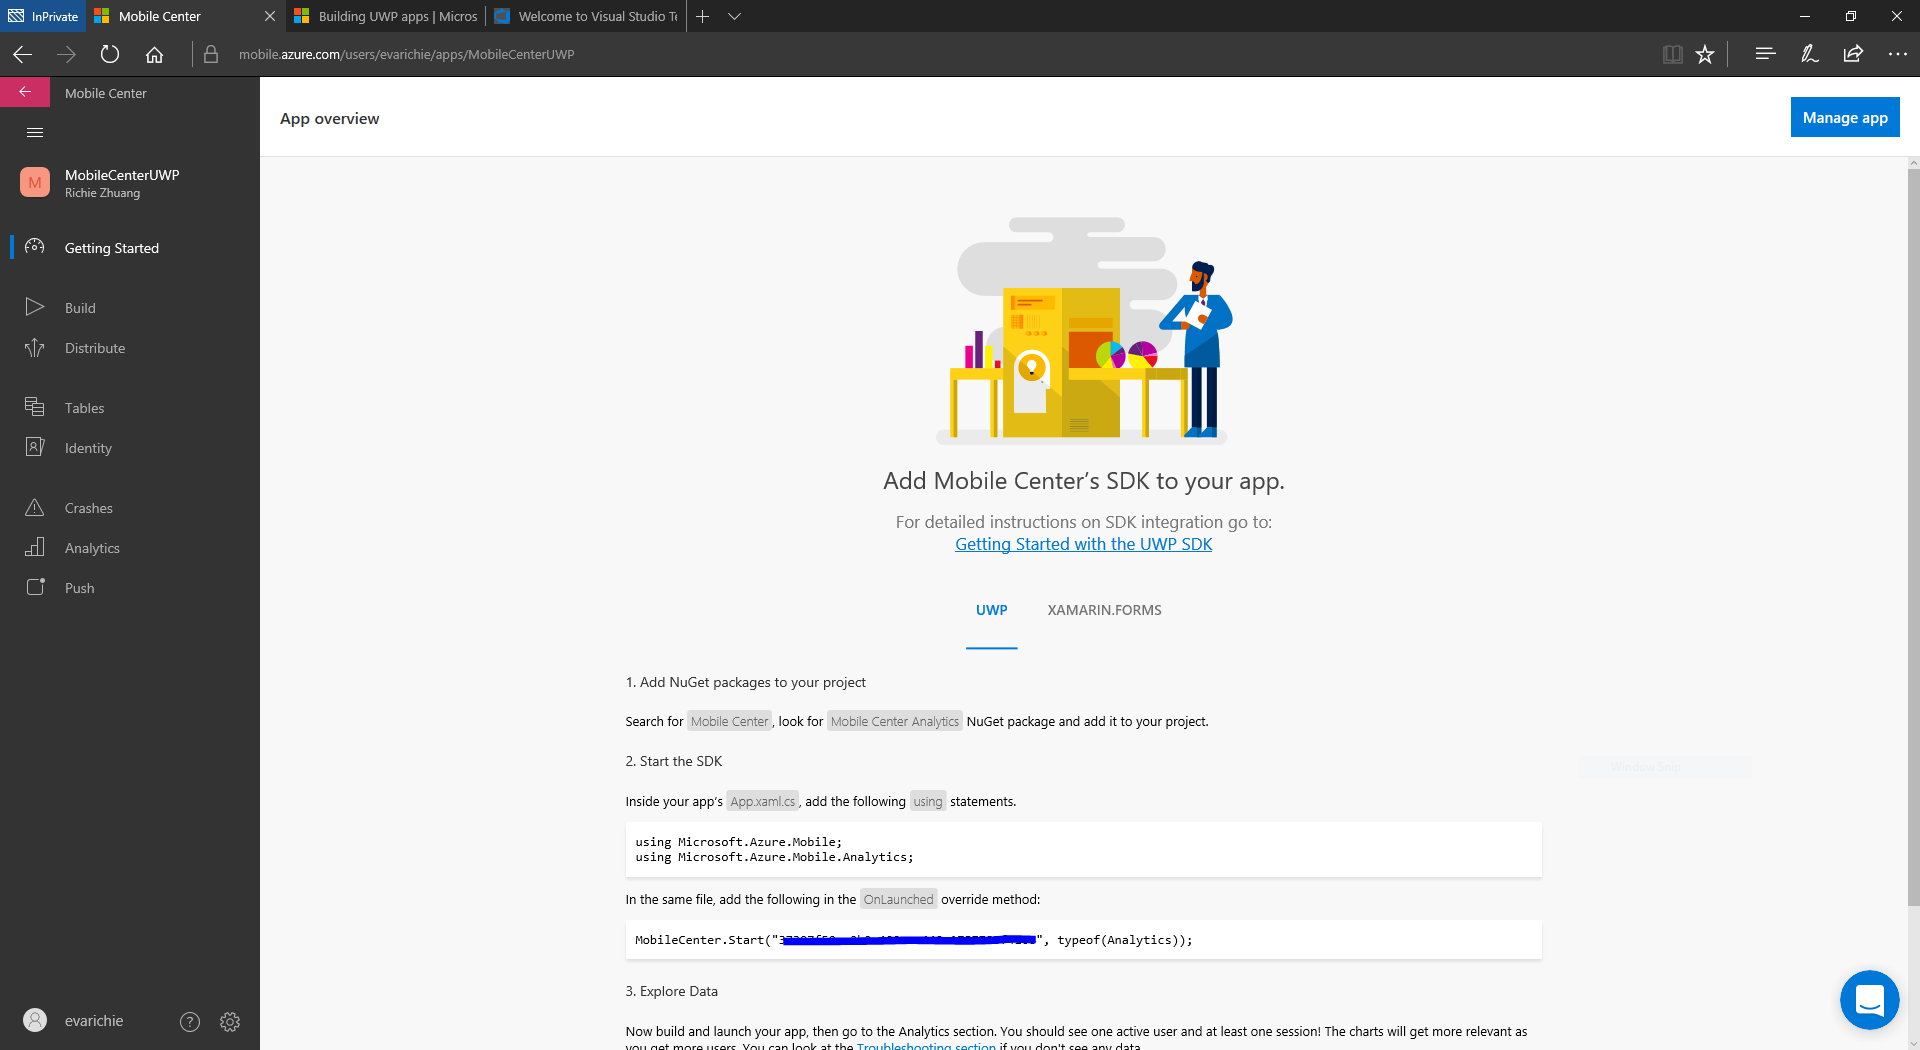
建立好UWP的App後會看到以下畫面
 使用Mobile Center的SDK非常簡單,只需要三大步驟
- 在NuGet上搜尋Mobile Center並且加入到想要整合Mobile Center的UWP app
- 在App.xaml.cs的命名空間加入
using Microsoft.Azure.Mobile;
using Microsoft.Azure.Mobile.Analytics;
- 然後就是在OnLaunched的方法中加入以下程式碼
protected override void OnLaunched(LaunchActivatedEventArgs e)
        {
            MobileCenter.Start("請放入Mobile Center的ID", typeof(Analytics));

            // 下面程式碼如一般空白範本所建立一致。
            Frame rootFrame = Window.Current.Content as Frame;

            // Do not repeat app initialization when the Window already has content,
            // just ensure that the window is active
            if (rootFrame == null)
            {
                // Create a Frame to act as the navigation context and navigate to the first page
                rootFrame = new Frame();

                rootFrame.NavigationFailed += OnNavigationFailed;

                if (e.PreviousExecutionState == ApplicationExecutionState.Terminated)
                {
                    //TODO: Load state from previously suspended application
                }

                // Place the frame in the current Window
                Window.Current.Content = rootFrame;
            }

            if (e.PrelaunchActivated == false)
            {
                if (rootFrame.Content == null)
                {
                    // When the navigation stack isn't restored navigate to the first page,
                    // configuring the new page by passing required information as a navigation
                    // parameter
                    rootFrame.Navigate(typeof(Views.MainPage), e.Arguments);
                }
                // Ensure the current window is active
                Window.Current.Activate();
            }
        }
這邊就可以放入Mobile Center的SDK的ID,可以在上面圖片被藍色色筆蓋過去的部分。
這樣就是先把Mobile Center SDK在UWP上基礎的設定完成接下來介紹Mobile Center各個強大功能
Mobile Center之所以是HockeyApp的下一個接班人就是因為可以直接在Mobile Center做到持續性整合(CI)而不需要再去VSTS或是Jenkins...等的Build Server做設定。
到App的主選單可以看到左邊的選單中有個Build的選項
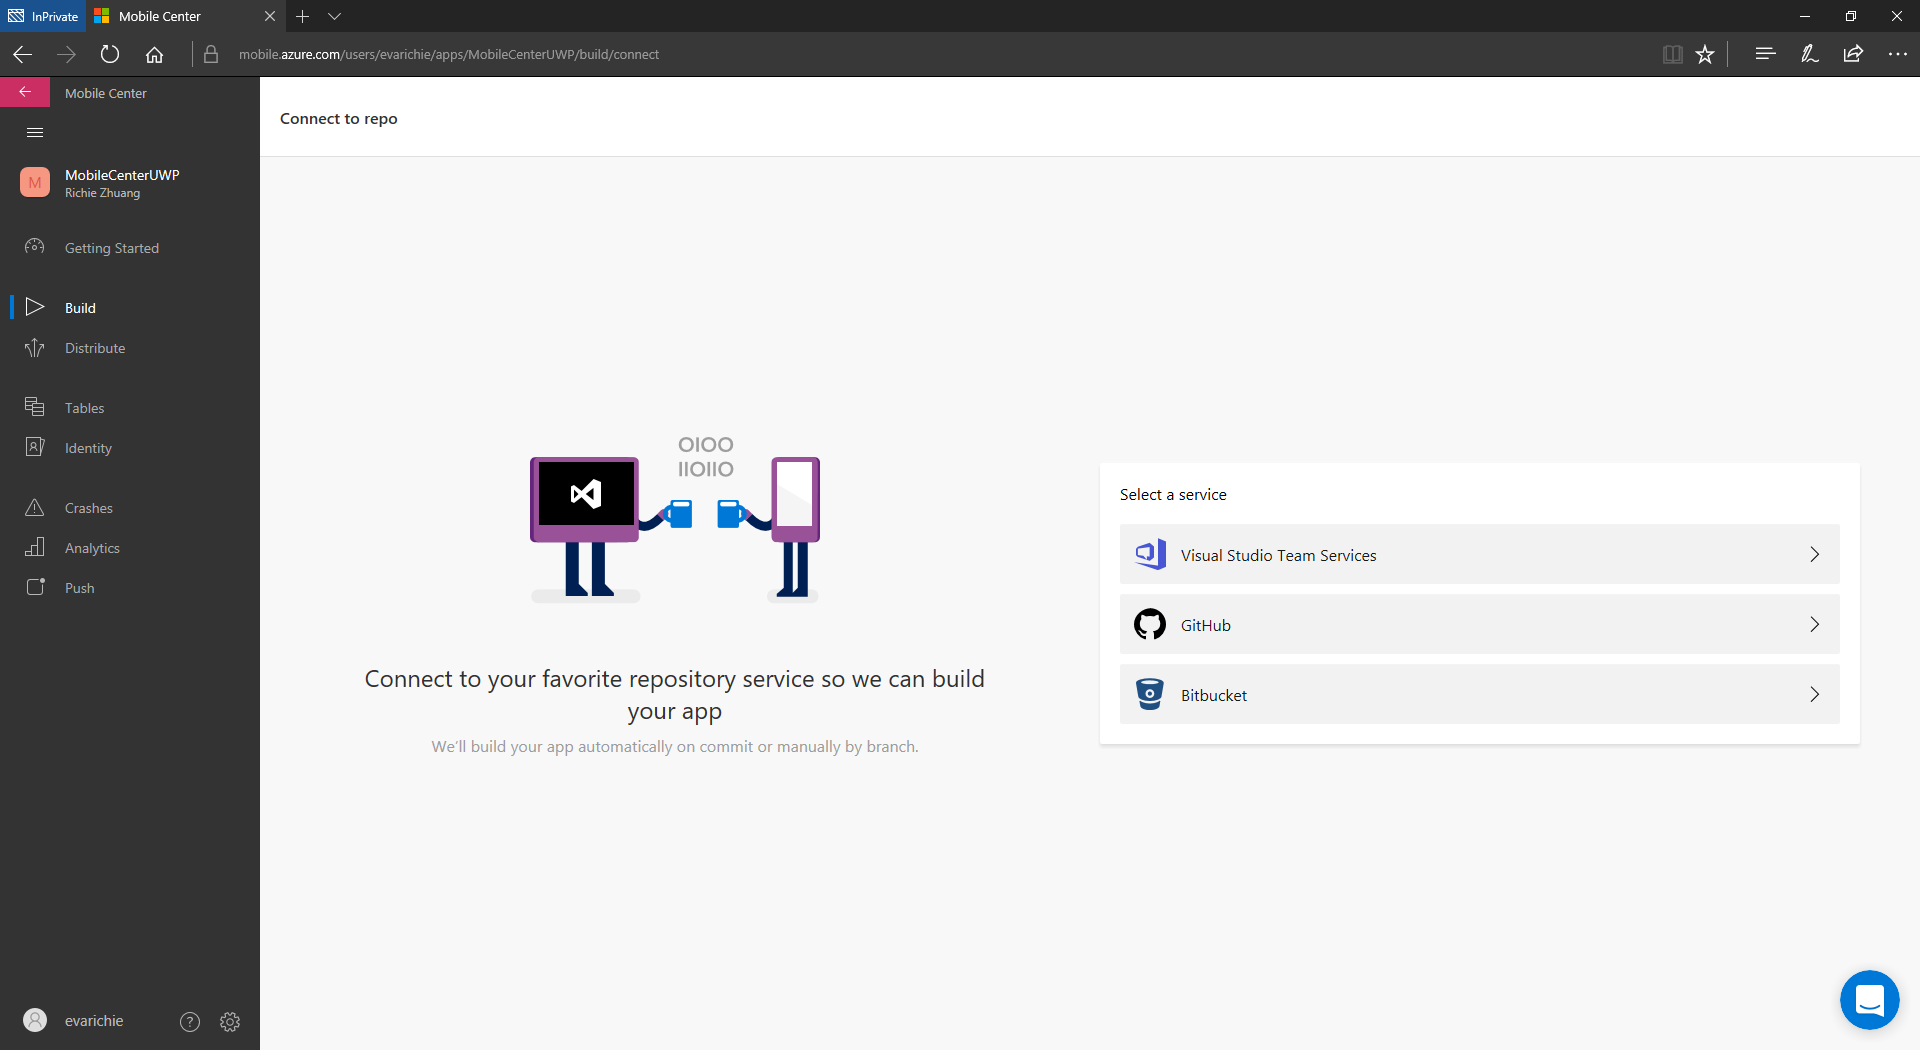 這邊就可以看到是要整合來自Visual Studio Team Services還是Github還是Bitbucket的Repository。這邊我遇到了無法跟我的VSTS做整合的問題,可以在這邊(https://docs.microsoft.com/en-us/mobile-center/build/connect )找到解法。
在連結我個人的VSTS的時候遇上了奇怪的問題!我無法連結到VSTS但在Github以及Bitbucket卻沒有問題!後來發現遇到的問題是連結到錯誤的Microsoft Account,登入VSTS的帳戶管理頁面(https://app.vsaex.visualstudio.com/me )如下圖所示
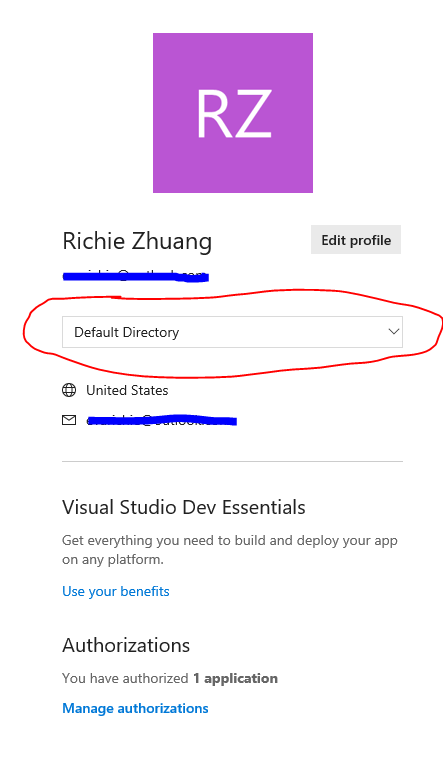 這邊會發現....會分成Default Directory以及Microsoft Account的選項!以我的狀況就是Mobile Center綁在我的Microsoft Account下而非Default Directory下.... (說真的不知道為什麼要分這兩個...) Revoke之後重新連結就可以抓到我預設的VSTS。
接者連接成功之後就可以看到連結成功的Repository列表,如下圖
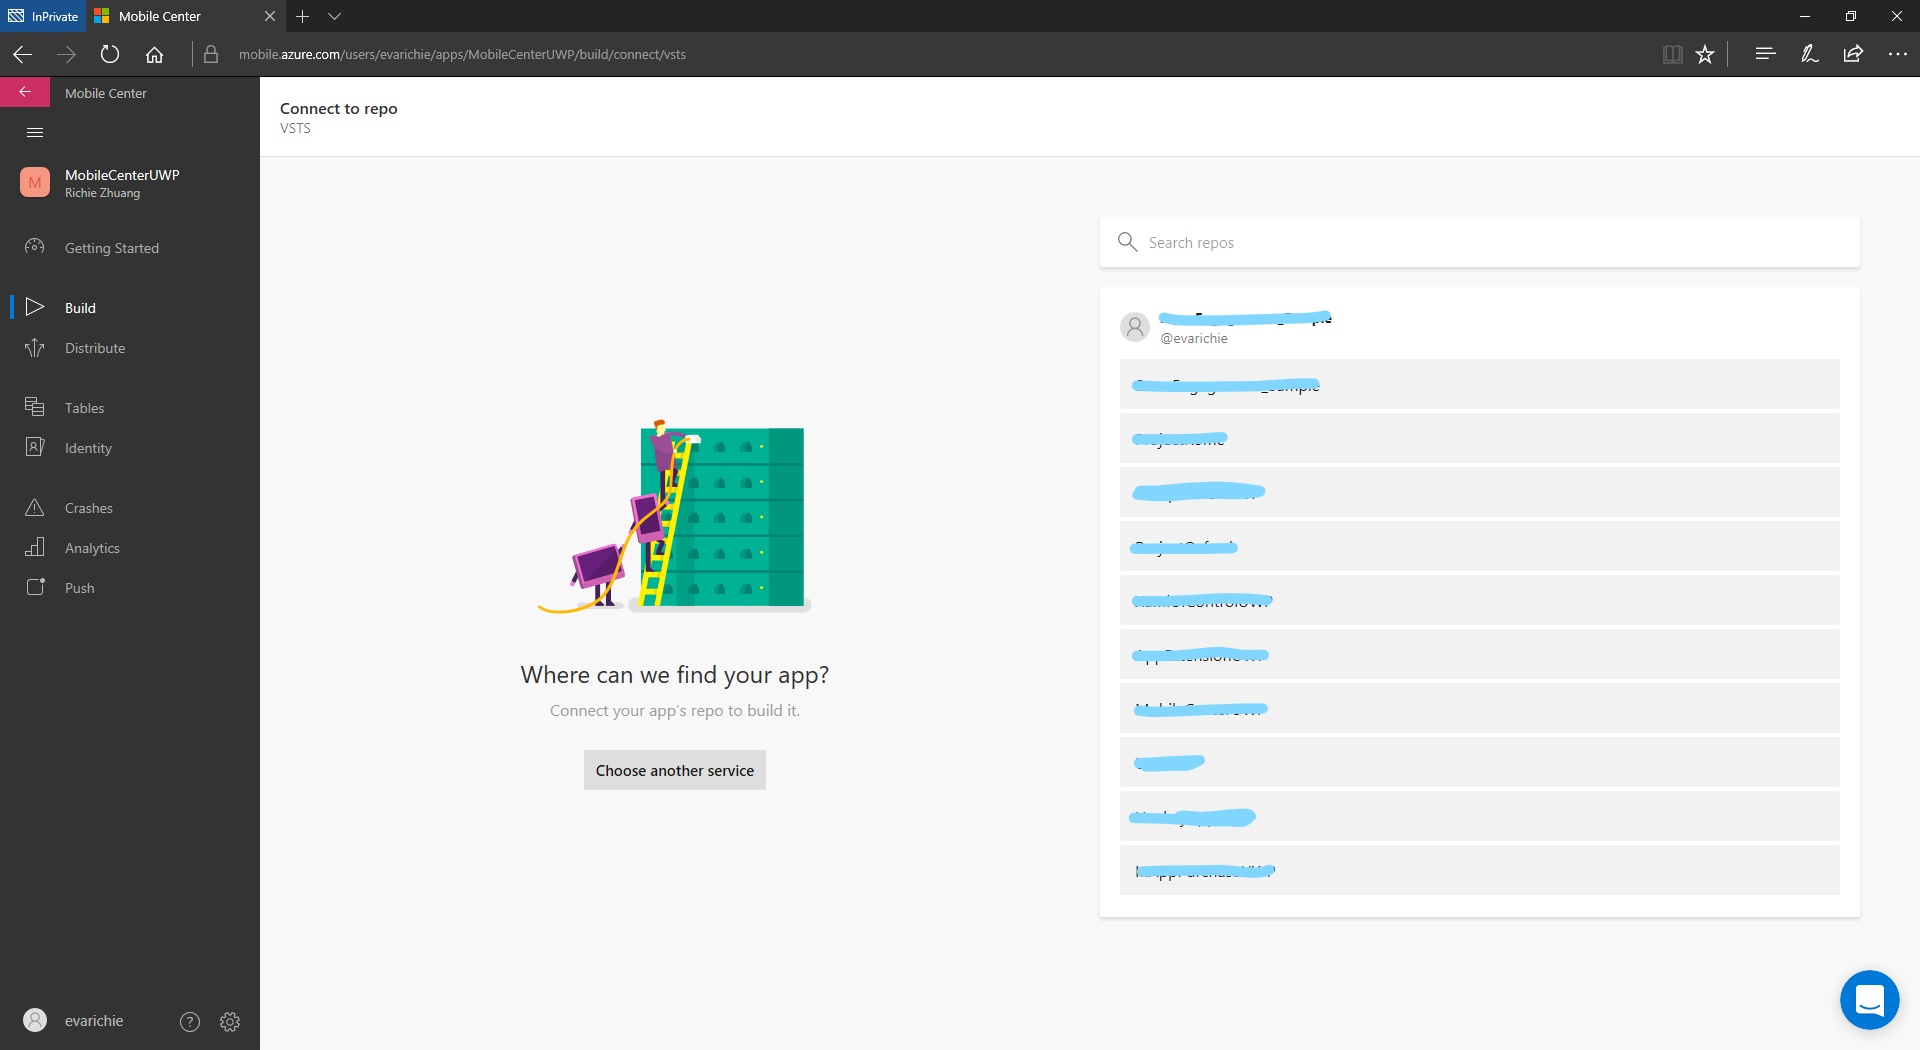
然後直接選擇想要連結的Repository,就會到下圖
這邊就可以看到所有的Branch以及Commit紀錄和是否有使用Mobile Center 建置的狀態。 這邊直接選擇號你要的Branch之後可以看到如下的Branch設定頁面。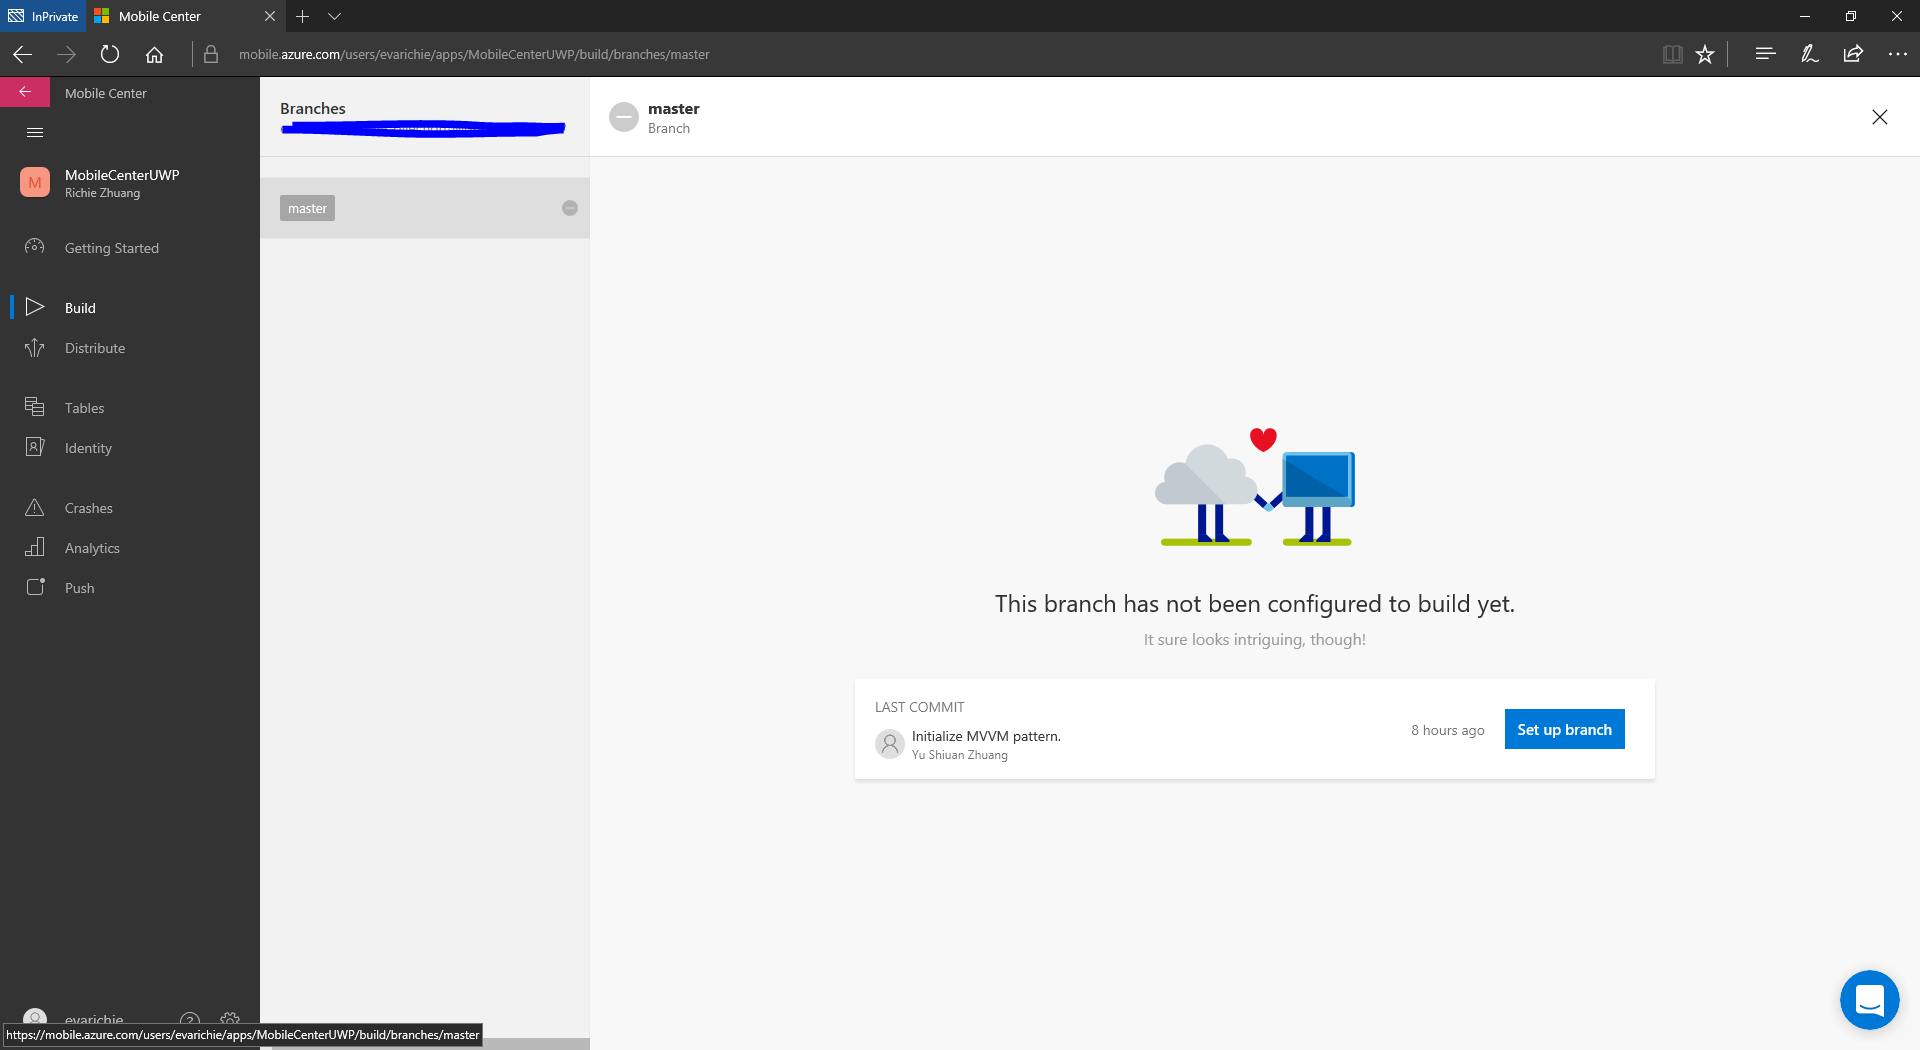
按下Set up branch之後可看到右側跳出的選單,這邊就是UWP可以調整建置的相關選項。這邊非常好的一個設計就是提供Temporary Sign的功能,在UWP的Build會需要pfx的憑證檔案。在Mobile Center的Build不需要把建立範本所使用的Temporary的簽證放入到gitignore的清單。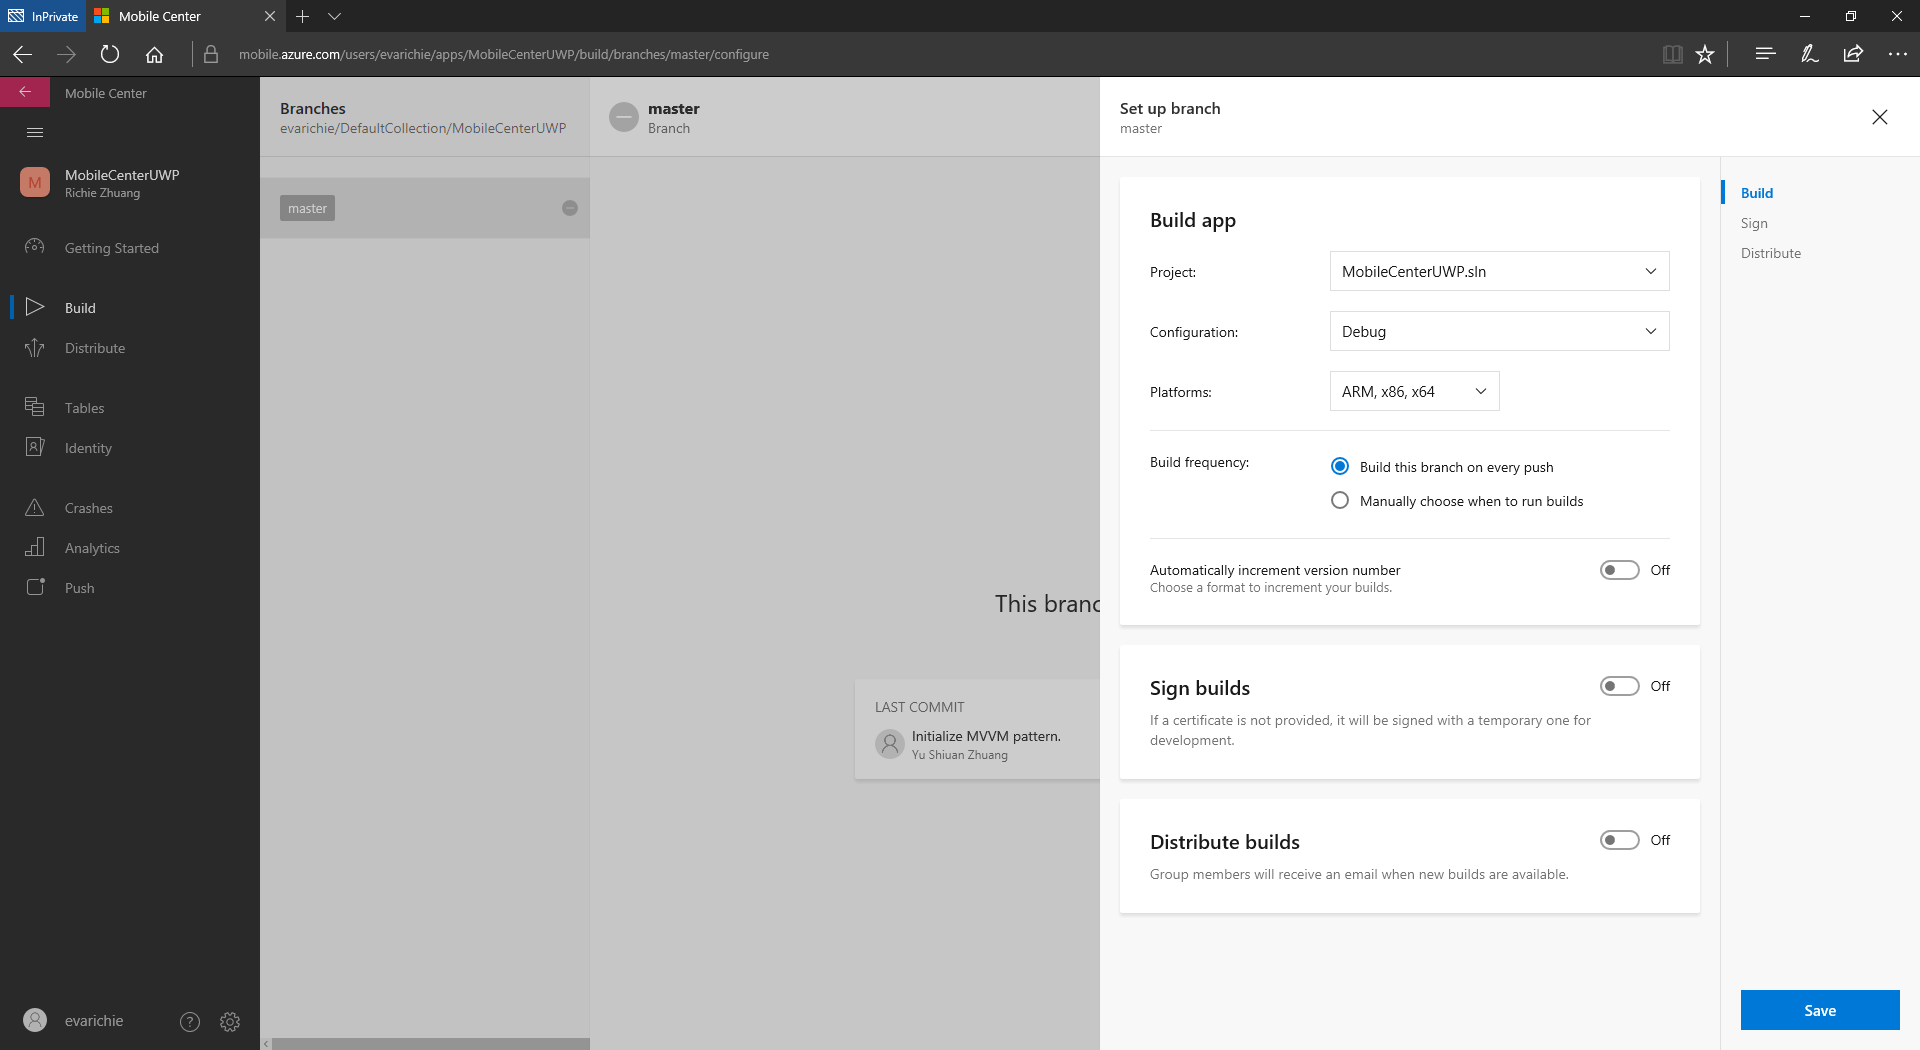
設定好之後就可以直接儲存並且可以開始建置拉~如下圖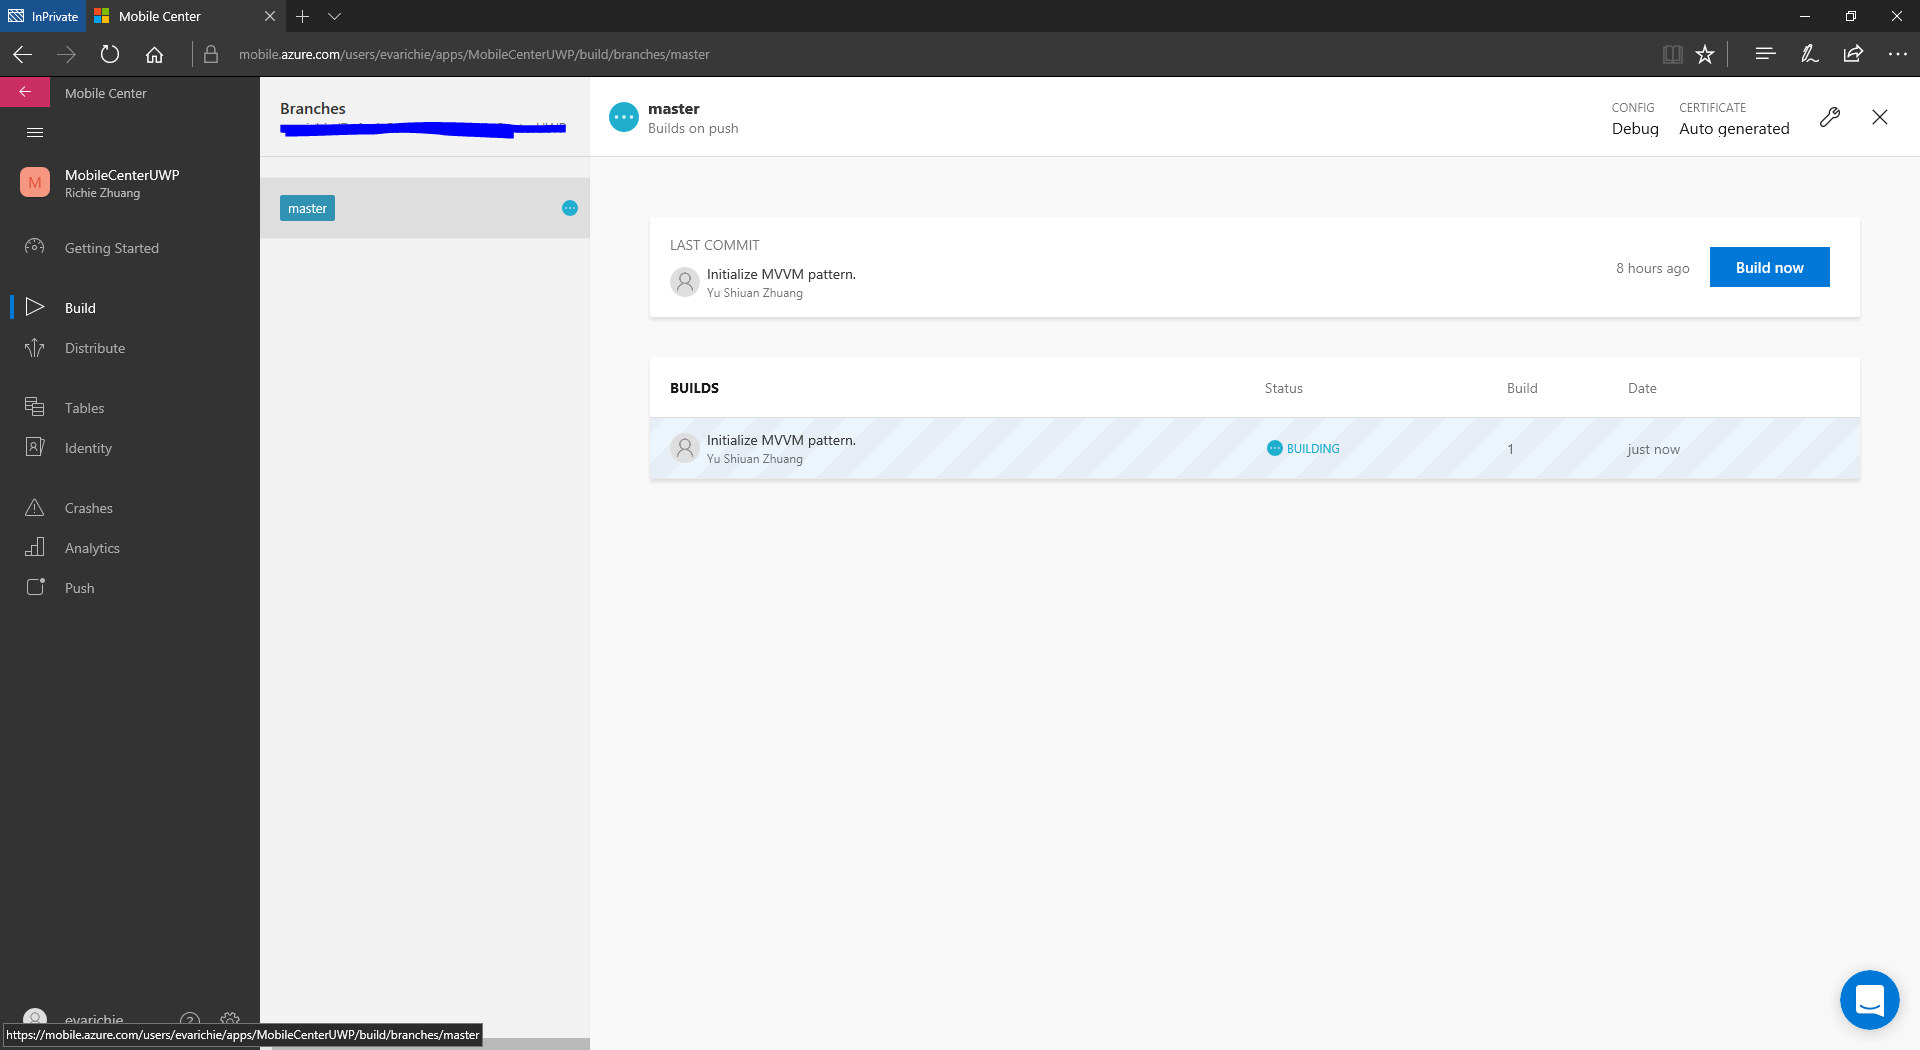
點進去建立的選項可以看到建置的Log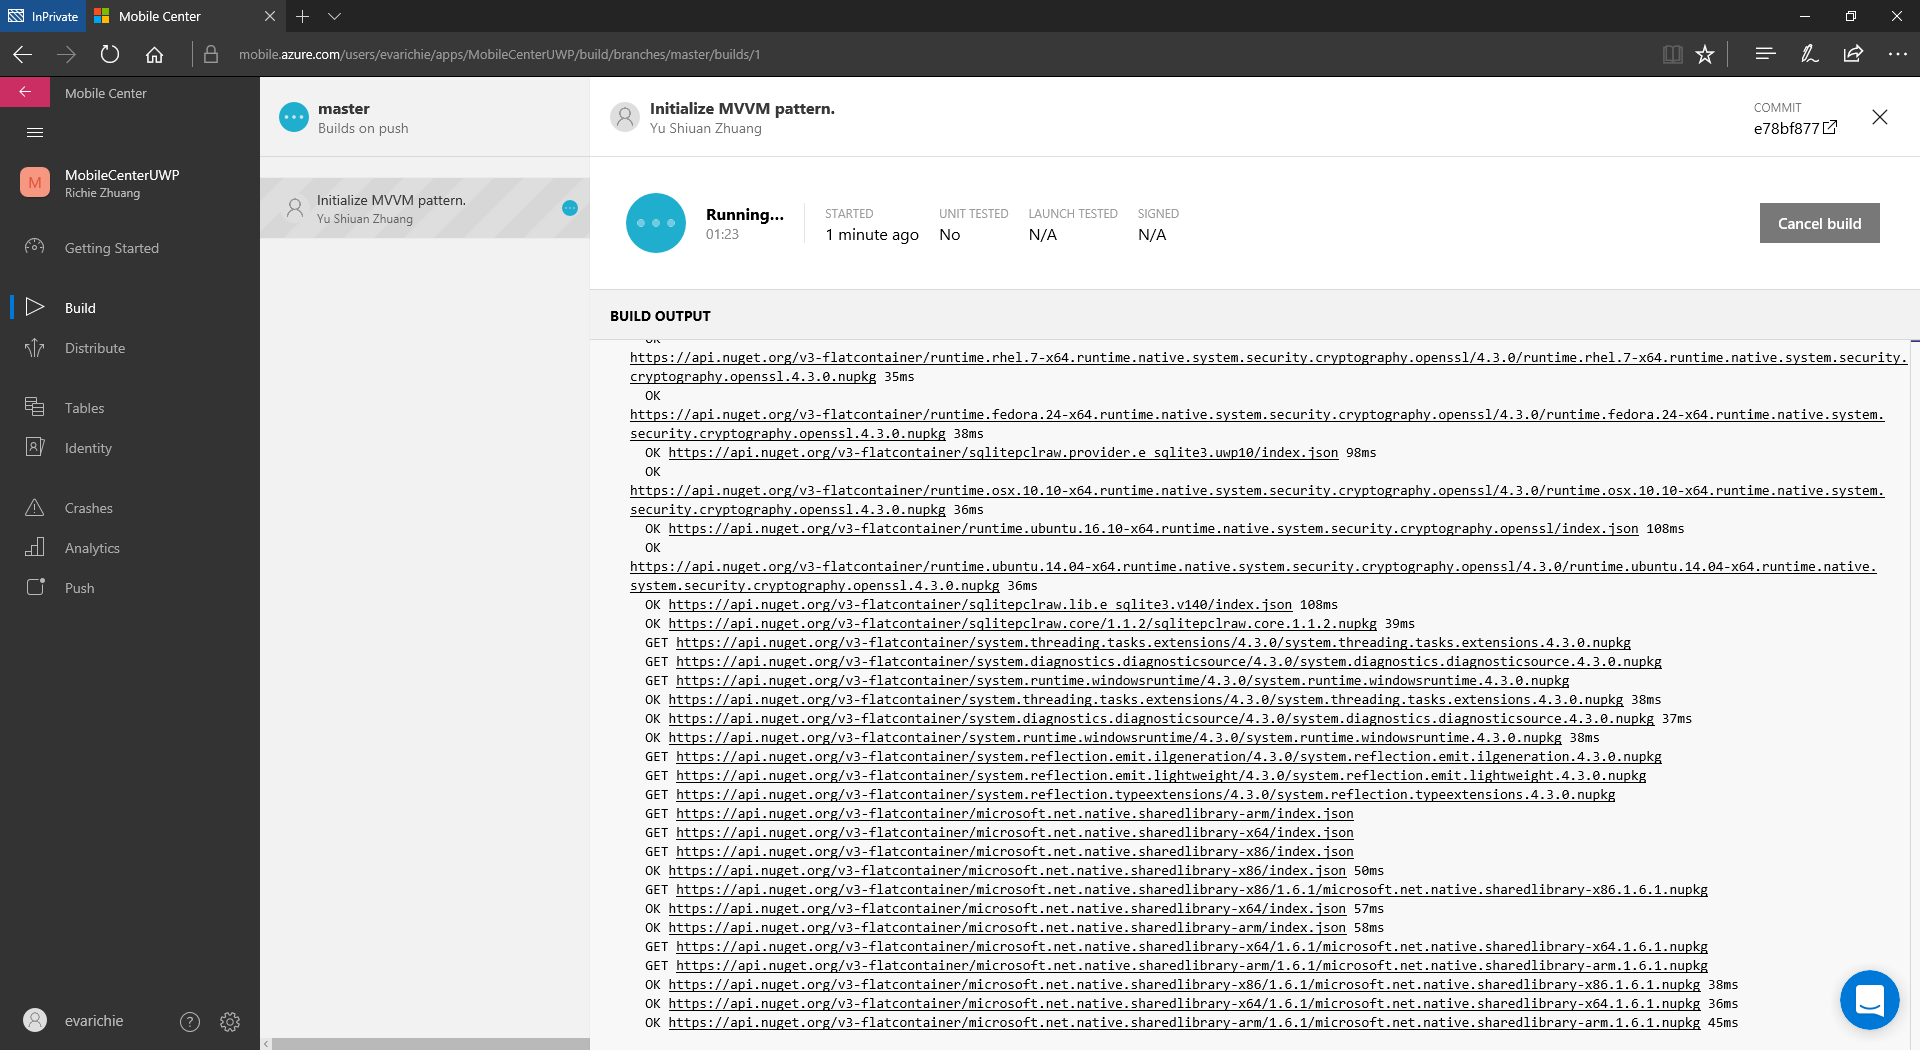 過段時間就可以看到結果拉
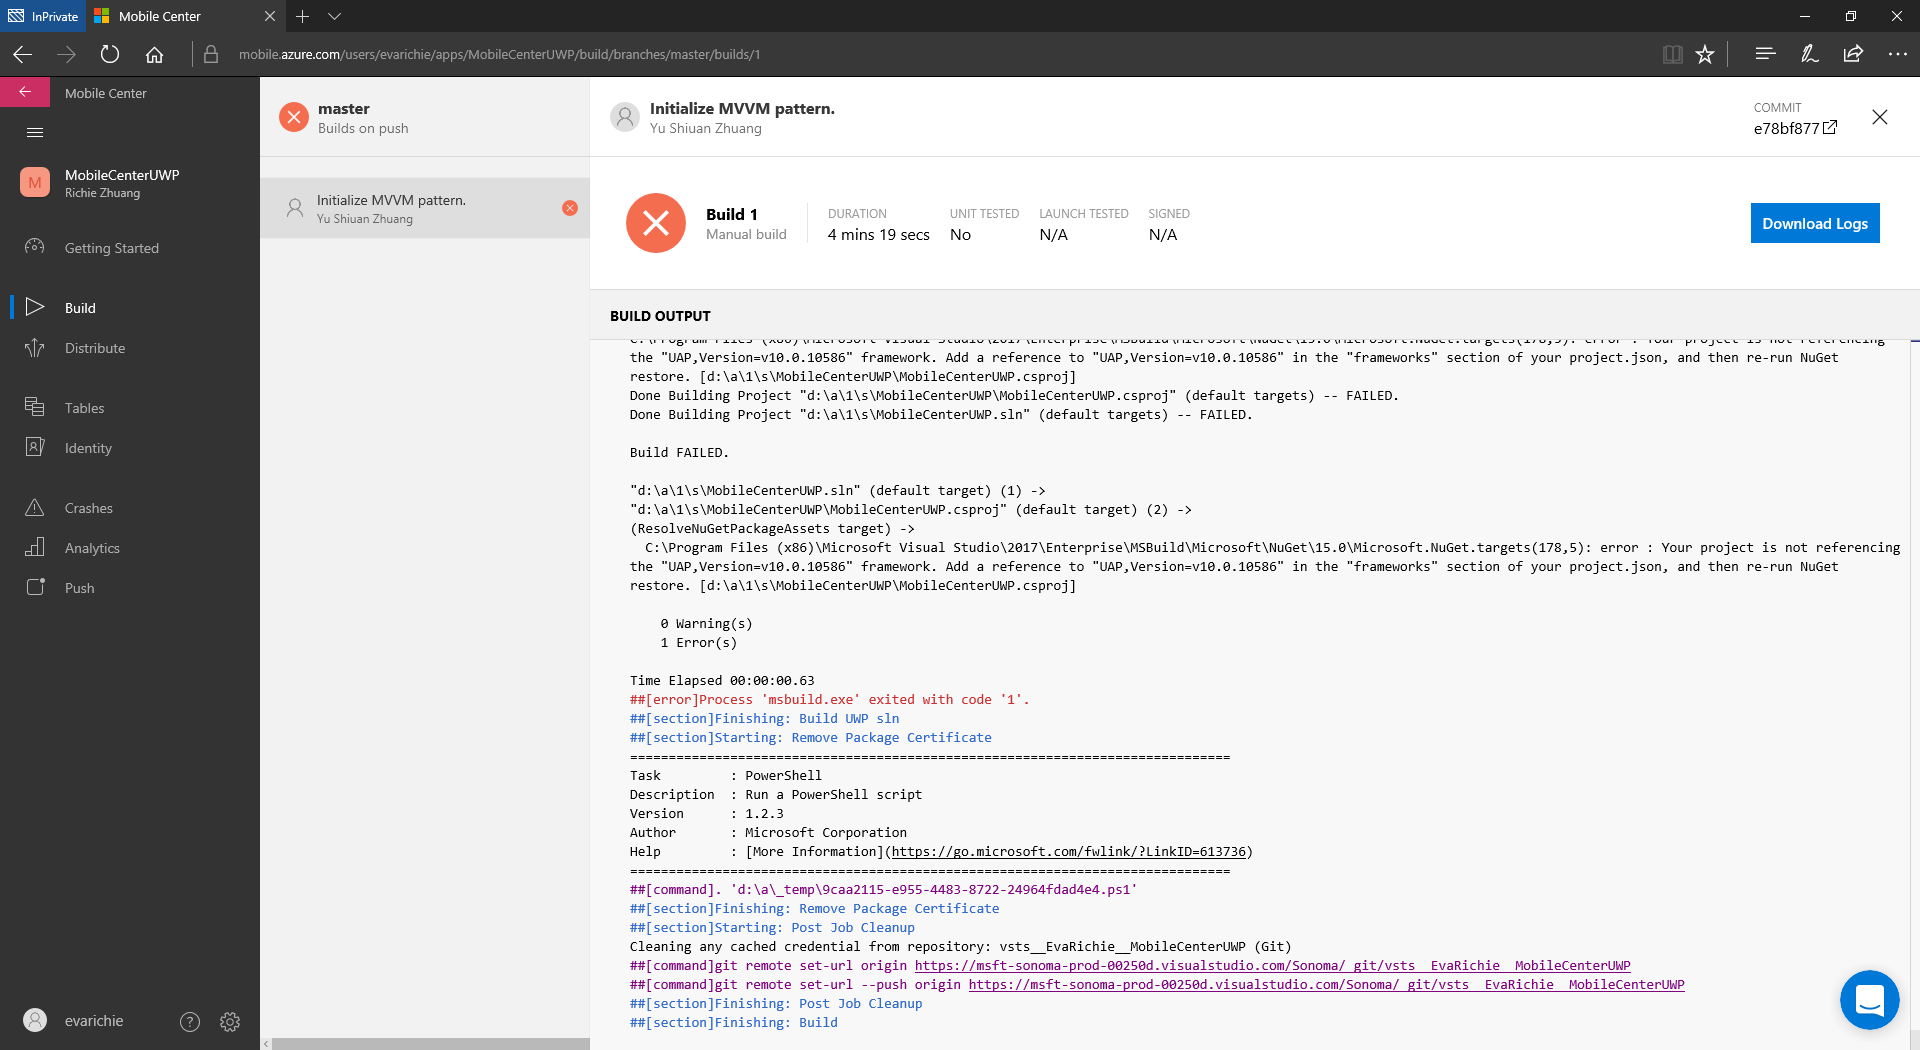 以上就是錯誤的顯示Log左上角可以讓你Download Log的Zip下來研究~
 Build 成功的畫面,可以下載Build成功的相關檔案而且也可以發佈(Distribute)的功能!
以上就是如何在Mobile Center上Build(建置)UWP的專案的流程,下一篇的Mobile Center會介紹發佈(Distribute)的功能。 整體來說Mobile Center與其他相關功能的整合更加直覺便利!
在使用Mobile Center目前除了遇到Repository無法連結到 VSTS的問題還有目前UWP專案設定Minimal version與Target version若是不同的版本就會無法Build成功!
經過測試現在版本的Mobile Center已經可以支援不同Target version 和 Minimal version的設定了!
***以上Code以及說明都有可能隨著Windows 10 的版本以及Visual Studio 版本有所調整!***
參考資料 Microsoft Docs
下次再分享Windows 10 的新技術拉~