[Windows 8 App]圖形-----【Geometry】
使用Geometry能產生二為形狀的幾何圖形
Geometry分兩類:簡單的幾何圖形和複合幾何圖形
簡單的幾何圖形:【LineGeometry】、【RectangleGeometry】、【EllipseGeometry】,這些可以用來建立基本的幾何圖形,直線、矩形、圓形
複合幾何圖形:【GeometryGroup】可以將所擁有的幾何圖形組合起來
<一>簡單的幾何圖形:LineGeometry
LineGeometry是指定起點和終點來建立直線。
我們就用範例來簡單的看一下LineGeometry
新增一個空白專案,取名為【LineGeometry】,開啟【MainPage.xaml】
程式碼如下:
<Page
    x:Class="LineGeometry.MainPage"
    xmlns="http://schemas.microsoft.com/winfx/2006/xaml/presentation"
    xmlns:x="http://schemas.microsoft.com/winfx/2006/xaml"
    xmlns:local="using:LineGeometry"
    xmlns:d="http://schemas.microsoft.com/expression/blend/2008"
    xmlns:mc="http://schemas.openxmlformats.org/markup-compatibility/2006"
    mc:Ignorable="d">
    <Grid Background="{StaticResource ApplicationPageBackgroundThemeBrush}">
        <Path Stroke="Red" StrokeThickness="10">
            <Path.Data>
                <LineGeometry StartPoint="600,100" EndPoint="500,500" />
            </Path.Data>
        </Path>
    </Grid>
</Page>
Stroke表示線條顯示的顏色
StrokeThickness表示線條的粗細
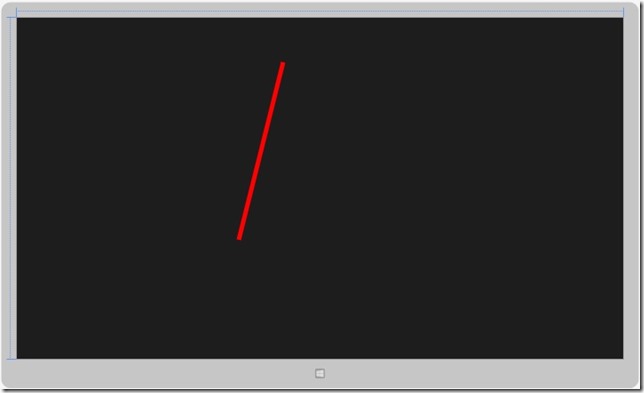
執行後出現的畫面:紅色直線
<二>簡單的幾何圖形:RectangleGeometry
RectangleGeometry是由Rect屬性來定義,Rect屬性有四個參數來定義位置、高度、寬度,前面二個參數是起點座標位置,後面二點是高度與寬度
新增一個空白專案,取名為【RectangleGeometry】,開啟【MainPage.xaml】來實作在Grid元素中
我們就來做一個範例給大家看看,程式碼如下:
<Page
    x:Class="RectangleGeometry.MainPage"
    xmlns="http://schemas.microsoft.com/winfx/2006/xaml/presentation"
    xmlns:x="http://schemas.microsoft.com/winfx/2006/xaml"
    xmlns:local="using:RectangleGeometry"
    xmlns:d="http://schemas.microsoft.com/expression/blend/2008"
    xmlns:mc="http://schemas.openxmlformats.org/markup-compatibility/2006"
    mc:Ignorable="d">

    <Grid Background="{StaticResource ApplicationPageBackgroundThemeBrush}">
        <Path Fill="Yellow" Stroke="Red" StrokeThickness="5">
            <Path.Data>
                <RectangleGeometry Rect="400,400,200,200" />
            </Path.Data>
        </Path>
    </Grid>
</Page>
<Path Fill="Yellow" Stroke="Red" StrokeThickness="5">這行呢,Fill是表示要填滿此RectangleGeometry的顏色,Stroke和StrokeThickness與上面介紹的LineGeometry一樣
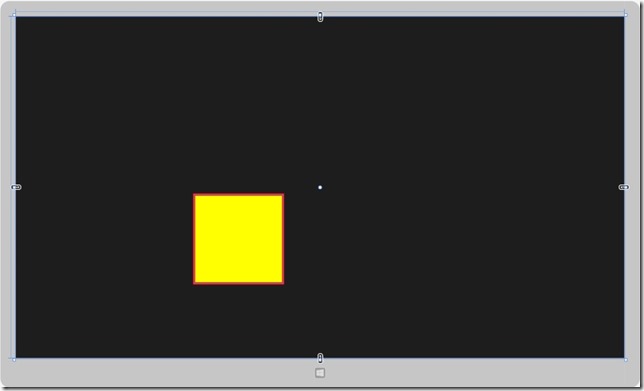
執行後出現的畫面:紅色外框,黃色填滿
<三>簡單的幾何圖形:EllipseGeometry
EllipseGeometry是用來繪製橢圓形的,Center屬性是表示圓心的座標,RadiusX和RadiusY是表示X軸和Y軸的半徑長度
我們來用實作一個橢圓形的範例,新增一個空白專案,取名為【EllipseGeometry】,開啟【MainPage.xaml】
程式碼如下:
<Page
    x:Class="EllipseGeometry.MainPage"
    xmlns="http://schemas.microsoft.com/winfx/2006/xaml/presentation"
    xmlns:x="http://schemas.microsoft.com/winfx/2006/xaml"
    xmlns:local="using:EllipseGeometry"
    xmlns:d="http://schemas.microsoft.com/expression/blend/2008"
    xmlns:mc="http://schemas.openxmlformats.org/markup-compatibility/2006"
    mc:Ignorable="d">
    <Grid Background="{StaticResource ApplicationPageBackgroundThemeBrush}">
        <Path Fill="Yellow" Stroke="Green" StrokeThickness="20">
            <Path.Data>
                <EllipseGeometry Center="680,380" RadiusX="300" RadiusY="300" />
            </Path.Data>
        </Path>
    </Grid>
</Page>
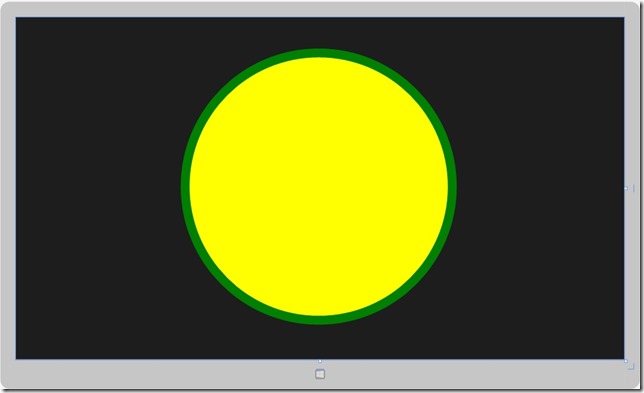
執行後出現的畫面:綠色外框,黃色填滿
<四>複合幾何圖形:GeometryGroup
GeometryGroup是將Geometry的子類別的組合體,我們做個範例來展示如何將Geometry組合起來
新增一個空白專案,取名為【EllipseGeometry】,開啟【MainPage.xaml】
程式碼如下:
<Page
    x:Class="GeometryGroup.MainPage"
    xmlns="http://schemas.microsoft.com/winfx/2006/xaml/presentation"
    xmlns:x="http://schemas.microsoft.com/winfx/2006/xaml"
    xmlns:local="using:GeometryGroup"
    xmlns:d="http://schemas.microsoft.com/expression/blend/2008"
    xmlns:mc="http://schemas.openxmlformats.org/markup-compatibility/2006"
    mc:Ignorable="d">
    <Grid Background="{StaticResource ApplicationPageBackgroundThemeBrush}">
        <Path Fill="Yellow" Stroke="Green" StrokeThickness="7">
            <Path.Data>
                <GeometryGroup FillRule="EvenOdd">
                    <EllipseGeometry Center="500,300" RadiusX="200" RadiusY="200" />
                    <EllipseGeometry Center="600,300" RadiusX="200" RadiusY="200" />
                    <EllipseGeometry Center="550,300" RadiusX="100" RadiusY="100" />
                </GeometryGroup>
            </Path.Data>
        </Path>
    </Grid>
</Page>
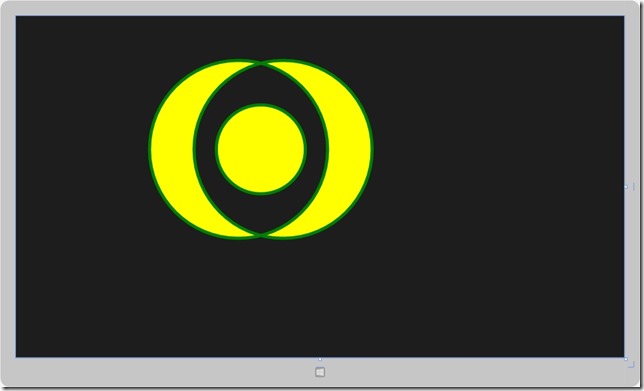
當幾何圖形交錯再一起時,可以使用<GeometryGroup FillRule="EvenOdd">
FillRule有二種值,EvenOdd和Nonzero,EvenOdd表示偶數交錯的部分,不會填滿,相反的,基數的部分,會填滿
Nonzero表示在任何情況下都會填滿
繪製復合的圖形部分,由上面介紹的LineGeometry、RectangleGeometry、EllipseGeometry做結合,發揮自己的創意繪製出不一樣的圖形
下面這是我繪製的圖形
設計畫面:繪製出三的圓,交錯再一起所產生的畫面


