[Windows 8 App]內容編排的控制項-----ScrollViewer、SemanticZoom
ScrollViewer控制項
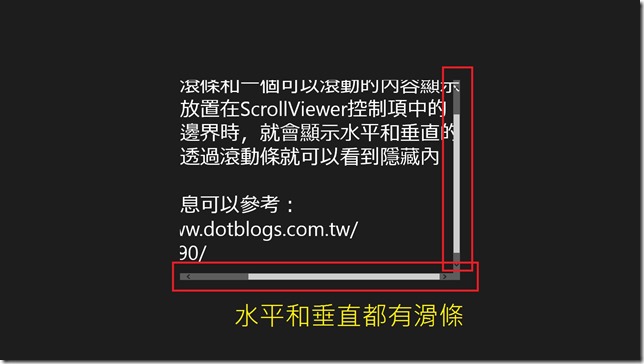
ScrollViewer控制項包含一個水平滾條、一個垂直滾條和一個可以滾動的內容顯示區域
當放置在ScrollViewer控制項中的內容超過邊界時,就會顯示水平和垂直的滾動條
透過滾動條就可以看到隱藏內容
ScrollViewer的常用屬性
| 屬性 | 屬性介紹 |
| VerticalScrollBarVisibility | 設置垂直滾動條的可見性 |
| HorizontalScrollBarVisibility | 設置水平滾動條的可見性 |
| IsEnabled | 設置ScrollViewer是否使用滾動條 |
VerticalScrollBarVisibility和HorizontalScrollBarVisibility的四個屬性值
分別是:Auto、Disabled、Hidden和Visible
下面透過範例來說明ScrollViewer
新增一個專案【ScrollViewer】,在【MainPage.xaml】的Grid中輸入以下程式碼:
<Page
    x:Class="ScrollViewer.MainPage"
    xmlns="http://schemas.microsoft.com/winfx/2006/xaml/presentation"
    xmlns:x="http://schemas.microsoft.com/winfx/2006/xaml"
    xmlns:local="using:ScrollViewer"
    xmlns:d="http://schemas.microsoft.com/expression/blend/2008"
    xmlns:mc="http://schemas.openxmlformats.org/markup-compatibility/2006"
    mc:Ignorable="d">

    <Grid Background="{StaticResource ApplicationPageBackgroundThemeBrush}">
        <ScrollViewer Width="700" Height="500" HorizontalScrollBarVisibility="Auto" VerticalScrollBarVisibility="Auto">
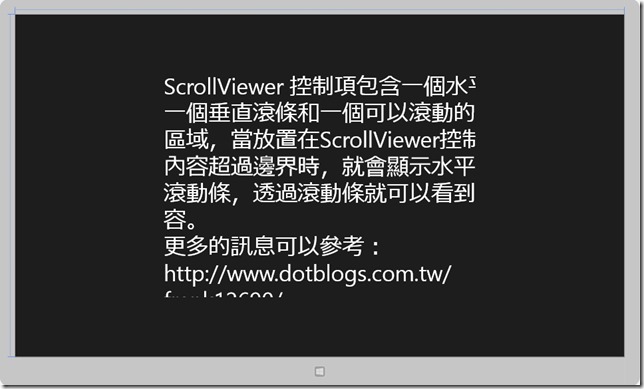
            <TextBlock Width="900" Height="600" TextWrapping="Wrap" FontSize="50" Text="ScrollViewer 控制項包含一個水平滾條、一個垂直滾條和一個可以滾動的內容顯示區域,當放置在ScrollViewer控制項中的內容超過邊界時,就會顯示水平和垂直的滾動條,透過滾動條就可以看到隱藏內容。                                                        更多的訊息可以參考:                                   http://www.dotblogs.com.tw/frank12690/" />
        </ScrollViewer>
    </Grid>
</Page>
設計畫面如下:
解析【MainPage.xaml】的程式碼
在Grid中新增一個ScrollViewer的控制項
Width設為 700 Height設為 500 HorizontalScrollBarVisibility設為Auto(自動) VerticalScrollBarVisibility設為 Auto(自動)
然後在ScrollViewer的控制項中新增一個TextBlock的控制項
Width設為 900 Height設為 600 TextWrapping設為 Wrap(自動換行) FontSize設為 50(文字大小)
因為TextBlock控制項的長度與寬度都大於ScrollViewer控制項
所以執行畫面就會有滾動的滑條效果
專案的執行結果:
SemanticZoom控制項
SemanticZoom控制項是有相關聯的縮小圖示和放大圖示所組成
縮小圖示用來顯示內容索引
放大縮圖可以用來顯示內容的詳細訊息
使用者可以根據閱讀的習慣在這兩種圖示間自由切換
SemanticZoom的常用屬性
| 屬性 | 屬性介紹 |
| IsZoomedInViewActive | SemanticZoom控制項是否為活動圖示 |
| ZoomedinView | SemanticZoom控制項的放大圖示內容 |
| ZoomedOutView | SemanticZoom控制項的縮小圖示內容 |
SemanticZoom的常用事件
| 事件 | 事件介紹 |
| ViewChangeCompleted | 圖示改變完成是觸發 |
| ViewChangeStarted | 圖示開始發生改變時觸發 |
接下來做一個SemanticZoom的範例
首先,新增一個專案【SemanticZoom】,在專案底下新增一個資料夾【Images】
在【Images】的資料夾下放5張圖片,開啟【MainPage.xaml】準備寫程式碼
【MainPage.xaml】的程式碼如下:
<Page
    x:Class="SemanticZoom.MainPage"
    xmlns="http://schemas.microsoft.com/winfx/2006/xaml/presentation"
    xmlns:x="http://schemas.microsoft.com/winfx/2006/xaml"
    xmlns:local="using:SemanticZoom"
    xmlns:d="http://schemas.microsoft.com/expression/blend/2008"
    xmlns:mc="http://schemas.openxmlformats.org/markup-compatibility/2006"
    mc:Ignorable="d">

    <Grid Background="{StaticResource ApplicationPageBackgroundThemeBrush}">
        <SemanticZoom IsZoomedInViewActive="False">
            <SemanticZoom.ZoomedOutView>
                <!--在縮小的圖示中新增ListView控制項,並且在ListView控制項中放置一張圖片-->
                <ListView VerticalAlignment="Center" Width="200" ScrollViewer.IsVerticalScrollChainingEnabled="False" HorizontalAlignment="Center">
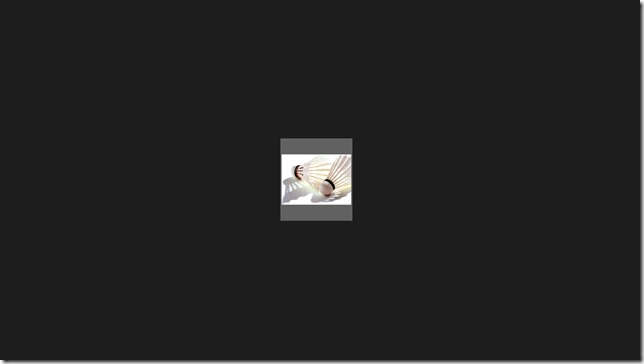
                    <Image Source="images/0.jpg" Width="200" Height="200" />
                </ListView>
            </SemanticZoom.ZoomedOutView>
            <SemanticZoom.ZoomedInView>
                <!--在放大的圖示中新增ListView控制項,並且在ListView控制項中放置五張圖片-->
                <ListView VerticalAlignment="Center" ScrollViewer.IsVerticalScrollChainingEnabled="False" HorizontalAlignment="Center">
                    <StackPanel Orientation="Horizontal" Width="1236">
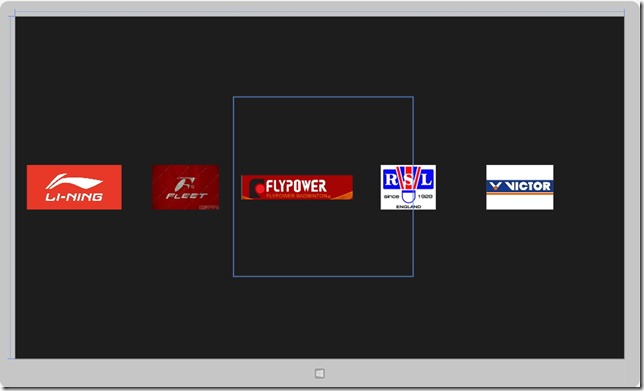
                        <Image Source="images/1.jpg" Width="250" Height="100" />
                        <Image Source="images/2.jpg" Width="250" Height="100" />
                        <Image Source="images/3.jpg" Width="250" Height="100" />
                        <Image Source="images/4.jpg" Width="250" Height="100" />
                        <Image Source="images/5.jpg" Width="250" Height="100" />
                    </StackPanel>
                </ListView>
            </SemanticZoom.ZoomedInView>
        </SemanticZoom>
    </Grid>
</Page>
設計的畫面:
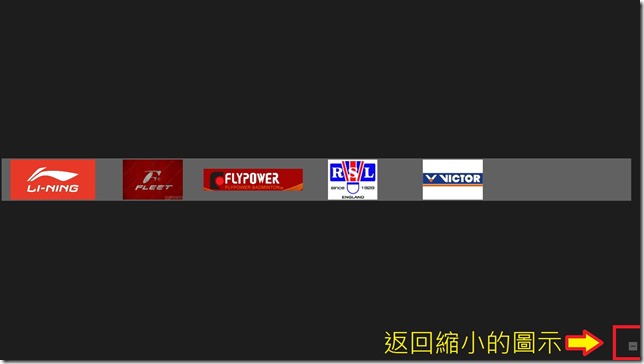
專案執行後的畫面
這是縮小的圖示畫面
這是放大的圖示畫面
