[Windows 8 App]背景鎖屏----後台程式碼設定和顯示畫面
因為後台的份量比較多,所以我就拆開來詳細的介紹!!
前端的設計畫面請參考:
[Windows 8 App]背景鎖屏----前端畫面的設計
在寫後台的【MainPage.xaml.cs】的程式碼之前
必須要在前端的部分先引用下面三行程式碼
using Windows.Storage;
using Windows.Storage.Pickers;
using Windows.System.UserProfile;
在【MainPage.xaml.cs】裡面的MainPage類別中定義StorageFile類型的全域變數storageFile
全域變數storageFile用來存放使用者選擇的圖片,全域變數的storageFile程式碼如下:
public sealed partial class MainPage : Page
{
   StorageFile storageFile = null;
}
接下來定義"選擇圖片"按鈕的點擊事件處理方法SelectButton_Click()
程式碼如下:
private async void SelectButton_Click(object sender, RoutedEventArgs e)
        {
            //定義文件選取的對象
            FileOpenPicker openPicker = new FileOpenPicker();

            //設置文件的顯示方式
            openPicker.ViewMode = PickerViewMode.Thumbnail;

            //設置文件的開啟位置
            openPicker.SuggestedStartLocation = PickerLocationId.PicturesLibrary;

            //設置文件選取器中顯示的文件類型
            openPicker.FileTypeFilter.Add(".jpg");
            openPicker.FileTypeFilter.Add(".jpeg");
            openPicker.FileTypeFilter.Add(".png");

            storageFile = await openPicker.PickSingleFileAsync();
            if (storageFile != null)
            {
                Output.Text = "您以選擇名為" + storageFile.Name + "的文件";
            }
            else
            {
                Output.Text = "您沒有選擇圖片";
            }
        }
在上面的程式碼中,首先建立了FileOpenPicker類型的對象openPicker
接下來設定openPicker對象的ViewMode屬性值為PickerViewMode類型的Thumbnail值
表示將文件選擇器的顯示模式為縮小圖
透過SuggestedStartLocation屬性值來設定文件選擇器開啟時的位置為當前的圖片資料夾
接著使用openPicker對象的FileTypeFilter屬性來指定使用者在選擇圖片中可以看到的圖片類型
最後使用openPicker對象的PickSingleFileAsync方法來選擇文件
將返回的StorageFile類型的變數儲存在之前定義好的全域變數storageFile中
同時在前台介面中顯示選擇文件的名稱
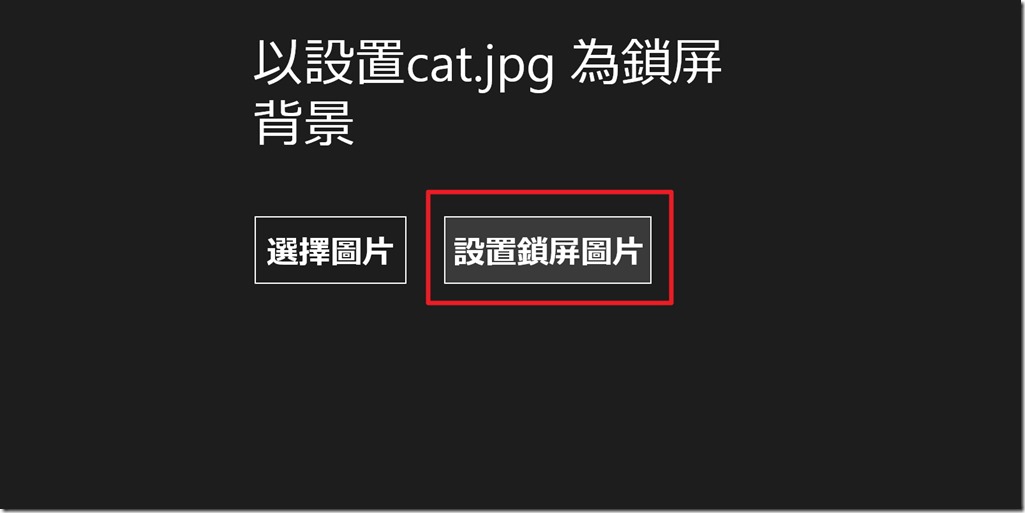
下面是"鎖屏背景"按鈕的Click事件處理方法SetButton_Click
方法中透過調整LockScreen類別的SetImageFileAsync方法將所選的圖片設為鎖屏背景
並在前台顯示設定成功的訊息,程式碼如下:
private async void SetButton_Click(object sender, RoutedEventArgs e)
{
   await LockScreen.SetImageFileAsync(storageFile);
   Output.Text = string.Format("以設置{0} 為鎖屏背景", storageFile.Name);
}
完整的【MainPage.xaml.cs】的程式碼:
using System;
using System.Collections.Generic;
using System.IO;
using System.Linq;
using Windows.Foundation;
using Windows.Foundation.Collections;
using Windows.UI.Xaml;
using Windows.UI.Xaml.Controls;
using Windows.UI.Xaml.Controls.Primitives;
using Windows.UI.Xaml.Data;
using Windows.UI.Xaml.Input;
using Windows.UI.Xaml.Media;
using Windows.UI.Xaml.Navigation;
using Windows.Storage;
using Windows.Storage.Pickers;
using Windows.System.UserProfile;

// 空白頁項目範本已記錄在 http://go.microsoft.com/fwlink/?LinkId=234238

namespace SetLockBackground
{
    /// <summary>
    /// 可以在本身使用或巡覽至框架內的空白頁面。
    /// </summary>
    public sealed partial class MainPage : Page
    {
        public MainPage()
        {
            this.InitializeComponent();
        }
        StorageFile storageFile = null;

        /// <summary>
        /// 在此頁面即將顯示在框架中時叫用。
        /// </summary>
        /// <param name="e">描述如何到達此頁面的事件資料。Parameter
        /// 屬性通常用來設定頁面。</param>
        protected override void OnNavigatedTo(NavigationEventArgs e)
        {
        }

        private async void SelectButton_Click(object sender, RoutedEventArgs e)
        {
            //定義文件選取的對象
            FileOpenPicker openPicker = new FileOpenPicker();

            //設置文件的顯示方式
            openPicker.ViewMode = PickerViewMode.Thumbnail;

            //設置文件的開啟位置
            openPicker.SuggestedStartLocation = PickerLocationId.PicturesLibrary;

            //設置文件選取器中顯示的文件類型
            openPicker.FileTypeFilter.Add(".jpg");
            openPicker.FileTypeFilter.Add(".jpeg");
            openPicker.FileTypeFilter.Add(".png");

            storageFile = await openPicker.PickSingleFileAsync();
            if (storageFile != null)
            {
                Output.Text = "您以選擇名為" + storageFile.Name + "的文件";
            }
            else
            {
                Output.Text = "您沒有選擇圖片";
            }
        }

        private async void SetButton_Click(object sender, RoutedEventArgs e)
        {
            await LockScreen.SetImageFileAsync(storageFile);
            Output.Text = string.Format("以設置{0} 為鎖屏背景", storageFile.Name);
        }
    }
}
專案的執行畫面:
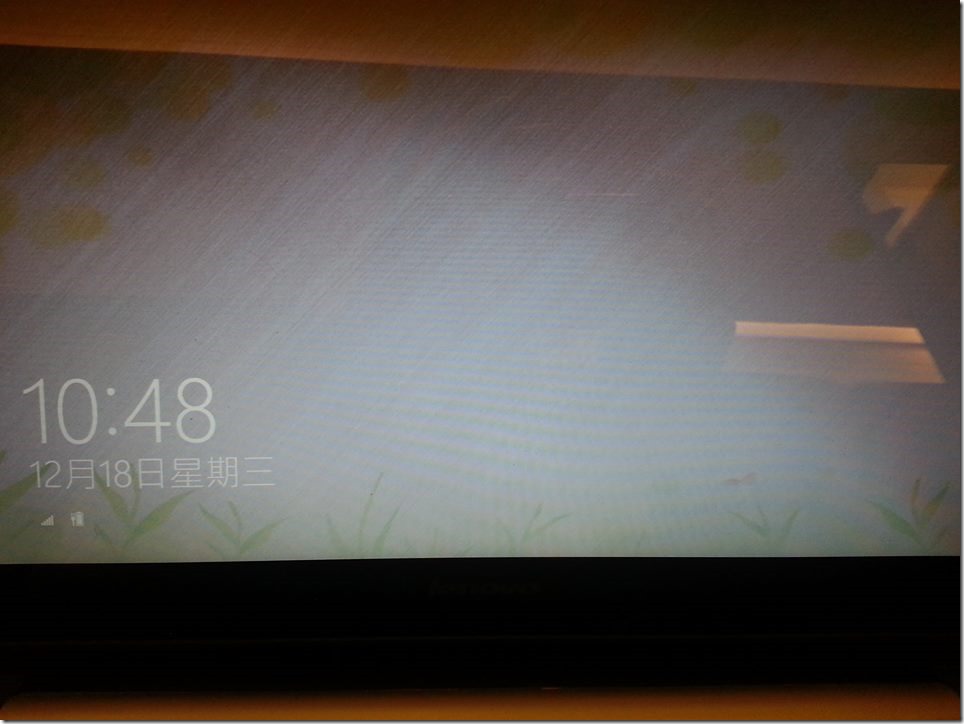
這是我原本的鎖屏畫面
我們執行專案後的畫面
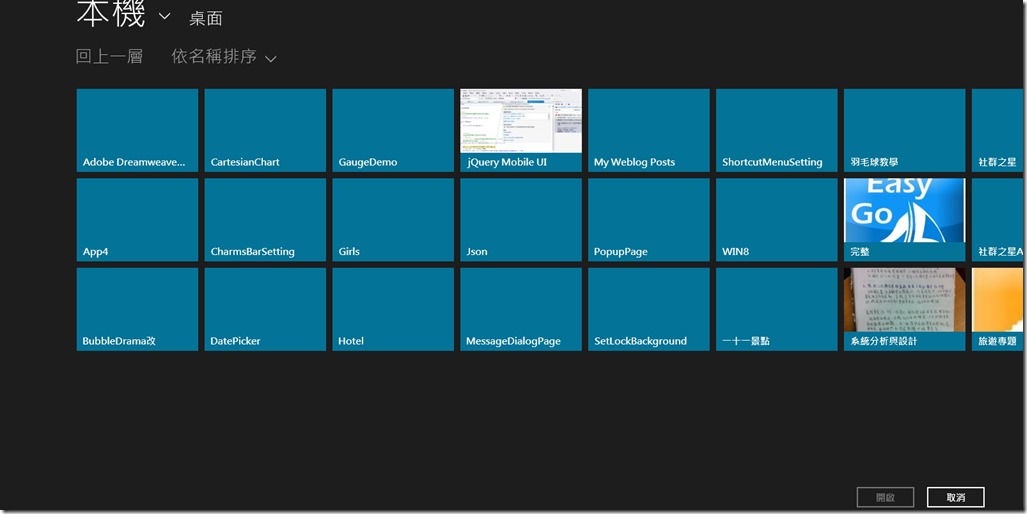
這是點擊選擇圖片開啟的畫面
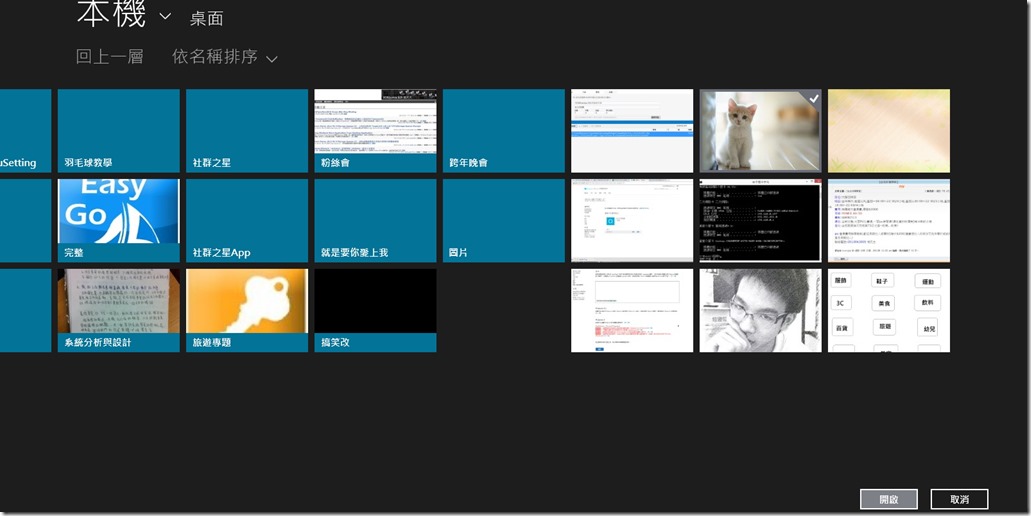
選擇要顯示鎖屏的圖片,選取完畢後點選開啟
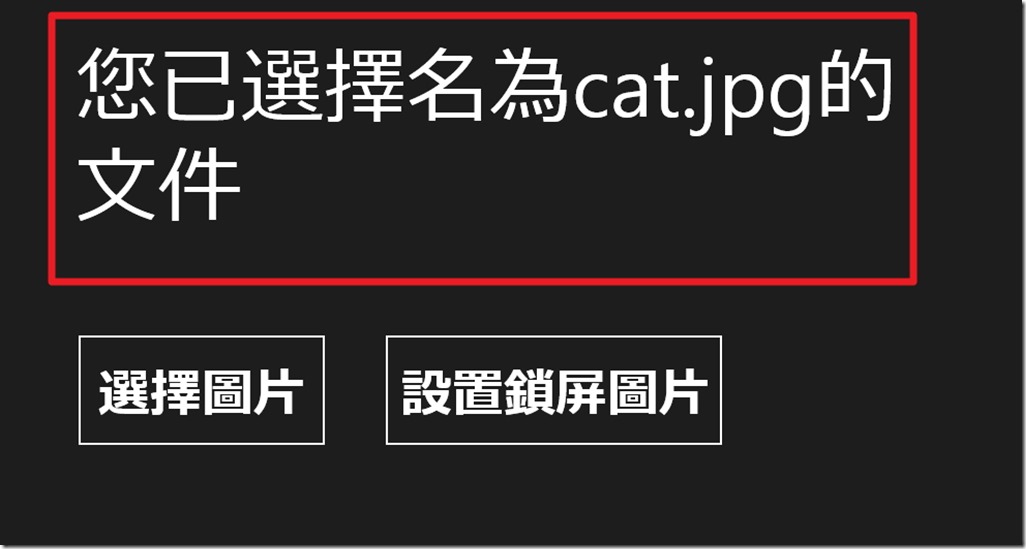
點選開啟後就會顯示下面的畫面,文字顯示為【您已選擇名為cat.jp的文件】
再來要設定為鎖屏的圖片
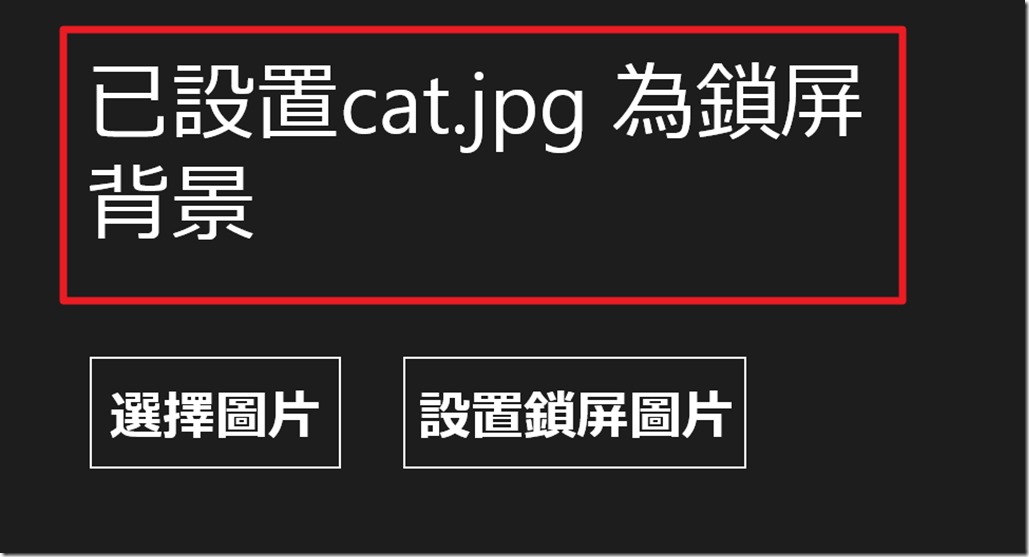
點設置鎖屏圖片後線是下面的畫面,文字修改成【已設置cat.jpg為鎖屏背景】
這時候一定會想說哪裡有更改阿,都說說而已,騙人啦!!
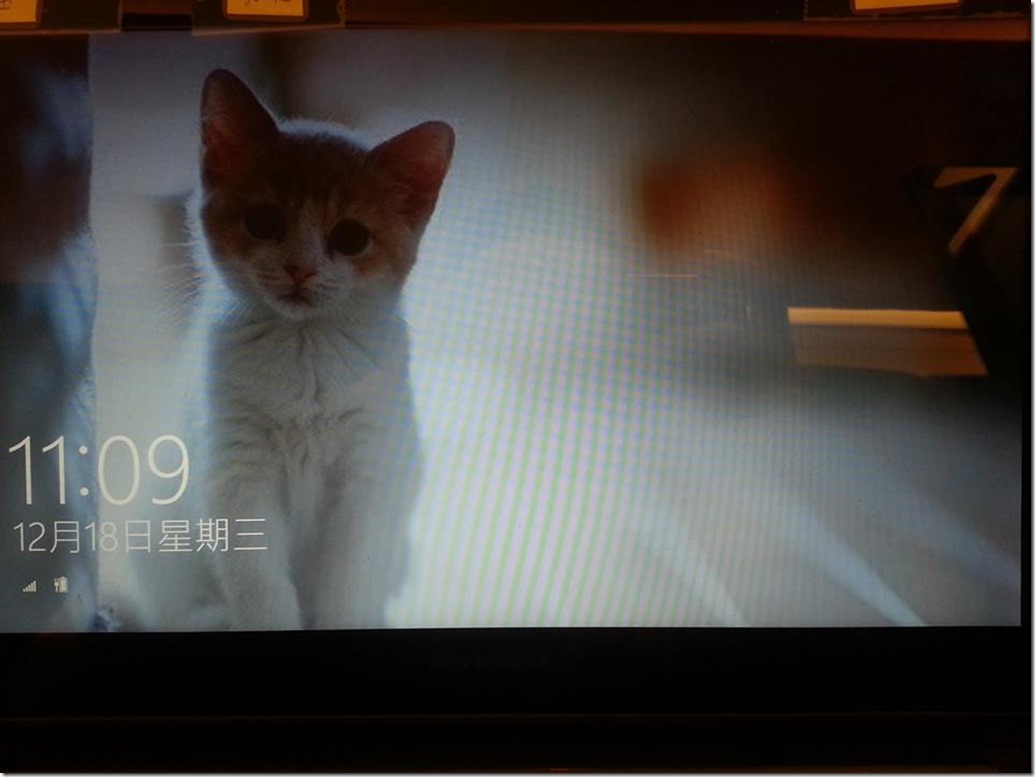
那我們在截現在鎖屏的圖片給大家看
看到了沒有,有圖有真相!!
