[Windows 8 App]StackPanel
StackPanel能夠以水平或是垂直方式進行整齊的排列
透過使用StackPanel的Orientation屬性可以定義內部的排列方式
當Orientation屬性為Horizontal時,內部的排列是以水平進行排列
那麼相對的,當Orientation屬性為Vertical時,內部的排列是以垂直進行排列
Orientation屬性的預設值為Vertical
下面透過範例介紹StackPanel的排列
首先,新增一個專案【StackPanel】,開啟【MainPage.xaml】
在StackPanel裡面放至三個矩形,並且設定不同的顏色及大小
程式碼如下:
<Grid Background="{StaticResource ApplicationPageBackgroundThemeBrush}">
    <StackPanel Background="White">
         <Rectangle Fill="Yellow" Width="150" Height="150"/>
         <Rectangle Fill="Red" Width="250" Height="250"/>
         <Rectangle Fill="Green" Width="350" Height="350"/>
    </StackPanel>
</Grid>
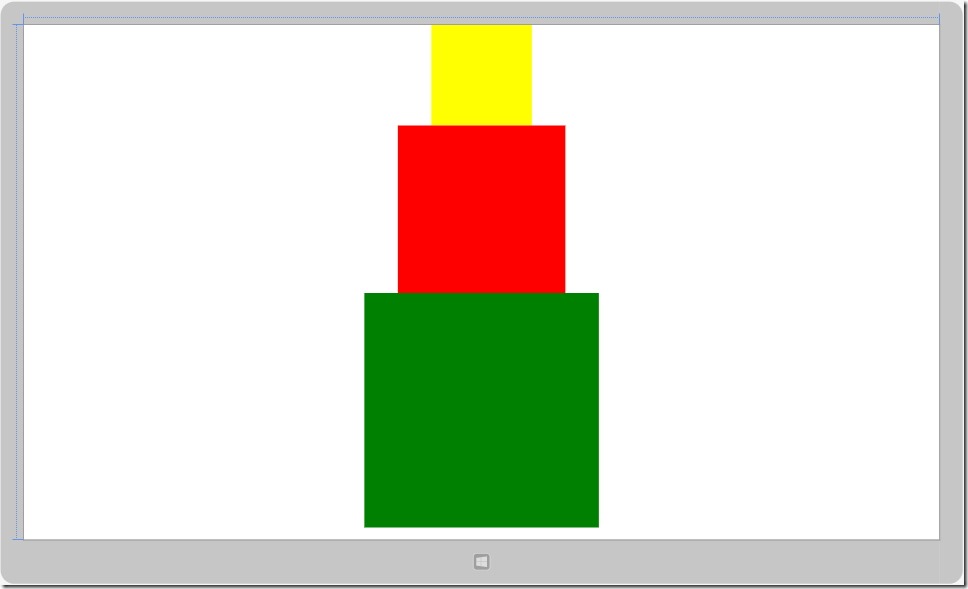
排序是依照程式碼的順序進行排序,由上至下進行排序
這是Orientation屬性使用預設(Vertacal)由上至下時產生的設計畫面:
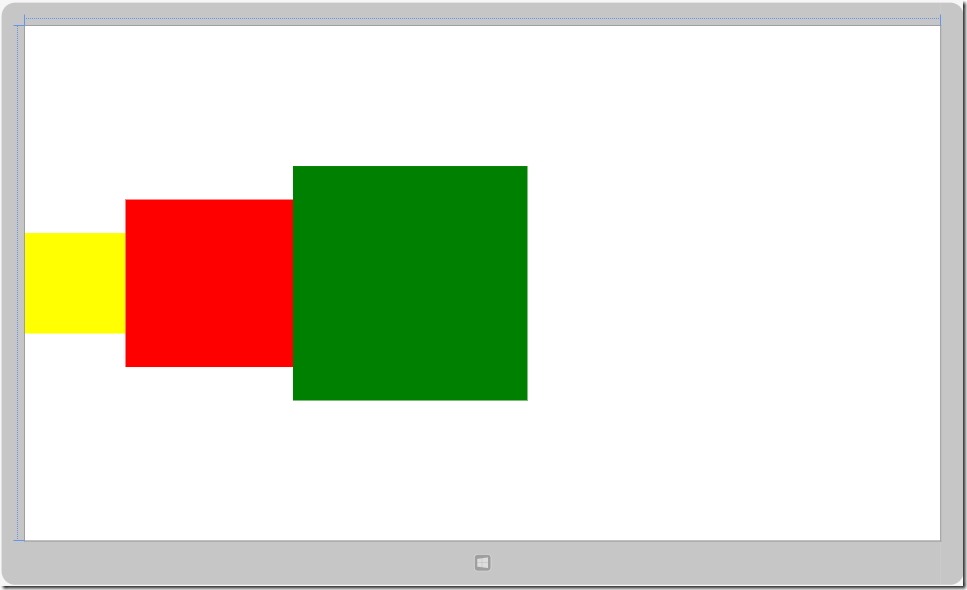
那我們修改一下Orientation屬性為Horizontal(由左至右),這是修改成Horizontal時所產生的設計畫面
這裡我們可以使用【Margin】來做調整,調整矩形間與邊界之間的位置
例如:
Margin = "10,20,30,40"
順序是 左、上、右、下 (請記住,很常使用)
接著,我們繼續使用上面的程式碼範例
在各個矩形內添加 Margin元素
下面是新增Margin後的程式碼:
<Grid Background="{StaticResource ApplicationPageBackgroundThemeBrush}">
    <StackPanel Background="White" Orientation="Horizontal">
         <Rectangle Fill="Yellow" Width="150" Height="150" Margin="100"/>
         <Rectangle Fill="Red" Width="250" Height="250" Margin="150"/>
         <Rectangle Fill="Green" Width="350" Height="350" Margin="100"/>
    </StackPanel>
</Grid>
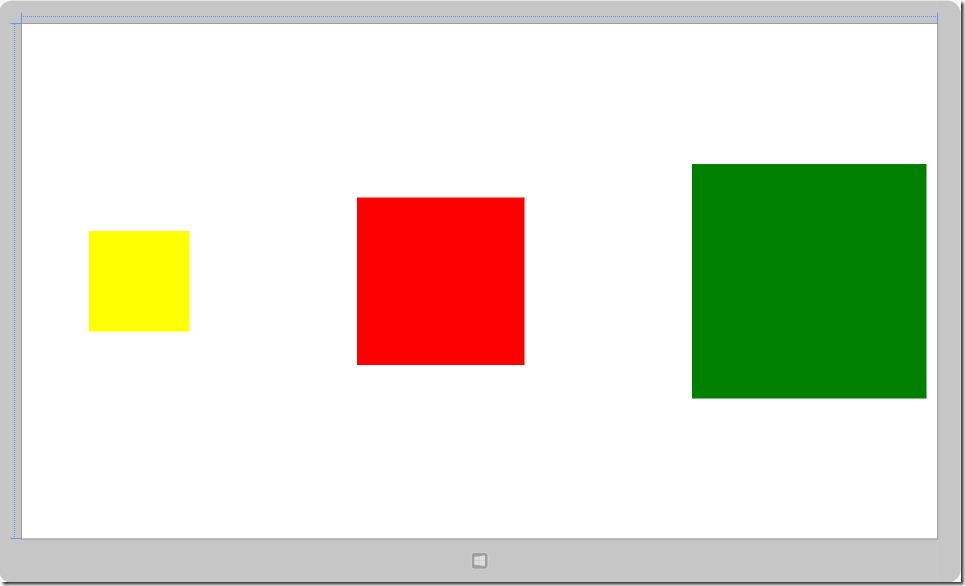
新增Margin後顯示的畫面:


