在windows系統下打開Docker Desktop,要將.NET Core Web API含多重專案之解決方案佈署上Docker Image,必須要注意資料夾路徑等等
網路上一般文章是只有單一專案的解決方案,但有多重專案放在一個解決方案裡,若沒注意資料夾路徑,常會發生找不到.csproj的報錯訊息。因此記錄下來Dockerfile的正確設定寫法。
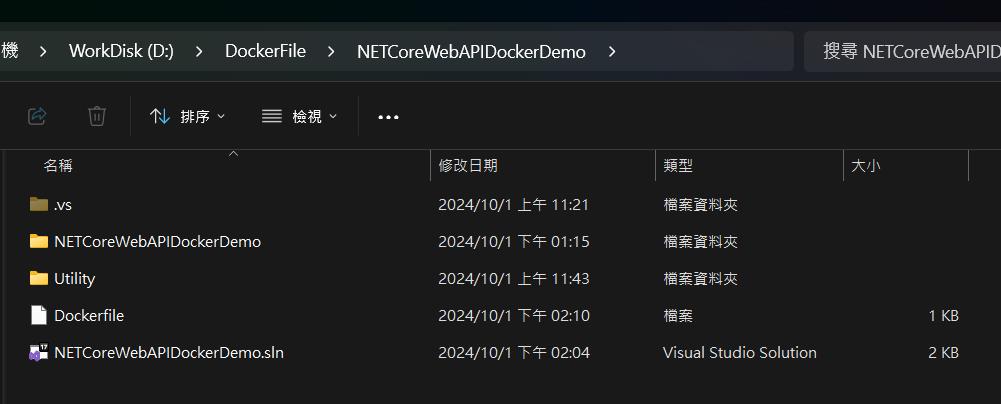
首先建立名為NETCoreWebAPIDockerDemo的.NET 7 Web API專案,資料夾長這樣:
Dockerfile:
# Use the official .NET Core SDK as a parent image
FROM mcr.microsoft.com/dotnet/sdk:7.0 AS build
WORKDIR /app

# Copy the project file and restore any dependencies (use .csproj for the project name)
COPY *.sln .
COPY NETCoreWebAPIDockerDemo/*.csproj ./NETCoreWebAPIDockerDemo/
COPY Utility/*.csproj ./Utility/
RUN dotnet restore

# Copy the rest of the application code
COPY . .

# Publish the application
RUN dotnet publish -c Release -o out

# Build the runtime image
FROM mcr.microsoft.com/dotnet/aspnet:7.0 AS runtime
WORKDIR /app
COPY --from=build /app/out ./

# Expose the port your application will run on
EXPOSE 80

# Start the application
ENTRYPOINT ["dotnet", "NETCoreWebAPIDockerDemo.dll"]
接著輸入命令:
docker build -t web-api-demo .結果如下圖:
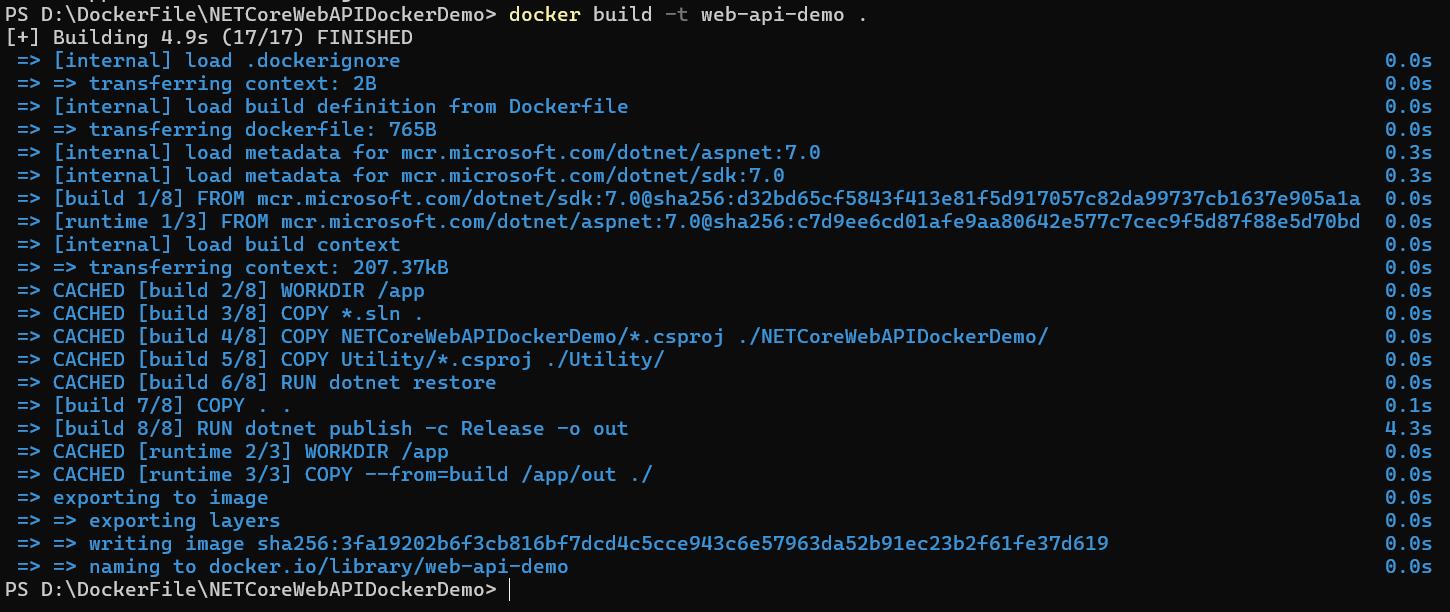
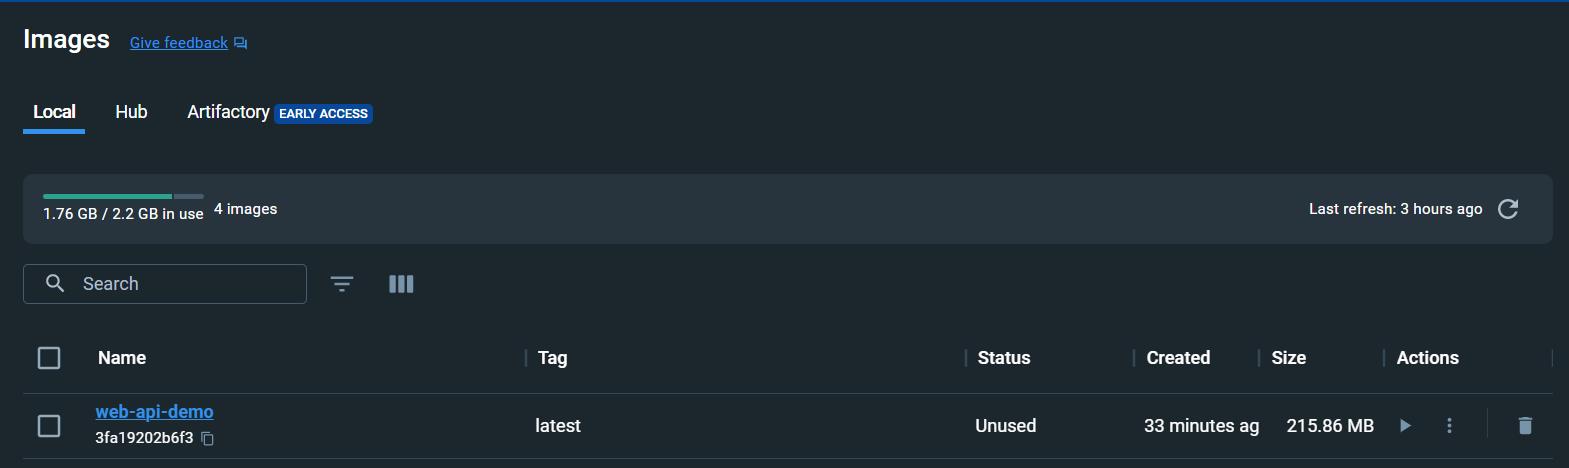
可以看到image已經建立起來了
再輸入命令如下即可放進容器啟動:
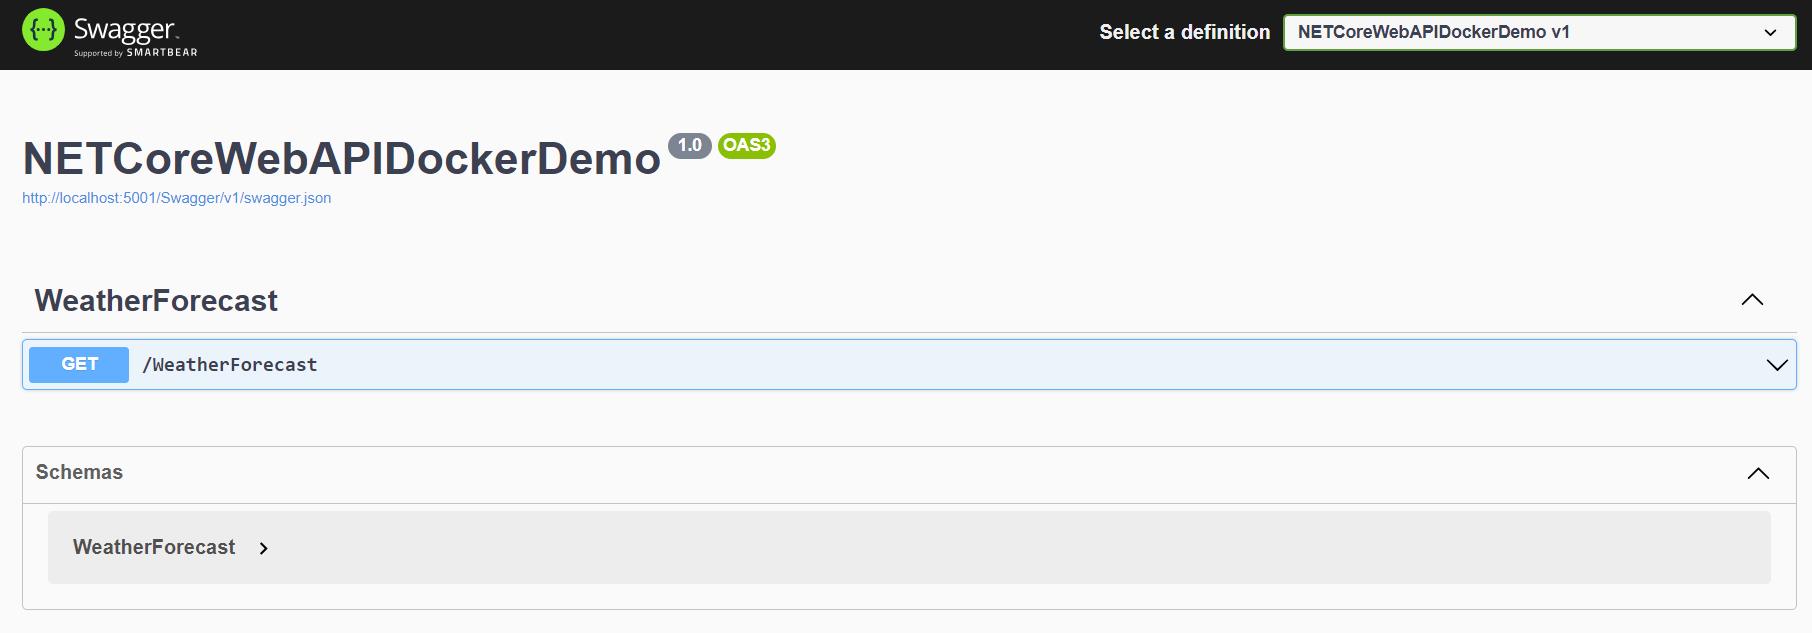
docker run -it --rm -p 5001:80 --name web-api-container web-api-demo

在瀏覽器上輸入網址:http://localhost:5001/Swagger 即可看到結果
參考文章: