筆記下怎麼透過修改自動生成的 pubxml 達到發佈到指定虛擬應用程式
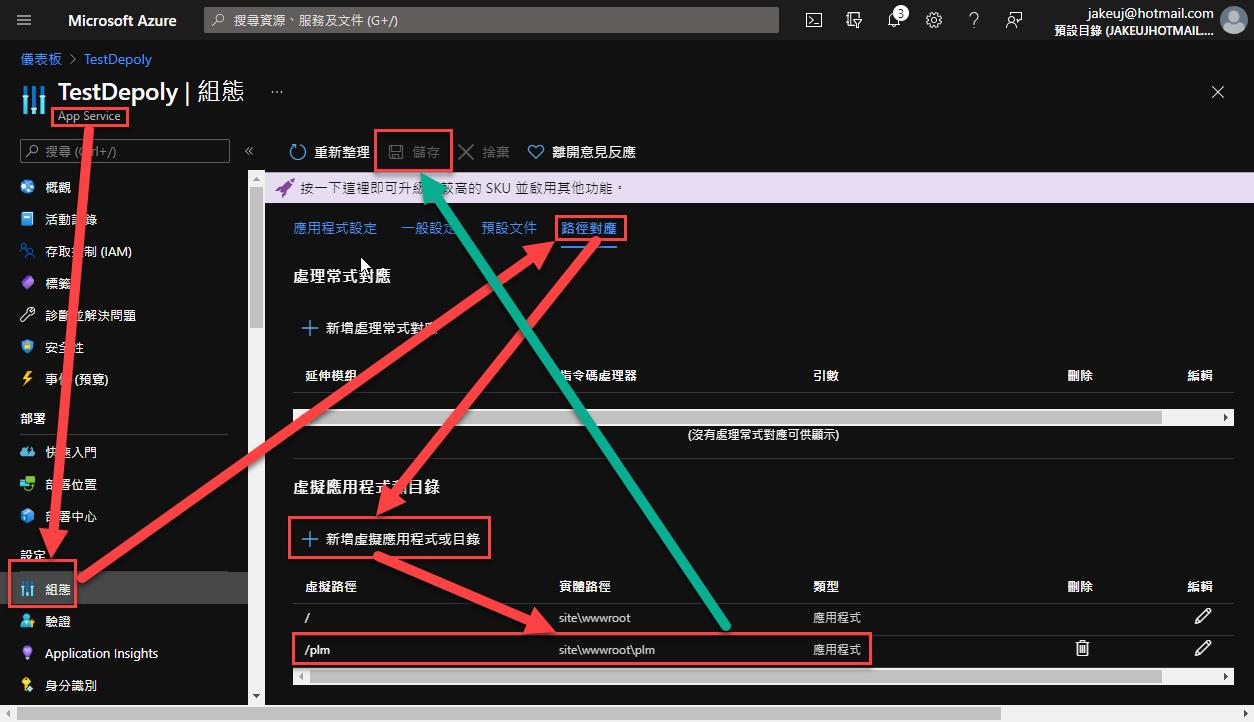
首先要先到 Azure App Service 建立虛擬應用程式的路徑
虛擬路徑 (網址後面的路徑)
範例:/test
實體路徑 (windows放檔案的路徑)
範例:site\test
記得儲存!
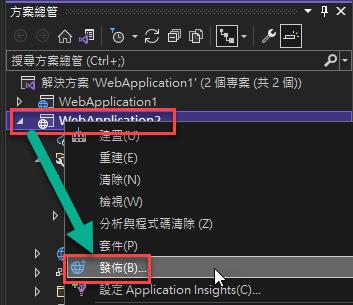
VS 對著專案按右鍵選"發佈"
選 Azure
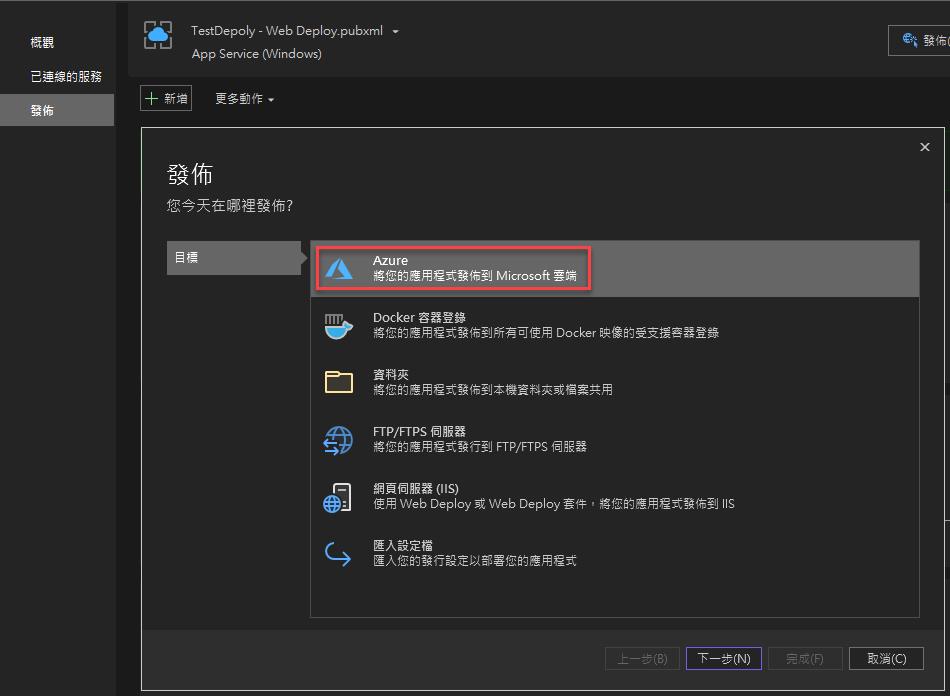
選你要發佈的 App Service
如果想發佈完直接打開 https://host/test 可以這邊改 (或之後從xml改)
然後一直下一步最後先不要 publish (按關閉就會儲存設定檔)
先找到自動產生的發佈設定檔 XML (.pubxml)
找到 DeployIisAppPath 把裡面的值後面加上剛剛設定的虛擬路徑 \test
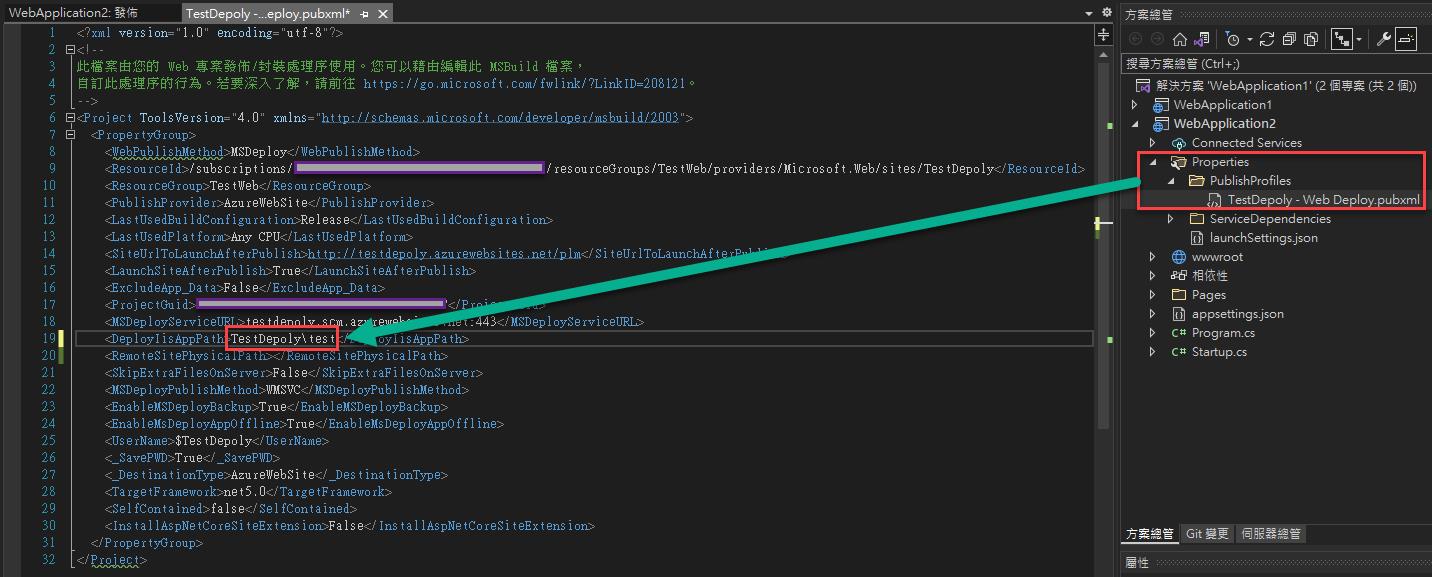
如果要發佈完直接打開 \test 可以改 SiteUrlToLaunchAfterPublish 把後面加上/test
最後按發佈就可以了
