摘要:[JQM][008][MVC4+JQM]建立系統功能目錄樹(利用可折疊的div)
主要就是利用這篇文章[JQM][006][MVC4+JQM]可折疊的div的技巧,以及遞迴的方式去長出系統導覽樹。
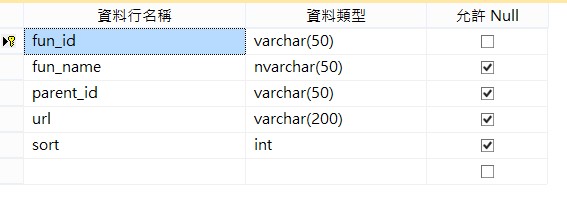
先在資料庫設計一個資料表,來紀錄系統導覽裡面有什麼樣的功能要顯示,名稱就叫做:MenuFunctions:
fun_id:這個節點的id, 同時也是pk
fun_name:這個節點的中文名稱
parent_id:父節點的pk
url:節點的網址。如果這個節點的種類是目錄,則為空字串;如果這個節點的種類是某某功能(俗稱葉節點),就會是這個功能的超連結網址
sort:這個節點的排列優先順序
然後新增一個類別來控制這個遞迴的行為:叫做MenuTree.cs,先post出完整內容,再就內容的重點作些說明:
using System;
using System.Collections.Generic;
using System.Linq;
using System.Web;
using JQueryMobileMVC.Models;
using System.Text;

namespace JQueryMobileMVC.Libs
{
    public class MenuTree
    {
        private AdventureWorksEntities1 ad = new AdventureWorksEntities1();
        private string html = "";

        /// <summary>
        /// 根據一個目錄的id產生一個目錄樹
        /// </summary>
        /// <param name="funId">傳入根目錄的id</param>
        public MenuTree(string funId)
        {
            StringBuilder sb = new StringBuilder();
            var root = ad.MenuFunctions.Where(s => s.fun_id == funId && s.url=="").FirstOrDefault();
            if (root != null)
            {
                string dirHtml = GetDirHtml(funId);
                string leavesHtml = GetLeavesHtml(funId);
                if(dirHtml!="")
                {
                    sb.AppendLine("<div data-role=\"collapsible\">");
                    sb.AppendLine(" <h2>" + root.fun_name + "</h2>");
                    sb.AppendLine(leavesHtml);
                    sb.AppendLine(dirHtml);
                    sb.AppendLine("</div>");
                }

                html = sb.ToString();
            }
        }

        private string GetDirHtml(string parentId)
        {
            StringBuilder sb = new StringBuilder();
            var rootDirs = ad.MenuFunctions.Where(s => s.parent_id == parentId && s.url == string.Empty).OrderBy(s => s.sort);
            foreach (var d in rootDirs)
            {
                sb.AppendLine("<div data-role=\"collapsible\">");
                sb.AppendLine(" <h2>" + d.fun_name + "</h2>");
                string leavesHtml = GetLeavesHtml(d.fun_id);
                string dirHtml = GetDirHtml(d.fun_id);
                sb.AppendLine(leavesHtml);
                sb.AppendLine(dirHtml);
                sb.AppendLine("</div>");
            }
            return sb.ToString();
        }

        private string GetLeavesHtml(string parentId)
        {
            StringBuilder sb = new StringBuilder();

            var rootFunctions = ad.MenuFunctions.Where(s => s.parent_id == parentId && s.url != null && s.url != "").OrderBy(s => s.sort);
            foreach (var f in rootFunctions)
            {
                sb.AppendLine("<p>" + "<a href=\"" + f.url + "\">" + f.fun_name + "</a>" + "</p>");
            }

            return sb.ToString();
        }

        public override string ToString()
        {
            return html;
        }


    }
}
一個系統導覽目錄的開始一定是根目錄,因此在這個類別的constructor就是要傳入根目錄的fun_id:
public MenuTree(string funId)
並且利用
private string GetLeavesHtml(string parentId)
來取得的葉節點的html,內容當然就是html的href,因此這個function的內容就不用多說。
然後利用
private string GetDirHtml(string parentId)
來取得目錄的html,而jquery mobile的目錄html都是用<div data-role="collapsible">組成,因此這個function就會湊出這樣的html碼來使用,而且會在這個function裡面進行遞迴呼叫自己。遞迴的程式碼只有2行,但是要寫出來還真是花了不少時間。
以上!這個MenuTree.cs類別的重點就講完了,實際上的使用方式很簡單,Controller裡面只要直接new並傳入root參數,就可以產出需要的html碼了:
public ActionResult TestSystemTree()
{
	MenuTree tree = new MenuTree("root");
	ViewBag.TestHtml = tree.ToString();
	return View();
}
而在MVC的網站中,用一般的方式是無法輸出html碼的,需要在View裡面利用@Html.Raw()才能輸出html:
@{
    ViewBag.Title = "TestSystemTree";
}

<h2>TestSystemTree</h2>
@Html.Raw(ViewBag.TestHtml)
然後在資料庫建一些測試的資料:
--根目錄
insert INTO dbo.MenuFunctions(fun_id,fun_name,parent_id,url,sort)
values('root',N'根目錄','','',0)
--第一層的目錄
insert INTO dbo.MenuFunctions(fun_id,fun_name,parent_id,url,sort)
values('rootfunction001',N'根目錄葉節點001','root','https://tw.yahoo.com/',777)
insert INTO dbo.MenuFunctions(fun_id,fun_name,parent_id,url,sort)
values('rootfunction002',N'根目錄葉節點002','root','https://tw.yahoo.com/',1)

--第二層的目錄
insert INTO dbo.MenuFunctions(fun_id,fun_name,parent_id,url,sort)
values('rootDir001',N'根目錄的子目錄001','root','',1)
insert INTO dbo.MenuFunctions(fun_id,fun_name,parent_id,url,sort)
values('rootDir002',N'根目錄的子目錄002','root','',2)

--第二層的功能
insert INTO dbo.MenuFunctions(fun_id,fun_name,parent_id,url,sort)
values('func001_1',N'子功能001_1','rootDir001','https://tw.yahoo.com/',1)
insert INTO dbo.MenuFunctions(fun_id,fun_name,parent_id,url,sort)
values('func001_2',N'子功能001_2','rootDir001','https://tw.yahoo.com/',1)
insert INTO dbo.MenuFunctions(fun_id,fun_name,parent_id,url,sort)
values('func002_1',N'子功能002_1','rootDir002','https://tw.yahoo.com/',1)

--第三層的目錄
insert INTO dbo.MenuFunctions(fun_id,fun_name,parent_id,url,sort)
values('dir001_1',N'子目錄001_1','rootDir001','',1)
insert INTO dbo.MenuFunctions(fun_id,fun_name,parent_id,url,sort)
values('dir002_1',N'子目錄002_1','rootDir002','',1)

--第三層的功能
insert INTO dbo.MenuFunctions(fun_id,fun_name,parent_id,url,sort)
values('func001_1_1',N'子功能001_1_1','dir001_1','https://tw.yahoo.com/',1)
insert INTO dbo.MenuFunctions(fun_id,fun_name,parent_id,url,sort)
values('func002_1_1',N'子功能002_1_1','dir002_1','https://tw.yahoo.com/',1)
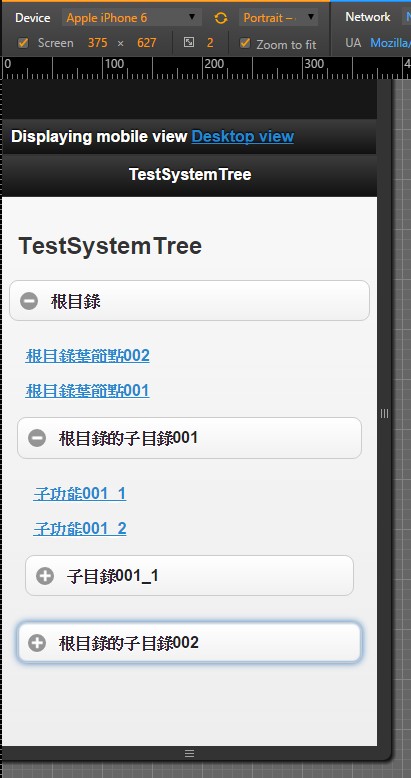
執行結果如下:這樣就可以以樹狀圖的方式顯示系統導覽了!
 不過樹狀導覽圖是另外一個網頁,總是要給使用者一個固定在表頭或是表尾一個超連結,讓他隨時可以點進來看系統導覽,下面就會介紹怎麼把一些超連結固定在畫面上:
首先介紹header的導覽按鈕:
為了方便介紹以及分類,這裡新增一個新的Controller來用,以免之前都塞在HomeController.cs
新的Controller叫做ToolBar.cs,先加入下面這段,用來測試header的導覽按鈕:
public ActionResult TestHeaderNavigation()
{
	ViewBag.Title = "TestHeaderNavigation";
	return PartialView("_TestHeaderNavigation");
}
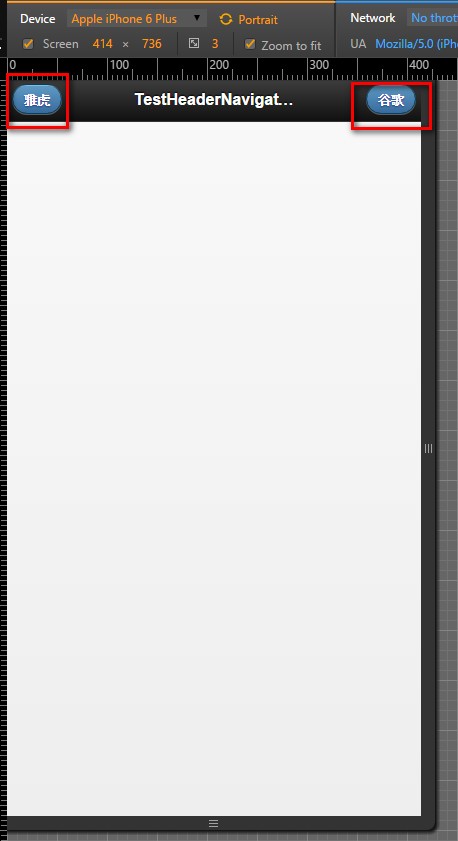
然後加入一個partial view叫做:_TestHeaderNavigation.cshtml,在<div data-role="header">裡面,加入超連結即可,超連結不用指定任何data-role屬性,最多就是大標題的左右各一個按鈕。另外,為了方便眼睛辨識,超連結的data-theme屬性最好跟整個page不同,我是把他顏色設定為data-theme="b"拉,不然肉眼會很難找到,程式碼片段如下:
<div data-role="header">
	<a href="http://tw.yahoo.com" data-theme="b">雅虎</a>
	<h1>@ViewBag.Title</h1>
	<a href="http://www.google.com.tw" data-theme="b">谷歌</a>
</div>
執行結果,電腦版+手機版:

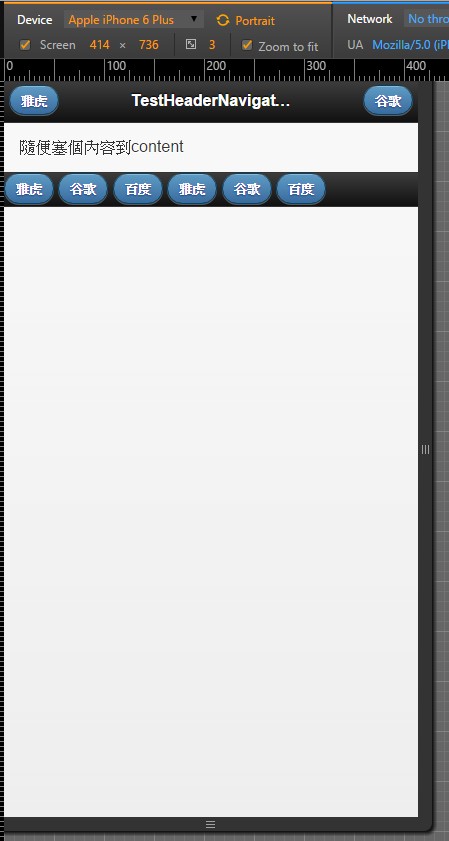
如果要在footer增加導覽按鈕也很簡單,也是直接加入超連結到<div data-role="footer"></div>裡面即可,而且在footer可以加入很多的超連結,不過超過螢幕寬度的話,就會自動排版到第二排footer了, 範例程式碼片段如下:
<div data-role="footer">
	<a href="http://tw.yahoo.com" data-theme="b">雅虎</a>
	<a href="http://www.google.com.tw" data-theme="b">谷歌</a>
	<a href="http://www.baidu.com" data-theme="b">百度</a>
	<a href="http://tw.yahoo.com" data-theme="b">雅虎</a>
	<a href="http://www.google.com.tw" data-theme="b">谷歌</a>
	<a href="http://www.baidu.com" data-theme="b">百度</a>

</div>
執行結果,電腦版+手機版:

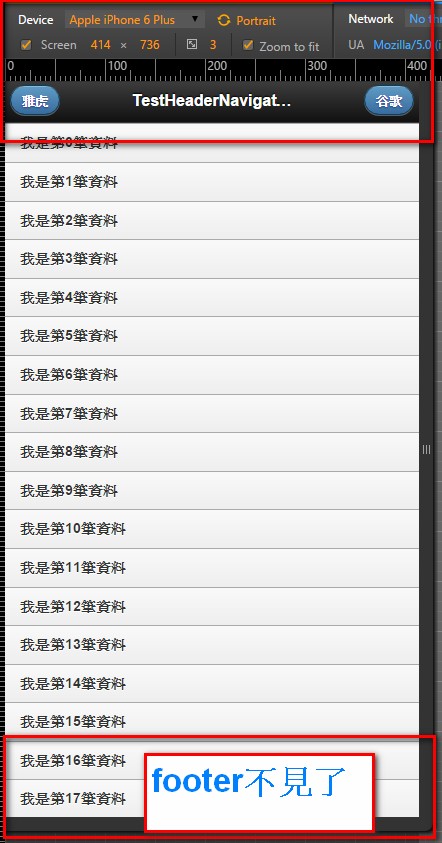
不過這種header, footer裡面的按鈕,通常得固定在畫面上才好用,如果畫面上資料太多導致滑鼠需要往下捲動,才看的到footer,那就不好用了,舉例來說,我們在_TestHeaderNavigation.cshtml裡面塞100個無意義的listView資料,程式碼片段如下:
<div data-role="content">
	<ul data-role="listview">
		@{
			for(int i=0;i<100;i++)
			{
				<li>我是第@(i)筆資料</li>
			}
		}
	</ul>
</div>
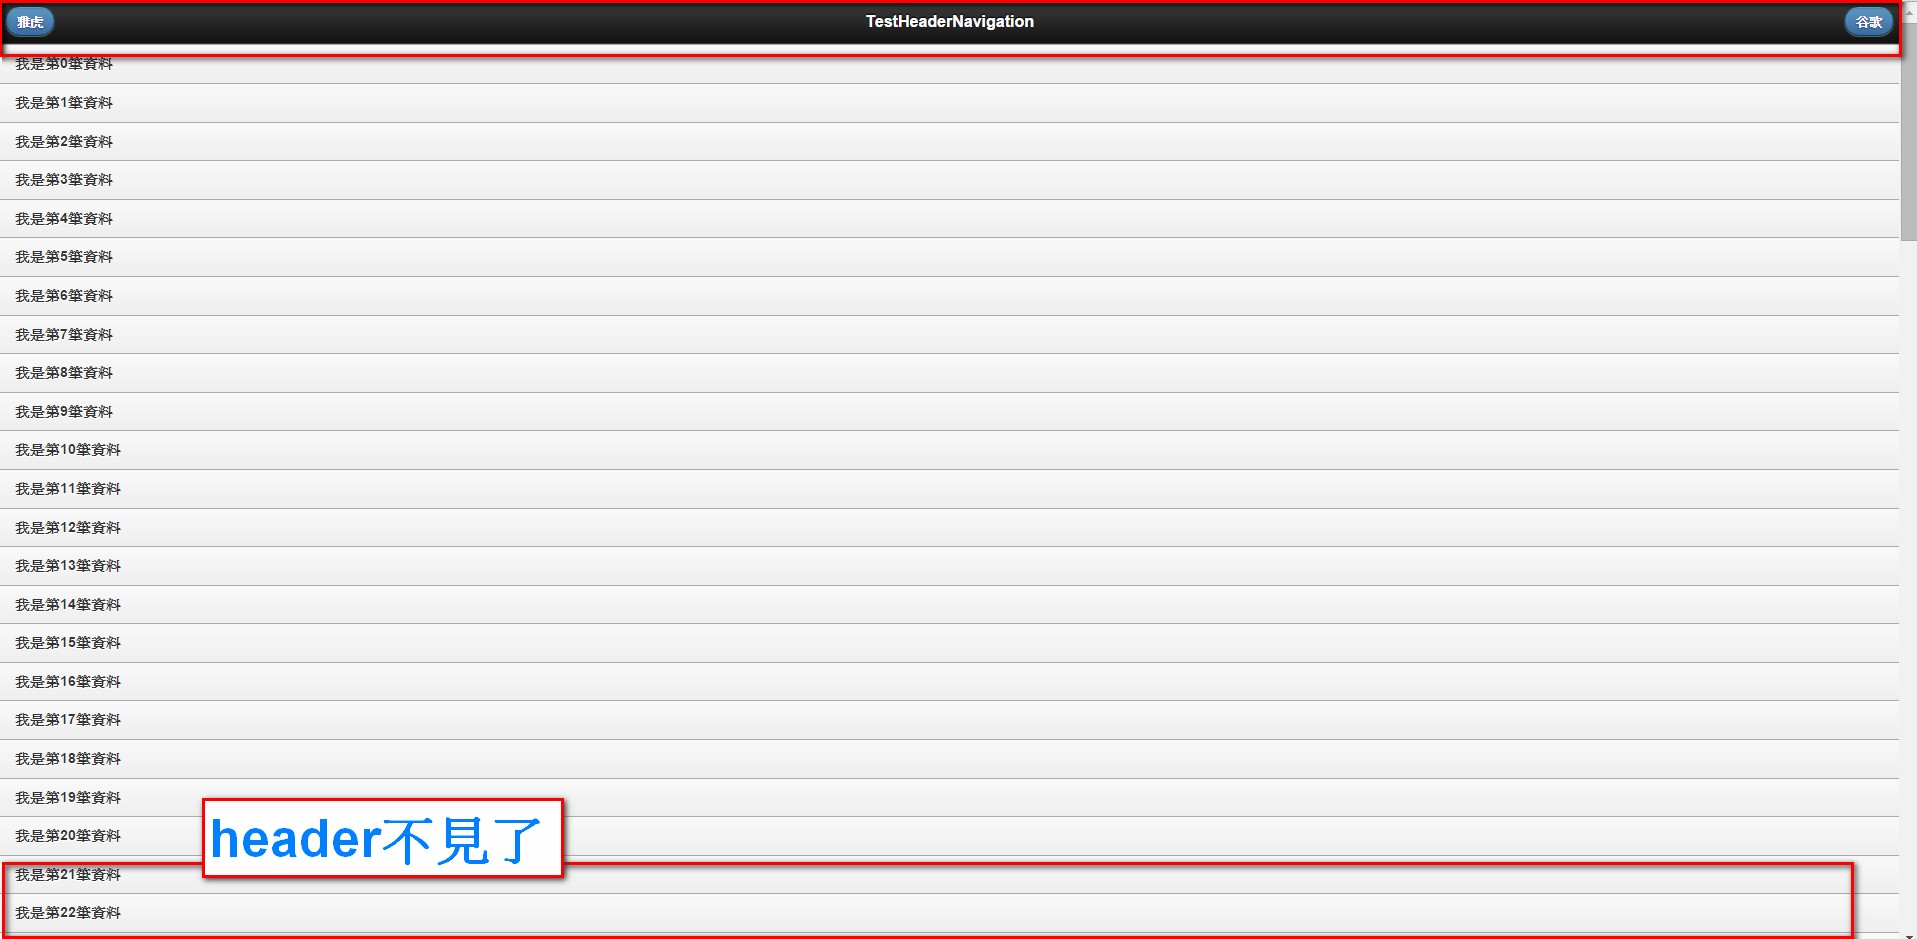
執行的時候,你就會發現footer的按鈕要捲到最下面才看的到,執行結果如下:
電腦版:因為資料太多,導致需捲動到最上面才看的到header,需要捲動到最下面才看的到footer:


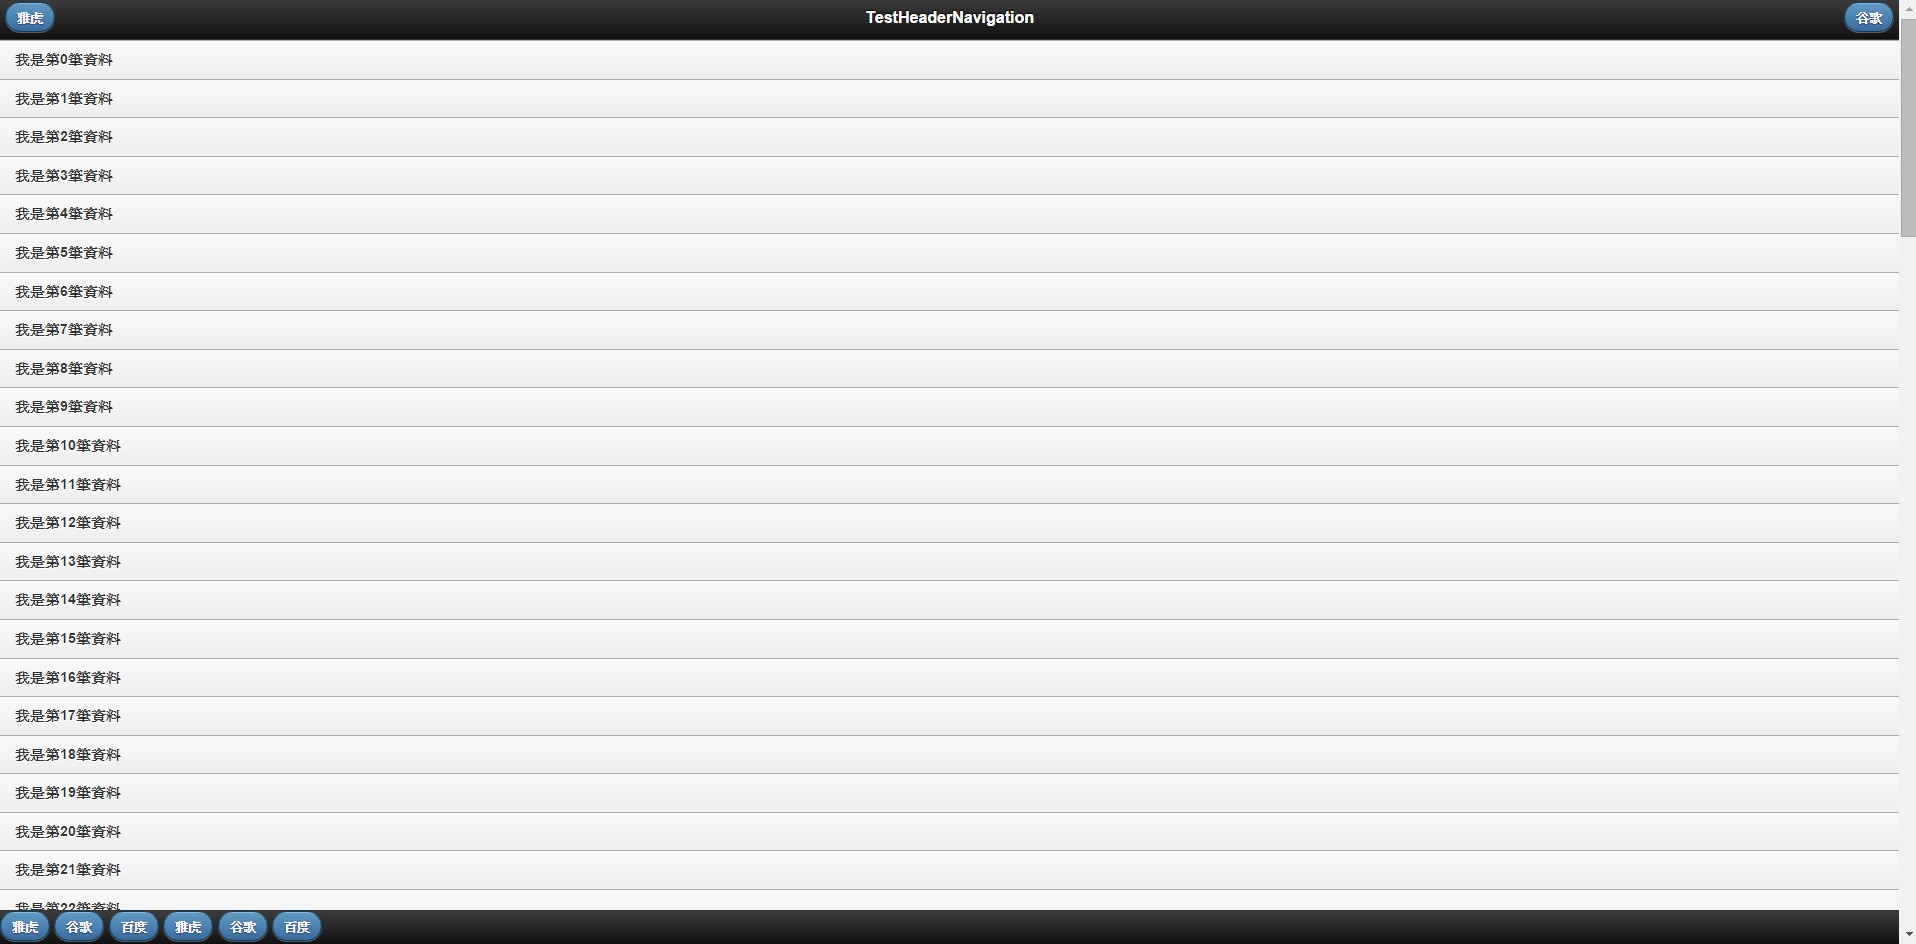
這時候想要固定header以及footer的話,很簡單,在header, footer加上屬性data-position="fixed"即可,程式碼片段如下:
<div data-role="header" data-position="fixed">
<div data-role="footer" data-position="fixed">
執行結果已經固定住header 以及footer了,電腦版+手機版:

完整_TestHeaderNavigation.cshtml內容如下,方便以後參考:
<!DOCTYPE html>
<html>
<head>
    <meta charset="utf-8" />
    <title>@ViewBag.Title</title>
    <meta name="viewport" content="width=device-width, initial-scale=1" />
    @Styles.Render("~/Content/Mobile/css", "~/Content/jquerymobile/css")
    @Scripts.Render("~/bundles/jquery", "~/bundles/jquerymobile")
    @*也可用官方的CDN,比nuget:jquery.mobile.mvc內建的新,嗚嗚*@
    @*<link rel="stylesheet" href="http://code.jquery.com/mobile/1.4.5/jquery.mobile-1.4.5.min.css" />
        <script src="http://code.jquery.com/jquery-1.11.1.min.js"></script>
        <script src="http://code.jquery.com/mobile/1.4.5/jquery.mobile-1.4.5.min.js"></script>*@

    <script>
        $(document).ready(function () {
            $.mobile.ajaxEnabled = false;
        });
    </script>
</head>
<body>
    <div data-role="page" data-theme="c" >
        <div data-role="header" data-position="fixed">
            <a href="http://tw.yahoo.com" data-theme="b">雅虎</a>
            <h1>@ViewBag.Title</h1>
            <a href="http://www.google.com.tw" data-theme="b">谷歌</a>
        </div>
        <div data-role="content">
            <ul data-role="listview">
                @{
                    for(int i=0;i<100;i++)
                    {
                        <li>我是第@(i)筆資料</li>
                    }
                }
            </ul>
        </div>
        <div data-role="footer" data-position="fixed">
            <a href="http://tw.yahoo.com" data-theme="b">雅虎</a>
            <a href="http://www.google.com.tw" data-theme="b">谷歌</a>
            <a href="http://www.baidu.com" data-theme="b">百度</a>
            <a href="http://tw.yahoo.com" data-theme="b">雅虎</a>
            <a href="http://www.google.com.tw" data-theme="b">谷歌</a>
            <a href="http://www.baidu.com" data-theme="b">百度</a>

        </div>
    </div>
</body>
</html>
利用固定在header, footer的按鈕以及MenuTree.cs類別,就可以做出一個基本的系統樹狀導覽圖囉
本篇大概是這樣囉~