[vue]如何包裝和使用ckeditor
single vue版本
使用vue cli run起一個專案之後,我們就可以新增一支ckeditor.vue來包裝ckeditor,在此我參考的是github人家包裝好的原始碼(https://github.com/dangvanthanh/vue-ckeditor2)
<template>
    <div class="ckeditor">
        <textarea
          :name="name"
          :id="id"
          :value="value"
          :types="types"
          :config="config">
        </textarea>
    </div>
</template>

<script>
export default {
  name: 'vue-ckeditor',
  props: {
    name: {
      type: String,
      default: () => `editor`
    },
    value: {
      type: String
    },
    id: {
      type: String,
      default: () => `editor`
    },
    types: {
      type: String,
      default: () => `classic`
    },
    config: {
      type: Object,
      default: () => {}
    }
  },
  data () {
    return { destroyed: false }
  },
  computed: {
    instance () {
      return CKEDITOR.instances[this.id]
    }
  },
  watch: {
    value (val) {
      if (this.instance) {
        this.update(val)
      }
    }
  },
  mounted () {
    this.create()
  },
  beforeDestroy () {
    this.destroy()
  },
  methods: {
    create () {
      if (typeof CKEDITOR === 'undefined') {
        console.log('CKEDITOR is missing (http://ckeditor.com/)')
      } else {
        if (this.types === 'inline') {
            CKEDITOR.inline(this.id, this.config)
        } else {
            CKEDITOR.replace(this.id, this.config)
        }
        this.instance.setData(this.value)
        this.instance.on('change', this.onChange)
        this.instance.on('blur', this.onBlur)
        this.instance.on('focus', this.onFocus)
      }
    },
    update (val) {
      let html = this.instance.getData()
      if (html !== val) {
        this.instance.setData(val)
      }
    },
    destroy () {
      if (!this.destroyed) {
        this.instance.focusManager.blur(true)
        this.instance.removeAllListeners()
        this.instance.destroy()
        this.destroyed = true
      }
    },
    onChange () {
      let html = this.instance.getData()
      if (html !== this.value) {
        this.$emit('input', html)
      }
    },
    onBlur () {
      this.$emit('blur', this.instance)
    },
    onFocus () {
      this.$emit('focus', this.instance)
    }
  }
}
</script>
<style>
.ckeditor::after {
  content: "";
  display: table;
  clear: both;
}
</style>
接著我們只要在index.html使用cdn的連結,我們就可以呼叫component了
<!DOCTYPE html>
<html>

<head>
  <meta charset="utf-8">
  <script src="//cdn.ckeditor.com/4.7.3/basic/ckeditor.js"></script>
  <title>css-example</title>
  <meta name="viewport" content="width=device-width,heigth=device-heigth" />
</head>

<body>
  <div id="app"></div>
  <!-- built files will be auto injected -->
</body>

</html>
呼叫component的方式
<template>
  <div>
    <ckeditor id="1" v-model="content" :config="config" @blur="onBlur($event)" @focus="onFocus($event)">
    </ckeditor>
    <ckeditor id="2" v-model="content1" :config="config" @blur="onBlur($event)" @focus="onFocus($event)">
    </ckeditor>
  </div>
  </div>
</template>

<script>
import Ckeditor from '../tools/ckeditor.vue'

export default {
  name: 'hello',
  components: {
    Ckeditor
  },
  data () {
    return {
      content: '',
      content1: '',
      config: {
        toolbar: [
          ['Bold', 'Italic', 'Underline', 'Strike', 'Subscript', 'Superscript']
        ],
        height: 300
      }
    }
  },
  methods: {
    onBlur (editor) {
      console.log(editor)
    },
    onFocus (editor) {
      console.log(editor)
    }
  }
}
</script>
但是有時候環境問題可能不允許我們使用cdn的連結,但是ckeditor並無提供npm的安裝,那我們只好到官方下載
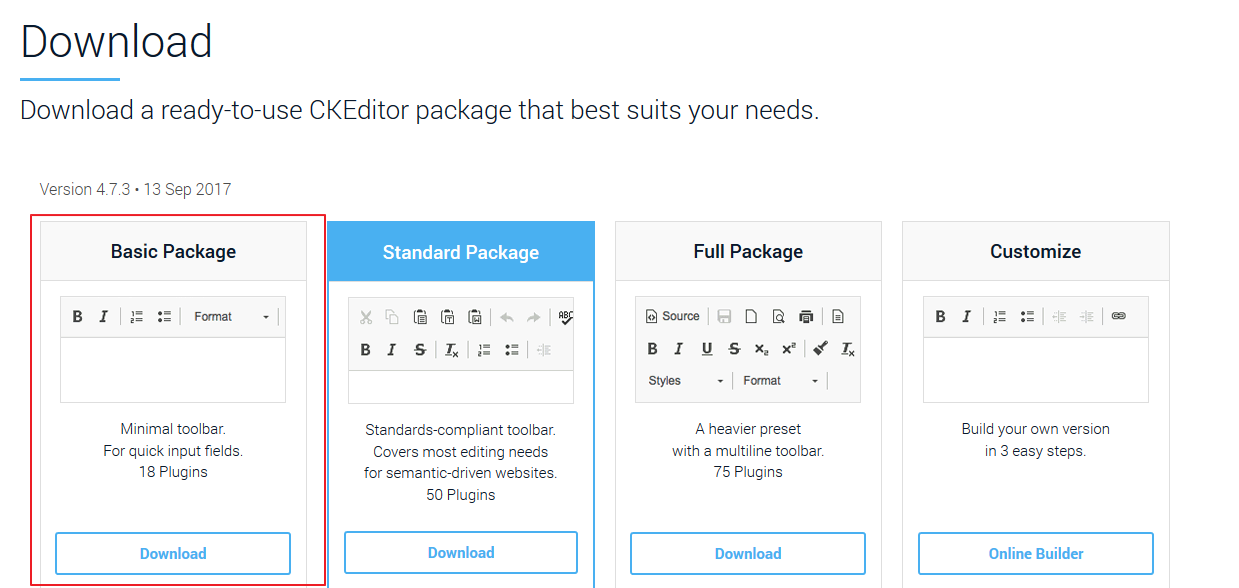
接著自行選擇一版下載,筆者選擇的是基本版的而已
下載完是一個zip的檔案,接著解壓縮,並在專案的static底下新增一個ckeditor的目錄,接著把解壓縮的所有檔案搬到我們建立的ckeditor的目錄底下
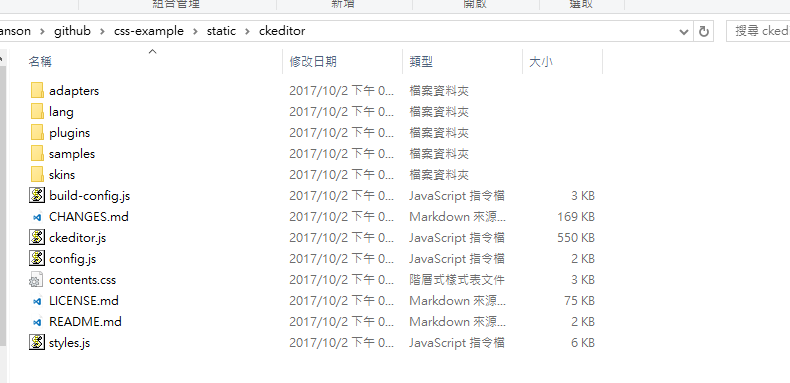
請特別注意一下,static也就是靜態檔案的意思,就是不想讓webpack做處理的所有檔案,都可以放在此目錄底下,接著我們就可以在index.html把原本的cdn連結改成我們自己目錄的位置了。
<script src="./static/ckeditor/ckeditor.js"></script>
以上是webpack的.vue file使用的方式,但如果你並非以上的方式要使用ckeditor的話,就得自行包裝了,如何包裝呢?筆者已包裝一個線上版在codepen了,有興趣的就自行前往研究吧(https://codepen.io/kinanson/pen/zEdQbZ)
