Microsoft Azure上提供了一個Notification Hub的服務,可以將訊息推送至不同平台的行動裝置之中
本篇文章會針對Notification Hub推送訊息至Xamarin的Android平台的作法作詳細的說明
要將Notification Hub的訊息送至Xamarin Android的平台上,過程步驟頗為繁瑣,但是只要照著步驟作,基本上一定就能完成推送訊息的功能
首先,先至Google APIs,建立一個新的專案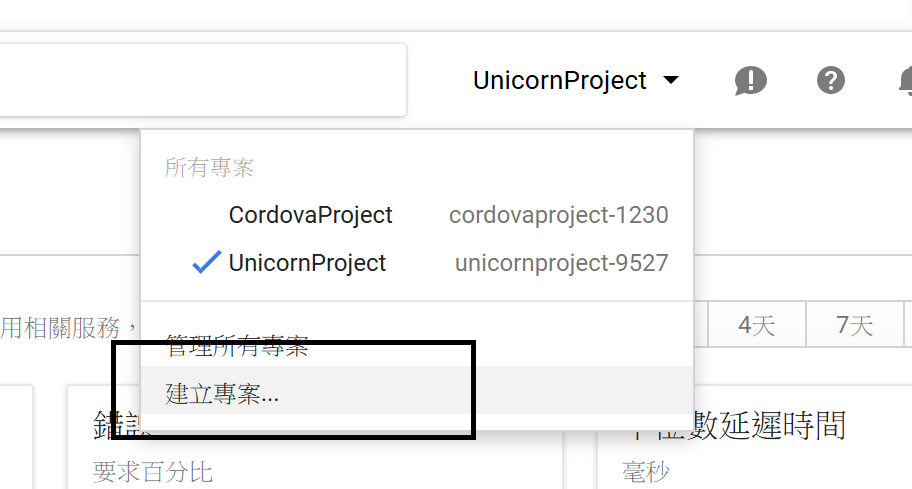
輸入專案名稱後,按下建立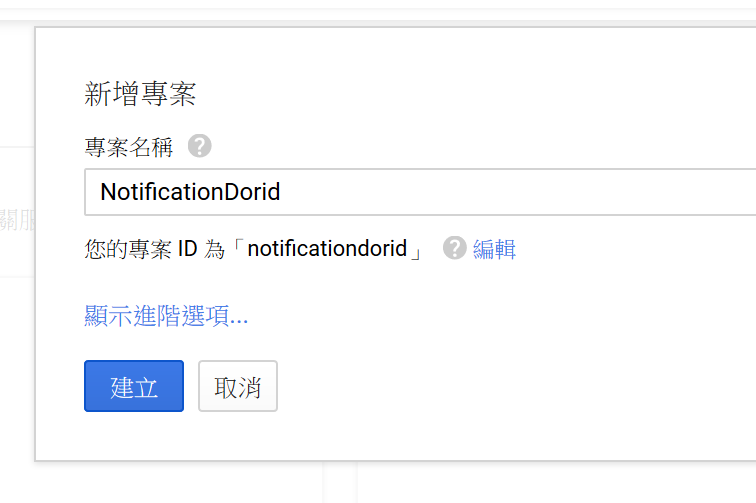
接著在資料庫頁面,點選[行動服務類 API] => [Google Cloud Messaging]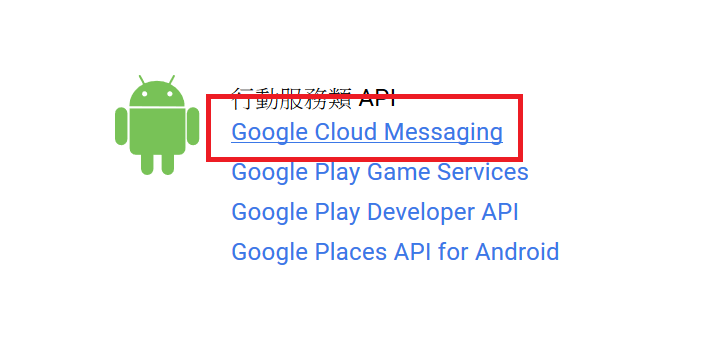
在Google Cloud Messaging的頁面中,點選[啟用]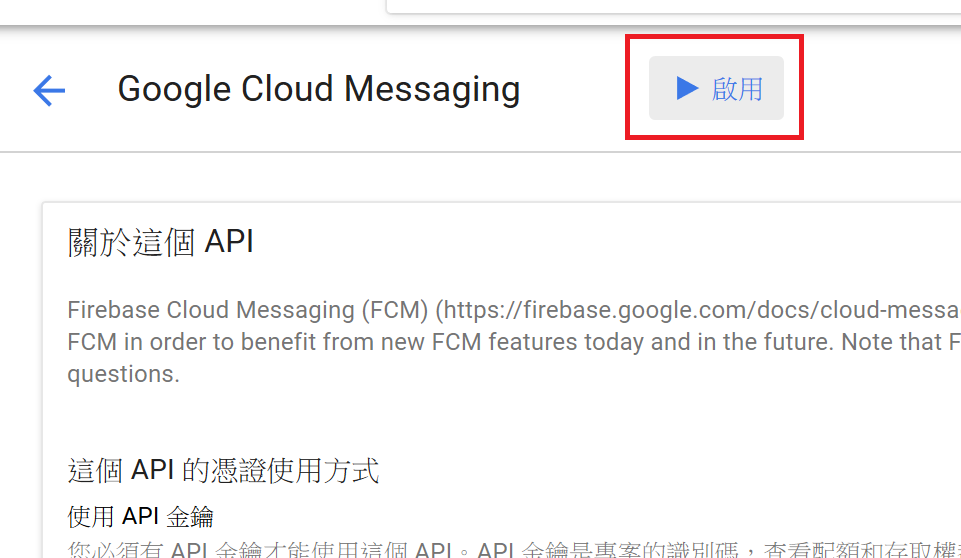
啟用之後,到[憑證]的畫面,點選[建立憑證] => [API 金鑰]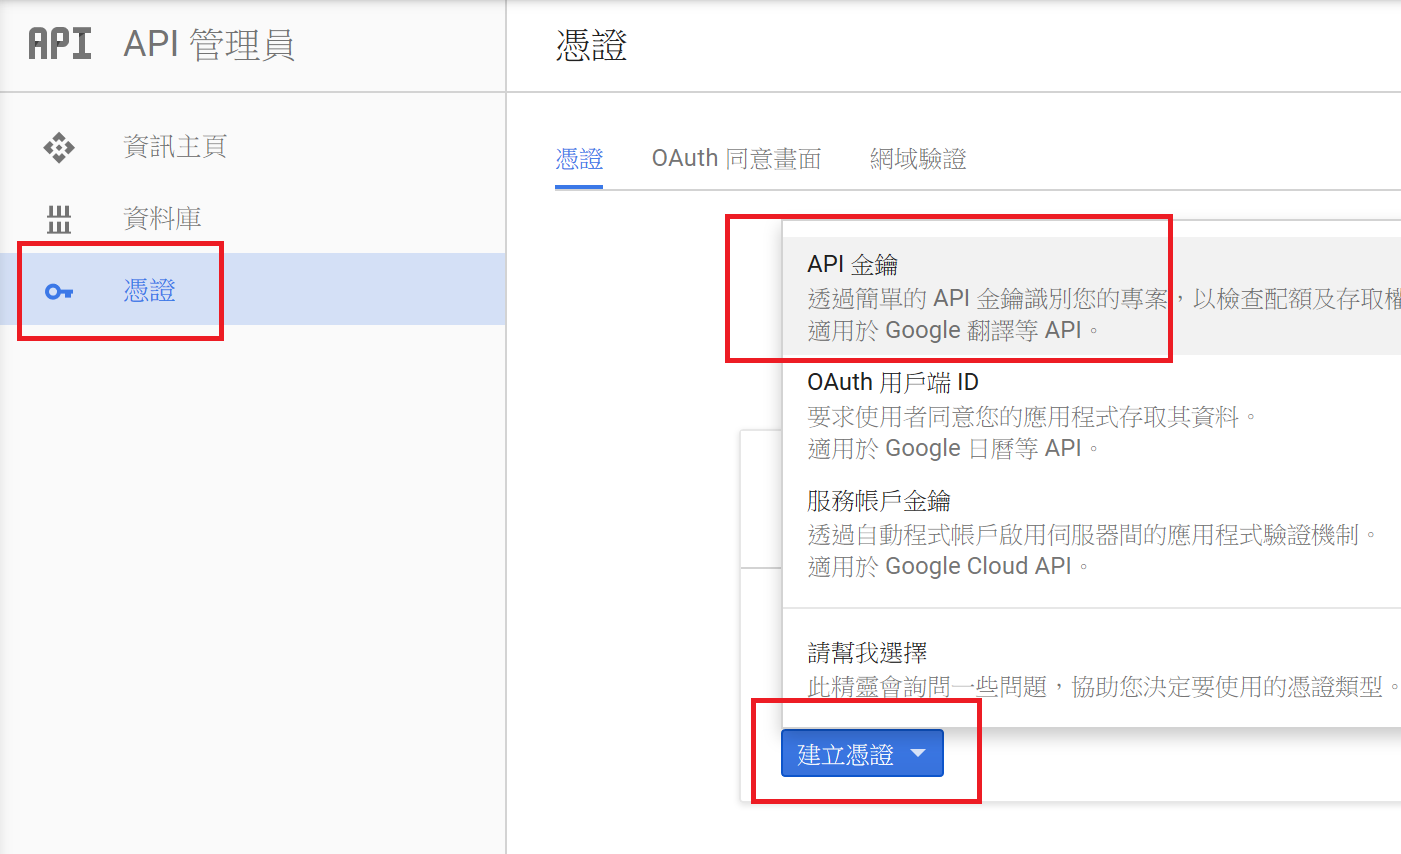
建立金鑰的類別,選擇[伺服器金鑰]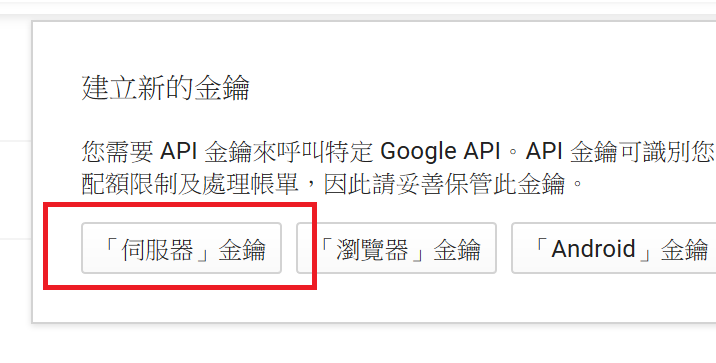
輸入金鑰名稱,並建立後,會出現API金鑰的值,請先將這組金鑰記下來,等一下在Azure的Notification Hub設定中會用到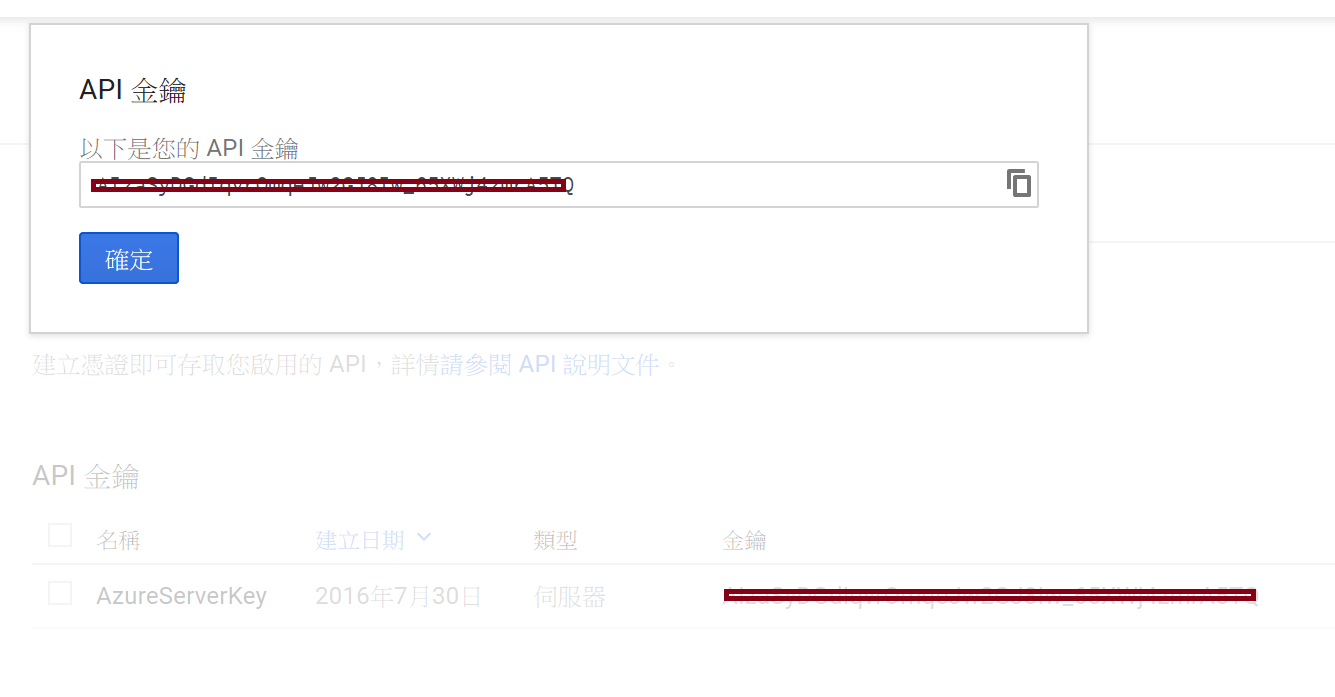
點選右上角三個點的直槓,並在選單中點選[Project settings]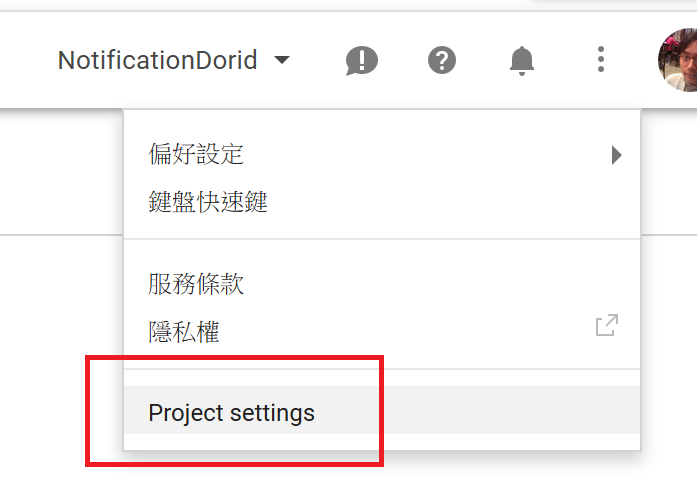
Project settings裡有一個[專案編號],請先將他記下來,等一下程式裡會用到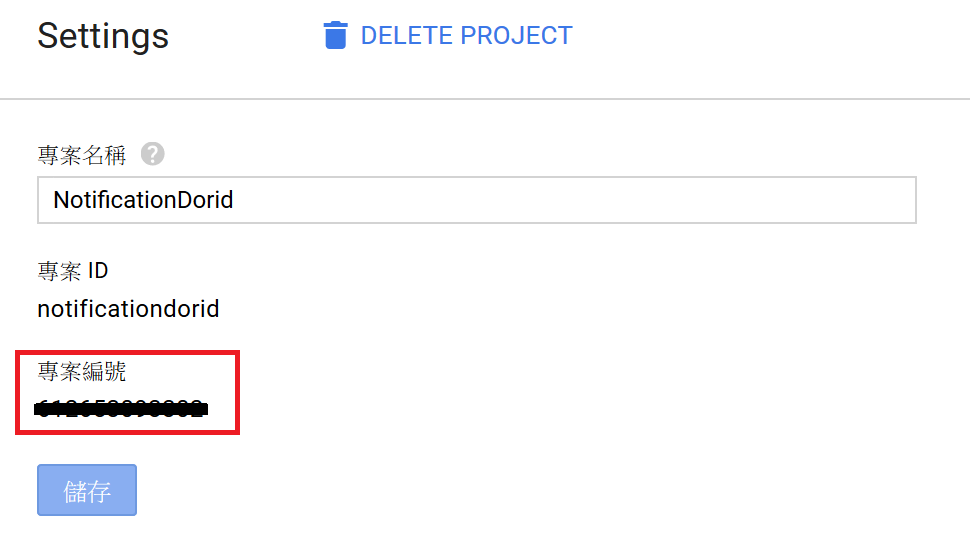
開啟Azure的Portal畫面,並建立一個Notification Hub
建立Notification Hub時,請把Hub的名稱與命名空間記下來,等一下也會用到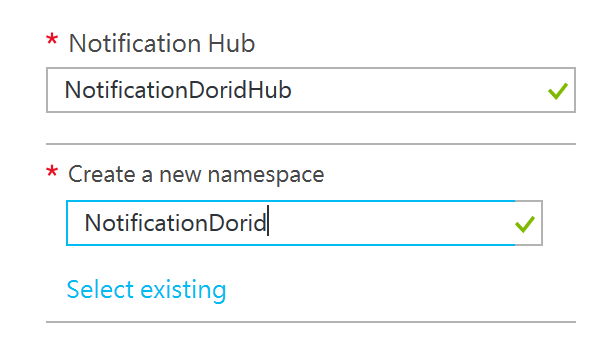
建立完成後,到Notification Hub裡,點選[Settings] => [Notification Services] => [Google (GCM)],將剛剛在Google APIs上申請到的API金鑰填入並儲存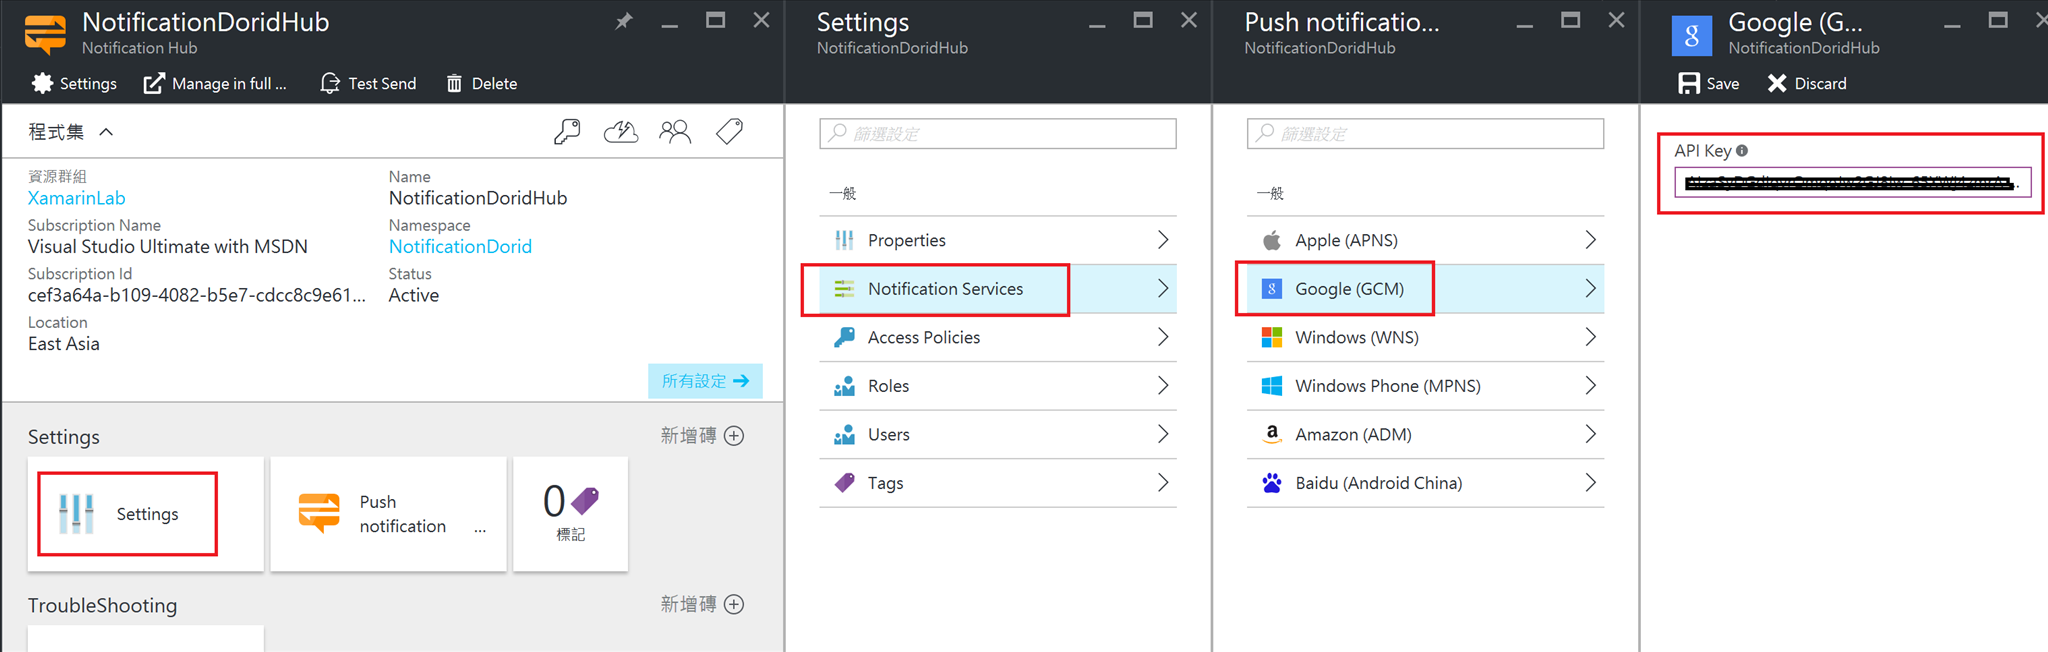
接著,點選[Access Policies],將[PERMISSION]為[Listen]的[CONNECTION STRING]記下來,等一下程式裡會用到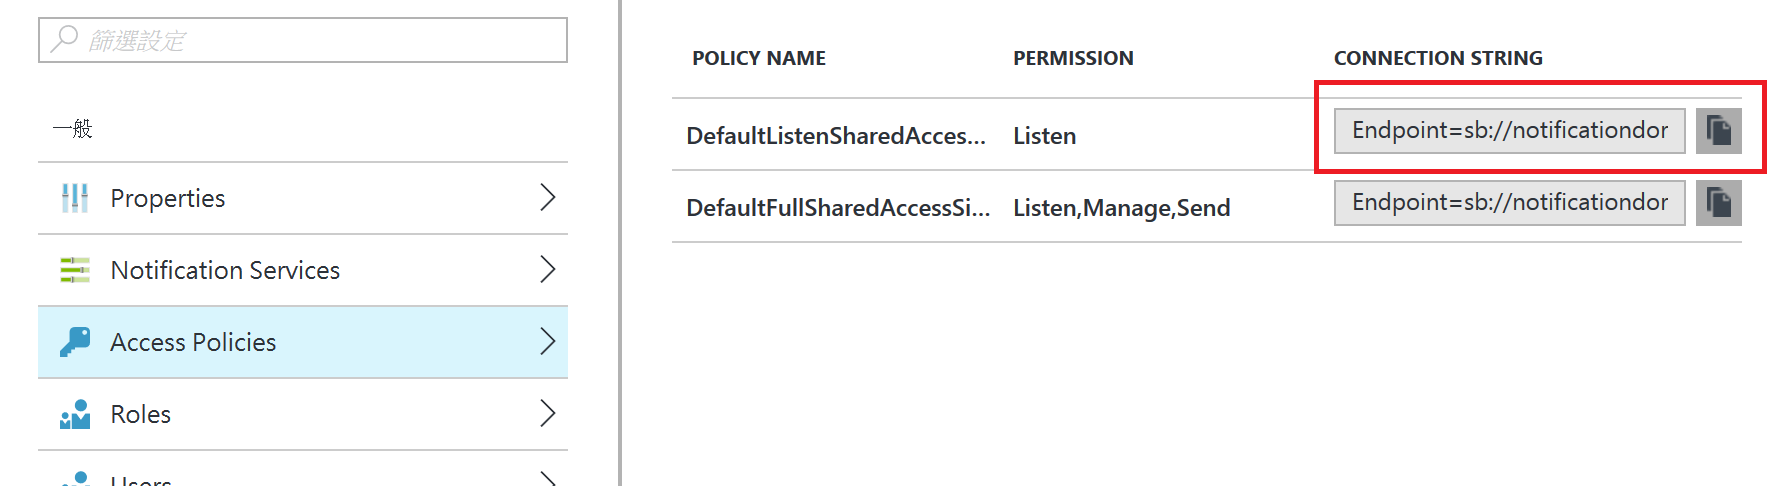
到這裡,雲端的設定已經都完成了,剩下來的,就是Xamarin Android平台程式碼要作的動作了
在Xamarin.Dorid的專案中,先建立一個Services資料夾,並在裡面加入一個GcmService.cs的類別庫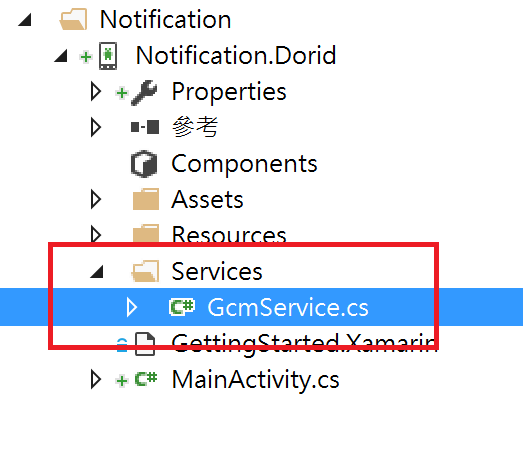
在專案中,[Components]的項目中按下右鍵,並點選[Get More Components]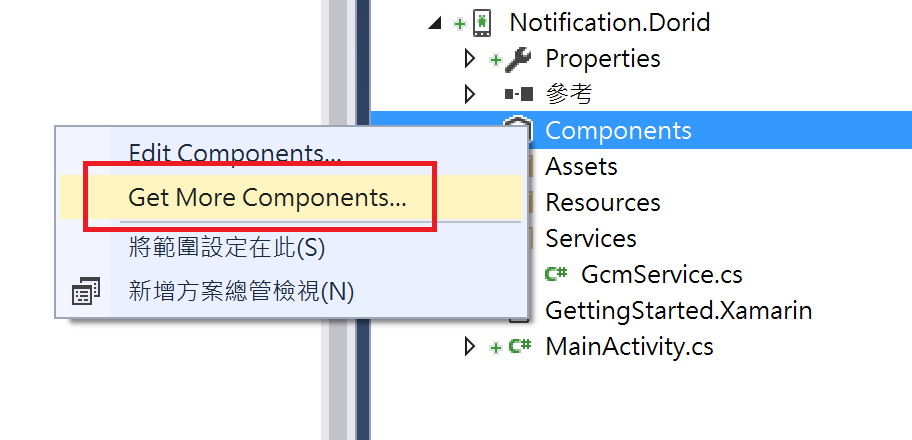
加入[Google Cloud Messaging Client]的元件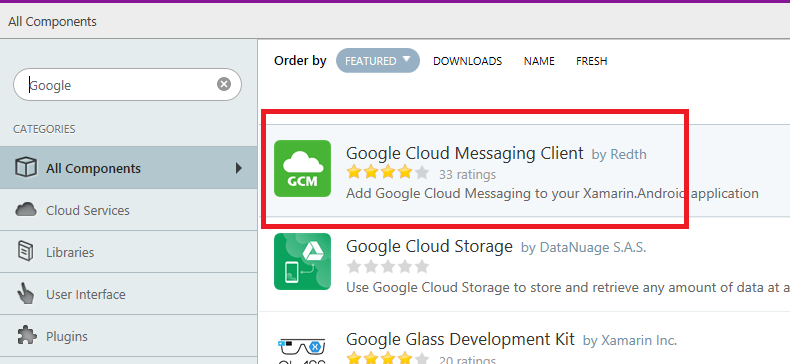
第二個加入[Azure Messaging]的元件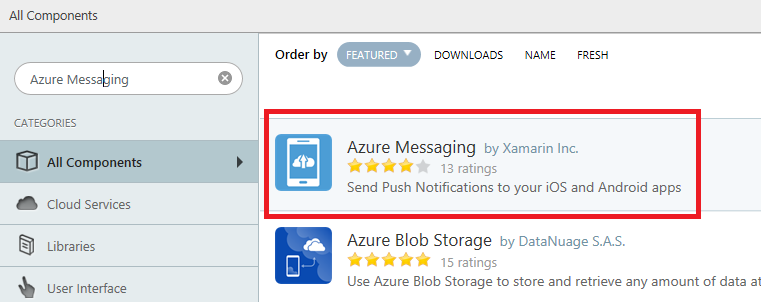
都加入完成後,會在專案中的[Components]下看到元件都已經被加入了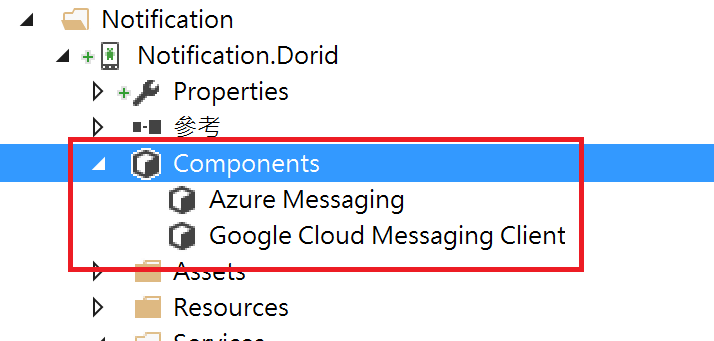
接著打開Services\GcmService.cs的類別庫,將下面的程式碼,加入至GcmService.cs的類別庫之中
using Gcm;
using WindowsAzure.Messaging;

[BroadcastReceiver(Permission = Constants.PERMISSION_GCM_INTENTS)]
[IntentFilter(new[] { Intent.ActionBootCompleted })]
[IntentFilter(new string[] { Constants.INTENT_FROM_GCM_MESSAGE }, Categories = new string[] { "@PACKAGE_NAME@" })]
[IntentFilter(new string[] { Constants.INTENT_FROM_GCM_REGISTRATION_CALLBACK }, Categories = new string[] { "@PACKAGE_NAME@" })]
[IntentFilter(new string[] { Constants.INTENT_FROM_GCM_LIBRARY_RETRY }, Categories = new string[] { "@PACKAGE_NAME@" })]

public class Constans : GcmBroadcastReceiverBase<GcmService>
{
    public static string[] SENDER_IDS = { "[專案編號]" };
    public const string HUB_NAME = "[Notification Hub名稱]";
    public const string HUB_LISTEN_CONN = "[包含Listen權限的Notification Hub連線字串]";
}

[Service]
public class GcmService : GcmServiceBase
{
    static NotificationHub hub;
    static string Tag;

    public static void Register(Context Context)
    {
        GcmClient.Register(Context, Constans.SENDER_IDS);
    }

    public static void Unregister(Context Context)
    {
        GcmClient.UnRegister(Context);
    }

    public GcmService() : base(Constans.SENDER_IDS)
    {
    }

    protected override void OnRegistered(Context context, string registrationId)
    {
        hub = new NotificationHub(Constans.HUB_NAME, Constans.HUB_LISTEN_CONN, context);

        if (hub != null)
        {

            try
            {
                hub.UnregisterAll(registrationId);
            }
            catch (Exception ex)
            {
                Console.WriteLine(ex.Message);
            }

            // 若是有用到tags,請在這裡加入client端的tags字串
            var tags = new List<string>() { };

            try
            {
                var hubRegistration = hub.Register(registrationId, tags.ToArray());
            }
            catch (Exception ex)
            {
                Console.WriteLine(ex.Message);
            }
        }
    }

    protected override void OnUnRegistered(Context context, string registrationId)
    {
        if (hub != null)
            hub.Unregister();
    }

    protected override void OnMessage(Context context, Intent intent)
    {
        Console.WriteLine("Received Notification");

        if (intent != null || intent.Extras != null)
        {

            var keyset = intent.Extras.KeySet();

            foreach (var key in intent.Extras.KeySet())
            {
                string strMessage = intent.Extras.GetString(key);
                Console.WriteLine("Key: {0}, Value: {1}", key, strMessage);
            }
        }

        var msg = new StringBuilder();
        string messageText = intent.Extras.GetString("message");
        if (!string.IsNullOrEmpty(messageText))
        {
            createNotification("New hub message!", messageText);
        }
        else
        {
            createNotification("Unknown message details", msg.ToString());
        }
    }

    protected override bool OnRecoverableError(Context context, string errorId)
    {
        return true;
    }

    protected override void OnError(Context context, string errorId)
    {

    }

    void createNotification(string title, string desc)
    {
        var notificationManager = GetSystemService(Context.NotificationService) as NotificationManager;
        var uiIntent = new Intent(this, typeof(MainActivity));
        var notification = new Notification(Android.Resource.Drawable.SymActionEmail, title);

        notification.Flags = NotificationFlags.AutoCancel;
        notification.SetLatestEventInfo(this, title, desc, PendingIntent.GetActivity(this, 0, uiIntent, 0));

        notificationManager.Notify(1, notification);
        dialogNotify(title, desc);
    }

    protected void dialogNotify(String title, String message)
    {

        MainActivity.instance.RunOnUiThread(() => {
            AlertDialog.Builder dlg = new AlertDialog.Builder(MainActivity.instance);
            AlertDialog alert = dlg.Create();
            alert.SetTitle(title);
            alert.SetButton("Ok", delegate {
                alert.Dismiss();
            });
            alert.SetMessage(message);
            alert.Show();
        });
    }
}
這段程式碼主要是提供了接收訊息推播的功能服務,請將前面步驟所記下的[專案編號]、[Notification Hub名稱]與[連線字串],更新至Constans的類別中,其他程式碼就先不要去動它
主要的程序如下
OnRegistered的內容,會從GCM中取得這台行動裝置的[registrationId],並將這個[registrationId]註冊進Notification Hub裡
OnMessage會將接收到的訊息,透過顯示alert的方式,呈現在App的畫面中
接著,在根目錄中的MainActivity.cs中,加入下面的內容
using Gcm.Client;
using XamarinNotification.Dorid.Services;

public static MainActivity instance = null;

private void CreateGCM()
{
    try
    {
        // Check to ensure everything's setup right
        GcmClient.CheckDevice(this);
        GcmClient.CheckManifest(this);

        // Register for push notifications
        System.Diagnostics.Debug.WriteLine("Registering...");
        GcmClient.Register(this, Constans.SENDER_IDS);
    }
    catch (Java.Net.MalformedURLException)
    {
        CreateAndShowDialog("There was an error creating the client. Verify the URL.", "Error");
    }
    catch (Exception e)
    {
        CreateAndShowDialog(e.Message, "Error");
    }
}

private void CreateAndShowDialog(String message, String title)
{
    AlertDialog.Builder builder = new AlertDialog.Builder(this);

    builder.SetMessage(message);
    builder.SetTitle(title);
    builder.Create().Show();
}
這段程式碼主要是當App啟動時,向GCM進行註冊的動作,以便接收推播訊息
接著在MainActitivy.cs的OnCreate裡,加上這兩行
instance = this;
this.CreateGCM();
最後,將Xamarin.Dorid的專案屬性中,[Packages name]的欄位,改為小寫開頭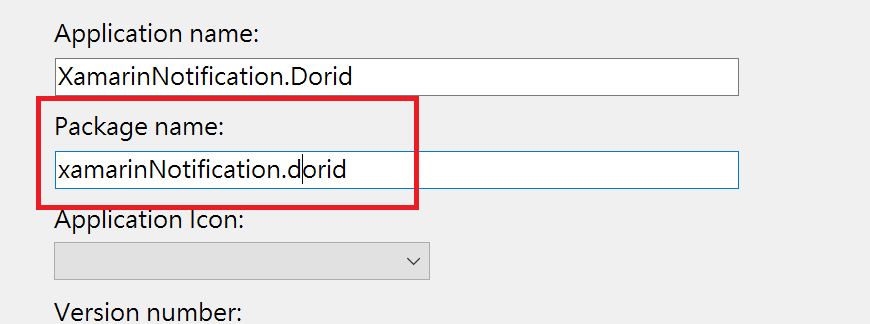
到這裡,程式碼的部份也完成了,把程式碼編譯完,佈署至實體手機執行看看
要發送訊息進行測試的方式,進入到Azure Portal的Notification Hub裡,點選[Test Send]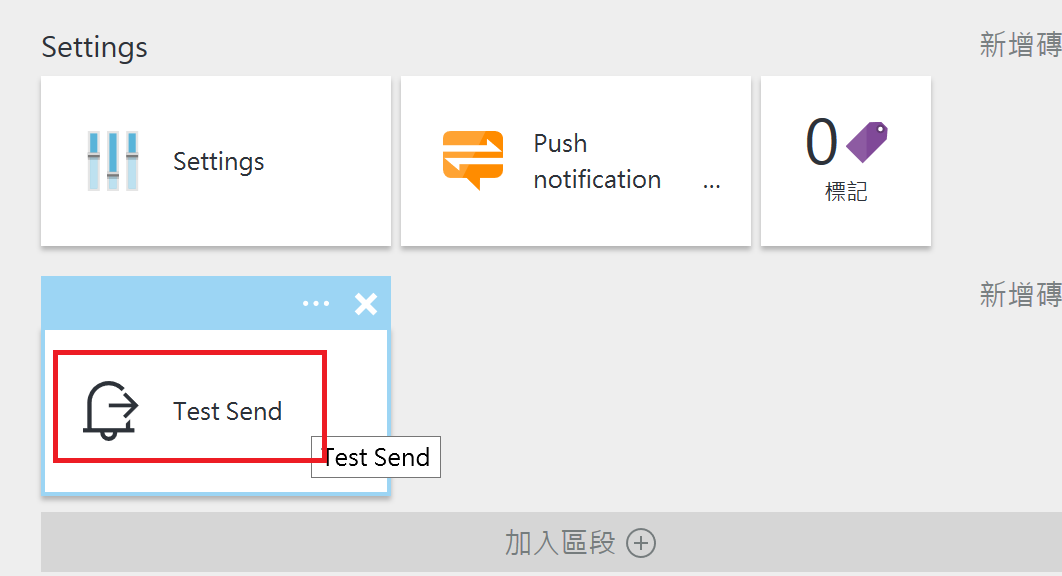
在[Test Send]的畫面中,選擇推播至Android的平台後,點選[Send],就可以推送訊息作測試了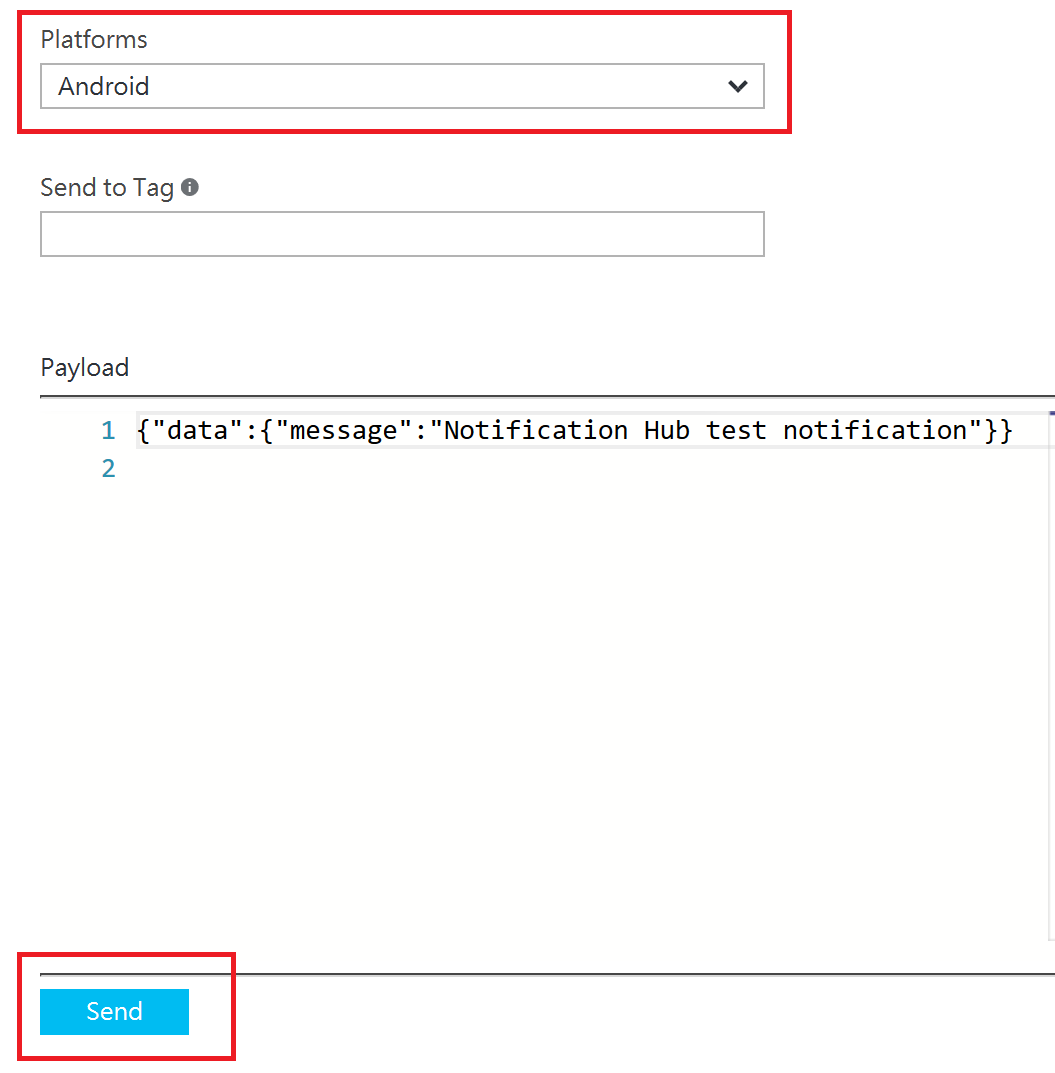
若是推送成功,會出現passed的通知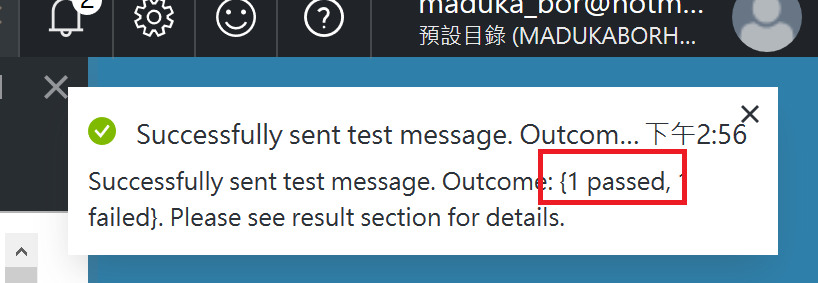
手機上也收到剛剛傳送出來的測試訊息了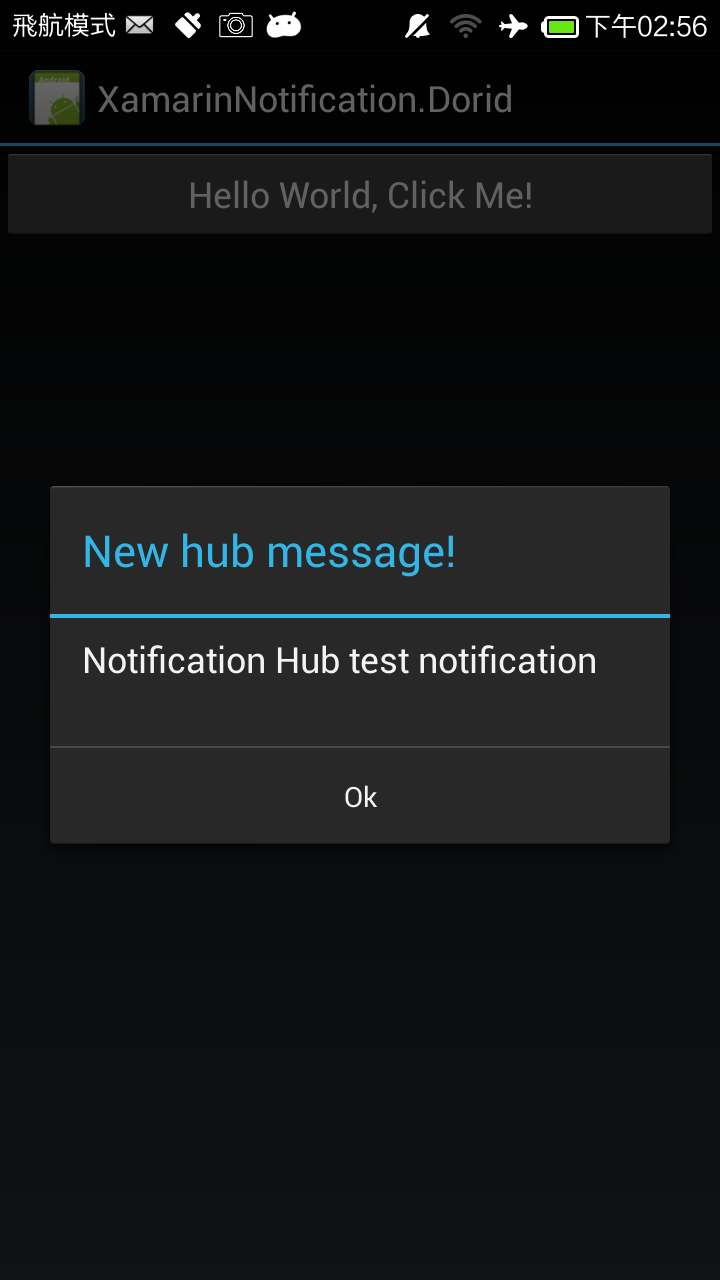
本文章範例程式已上傳GitHub,連結網址如下:
https://github.com/madukapai/maduka-Xamarin