在ASP.net C# 專案中
使用Line Login 快速登入範例
網站串Line Login 快速登入
前置步驟
1. 登入LINE(https://developers.line.me/en/),並註冊開發者帳號。
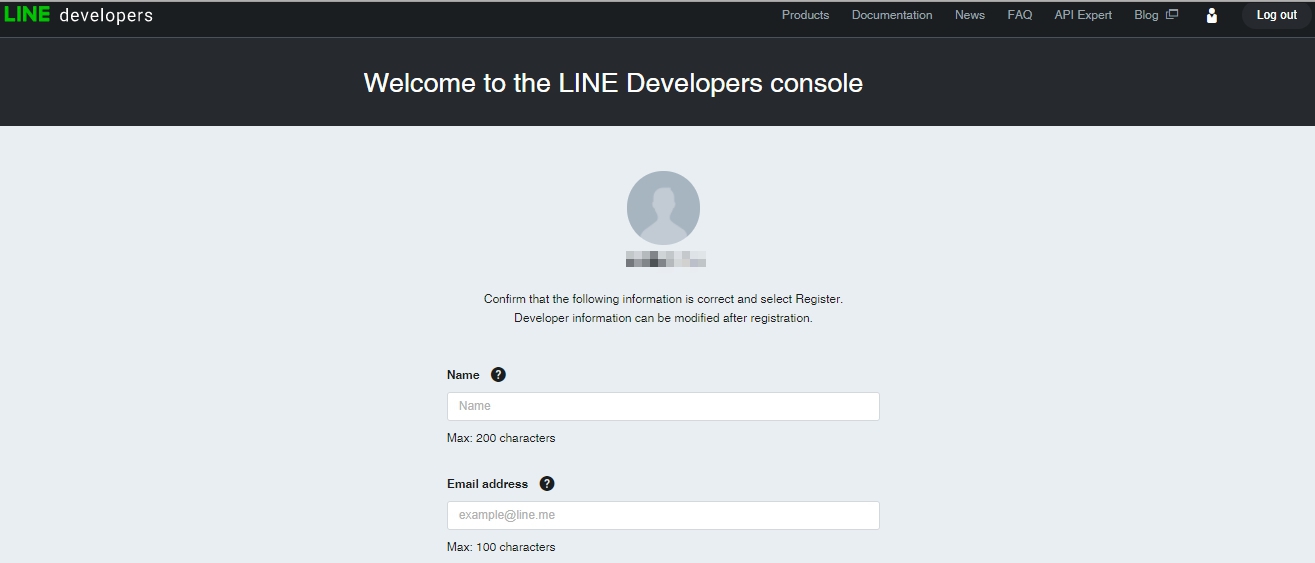
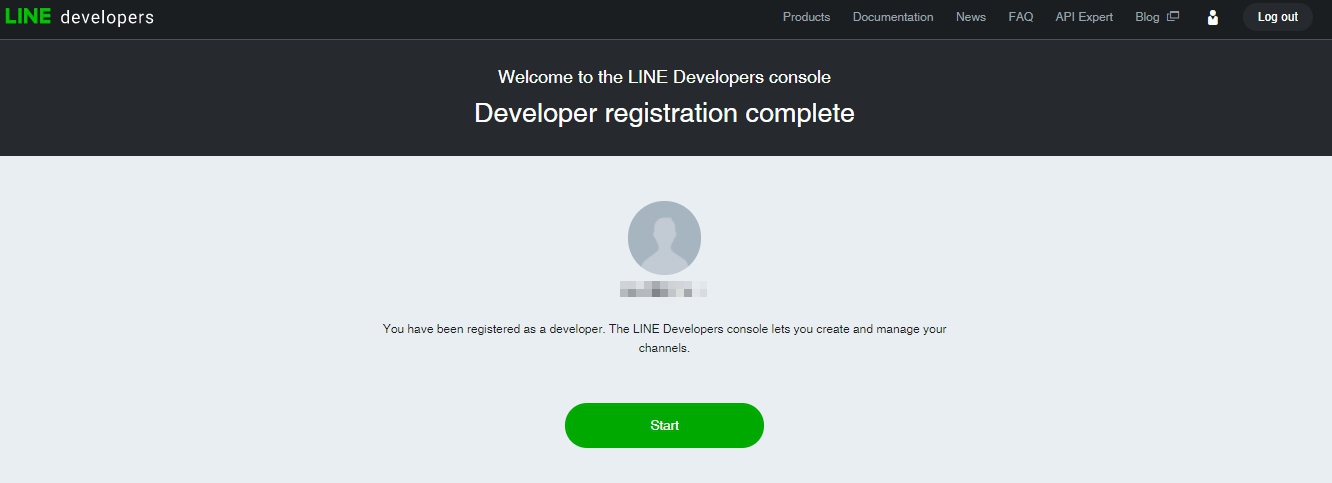
2. 完成登入及註冊後點選start。
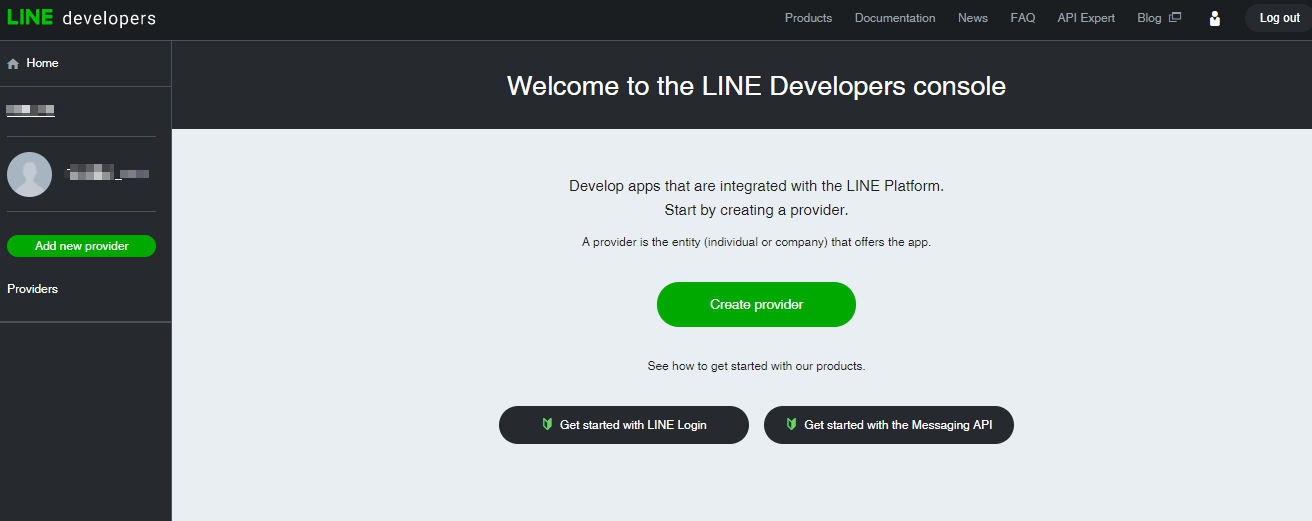
3. 選擇Create Provider。
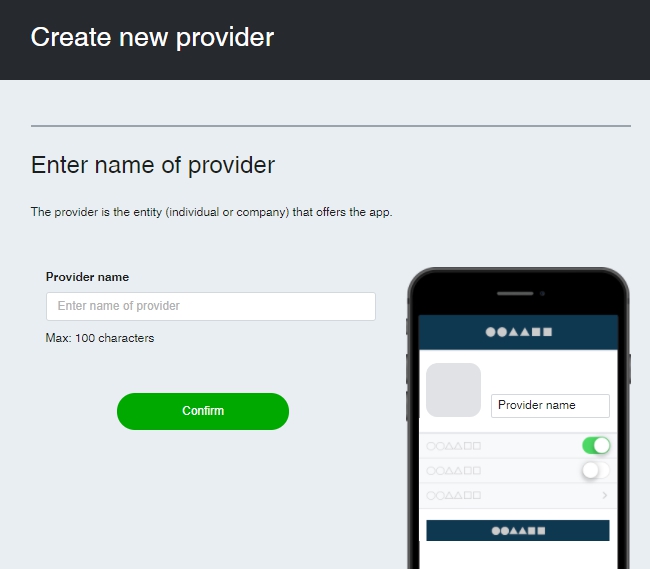
4. 依個人喜好想一個Provider名稱填入,並點選Comfirm。
5. 確認無誤後後點選Create。
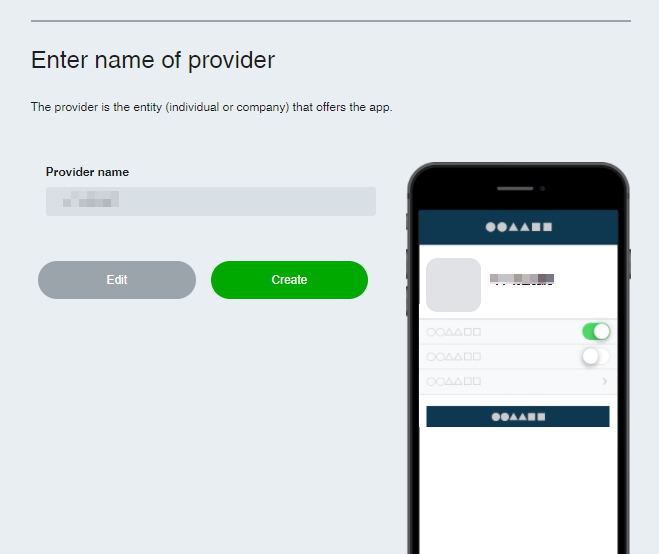
6. 點選LINE Login
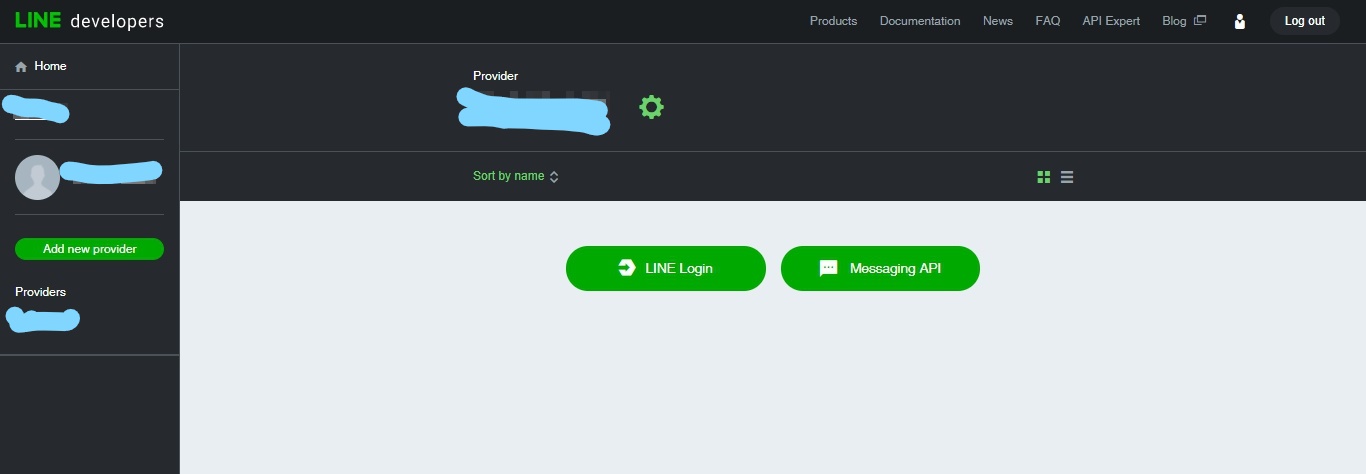
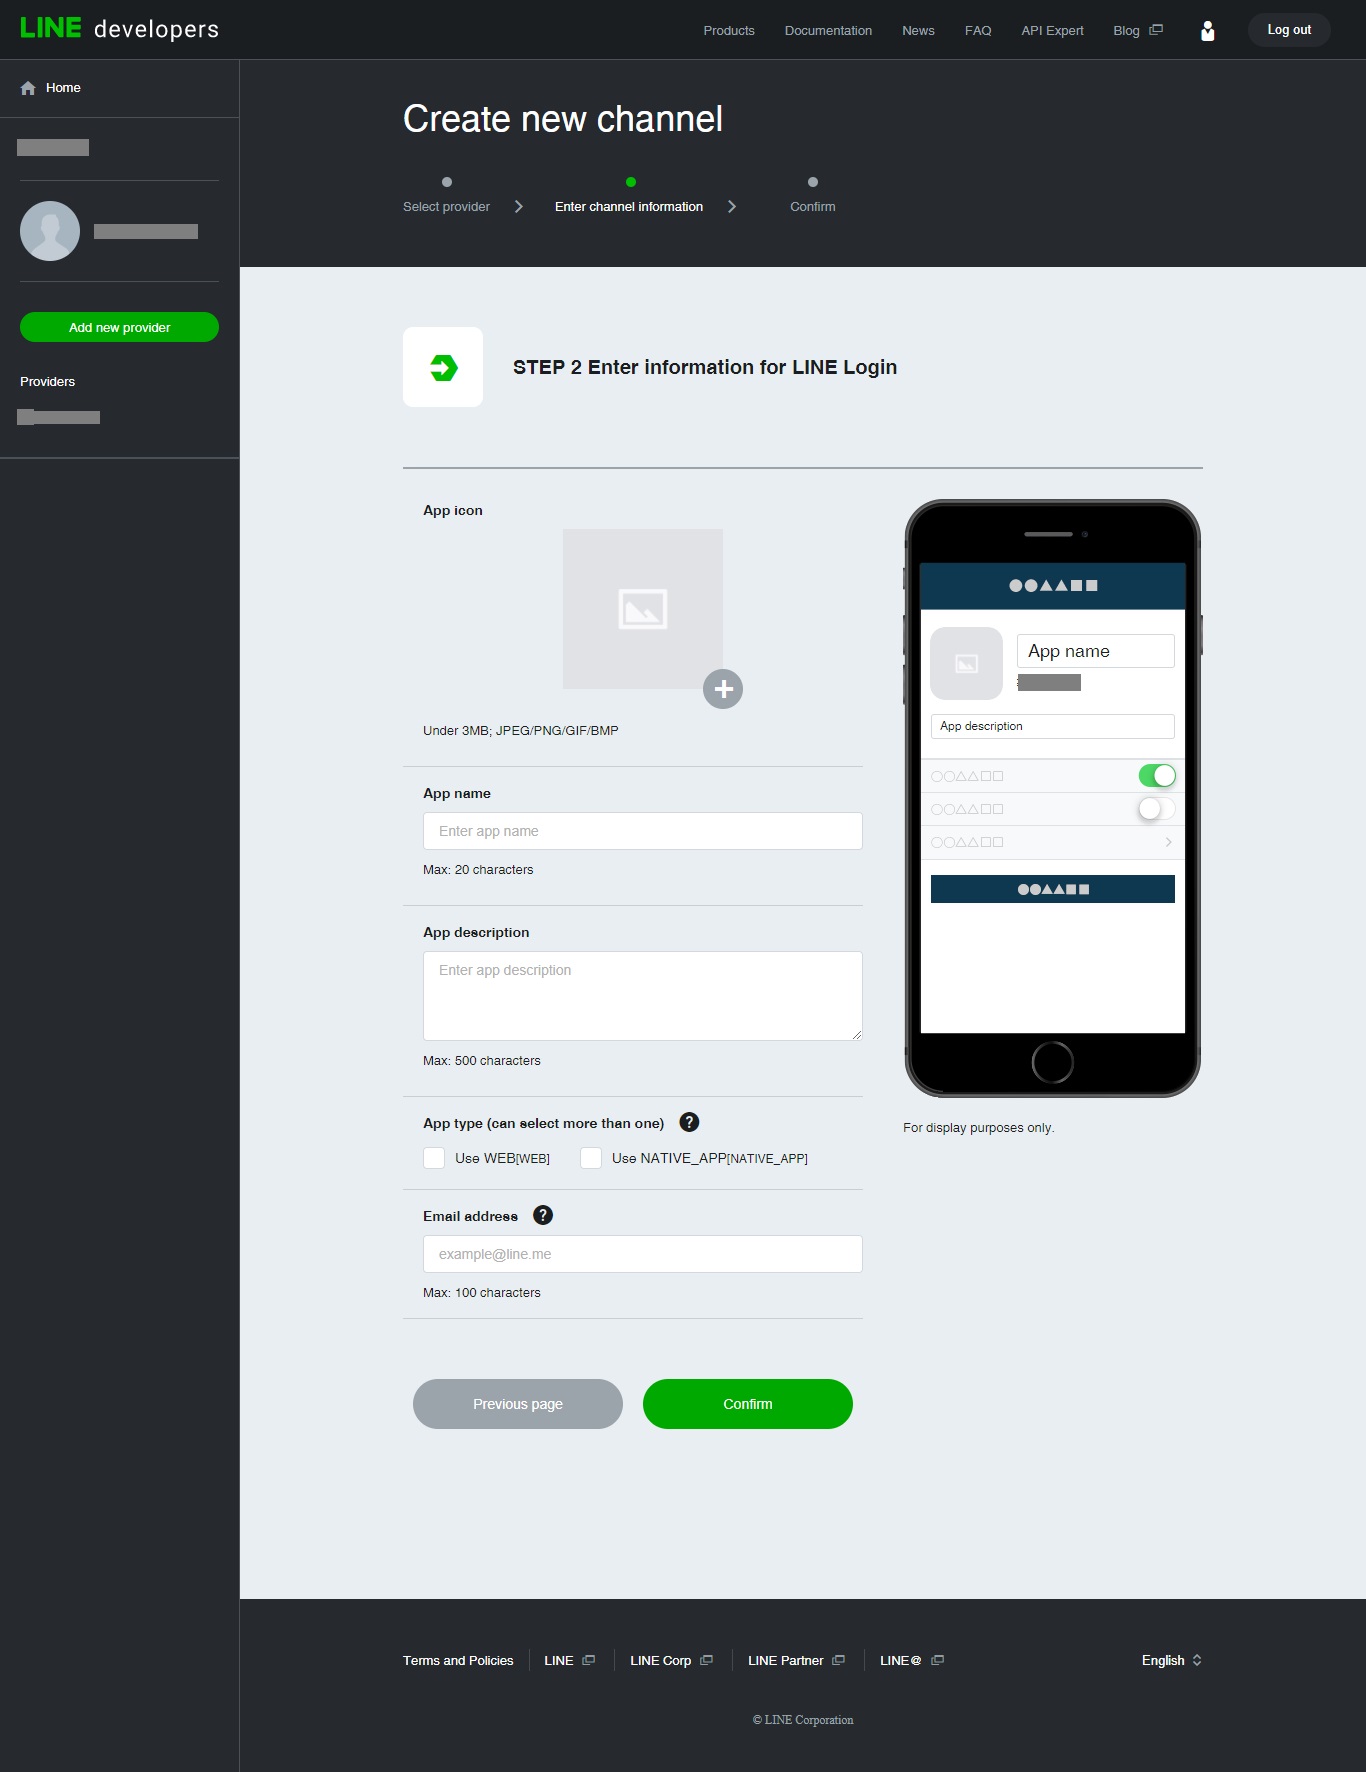
7. 輸入App name、App description接著選擇 Use WEB 然後填入Email,以上確認無誤後點選Confirm。
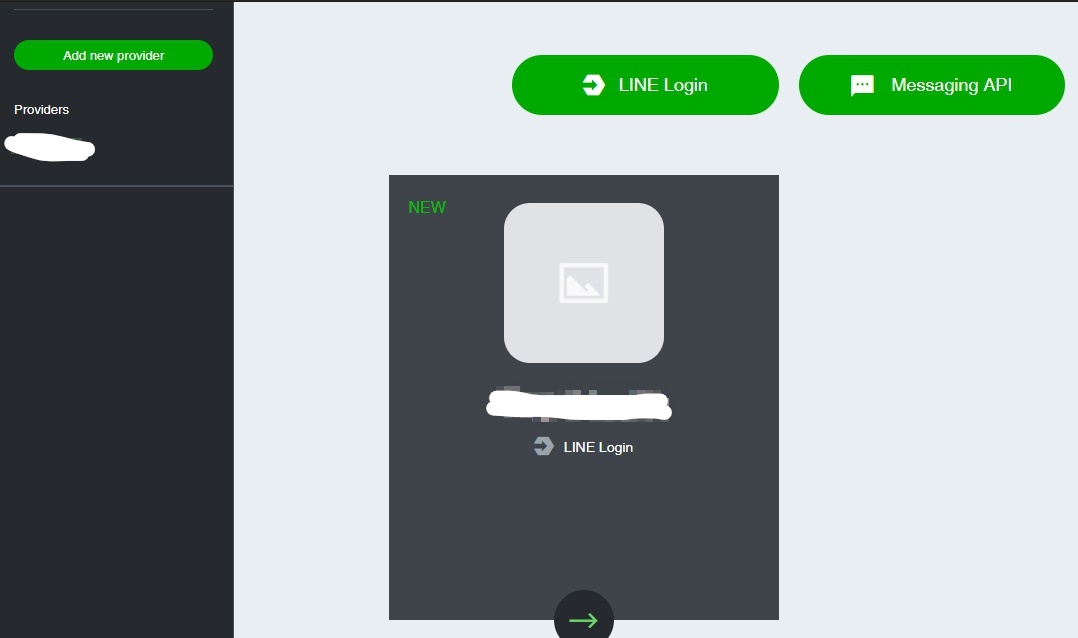
8. 看到以下畫面已經填寫完成基本資料了,接著點選下方的箭頭(→)。
9. 上傳一張圖片並確認以下資訊無誤後點選左側的App settings。
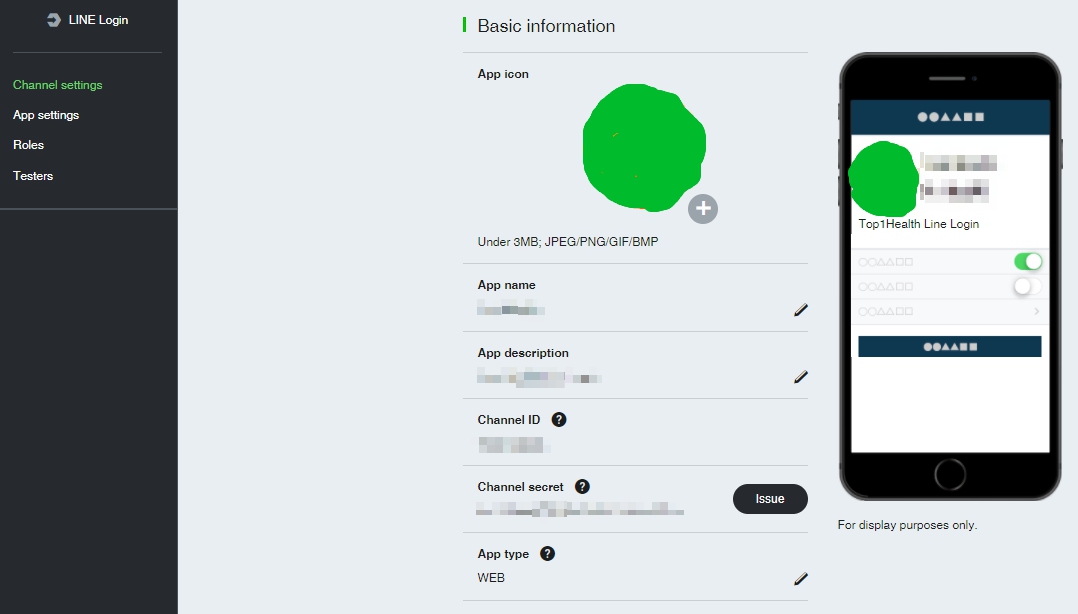
10. 填入Callback URL。
說明: User點選LINE快速登入之後會先導到LINE登入頁面,LINE會進行驗證,通過驗證後會導回你指定的網址並以QueryString的方式附上code與state的參數值
Callback URL這欄位就是給你指定通過驗證後會導回的網址
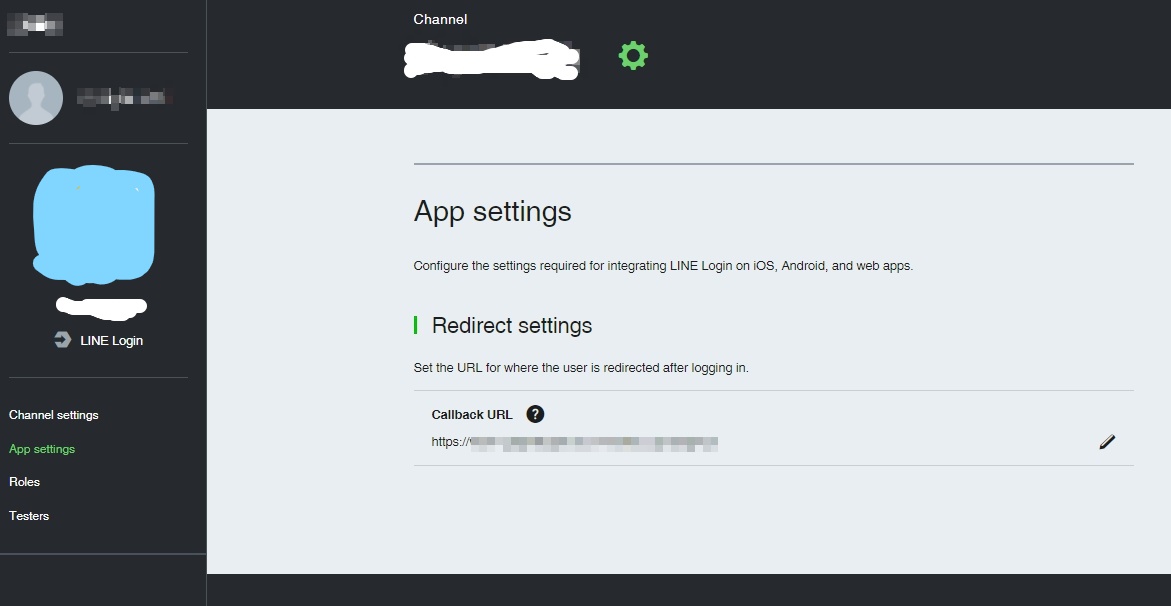
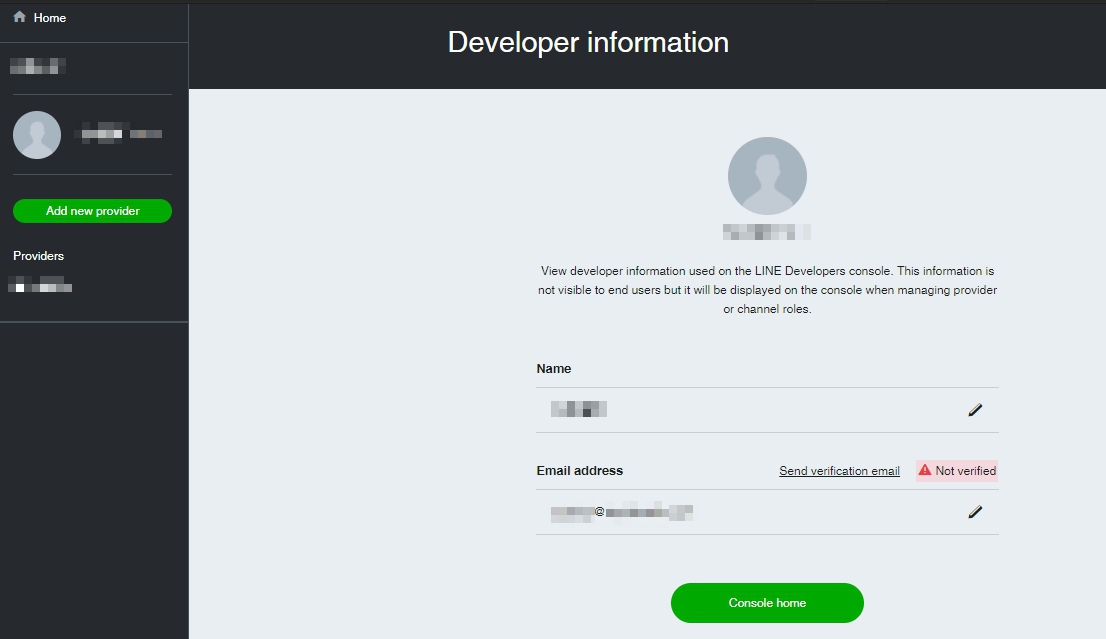
11. 點選Home下方帳號名稱的連結,回到開發者資訊頁面,接著點選【Send verification email】寄出驗證信。
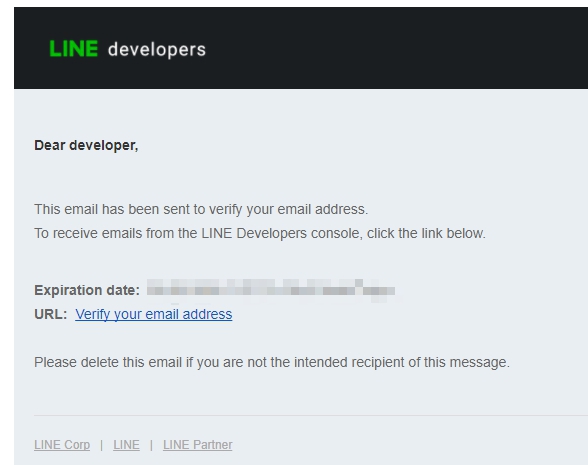
12. 到你的Email信箱收信,點選Email中的連結 Verify your email address 。
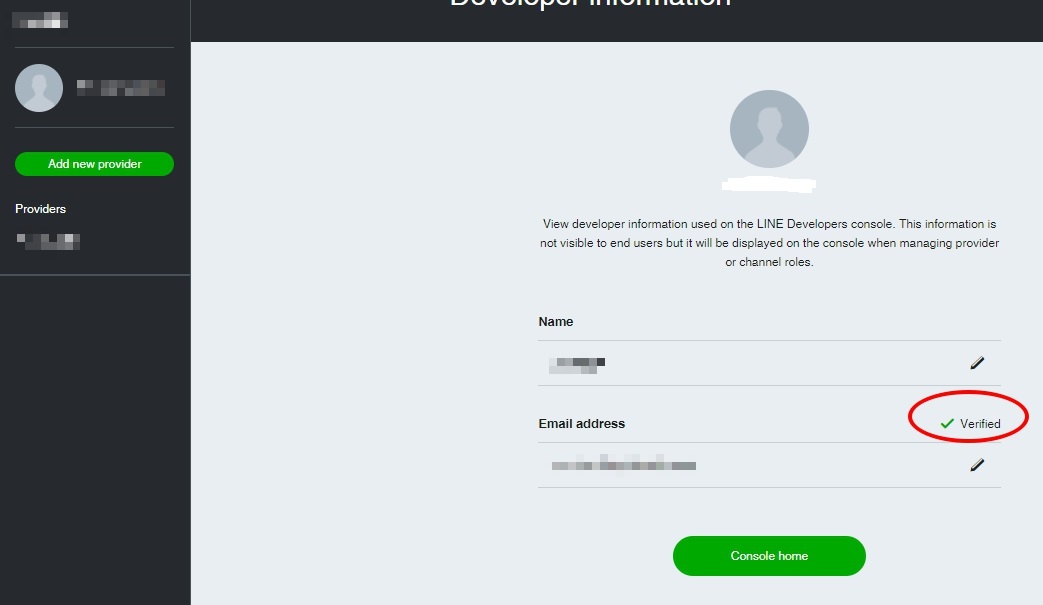
13. 回到開發者資訊頁面,確認驗證完成。
開始寫CODE了
1. 組URL導到LINE登入頁面進行驗證
VIEW
<a href="@Url.Action("LineLoginDirect")">
  <img src="~/images/btn_login_base.png" alt="Line Login" />
</a>
說明: 連結指向後端Controller的ActionResult
圖片可以在LINE Developer網站下載(https://developers.line.me/en/docs/line-login/login-button/)
網頁中的 Download: LINE Login button images
Controller
public ActionResult LineLoginDirect()
        {
            string response_type = "code";
            string client_id = "填入Channel ID";
            string redirect_uri = HttpUtility.UrlEncode("填入Callback Url");
            string state = "自訂一組state密碼例如aaa";
            string LineLoginUrl = string.Format("https://access.line.me/oauth2/v2.1/authorize?response_type={0}&client_id={1}&redirect_uri={2}&state={3}&scope=openid%20profile&nonce=09876xyz",
                response_type,
                client_id,
                redirect_uri,
                state
                );
            return Redirect(LineLoginUrl);
        }
說明: Channel ID就是Client_id 在前置作業的開發者設定頁面中的 Channel settings 可以找到
2. 接LINE丟回來的code與state參數值
接到之後再去CallApi (https://api.line.me/oauth2/v2.1/token)取回Token
取回Token後再用這組Token去CallApi (https://api.line.me/v2/profile)取回User Profile
Controller
public ActionResult callback(string code, string state)
        {
            if (state == "自己設定的state密碼")
            {
                #region Api變數宣告
                WebClient wc = new WebClient();
                wc.Encoding = Encoding.UTF8;
                wc.Headers.Add("Content-Type", "application/x-www-form-urlencoded");
                string result = string.Empty;
                NameValueCollection nvc = new NameValueCollection();
                #endregion
                try
                {
                    //取回Token
                    string ApiUrl_Token = "https://api.line.me/oauth2/v2.1/token";
                    nvc.Add("grant_type", "authorization_code");
                    nvc.Add("code", code);
                    nvc.Add("redirect_uri", "填入導回的網址");
                    nvc.Add("client_id", "填入cient_id");
                    nvc.Add("client_secret", "填入client_secret");
                    string JsonStr = Encoding.UTF8.GetString(wc.UploadValues(ApiUrl_Token, "POST", nvc));
                    LineLoginToken ToKenObj =JsonConvert.DeserializeObject<LineLoginToken>(JsonStr);
                    wc.Headers.Clear();

                    //取回User Profile
                    string ApiUrl_Profile = "https://api.line.me/v2/profile";
                    wc.Headers.Add("Authorization", "Bearer "+ ToKenObj.access_token);
                    string UserProfile = wc.DownloadString(ApiUrl_Profile);
                    LineProfile ProfileObj = JsonConvert.DeserializeObject<LineProfile>(UserProfile);

                    return RedirectToAction("UserProfile", "Home",new { displayName = ProfileObj.displayName , pictureUrl = ProfileObj.pictureUrl });
                }
                catch (Exception ex)
                {
                    string msg = ex.Message;
                    throw;
                }
            }
            return View();
        }
class
    public class LineLoginToken
    {
        public string access_token { get; set; }
        public int expires_in { get; set; }
        public string id_token { get; set; }
        public string refresh_token { get; set; }
        public string scope { get; set; }
        public string token_type { get; set; }
    }

    public class LineProfile
    {
        public string userId { get; set; }
        public string displayName { get; set; }
        public string pictureUrl { get; set; }
        public string statusMessage { get; set; }
    }
取回User Profile之後在依照個人需求實作自己網站的登錄