利用Bootstrap來製作一個簡單的畫面
這次我們要實作,利用Bootstrap來製作一個簡單的畫面,
如果還沒有掛載好Bootstrap工具包或是第一次使用的人可以參考上一篇文章如何使用Bootstrap-掛載檔案。
開發環境使用Visual Studio 2013 Web類型的專案,新建專案的方式也可以參考上一篇文章喔!
在開始之前先來介紹幾個小技巧:
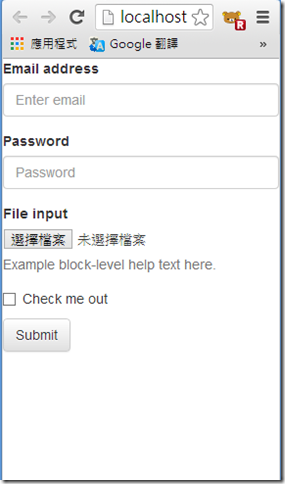
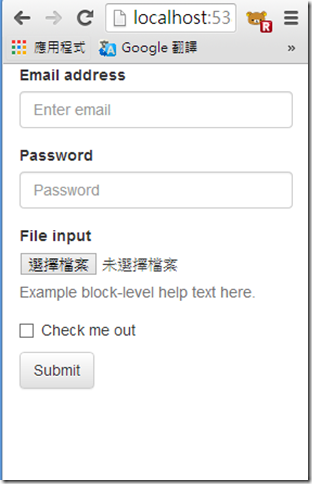
1.當我們在編輯畫面的時候,會在最外面加一個<div class="container">…</div>,加上這個屬性是為了讓版面在縮小頁面之後,可以與外框有點距離。
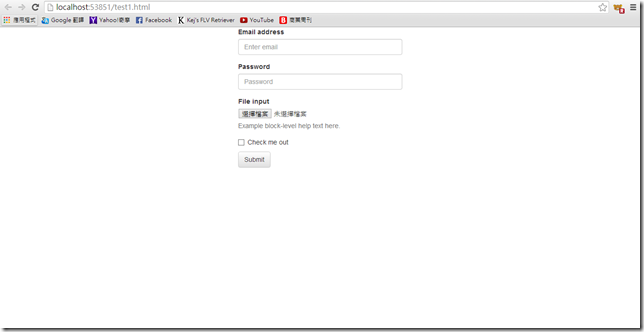
沒有加container屬性結果:
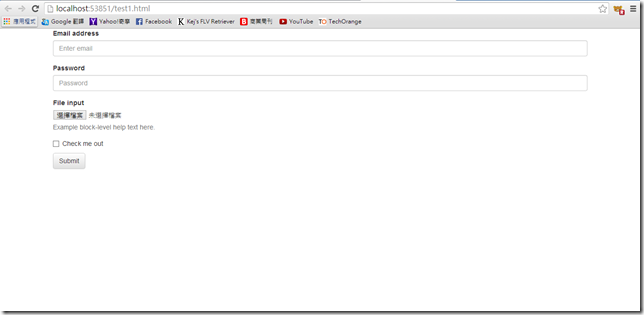
有加container屬性結果:
2.版面被分為十二等分,可以使用下列屬性來編排版面的配置
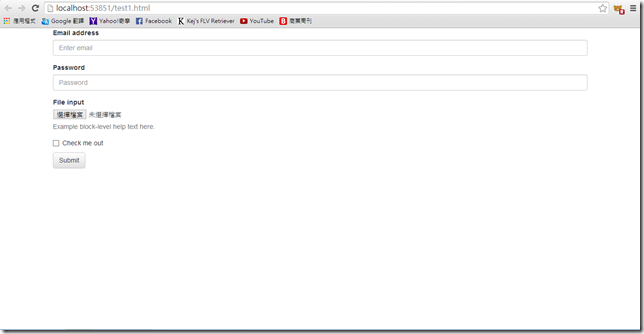
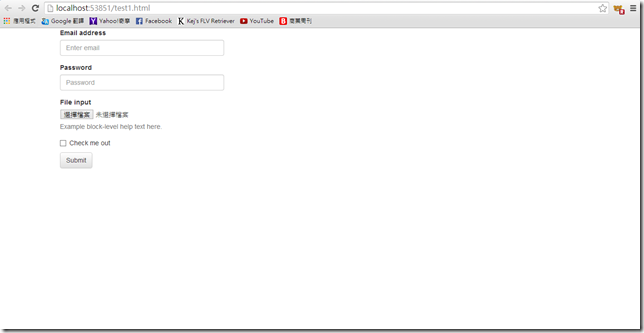
a.<div class="col-md-4">…</div> ---> 指div占版面的十二分之四
加入屬性前
加入屬性後
b.<div class="col-md-offset-4 col-md-4">…</div> ---> 版面縮十二分之四,占版面的十二分之四
這個屬性之後,就可以往右邊縮,可以有置中的效果。
這兩個屬性最後的數字可以根據個人需求來修改,如果是要縮三等份,占版面六等份,可以改成
<div class="col-md-offset-3 col-md-6">…</div>。
3.文字屬性:
a. <h1></h1> ~ <h6></h6> ---> 設定字型大小(由大而小)
b.<small></small> 、<strong></strong> ---> 前者為縮小字體,後者為設定字型為粗體
c.class="text-left"、class="text-center"、class="text-right" ---> 設定文字對齊(靠左對齊、置中對齊、靠右對齊)
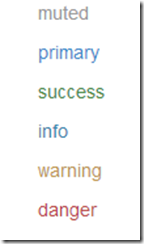
d.class="text-muted" ---> 設定文字的顏色,只要將text-後面的字改下面的字,就可以設定顏色(下圖為文字的顏色)
註:textbox與button的顏色設定與文字的設定不太一樣喔!
實作一個登入的表單畫面
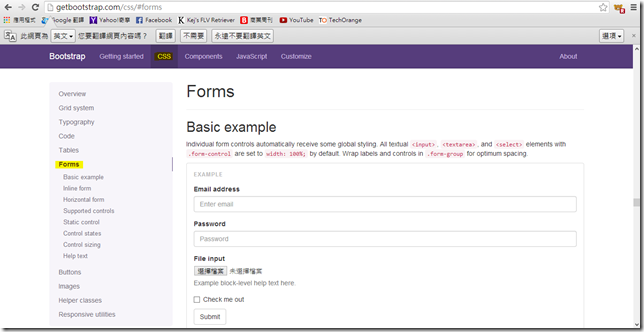
1. 先到Bootstrap官網的css頁面 http://getbootstrap.com/css/ ,並點選Form表單的部份。
往下選擇你所想要的表單版面型式,可以直接複製下方的程式碼來修改。
而我已經有加入container的class屬性。
 <div class="container">
        <form role="form">
            <div class="form-group">
                <label for="exampleInputEmail1">Email address</label>
                <input type="email" class="form-control" id="exampleInputEmail1" placeholder="Enter email">
            </div>
            <div class="form-group">
                <label for="exampleInputPassword1">Password</label>
                <input type="password" class="form-control" id="exampleInputPassword1" placeholder="Password">
            </div>
            <div class="form-group">
                <label for="exampleInputFile">File input</label>
                <input type="file" id="exampleInputFile">
                <p class="help-block">Example block-level help text here.</p>
            </div>
            <div class="checkbox">
                <label>
                    <input type="checkbox"> Check me out
                </label>
            </div>
            <button type="submit" class="btn btn-default">Submit</button>
        </form>
    </div>
小叮嚀:以上程式碼是在<body></body>部份的程式碼。
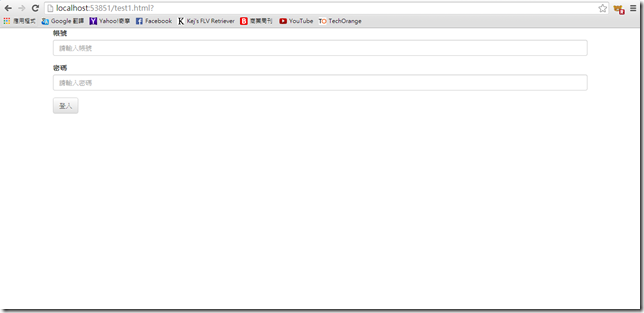
畫面如下:
接下來就是修改成我們所需要的畫面
<div class="container">
        <form role="form">
            <div class="form-group">
                <label for="exampleInputEmail1">帳號</label>
                <input type="email" class="form-control" id="exampleInputEmail1" placeholder="請輸入帳號">
            </div>
            <div class="form-group">
                <label for="exampleInputPassword1">密碼</label>
                <input type="password" class="form-control" id="exampleInputPassword1" placeholder="請輸入密碼">
            </div>

            <button type="submit" class="btn btn-default">登入</button>
        </form>
</div>
小叮嚀:以上程式碼是在<body></body>部份的程式碼。
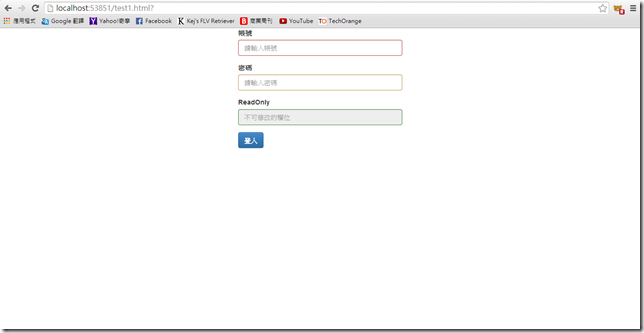
加上一個唯讀的欄位,可以使用下面的程式碼
<div class="form-group">
    <label>ReadOnly</label>
    <input class="form-control" id="disabledInput" type="text" placeholder="不可修改的欄位" disabled> <!--disable欄位-->
</div>
這是在一個form裡面加入一個單一的唯讀欄位,如果是想要整個form都是唯讀的話,可以將<fieldset disabled>…</fieldest>加在form的最外層,
還有加上了一些Bootstrap內建的顏色屬性,就可以快速的修改textbox和button的顏色。
以下是程式碼:
<div class="container">
    <div class="col-md-offset-4 col-md-4">   <!--將畫面設為在版面的中間-->
        <form role="form">
            <div class="form-group has-error">
                <label for="exampleInputEmail1 inputError">帳號</label>
                <input type="email" class="form-control" id="exampleInputEmail1 inputError" placeholder="請輸入帳號">
            </div>
            <div class="form-group has-warning">
                <label for="exampleInputPassword1 inputWarning">密碼</label>
                <input type="password" class="form-control" id="exampleInputPassword1 inputWarning" placeholder="請輸入密碼">
            </div>
            <div class="form-group has-success">
                <label for="inputError inputSuccess">ReadOnly</label>
                <input class="form-control" id="disabledInput inputSuccess" type="text" placeholder="不可修改的欄位" disabled> <!--disable欄位-->
            </div>
            <button type="submit" class="btn btn-default btn-primary">登入</button>
        </form>
    </div>
</div>
這邊是簡單實作一個表單的部份,如果需要其他的版面可以在Bootstrap官網上面搜尋,可以直接使用,也可以自行加上css的屬性加以修改。
參考網址:http://getbootstrap.com/ ---> Bootstrap官網
各位大大你們好,如文章有任何錯誤,麻煩給予指教!
希望能幫助到大家,並記錄學習的點點滴滴 ~^.^~
*** 勞煩引用請註明出處,感謝! ***
