[C#][ASP.NET MVC]實做檔案管理
檔案上傳、下載和刪除這三個功能在WebForm大家一定不陌生
在使用MVC實做這三個功能,真的簡單又快速喔,這裡簡單示範並記錄。
前置作業:建立上傳資料夾
1.新增Controllers
加入檔案屬性並公開
public class FileAttribute
    {
        public string Name { get; set; }
        public string Path { get; set; }
        public long Size { get; set; }
        public DateTime Created { get; set; }
    }
2.新增Model(FileRepository)
public List<FileAttribute> GetAllFileDescription()
        {
            String FolderPath = HttpContext.Current.Server.MapPath("~/Uploads");//取得Server上傳資料夾
            String[] files = Directory.GetFiles(FolderPath);//取得上傳資料夾中所有檔案
            List<FileAttribute> fileDescriptions = new List<FileAttribute>();
            foreach (String file in files)//循環取得檔案相關屬性資訊
            {
                FileInfo fileinfo = new FileInfo(file);
                fileDescriptions.Add(
                    new FileAttribute
                    {
                        Name = fileinfo.Name,
                        Path = fileinfo.DirectoryName,
                        Size = fileinfo.Length ,
                        Created = fileinfo.CreationTime
                    });
            }
            return fileDescriptions;
        }
Index in Controller
 FileRepository filerepository = new FileRepository();
        // GET: /File/

        public ActionResult Index()
        {
            return View(filerepository.GetAllFileDescription());
        }
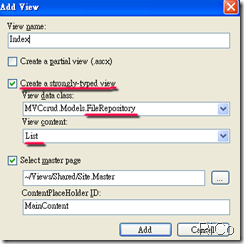
Add View(記得勾選建立強型別)
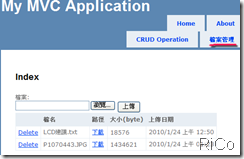
結果:
Upload in Controller
[AcceptVerbs(HttpVerbs.Post)]
        public ActionResult Upload(HttpPostedFileBase Uploadfile)
        {
            if (Uploadfile != null)
            {
                Uploadfile.SaveAs(Server.MapPath("~/Uploads/") + Uploadfile.FileName);
            }
            return RedirectToAction("Index");
        }
Index View
 檔案:
    <% using (Html.BeginForm("Upload", "File", FormMethod.Post, new { enctype = "multipart/form-data" }))
       {%>
     <input type="file" name="Uploadfile" />
     <input type ="submit"  name ="Upload" value ="上傳" />
     <%} %>
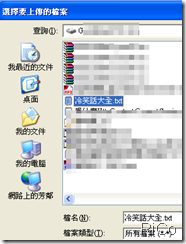
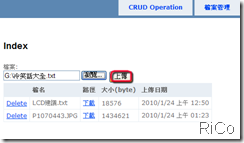
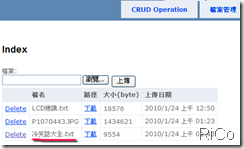
結果:
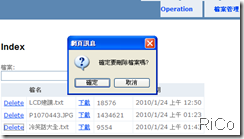
Delete in Controller
public ActionResult Delete(String name)
        {
            System.IO.File.Delete(Server.MapPath("~/Uploads/") + name);
            return RedirectToAction("Index");
        }
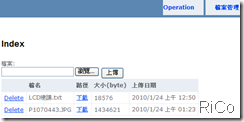
結果
DownLoad in Controller
 public ActionResult DownLoad(String name)
        {
            return File("~/Uploads/"+ name, "text/plain", Server.HtmlEncode(name));
         }
結果
這樣就完成了簡單的檔案管理功能摟。


