摘要:[Swift] iOS開發筆記(二):在Xcode6 iOS專案裡使用Xib檔案
在Xcode5後,建立一個新的iOS專案的時候,預設都是使用iPhone Storyboard。
如果不想要使用iPhone storyboard而要使用Xib檔案來設計你的App的話要怎麼處理?這篇來研究一下這個部分
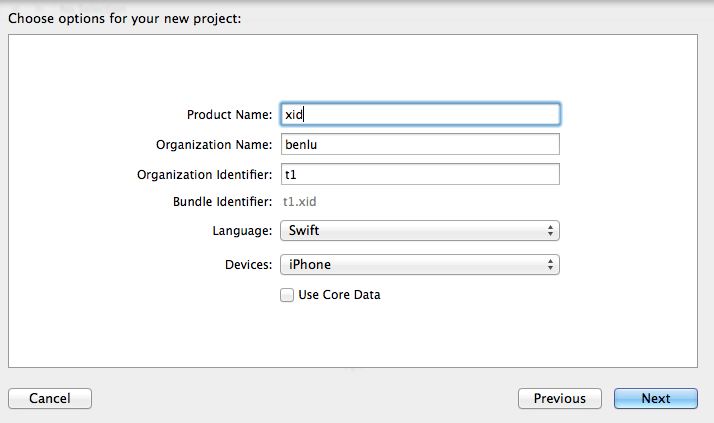
1. 首先建立一個iPhone專案
在Xcode6新增專案的時候,先在這邊選擇要使用的語言為Swift。
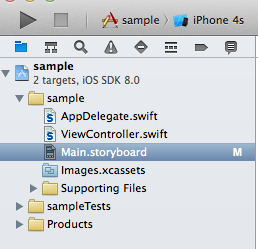
2. 在專案中移除掉main.storyboard
新增的專案中會有一個預設的main.stroyboard,這邊先移除掉這一個Main.storyboard。
3. 開啓AppDelegate.swift 修改程式碼
先用比較簡單的做法來建立一個頁面,開啓AppDelegate.swift這隻程式,依照下方程式做修改
    var window: UIWindow?

    func application(application: UIApplication, didFinishLaunchingWithOptions launchOptions: NSDictionary?) -> Bool {

        //建立第一個頁面物件實例
        var testViewController: UIViewController? = UIViewController()

        //設定第一個頁面背景顏色為紅色
        testViewController!.view.backgroundColor = UIColor.redColor()

        //把windows塞滿整個畫面
        self.window = UIWindow(frame: UIScreen.mainScreen().bounds)
        //指定testViewController給windows的root view
        self.window!.rootViewController = testViewController
        self.window!.makeKeyAndVisible()
        return true
    }
4. 編譯App程式
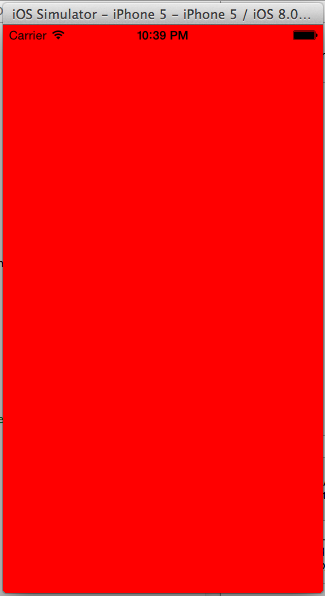
編譯這個App,可以看到畫面出現了。
不過到目前都是用程式碼來建立ViewController,接下來用另一種方法,在專案中新增Xib的File。
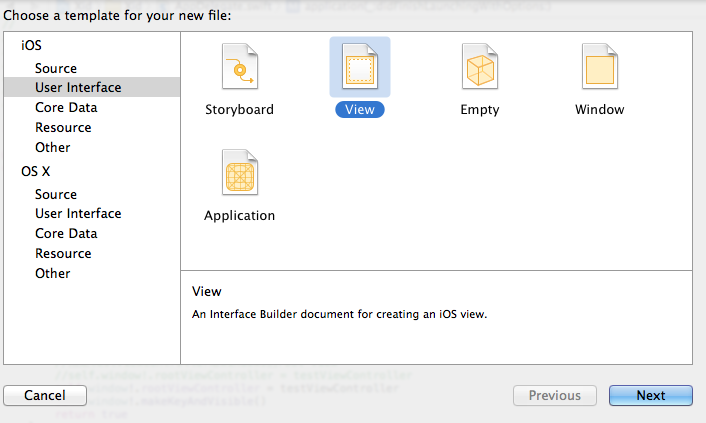
5. 新增一個Xib
在專案中新增一個File,選擇User Interface裡面的View。
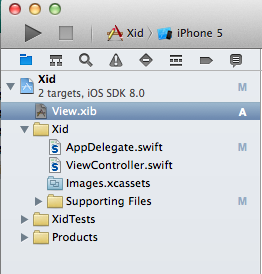
新增完成可以看到專案裡面多了一個View.xib檔案。
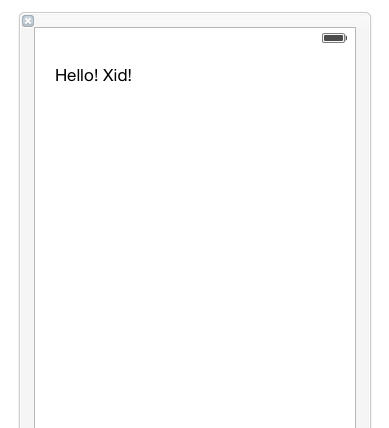
在Xib的檔案裡面拖拉控制項進來。
6. 連接Xib outlet 給ViewController
如果要讓Xib畫面被載入,這邊要設定這個Xib畫面與ViewController產生outlet關聯。
點選Xib畫面,在[Show the identity inspector ],在Custom Class選擇ViewController
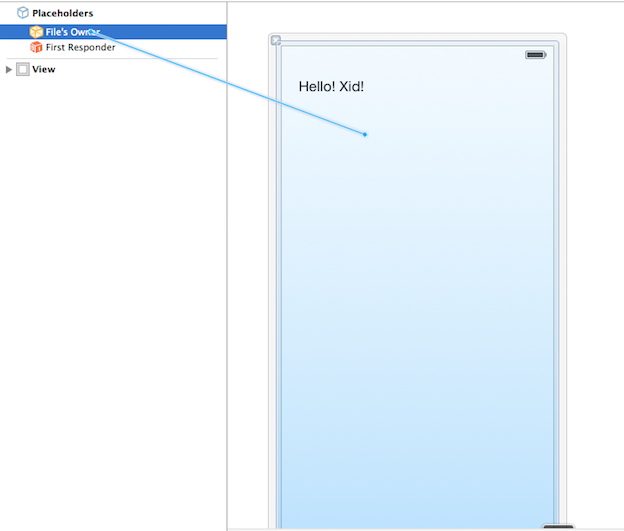
點選Xib畫面,開啓左下角展開視窗,選擇[File’s owner],按下[control]+滑鼠左鍵拖拉一個連線到Xib View畫面上,產生關聯。
7. 修改AppDelegate.swift程式
    var window: UIWindow?

    func application(application: UIApplication, didFinishLaunchingWithOptions launchOptions: NSDictionary?) -> Bool {

        //建立第一個頁面物件實例
        var testViewController : ViewController? = ViewController()

        //把windows塞滿整個畫面
        self.window = UIWindow(frame: UIScreen.mainScreen().bounds)

        //指定testViewController給windows的root view
        //self.window!.rootViewController = testViewController
        self.window!.makeKeyAndVisible()
        return true
    }
8. 重新編譯App
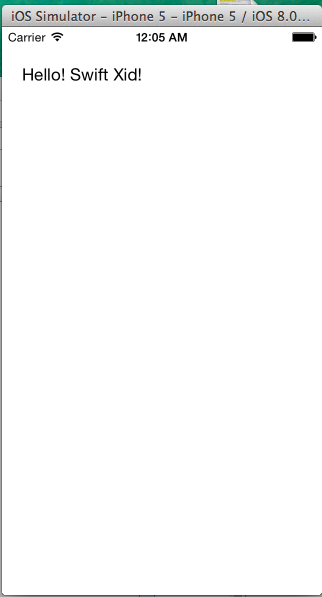
編譯這個App,可以在Xcode6裡面使用Xid檔案了。
參考文件:
How do I create a new Swift project without using Storyboards?
