加入 cordova-plugin-qrscanner 插件呼叫 iOS 原生 API 來開啟鏡頭掃描 QR Code。
前言
前一篇文章已建立基礎 app 程式,接著要實際透過 cordova plugin 操作原生 API 來達成手機上的特定操作。首先,我們先來個簡單原生功能試試水溫,需求很簡單就是開啟相機鏡頭掃描 QR Code,當掃到 QR Code 後自動關閉鏡頭,並且將資料帶回頁面上呈現,我們藉此需求實際演練一下如何使用 plugin 完成需求。
加入插件
搜尋一下 QR Code 相關插件後,找到比較多人使用的 cordova-plugin-qescanner 插件透過以下指令加入到 cordova 專案中。
當 deviceready 後可以從 window.QRScanner 取得實體來進行操作。
document.addEventListener("deviceready", onDeviceReady, false);

function onDeviceReady() {
    // Now safe to use device APIs
}
操作插件
由於我們只是測試性的使用,因此先單純在按下掃瞄鍵時進行初始即可。
- 在點擊 scan QR Code 按鈕時透過 QRScanner.prepare(handler) 初始插件。
- 透過 QRScanner.scan(handler) 定義掃描到數值後的 callback 事件。
- 透過 QRScanner.getStatus(handler) 取得授權狀態,如已授權就可接著用 QRScanner.show() 開啟鏡頭。
<template>
  <div v-if="isShowScanner === false" class="hello">
    <h1>{{ msg }}</h1>
    <p>This is a cordova testing project.</p>
    <p>
      <button v-on:click="handleClick">click me to say hello!</button>
      <button v-on:click="handleOpenBarcodeScaner">scan QR Code</button>
    </p>
    <div v-if="qrCodeValue">QR code value: {{ qrCodeValue }}</div>
  </div>

  <div v-else>
    <button v-on:click="handleHideBarcodeScaner">close scanner</button>
  </div>
</template>

<script>
export default {
  name: "HelloWorld",
  data() {
    return {
      qrCodeValue: "",
      isShowScanner: false,
    };
  },
  props: {
    msg: String,
  },
  mounted() {
    console.log("mounted");
  },
  methods: {
    handleClick: function () {
      alert("hello world!!");
    },
    handleOpenBarcodeScaner: function () {
      // 我們在開發模式時沒有裝置可以使用
      // 所以僅在 production 模式下才真的使用 plugin
      if (process.env.NODE_ENV === "production") {
        this.openScanner();
      } else {
        this.isShowScanner = true;
      }
    },
    handleHideBarcodeScaner: function () {
      // 我們在開發模式時沒有裝置可以使用
      // 所以僅在 production 模式下才真的使用 plugin
      if (process.env.NODE_ENV === "production") {
        this.hideScanner();
      } else {
        this.isShowScanner = false;
      }
    },
    openScanner: function () {
      // 初始插件
      QRScanner.prepare(this.initScanner);

      // 加入掃描結束事件
      QRScanner.scan(this.scanComplete);

      // 取得狀態,僅在有權限時才開啟鏡頭
      QRScanner.getStatus( (status) => {
        if (status.authorized) {
          QRScanner.show();
          this.qrCodeValue = "";
          this.isShowScanner = true;
        }
      });
    },
    hideScanner: function () {
      QRScanner.destroy();
      this.isShowScanner = false;
    },
    initScanner: function (err, status) {
      if (err) {
        // here we can handle errors and clean up any loose ends.
        const { name, _message } = err;
        if (name === "CAMERA_ACCESS_DENIED") {
          alert(_message);
          QRScanner.openSettings();
        }

        console.error(err);
      }

      if (status.authorized) {
        console.log("authorized");
        // W00t, you have camera access and the scanner is initialized.
        // QRscanner.show() should feel very fast.
      } else if (status.denied) {
        alert("No permission to use camera.");
        QRScanner.openSettings();
        // The video preview will remain black, and scanning is disabled. We can
        // try to ask the user to change their mind, but we'll have to send them
        // to their device settings with `QRScanner.openSettings()`.
      } else {
        alert("Something wrong!!");
        // we didn't get permission, but we didn't get permanently denied. (On
        // Android, a denial isn't permanent unless the user checks the "Don't
        // ask again" box.) We can ask again at the next relevant opportunity.
      }
    },
    scanComplete: function (err, text) {
      if (err) {
        console.log("displaycontents error:", err);
        // an error occurred, or the scan was canceled (error code `6`)
      } else {
        // The scan completed, display the contents of the QR code:
        this.qrCodeValue = text;
        this.hideScanner();
      }
    },
  },
};
</script>
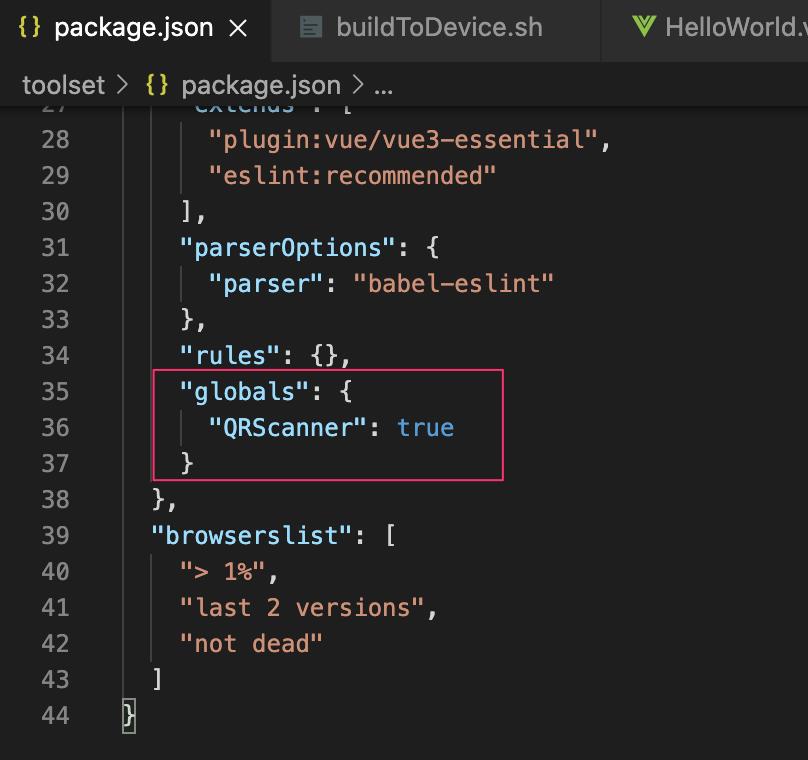
在 vue 中加入 plugin 變數時要在 eslint 中設定 globals 避免語法檢核發生錯誤。
建置
從 cordova 專案切回 vue 專案目錄下後建置,將 vue 網頁建置到 www 中。
$ npm run build
接著切回 cordova 目錄後建置 cordova 專案。
$ cordova build ios
錯誤排除
建置時發生錯誤 (Cannot build iOS app - 'openSettingsURLString' has been renamed to 'UIApplicationOpenSettingsURLString),這時候有兩種方式:
- 這種錯誤是因為 swift 語法升級而產生的支援性問題,而這種狀態下是可以透過字串取代修正即可,因此可執行語法在建置時直接將原始碼取代掉就好。
https://github.com/bitpay/cordova-plugin-qrscanner/issues/301
- 發 issue 給作者,但畢竟大部分的 plugin 都是社群貢獻的,沒有義務幫你立即修正,因此只能耐心等候作者的回應或貢獻出自己的熱血了。
統整建置語法
最後把所有語法串起來寫在 buildToDevice.sh 中,以後只要需要把程式更新到手機測試時就直接執行即可。
#!/bin/bash

# fix cordova-plugin-qrscanner bug, Change UIApplication.openSettingsURLString to UIApplicationOpenSettingsURLString
find . -type f -name "*.swift" -print0 | xargs -0 sed -i '' -e 's/UIApplication.openSettingsURLString/UIApplicationOpenSettingsURLString/g'

# build vue web
cd toolset
npm run build
cd ..

# build cordova - ios
cordova build ios

# deploy ios app to connected device
cordova run ios --device
成果測試
接著看看成果吧!開啟 app 進入主畫面後,點選「scan QR code」開啟鏡頭,當畫面掃到 QR Code 時會自動關閉鏡頭,並將 QR Code value 內容呈現在畫面上。
希望此篇文章可以幫助到需要的人
若內容有誤或有其他建議請不吝留言給筆者喔 !