
前言:
- 安裝Zabbix前,需先安裝好Apache環境
-
建置「Zabbix Server」需要知道幾樣關鍵,由於「Zabbix」 是基於「PHP」及「MySQL」 進行開發,因此需要搭建「LAMP」環境。
-
本文為本人整理之筆記,如有侵權冒犯,請立即告知
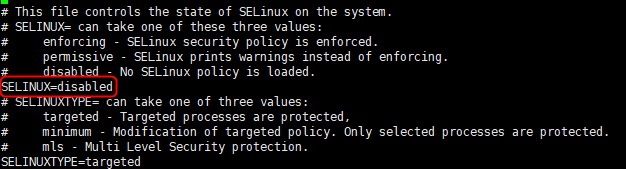
關閉「selinux」
sudo vi /etc/sysconfig/selinux
修改 SELINUX=disabled
開放「Firewall」
sudo firewall-cmd --add-port=80/tcp --permanent

sudo firewall-cmd --add-port=10051/tcp --permanent

sudo firewall-cmd --add-port=10051/udp --permanent

sudo firewall-cmd --reload
安裝「LAMP」環境 - 「LAMP」( Apache+PHP+MySQL )
sudo yum -y install httpd
設定啟動及重開機自動啟動httpd
sudo systemctl start httpd

sudo systemctl enable httpd
安裝「MySQL (MariaDB)」環境
sudo yum install -y mariadb-server mariadb
設定啟動及重開機自動啟動mariadb
sudo systemctl start mariadb

sudo systemctl enable mariadb
安裝「PHP」
sudo yum install -y php php-mysql php-gd php-ldap php-odbc php-pear php-xml php-xmlrpc phpmbstring php-snmp php-soap curl curl-devel
重新啟動「httpd.service」 sudo systemctl restart httpd.service
安裝「Zabbix 3.2 」Server
sudo rpm -ivh http://repo.zabbix.com/zabbix/3.2/rhel/7/x86_64/zabbix-release-3.2-1.el7.noarch.rpm
sudo rpm -ivh http://repo.zabbix.com/zabbix/3.2/rhel/7/x86_64/zabbix-get-3.2.2-1.el7.x86_64.rpm
安裝「Zabbix」套件
sudo yum install -y zabbix-server-mysql zabbix-web-mysql zabbix-agent zabbix-java-gateway
設定啟動及重開機自動啟動zabbix-server
sudo systemctl start zabbix-server

sudo systemctl enable zabbix-server
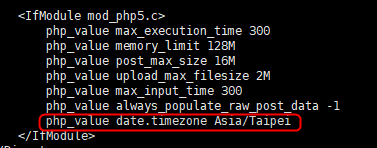
編輯「Zabbix」 的 「Apache」 設定檔
sudo vi /etc/httpd/conf.d/zabbix.conf
修改成 Asia/Taipei,並取消註解
重新啟動「httpd.service」sudo service httpd restart
編輯「zabbix_server.conf」修改「資料庫」、「帳號」、 「密碼」
sudo vi /etc/zabbix/zabbix_server.conf
|
DBName=zabbix (預設) DBUser=zabbix (預設) DBPassword=123456 (修改) |
重新啟動Zabbix-server sudo systemctl restart zabbix-server
建立 MySQL 建立 「Zabbix」帳號
mysql -u root -p #「root」沒「密碼」直接「Enter」
create database zabbix character set utf8 collate utf8_bin;

GRANT ALL PRIVILEGES on zabbix.* to 'zabbix'@'localhost' IDENTIFIED BY '123456';

FLUSH PRIVILEGES;

quit;
初始資料表匯入資料庫「Zabbix」
zcat /usr/share/doc/zabbix-server-mysql-3.2.*/create.sql.gz | mysql -u zabbix -p zabbix #上面設定的123456
重啟「Zabbix」相關「服務」
sudo systemctl restart mariadb

sudo systemctl restart httpd.service

sudo systemctl restart zabbix-server

sudo systemctl restart zabbix-agent
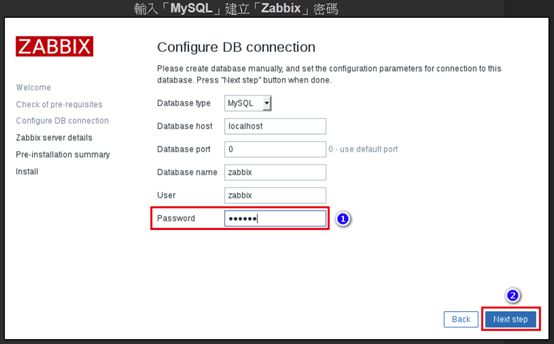
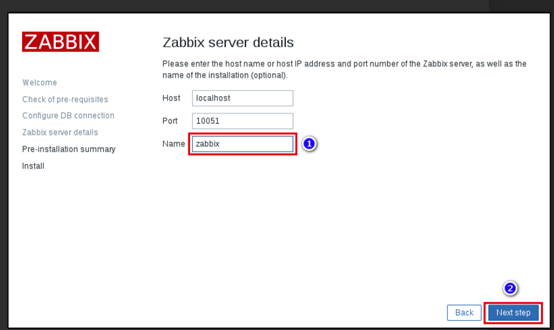
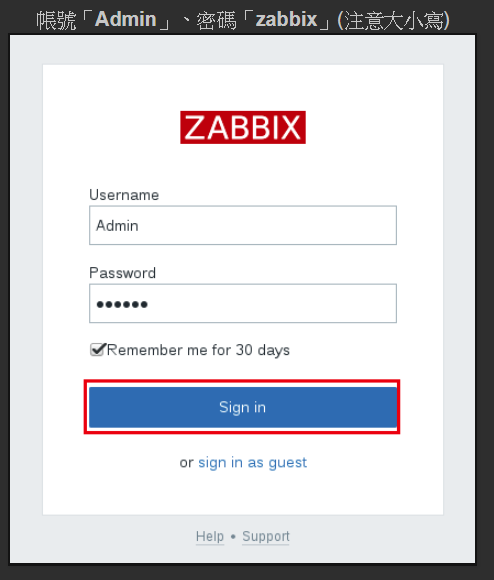
進入「Web UI」http://localhost/zabbix
進行「導引安裝」
Password:123456
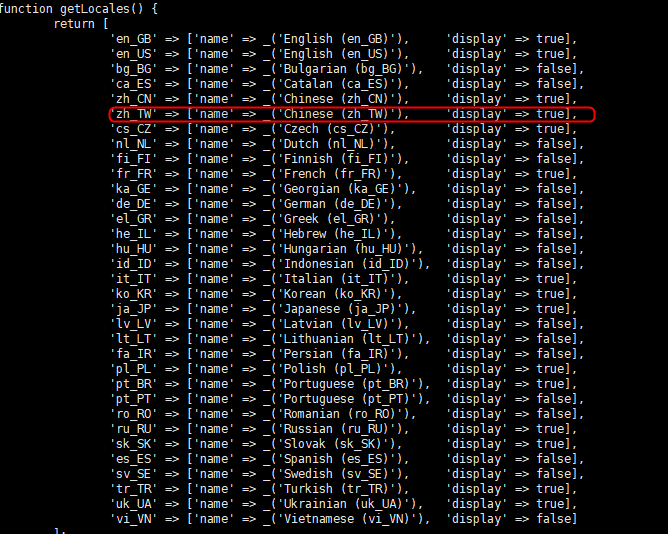
設定「Zabbix」繁體中文化
sudo vi /usr/share/zabbix/include/locales.inc.php
| 'zh_TW' => ['name' => _('Chinese (zh_TW)'), 'display' => true], |
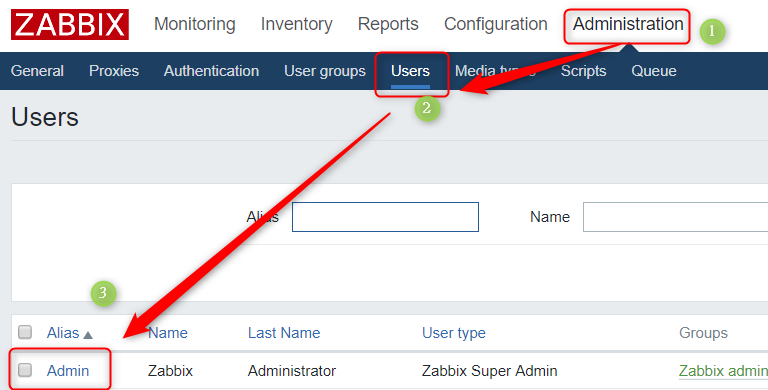
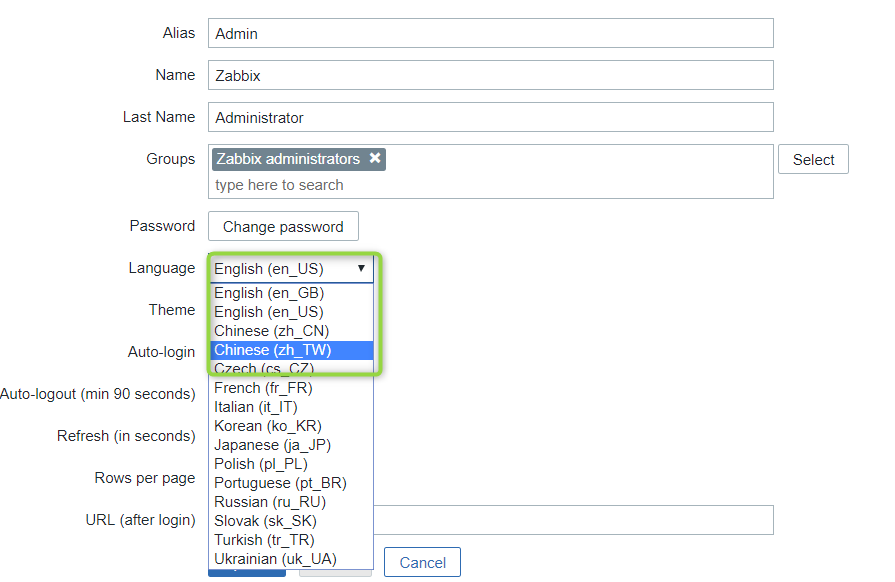
修改Zabbix UI介面配置
進入下一個領域:Zabbix 被監控端 環境安裝
參考資料:S小魚仔S CentOS 7 Install Zabbix 3.2 網路監控、系統監控 簡易安裝
天下風雲出我輩,一入江湖歲月催,
塵事如潮人如水,只嘆江湖幾人回。