專案使用.NET Core 版本為 3.1,IDE使用Visual Studio 2019
1. 安裝ASP.NET Core 3.1.2 Windows Server Hosting
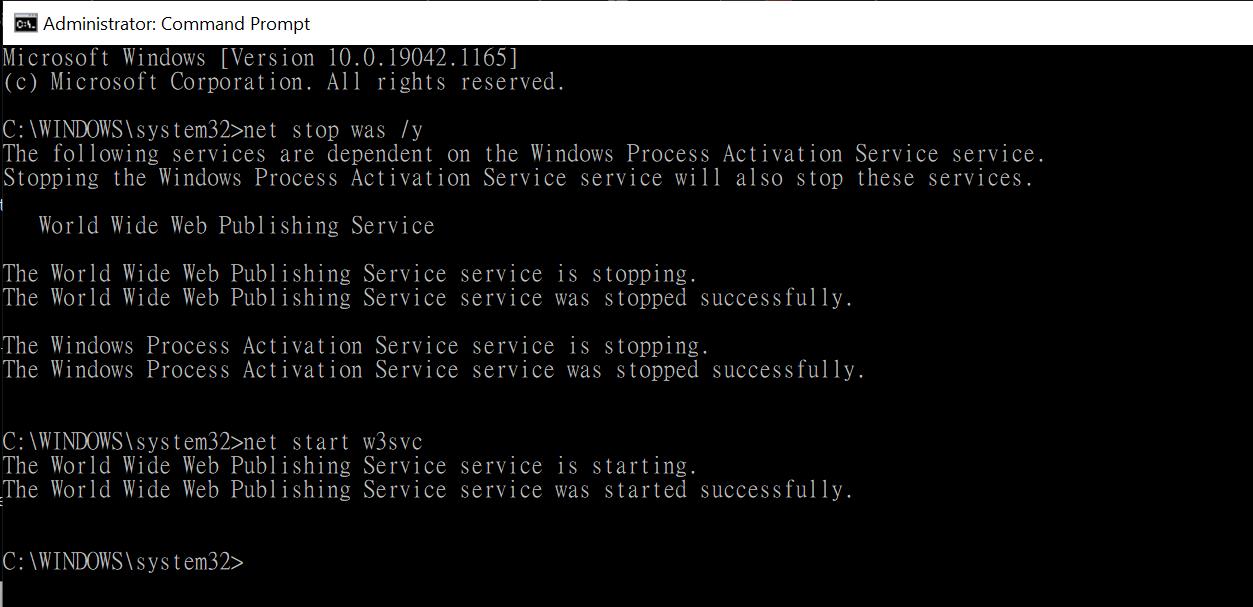
2. 安裝完成後,需要重啟IIS
需使用Admin權限打開Command Prompt,並且執行以下指令
停止 World Wide Web publishing 服務net stop was /y
重新啟動該服務net start w3svc
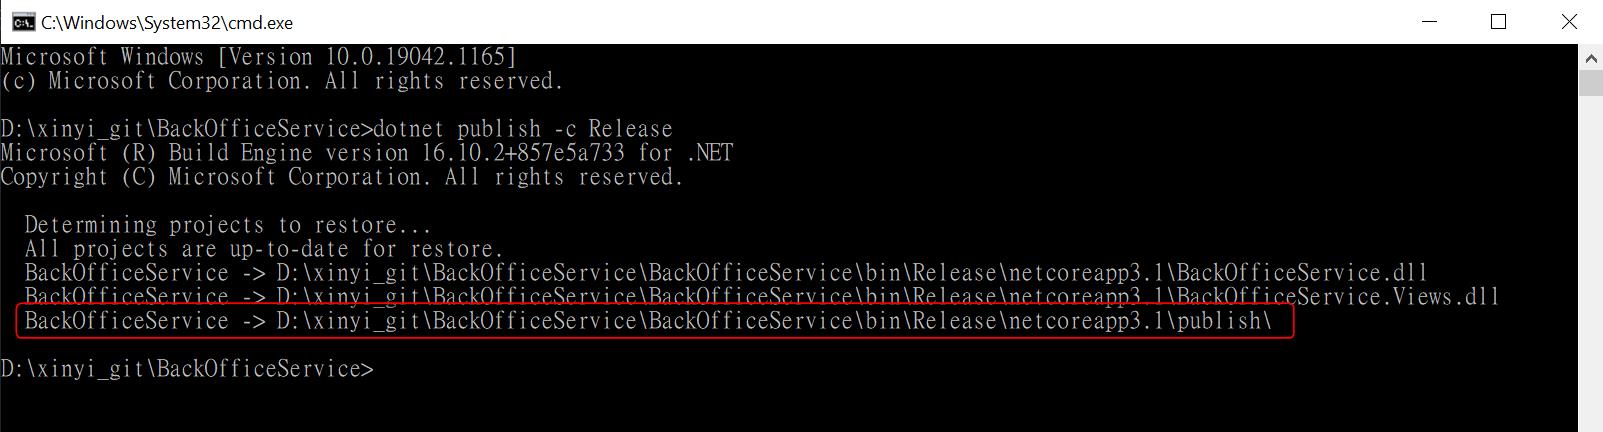
3. 至專案目錄底下,執行Publish指令dotnet publish -c Release
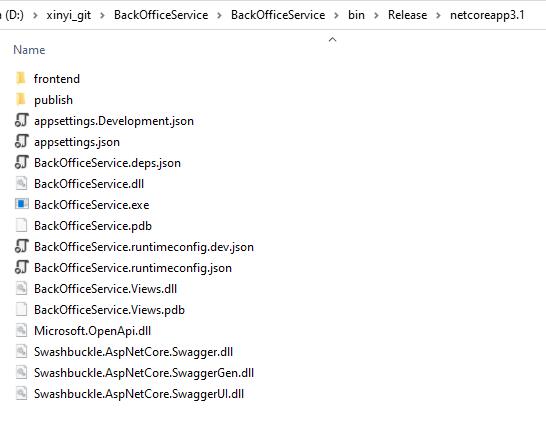
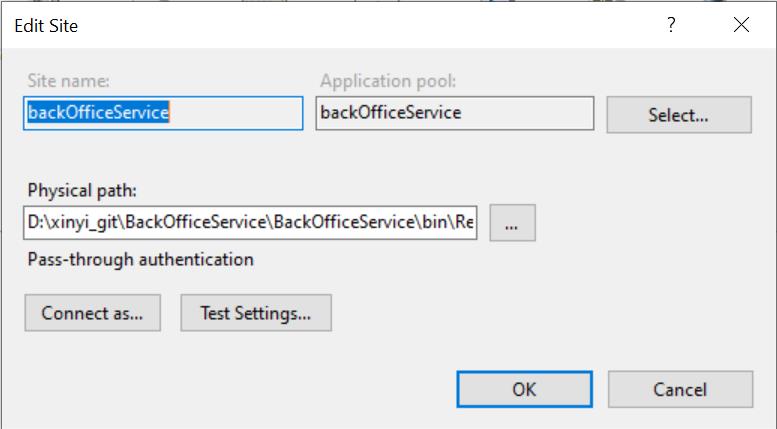
4. 即可從此路徑取得發行檔案,並且讓 application site 路徑指向此資料夾
5. 在IIS的Application Pools快速點擊兩下想要發布的 Application Name
Application 在先前就已先建好,這邊就不多做說明如何建立
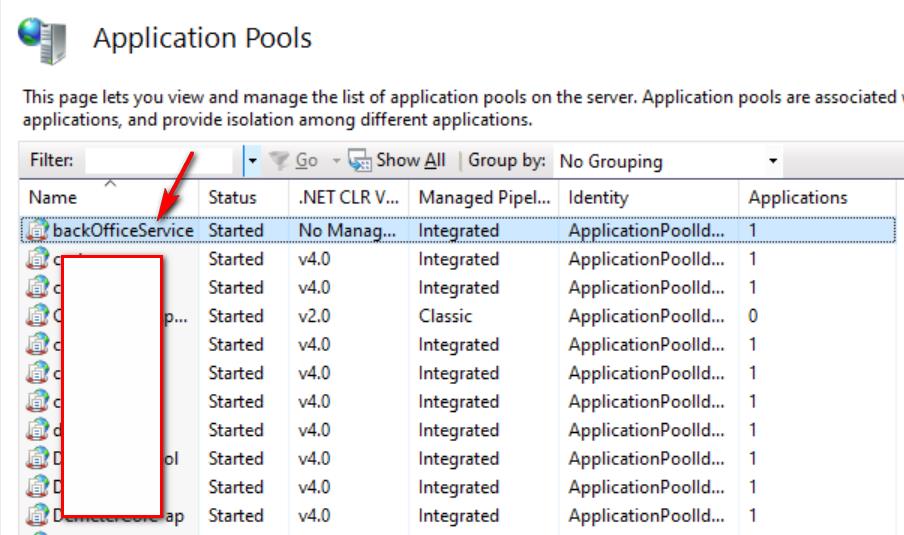
6. 會談跳出 Edit Application Pool 的視窗,選擇 No Managed Code,然後按下 OK

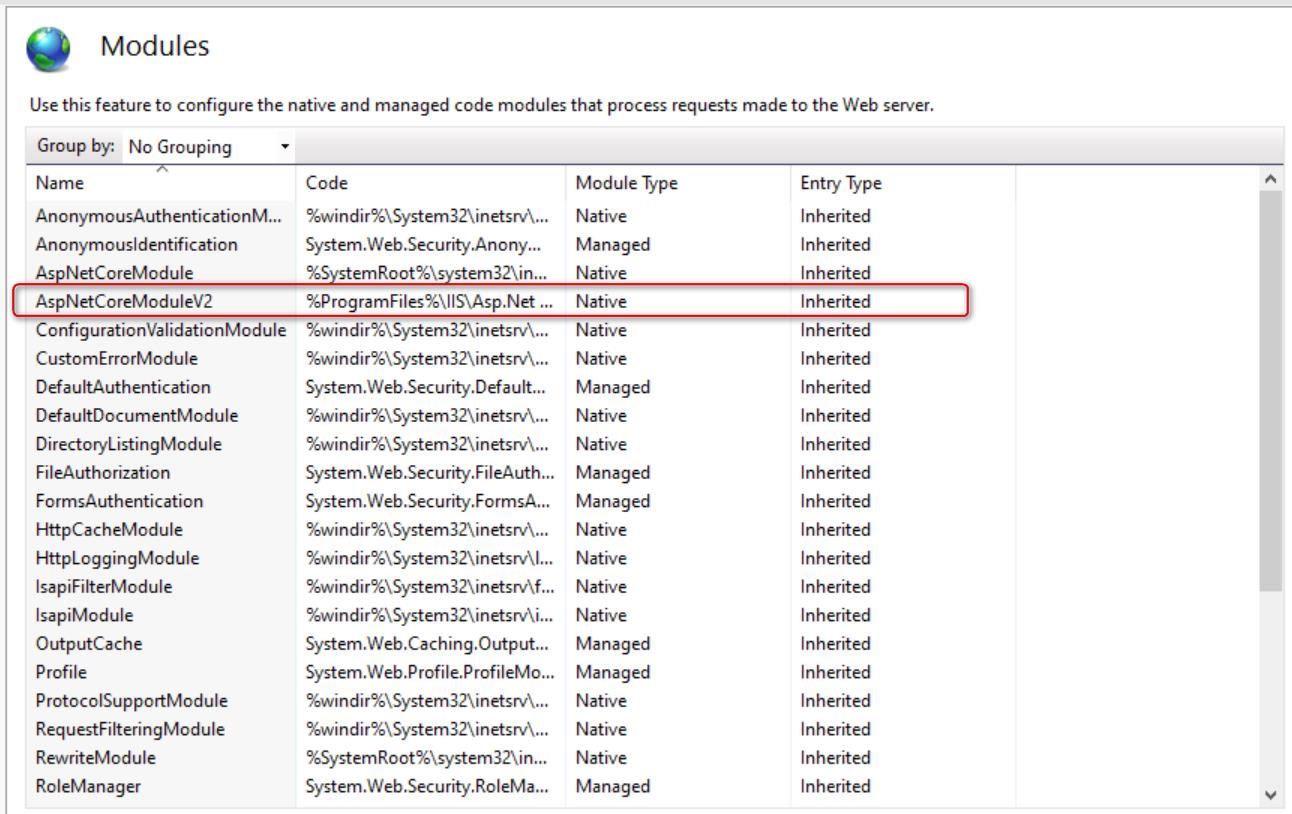
7. 確認Modules是否有成功安裝 ASP.NET Core Module,從這邊找到,快速點擊兩下 Modules

8. 確認 AspNetCoreModuleV2 存在,代表有安裝成功
9. End
參考: