紀錄如何透過IDEA建立第一個Spring Boot服務
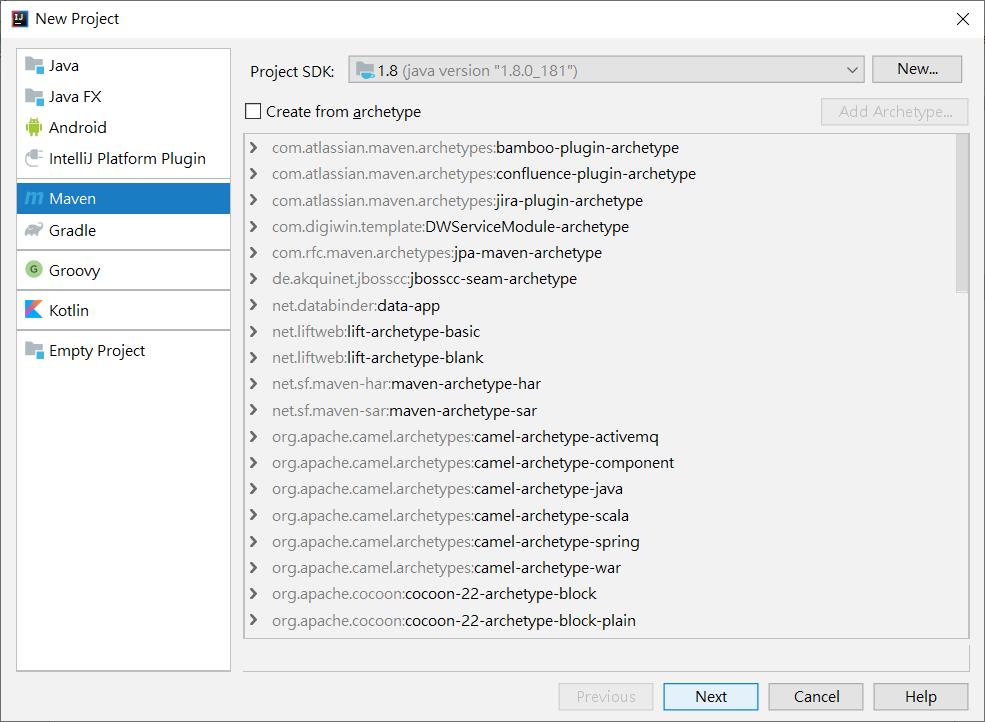
1.File/New/Project 左邊選擇Maven → 點擊Next
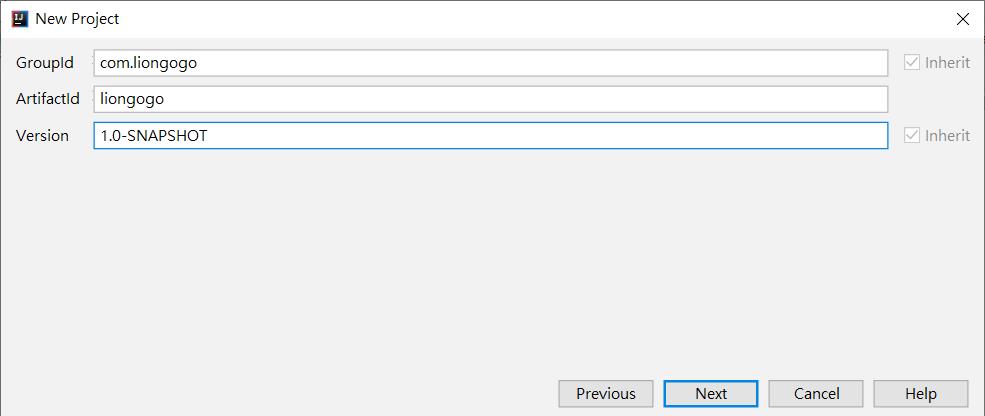
2.輸入GroupId與ArfifactId → 點擊Next
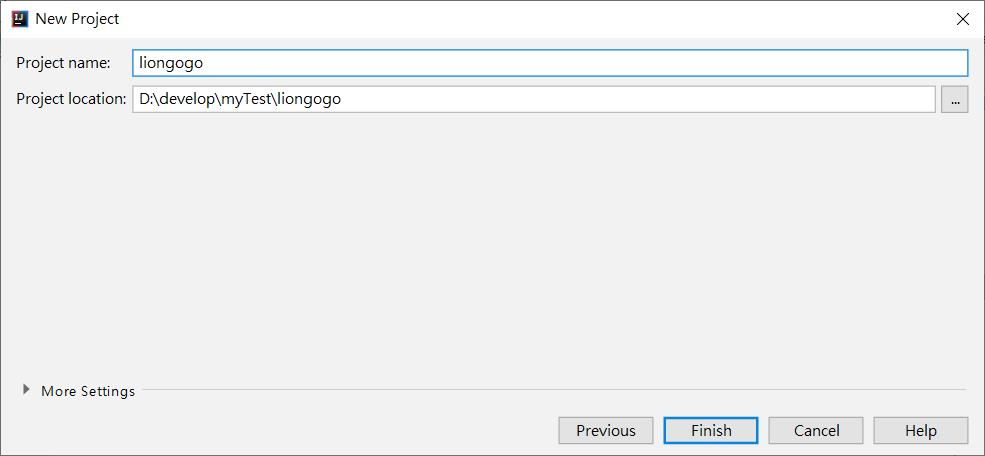
3.輸入Project name → 點擊Finish
4.在pom.xml增加紅框設定
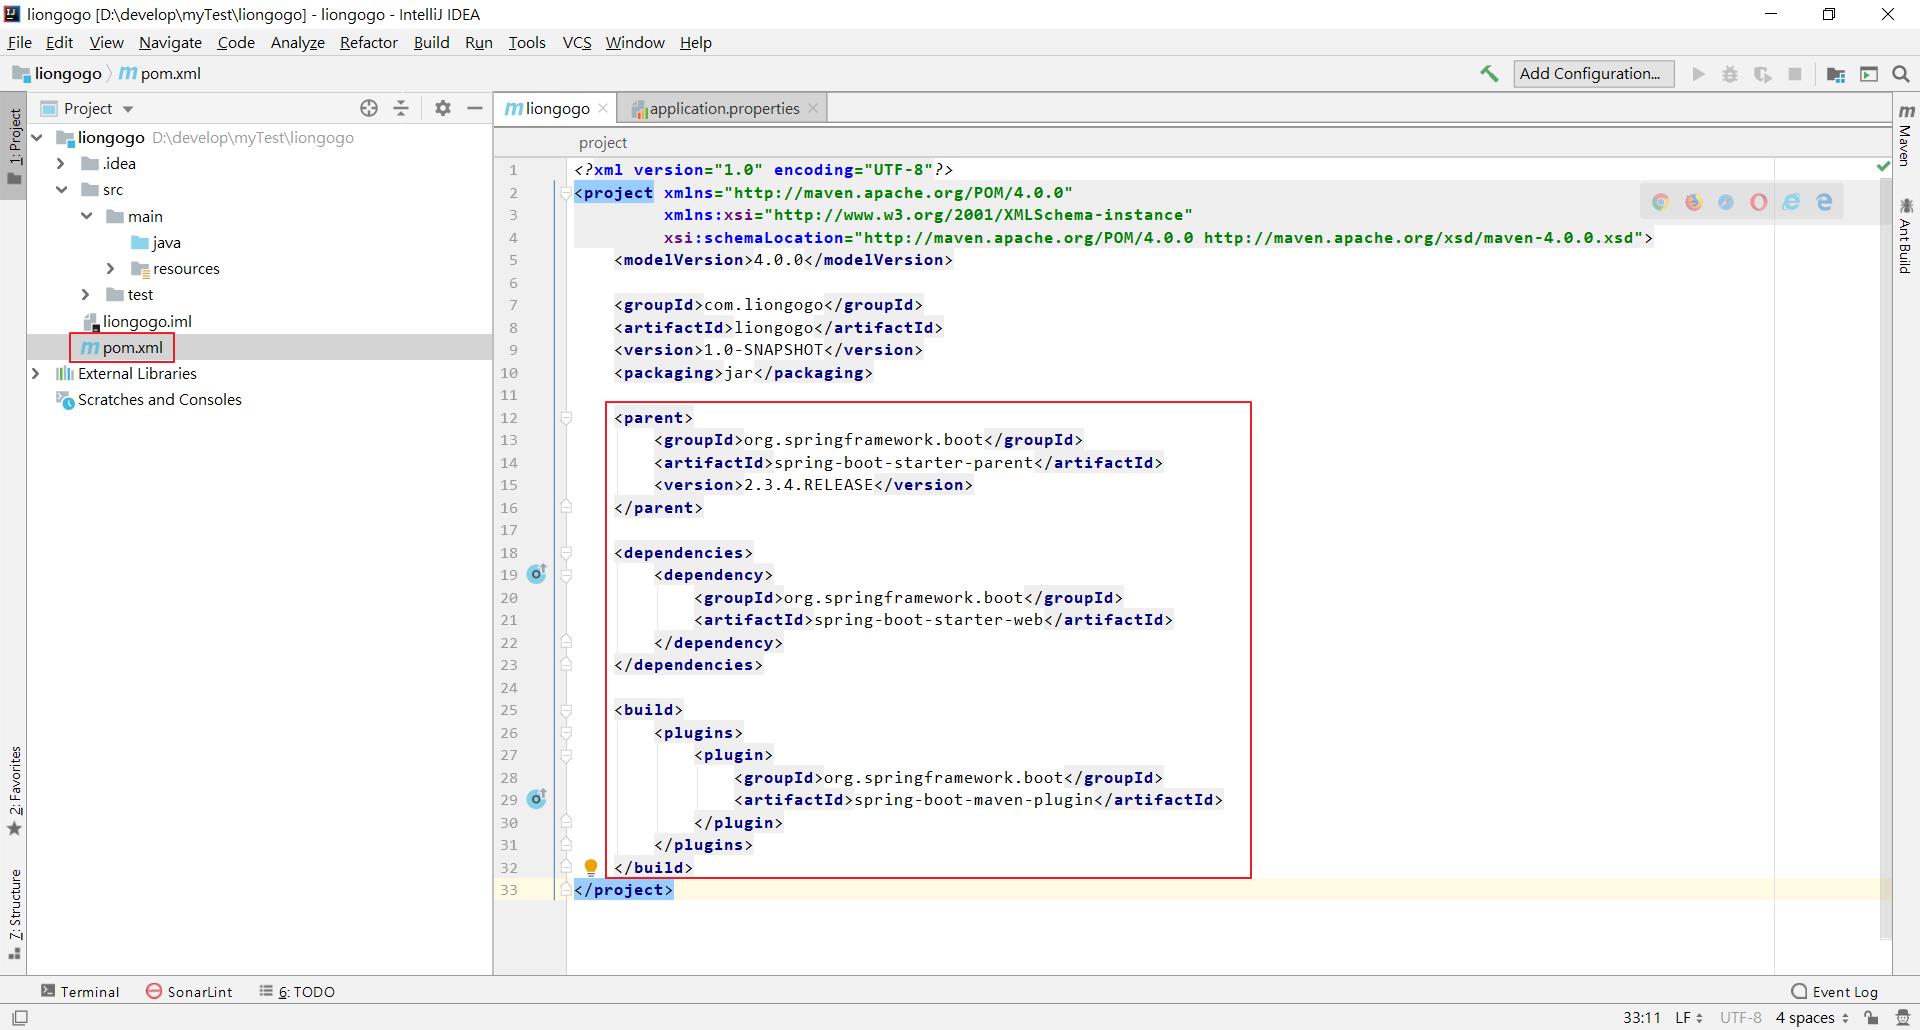
    <parent>
        <groupId>org.springframework.boot</groupId>
        <artifactId>spring-boot-starter-parent</artifactId>
        <version>2.3.4.RELEASE</version>
    </parent>

    <dependencies>
        <dependency>
            <groupId>org.springframework.boot</groupId>
            <artifactId>spring-boot-starter-web</artifactId>
        </dependency>
        <dependency>
            <groupId>org.apache.tomcat.embed</groupId>
            <artifactId>tomcat-embed-jasper</artifactId>
        </dependency>
        <dependency>
            <groupId>javax.servlet</groupId>
            <artifactId>jstl</artifactId>
        </dependency>
    </dependencies>

    <build>
        <plugins>
            <plugin>
                <groupId>org.springframework.boot</groupId>
                <artifactId>spring-boot-maven-plugin</artifactId>
            </plugin>
        </plugins>
    </build>
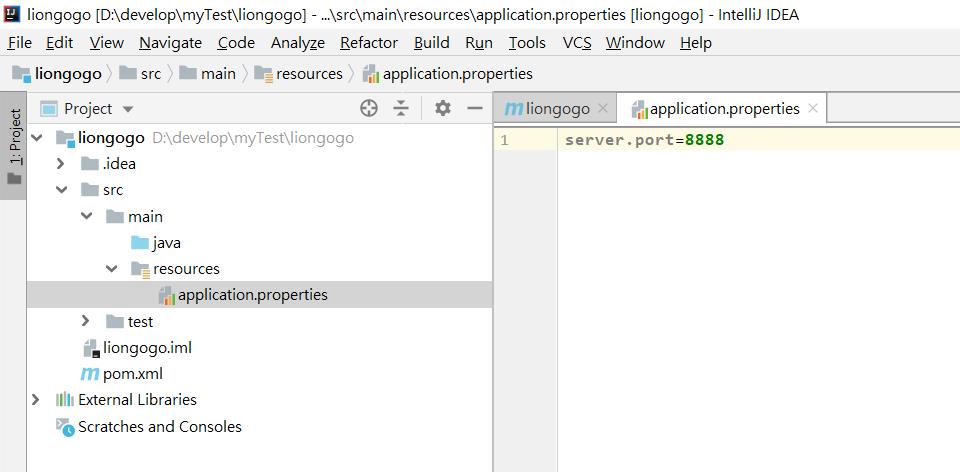
5.resource下建立application.properties檔案
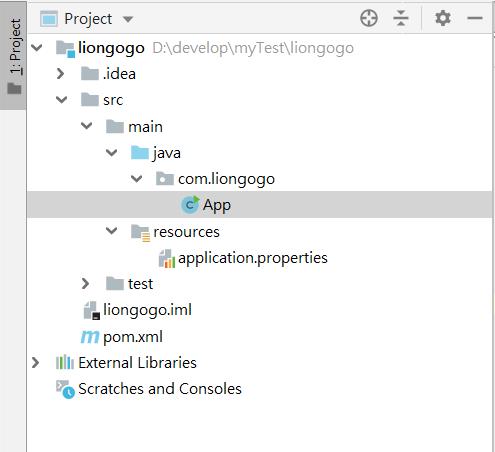
6.在src/main/java/com/liongogo/下建立main方法(App.java)
package com.liongogo;

import org.springframework.boot.SpringApplication;
import org.springframework.boot.autoconfigure.SpringBootApplication;

@SpringBootApplication
@ComponentScan({"com.liongogo.controller"})
public class App {
    public static void main(String[] args) {
        SpringApplication.run(App.class, args);
    }
}
7.建立Hello服務
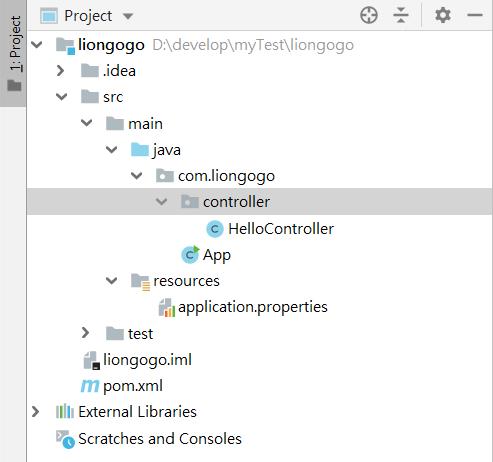
package com.liongogo.controller;

import org.springframework.web.bind.annotation.RequestMapping;
import org.springframework.web.bind.annotation.RestController;

@RestController
public class HelloController {

    @RequestMapping("/hello")
    String home() {
        return "Hello Lion GoGo! ";
    }
}
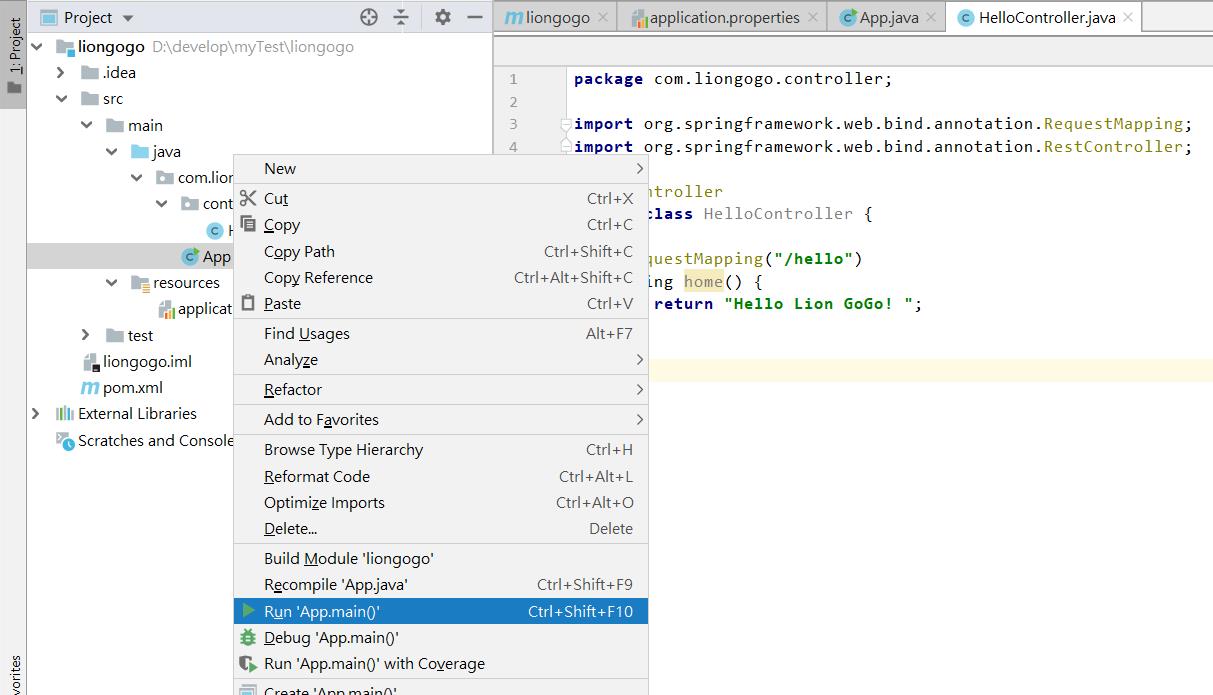
8.執行main方法
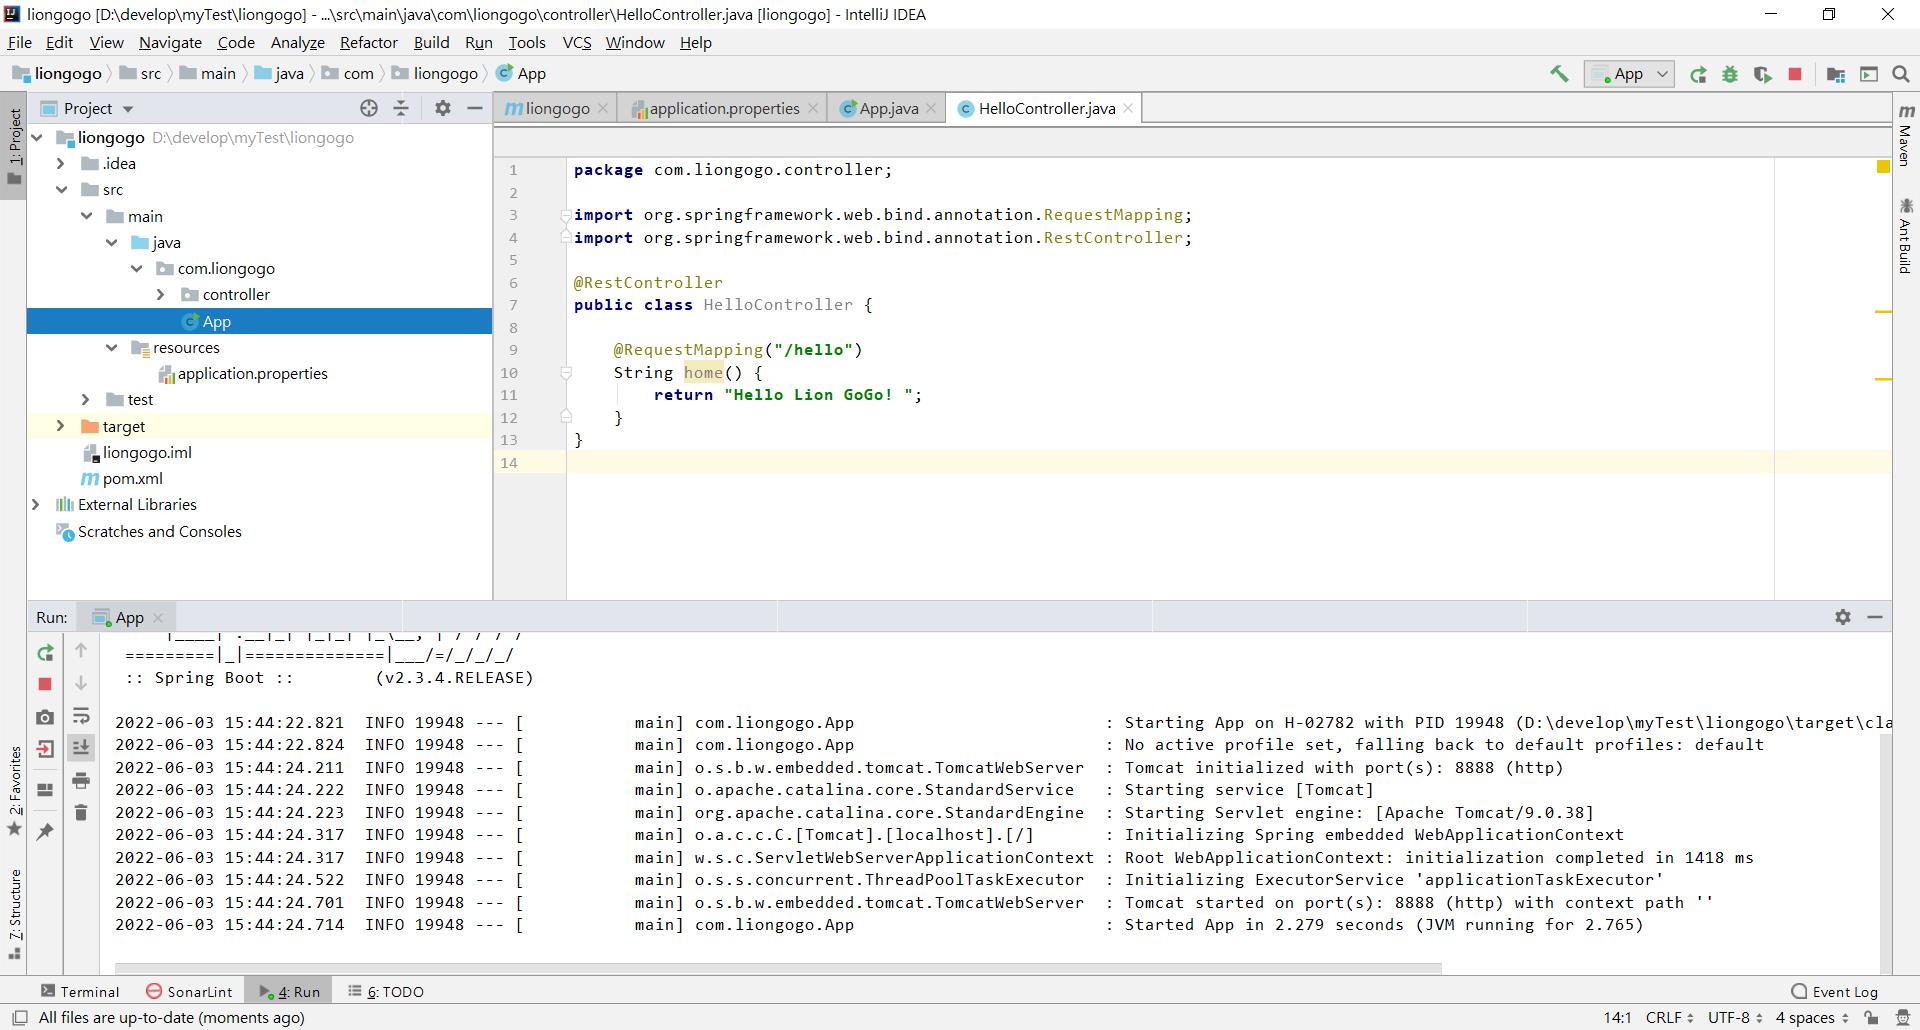
9.查看是否正常啟動
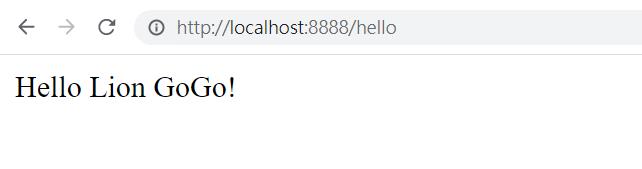
10.從瀏覽器呼叫看是否有正確回傳執行結果 http://localhost:8888/hello
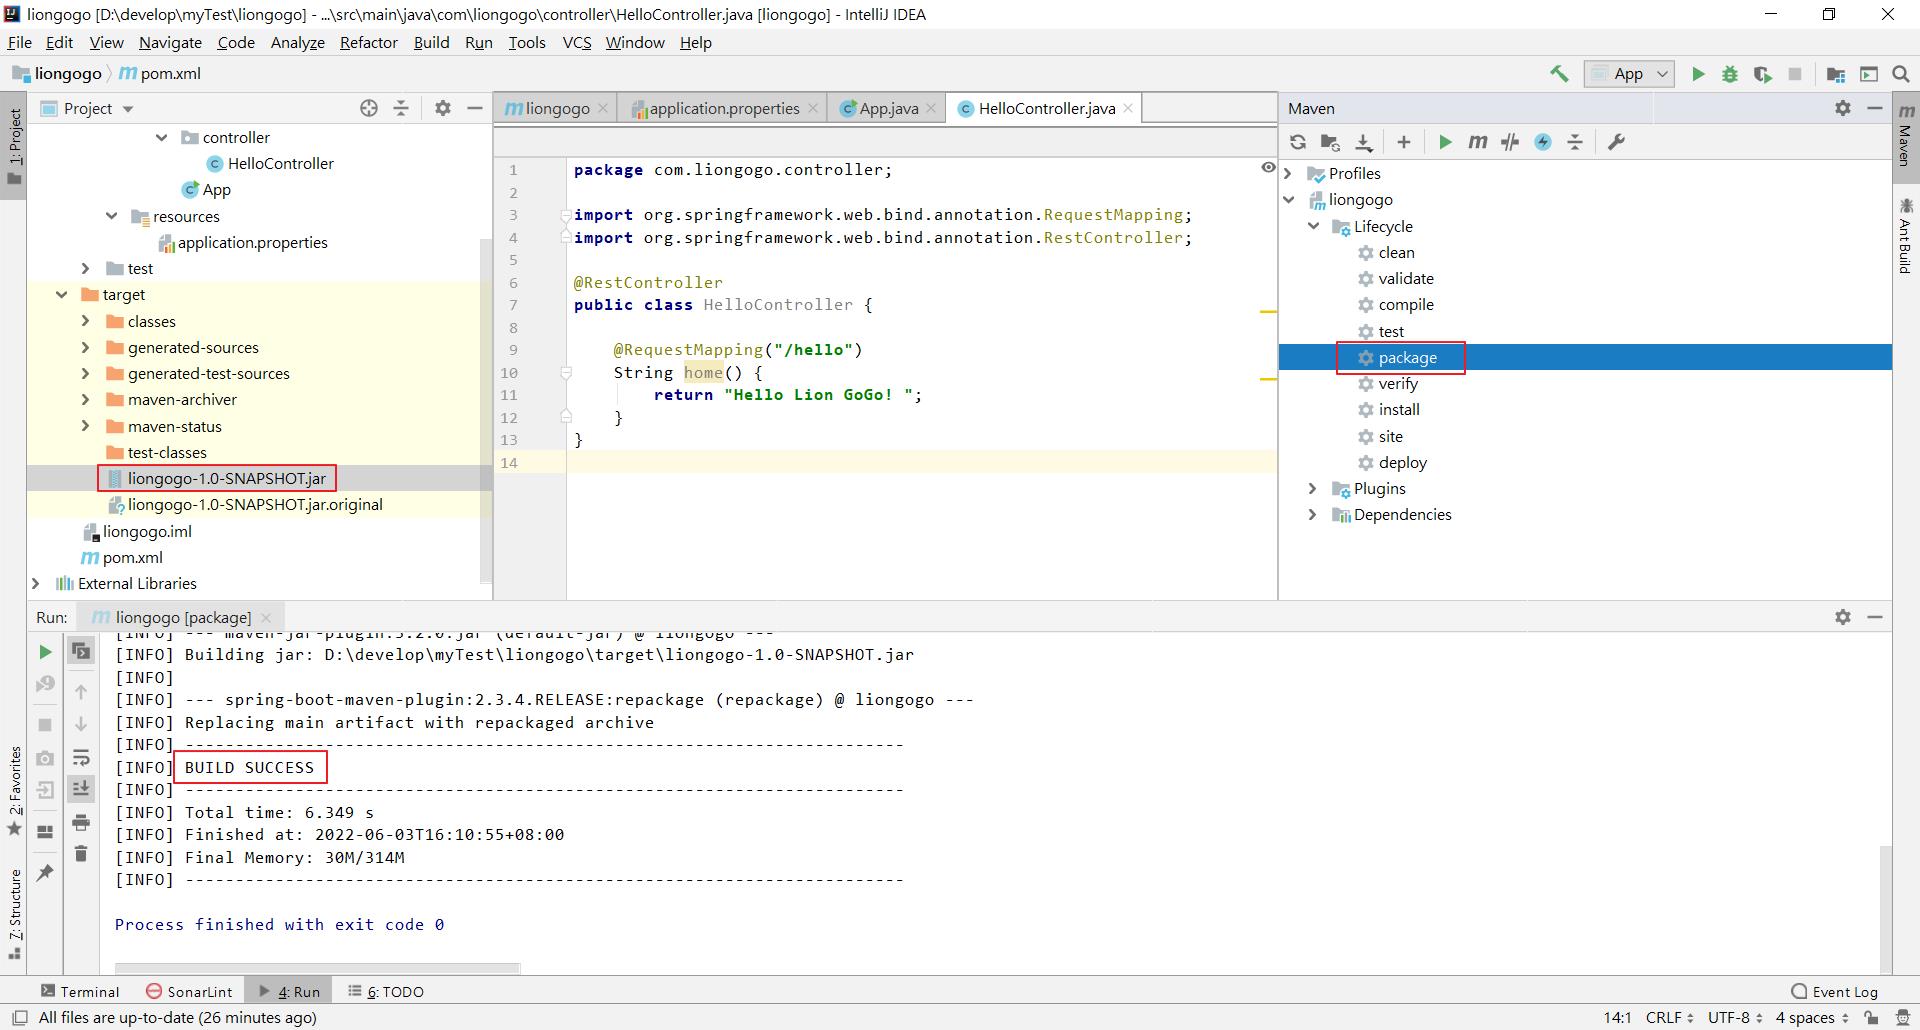
11.打包應用,點擊左側package進行打包→檢查下方執行結果為BUILD SUCCESS→右側target下正常產生jar檔
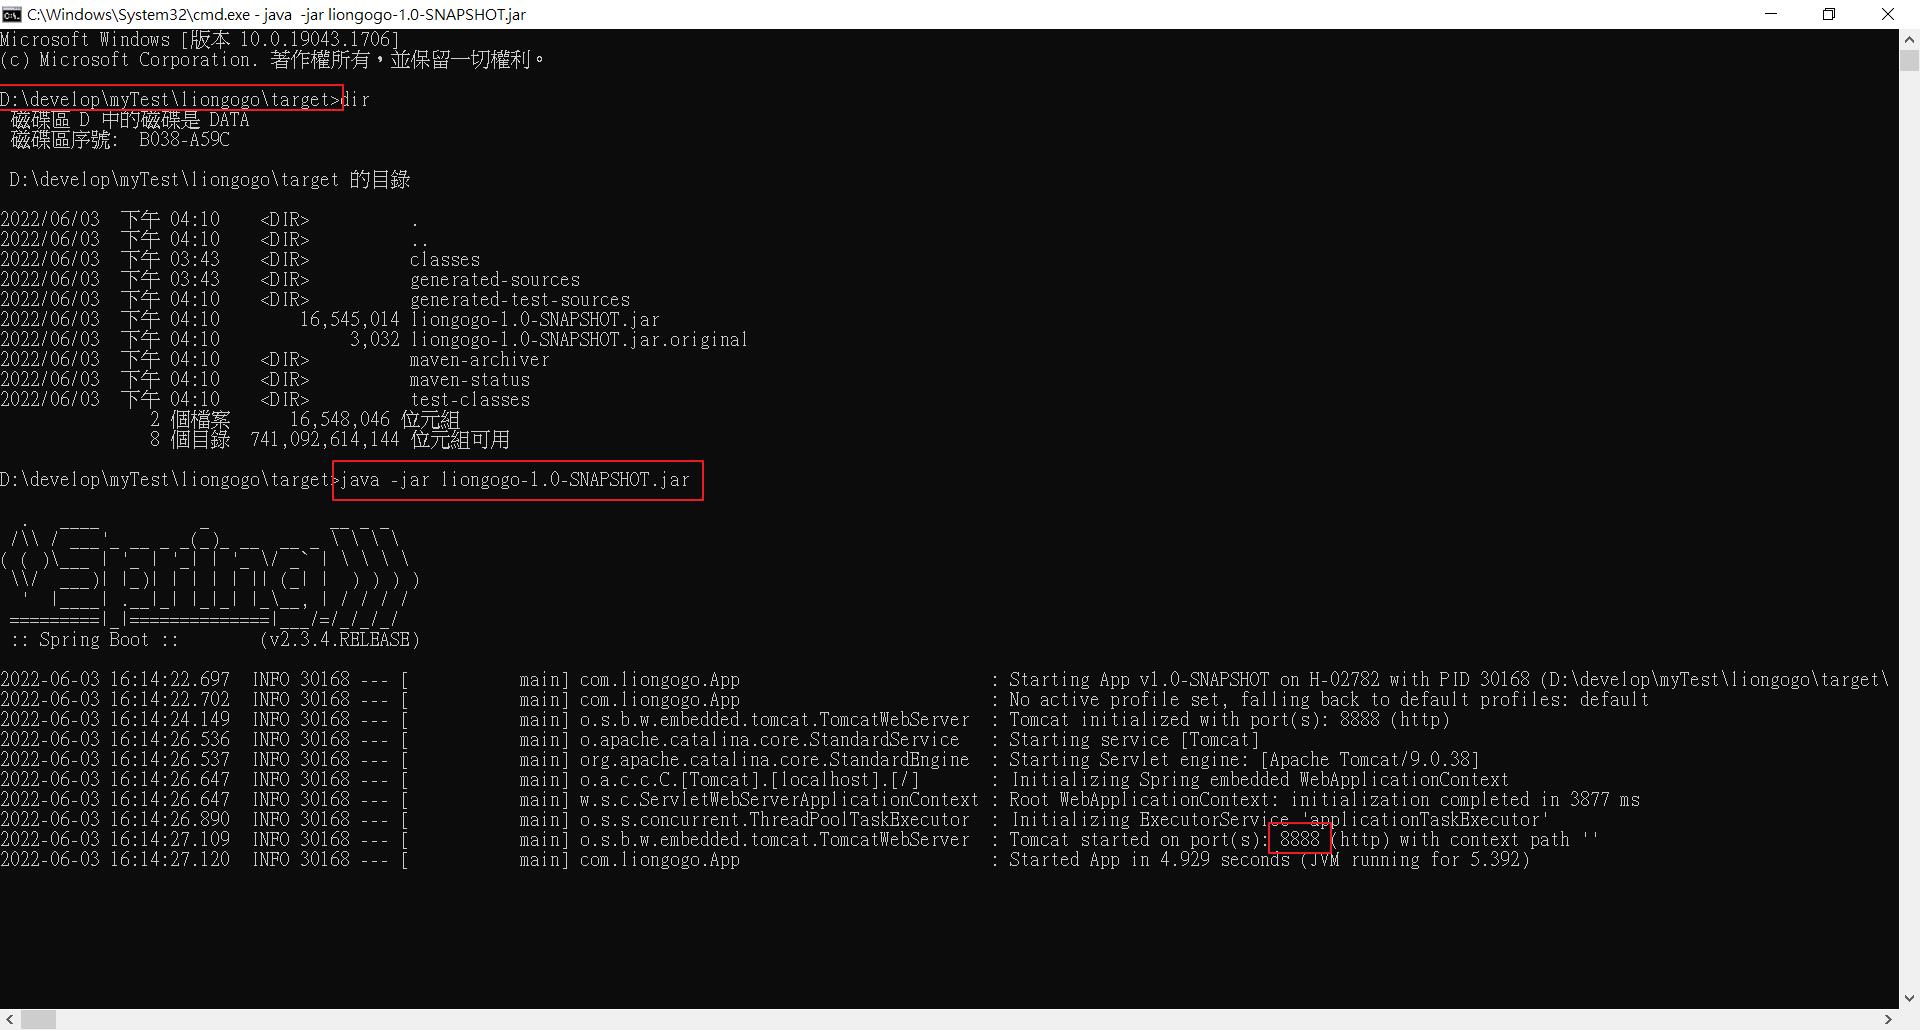
12.透過jar檔啟動應用,進入target目錄下→執行java -jar liongogo-1.0-SNAPSHOT.jar→檢查是否有根據設定的port成功啟動