ubuntu-安裝node.js
1.更新 sudo apt-get update

參考node官方下載指令
https://github.com/nodesource/distributions/blob/master/README.md#debinstall
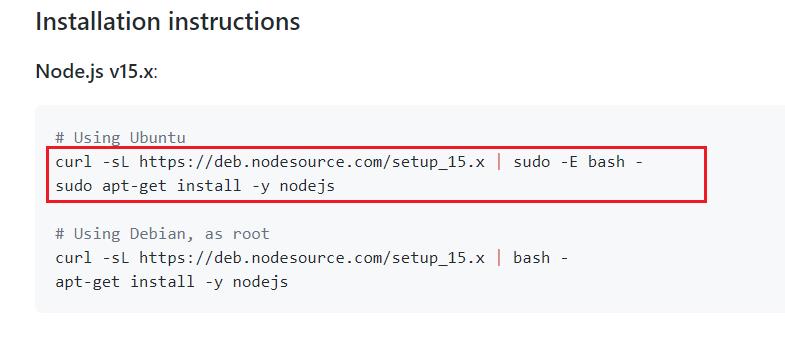
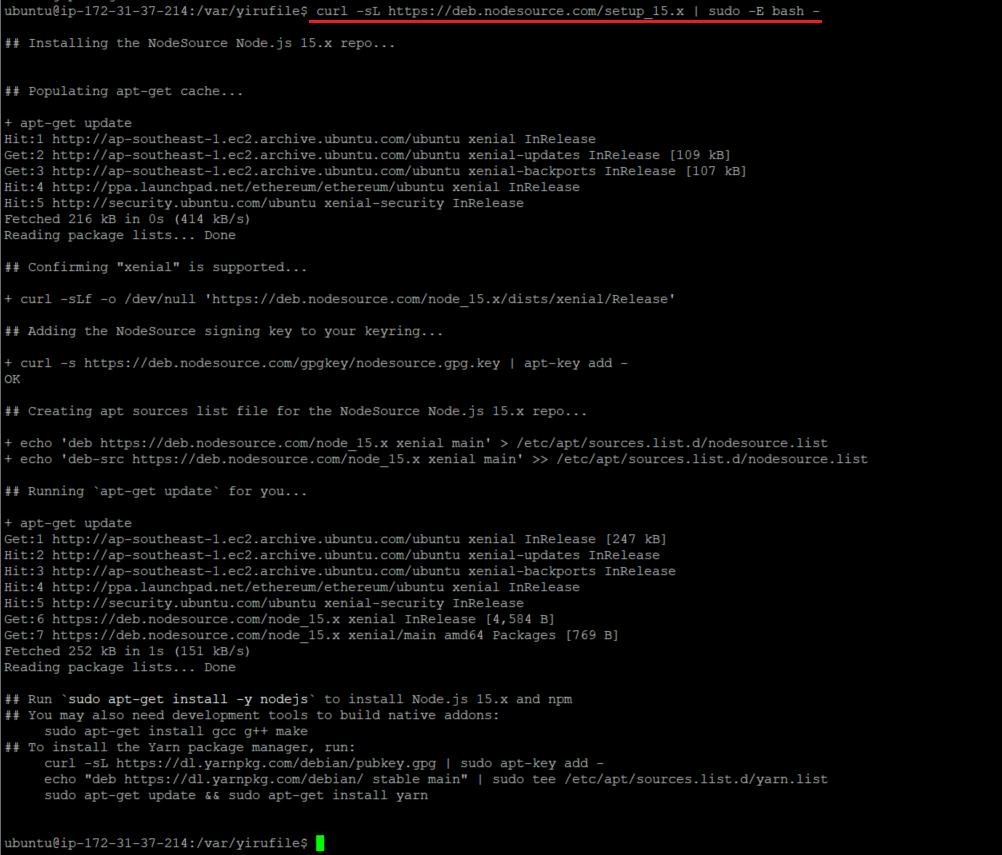
curl -sL https://deb.nodesource.com/setup_15.x | sudo -E bash -
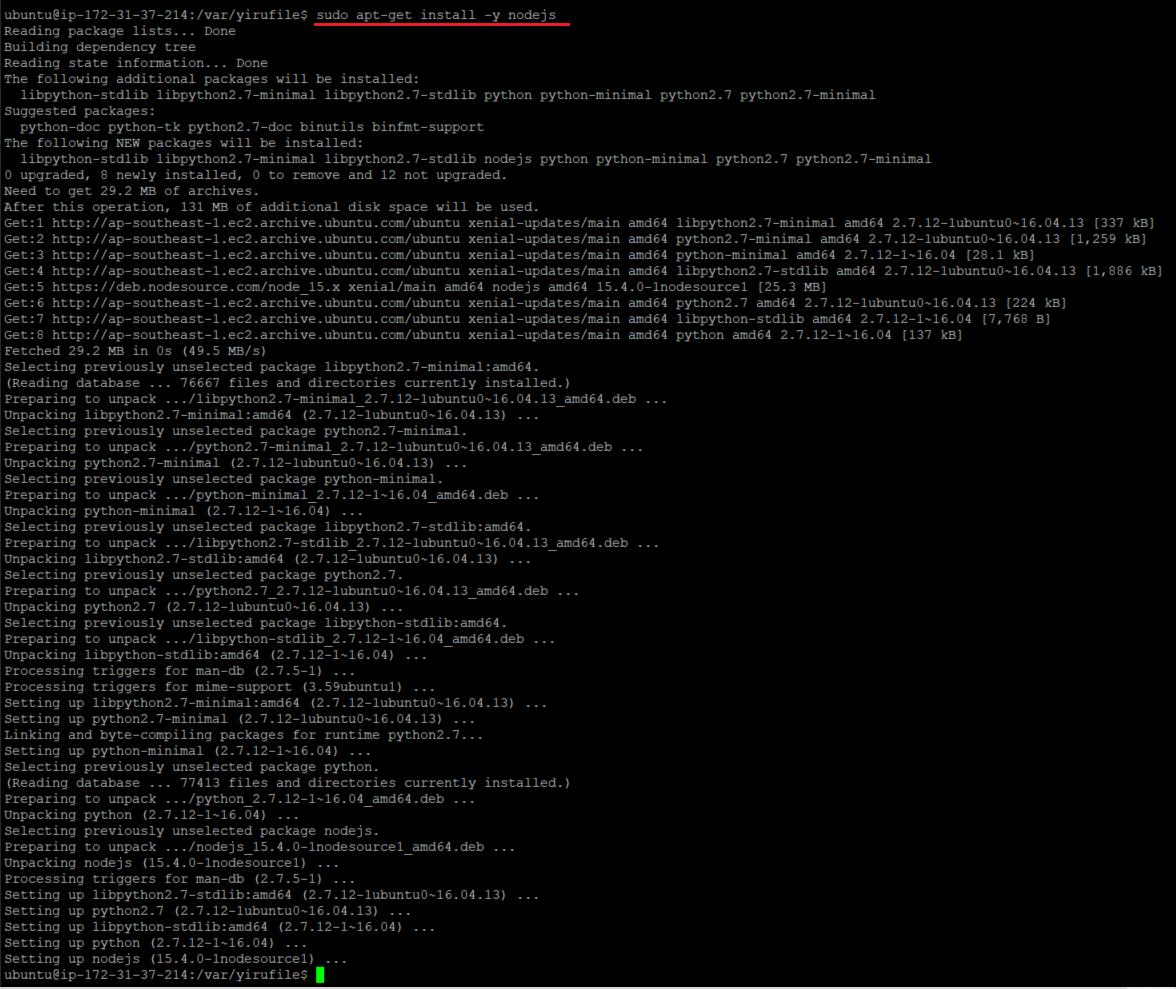
sudo apt-get install -y nodejs
3.查詢node 版本
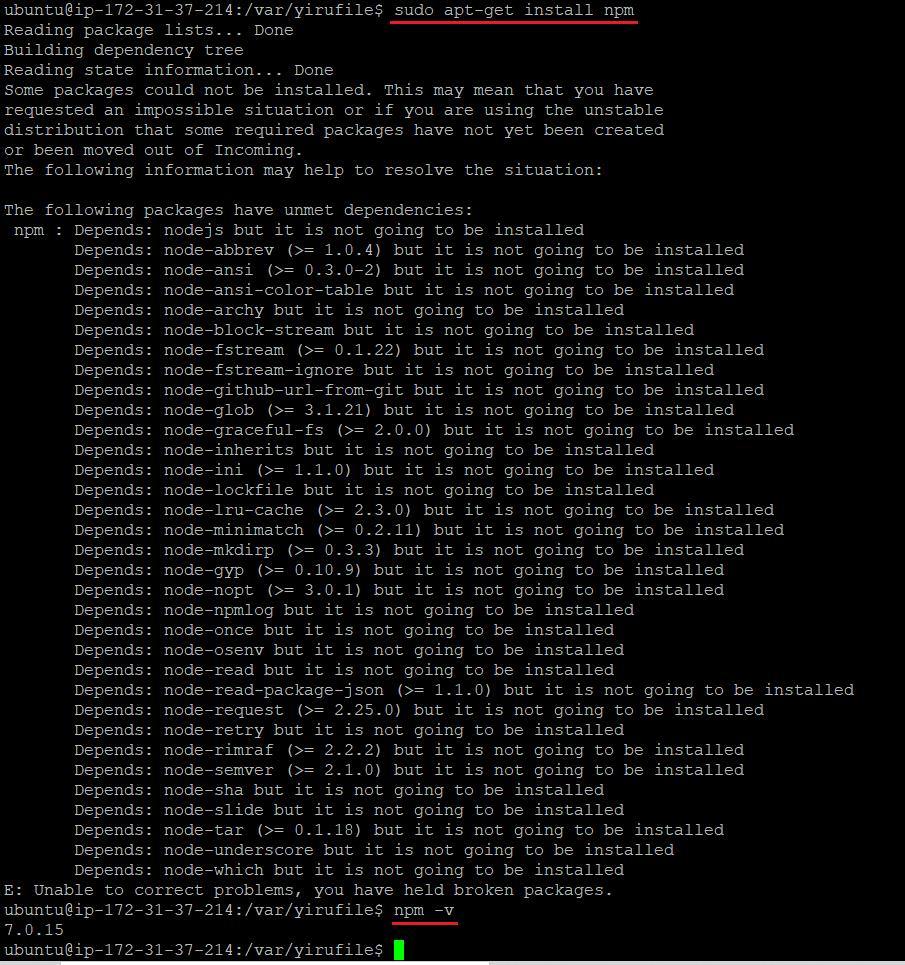
node -v

4.安裝npm
sudo apt-get install npm
5.express(mvc)架構
建立資料夾
mkdir mytest
進入資料夾
cd mytest

6.安裝express
sudo npm install express-generator -g

安裝express 並指定view = ejs
指令:express --view=ejs

依照提示輸入
npm install

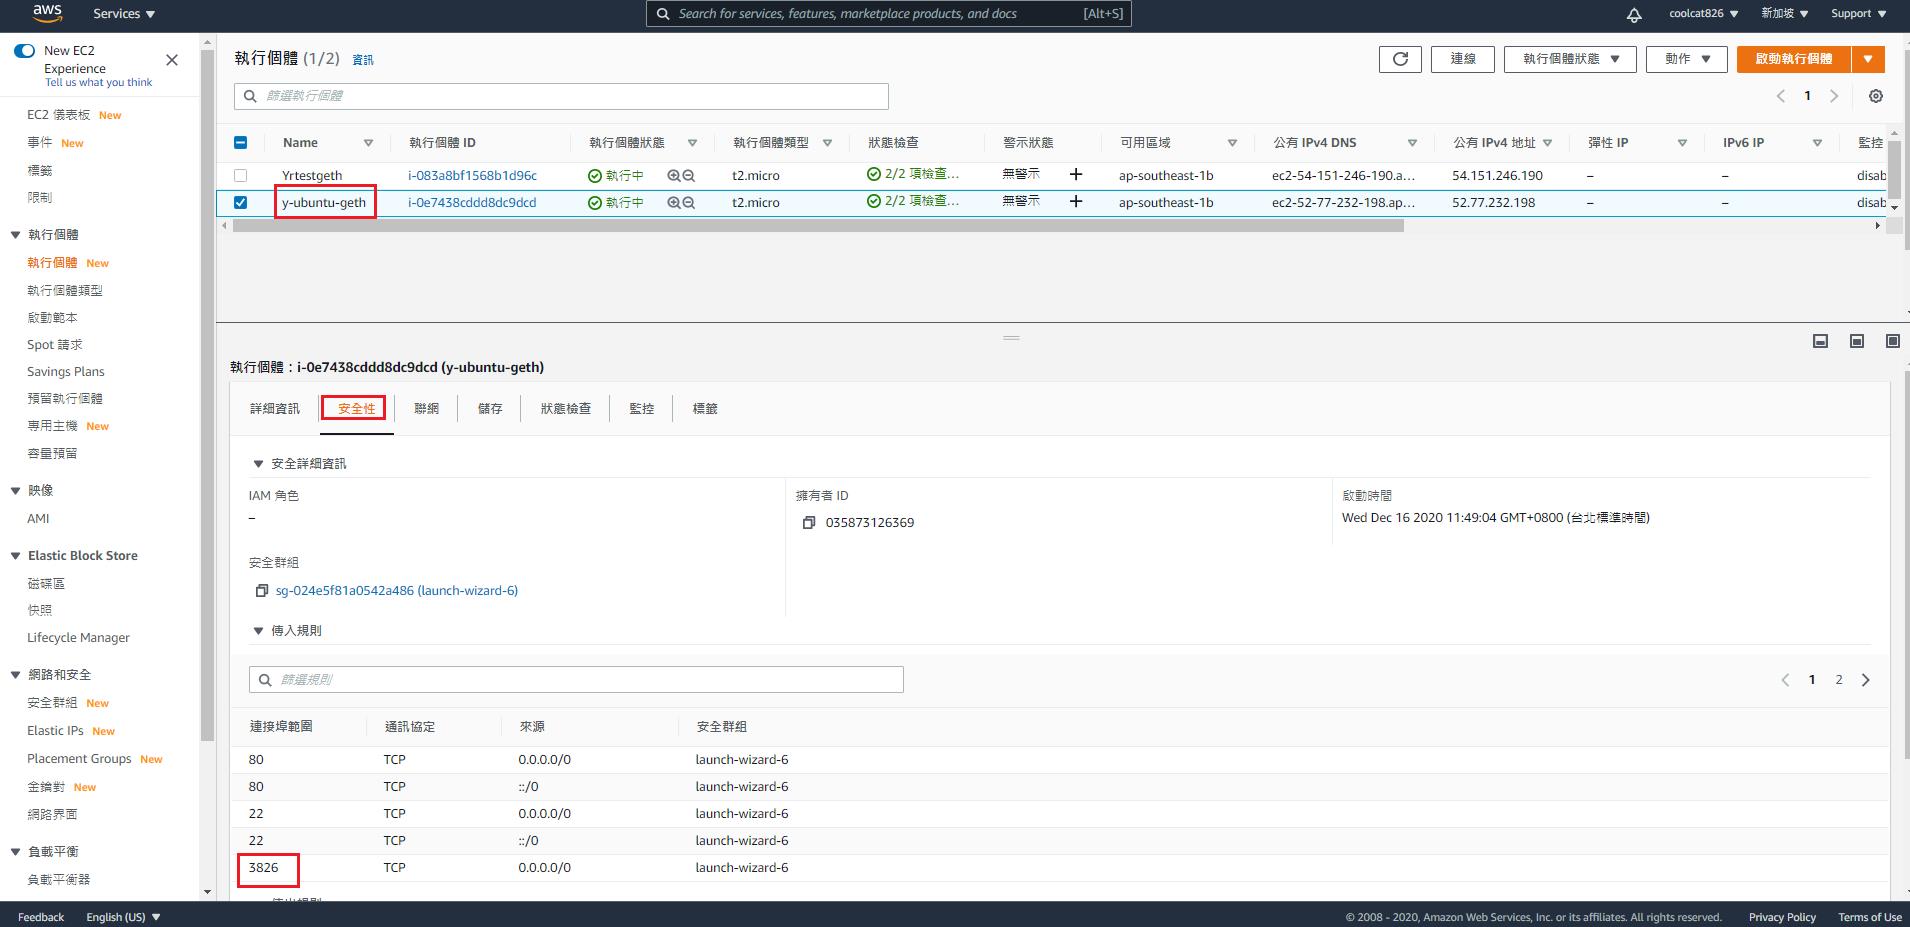
改port號
編輯 bin/www 資料夾 改port號
vi bin/www


也記得AWS上也要開啟相應的port號
啟動
DEBUG=yrnode-code:* npm start

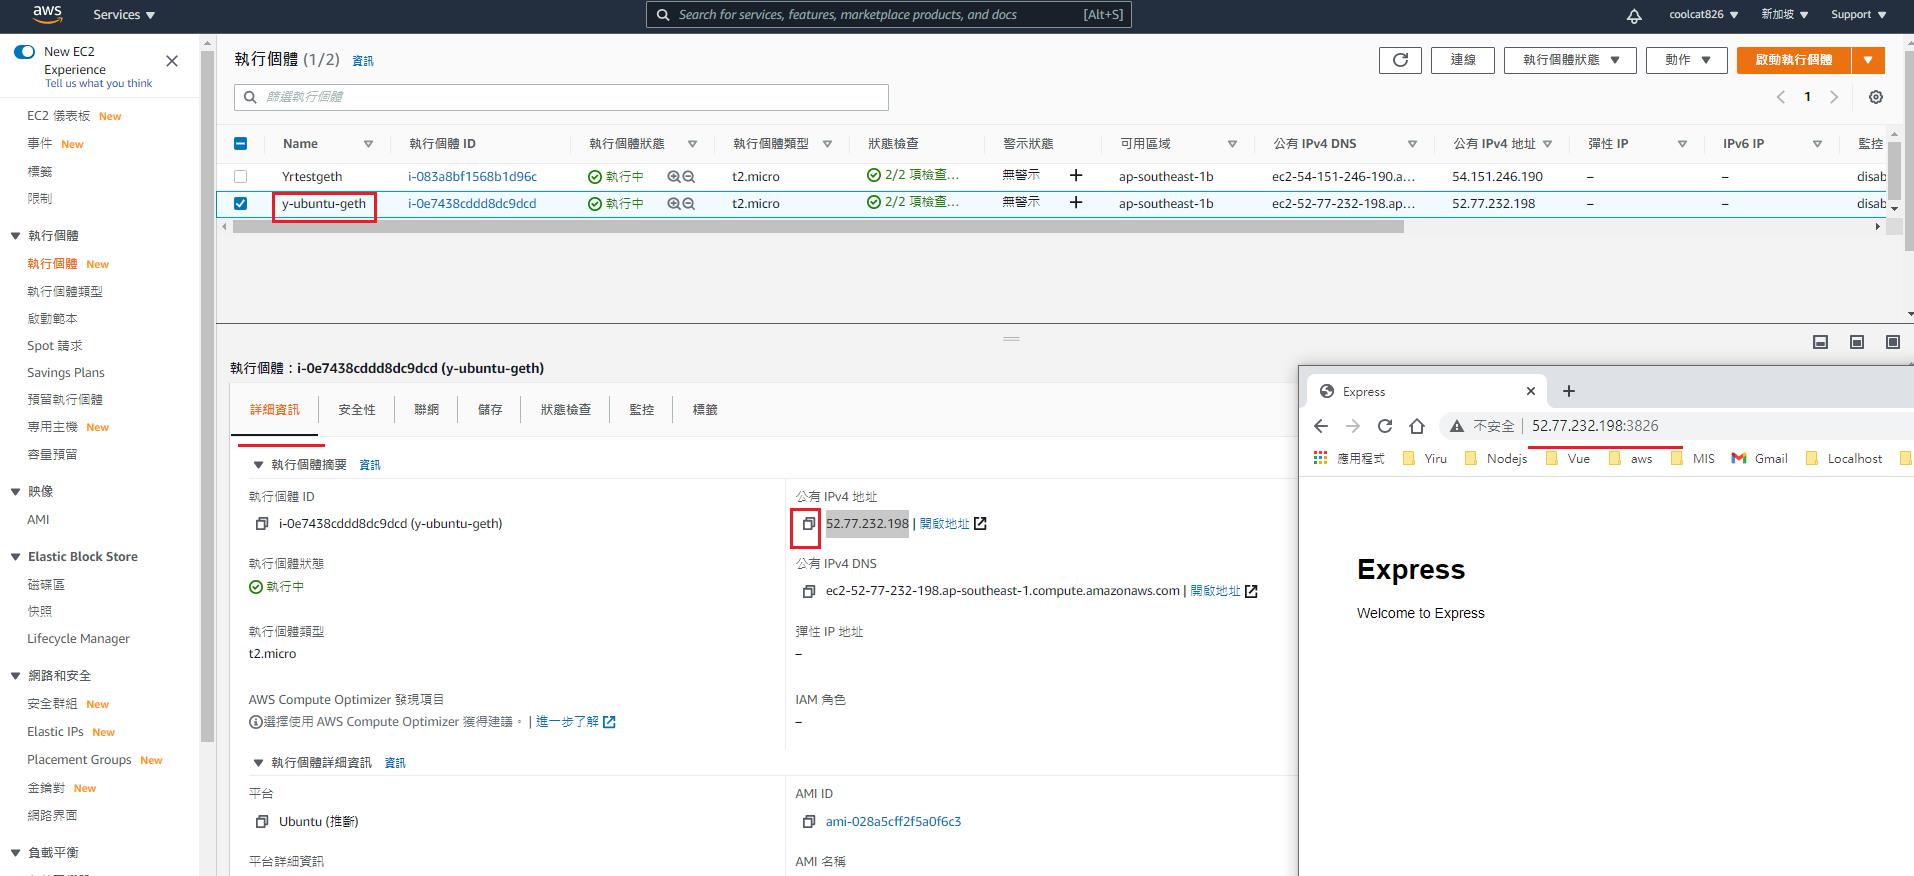
7.開啟瀏覽器打入ip : port 即可看到網頁
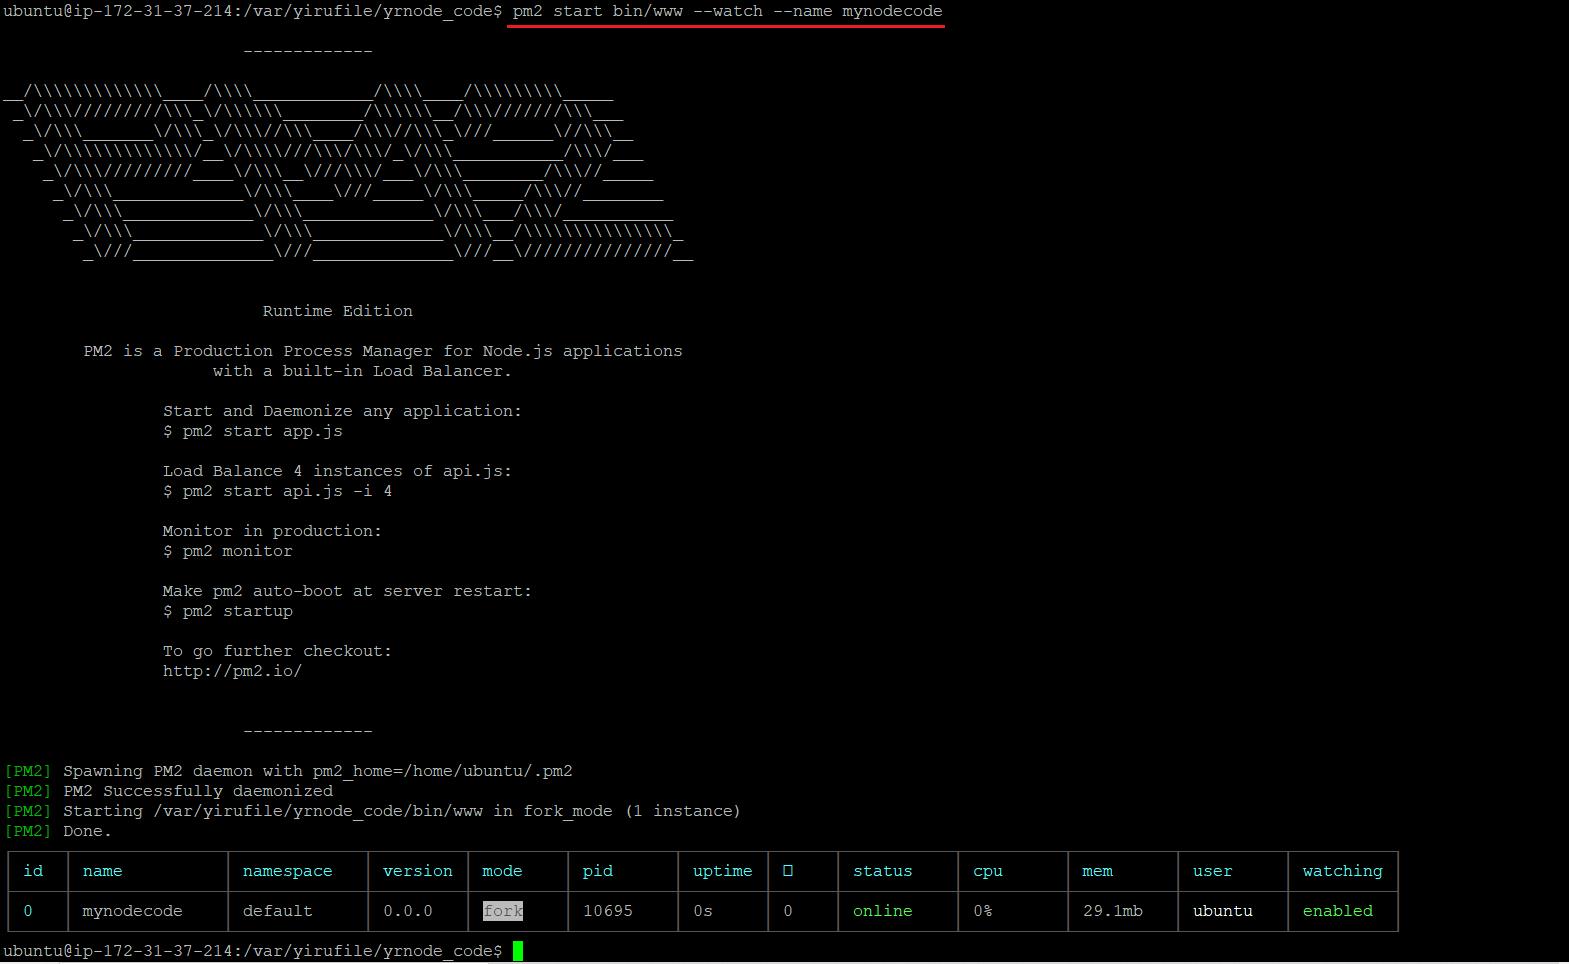
方便起見可使用 pm2 來啟動管理,這樣控制台就不需要一直開著
安裝pm2
sudo npm install pm2 -g

pm2 start bin/www --watch --name mynodecode
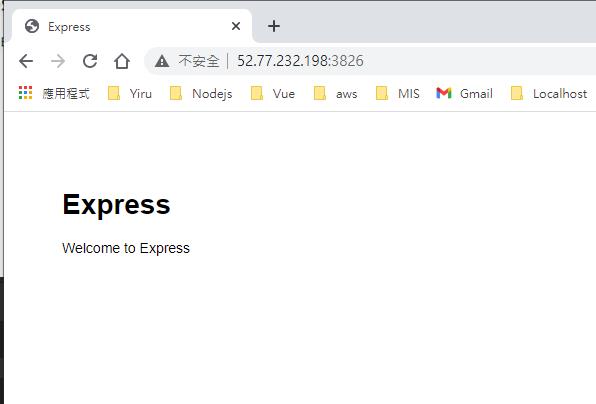
啟動後打開瀏覽器輸入 ip : port
常用指令:
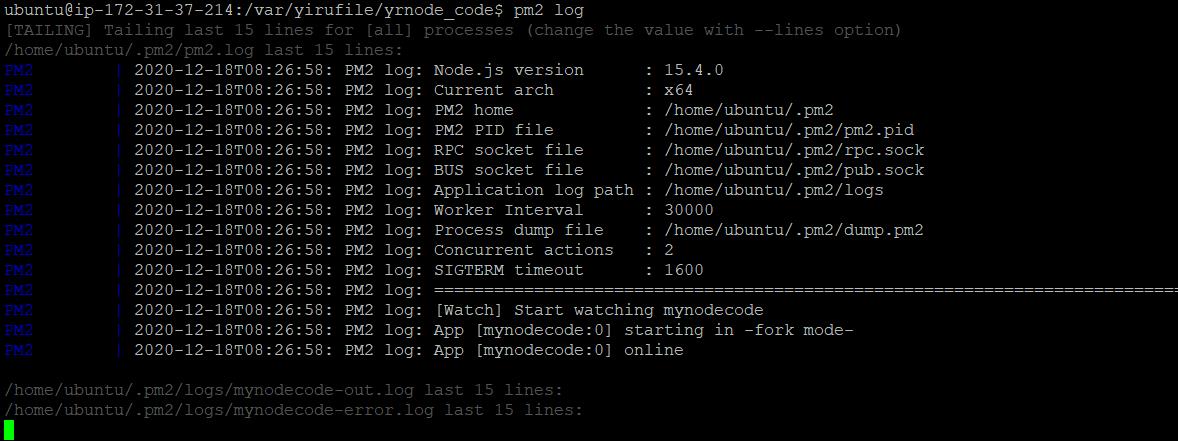
查看log
pm2 log
查看啟動狀態
pm2 list

重新啟動
pm2 restart [id]

Yiru@Studio - 關於我 - 意如