前言
TeamCity build agent 為負責執行整合流程的服務程序,負責執行各種持續整合工作,Agent越多,表示同時進行測試與部署工作越多,這在大型專案與多人共同開發情境下非常的重要。在 Professional 版本、不購買任何 agent lincesee 情況下,我們最多可以設定 3 agents 同時進行工作。在上一篇文章中,我們簡單介紹如何安裝 TeamCity,並且在安裝過程中設定了一個 TeamCity agent,而這在本篇會簡單介紹如何安裝與設定新的agent。若有錯誤或任何建議,請各位先進不吝提出,謝謝!
介紹
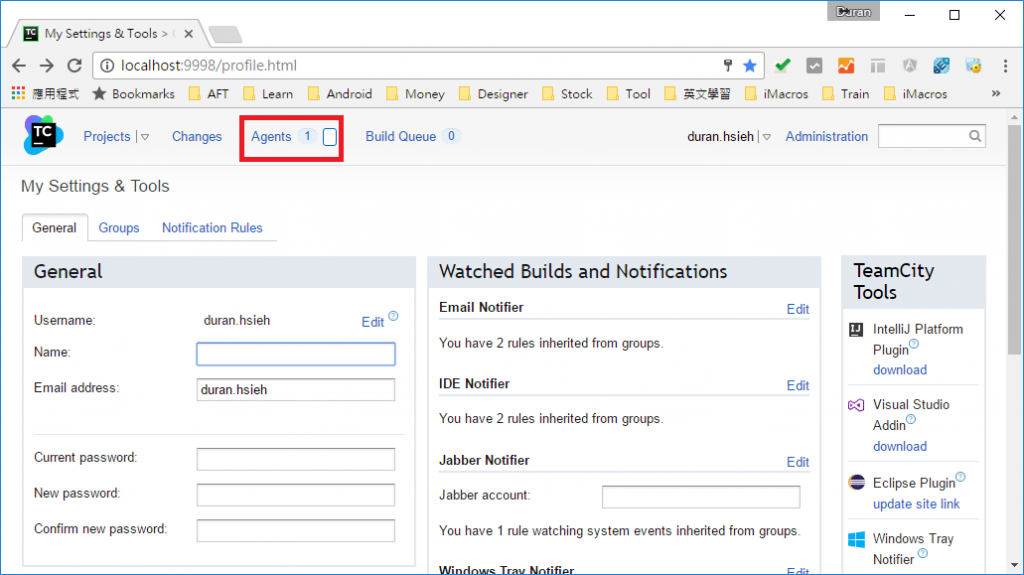
Step 1 開啟 TeamCity 網頁,點選左上角 Agents
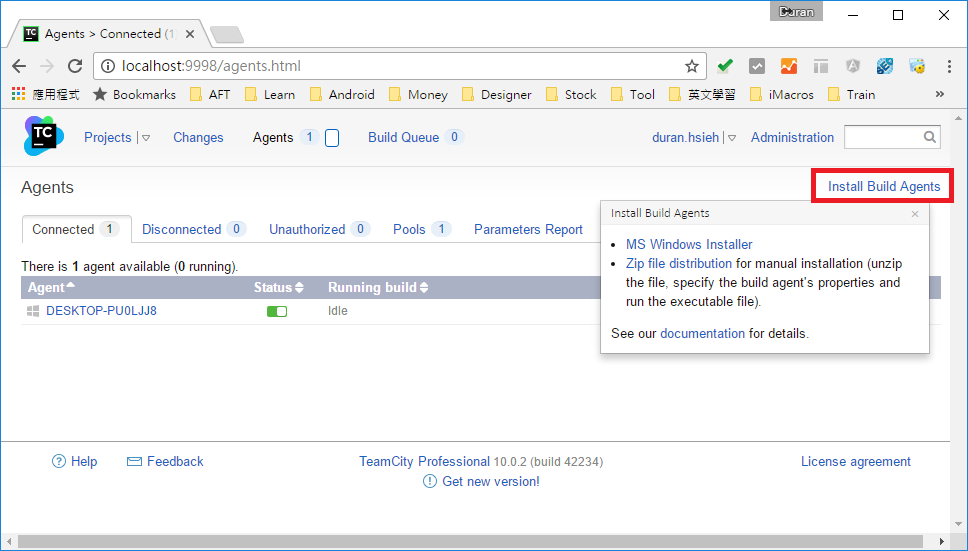
Step 2 在 Agents 頁面,點選右上角 Install build agent,可以發現有兩種方法可以進行安裝 Agent:MS Windows Installer 與 Zip file distrbution,我們選擇 MS Windows Installer 下載安裝程式
Step 3 點選安裝程式 -> 點選 Next
Step 4 點選 I Agree
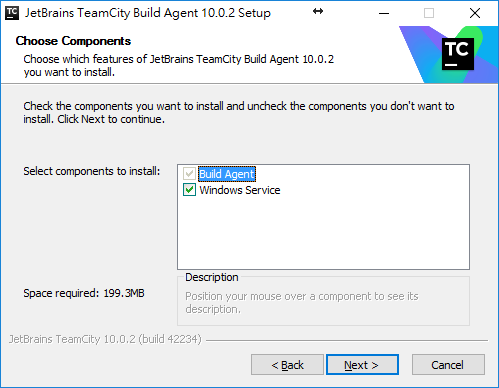
Step 5 選擇安裝元件 -> 點選 Next
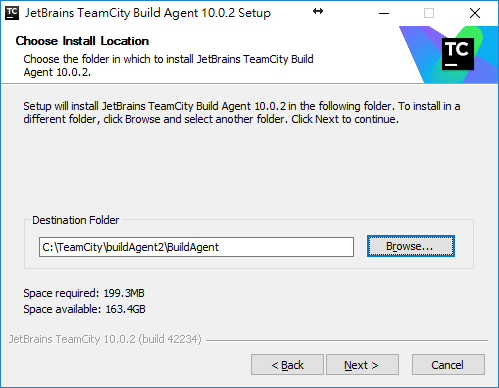
Step 6 選擇安裝路徑(我們將 Agent 安裝在 TeamCity 路徑下,非必需) -> 點選 Next

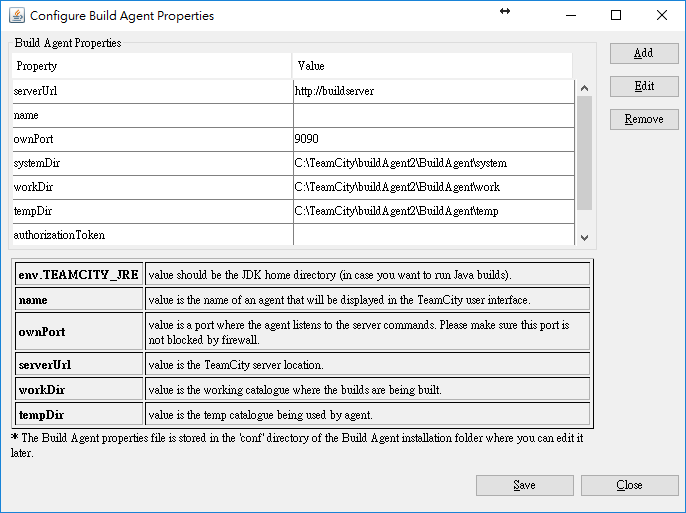
Step 7 接下來出現Agent 設定畫面,但在設定之前,我們必須先做其他設定
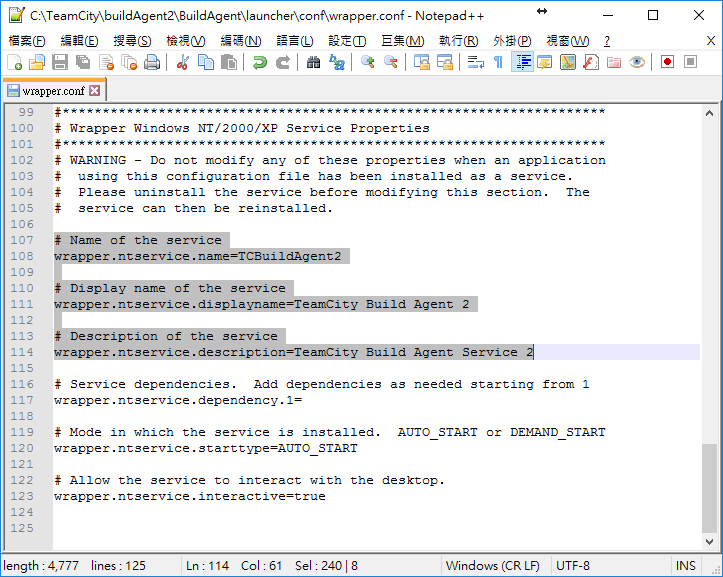
Step 8 開啟 TeamCity\buildAgent2\launcher\conf\wrapper.conf,更改內容如下:
# Name of the service
wrapper.ntservice.name=TCBuildAgent2

# Display name of the service
wrapper.ntservice.displayname=TeamCity Build Agent 2

# Description of the service
wrapper.ntservice.description=TeamCity Build Agent Service 2
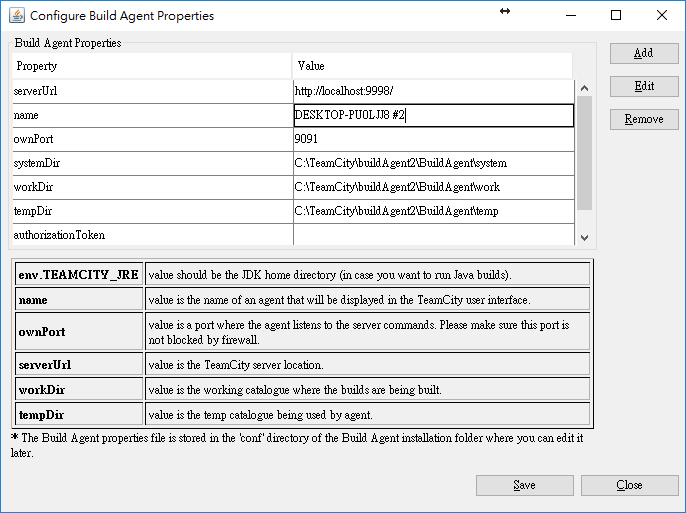
Step 9 回到Agent設定頁面,更改資訊如下圖 -> 點選確定
Step 10 出現通知訊息,點選確定

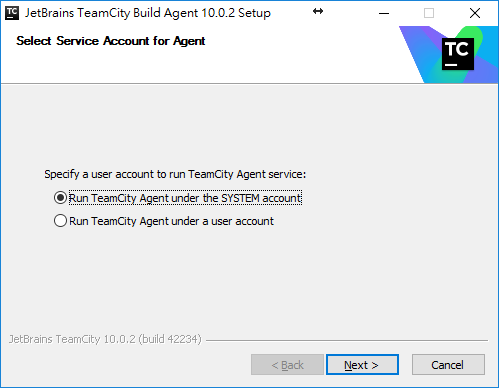
Step 11 選擇使用帳號,我們選擇第一個 -> 點選 Next
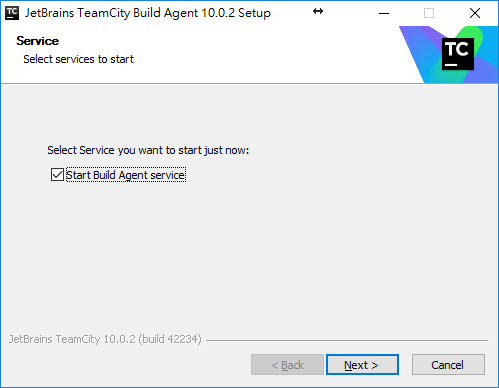
Step 12 勾選 Start Build Agent Serivce -> 點選 Next
Step 13 安裝完成 -> 點選 Finish
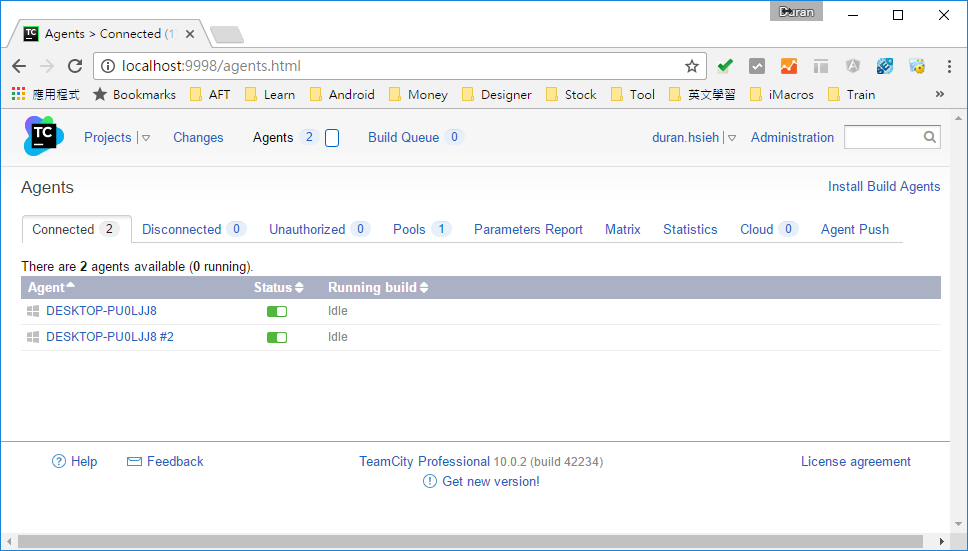
Step 14 等待一段時間後(等服務啟動),更新agent管理頁面即可看見新的agent狀態
上一篇:TeamCity 介紹與安裝
下一篇:TeamCity Build Configuration 介紹
返回目錄
參考資料
http://www.petekcchen.com/2016/03/teamcity-install-additional-build-agent.html
註:本系列文章將於2016 IT邦幫忙鐵人賽進行同時,一併發佈於個人blogger與dotblog。