[vue]簡單實做多國語系,使用web api的資源檔做為多國語系的來源
前言
有關於.net如何實做多國語系,可以從筆者上一篇文章了解一下(https://dotblogs.com.tw/kinanson/2017/07/11/082615),雖然這篇的後端語言是使用c#,但其實不管是什麼後端語言都一樣,只要最後回傳的是object的key and value的結構,前端都能類似的完成相關需求,筆者在angular或vue都曾經看過有人問多國語系實做問題,但其實在vue.js只要後端定義好多國語系的規則,前端其實根本不需要使用任何第三方的package就能實做多國語系了啊,接下來就示例一下筆者如何在vue.js實做多國語系吧。
導覽
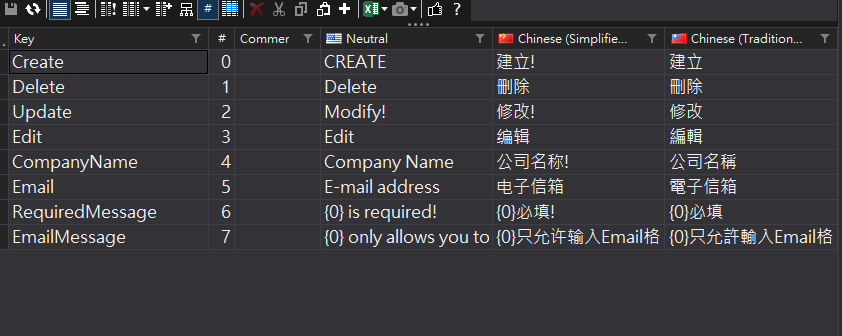
我目前在資源檔已定義了如下的一些key
接著我們在定義一個controller為多國語系直接吐出json供前端調用
TranslateController
    public class TranslateController : ApiController
    {
        public IHttpActionResult Get()
        {
            var resources = GetResources(HttpContext.Current.Request.UserLanguages[0]);
            return Ok(resources);
        }

        private Dictionary<string, string> GetResources(string lang)
        {
            var resources = new Dictionary<string, string>();
            var resourceSet = Resource.ResourceManager.GetResourceSet(new CultureInfo(lang), true, true);
            IDictionaryEnumerator enumerator = resourceSet.GetEnumerator();
            while (enumerator.MoveNext())
            {
                resources.Add(enumerator.Key.ToString(), enumerator.Value.ToString());
            }

            return resources;
        }
    }
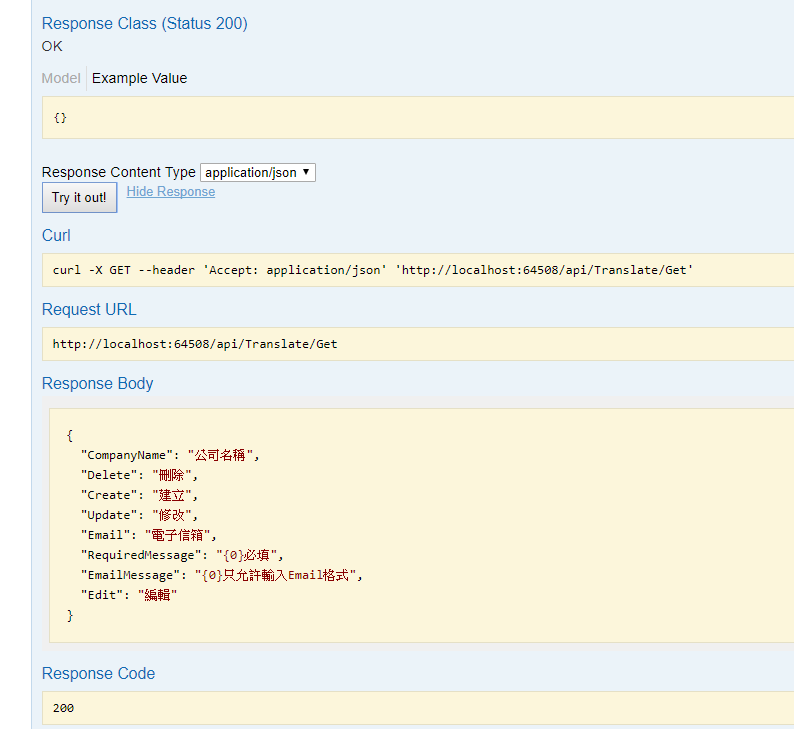
接下來先簡單使用swagger,測試多國語系是否能正確回傳json物件
再來就是vue的部份了,因為多國語系是全局的,有很多種方式可以實現,你也可以存在sessionStorage裡面,而筆者則是直接保存在vuex的state裡面,以下則為程式碼示例
stores/index.js
import Vue from 'vue'
import Vuex from 'vuex'
import axios from 'axios'

Vue.use(Vuex)

export default new Vuex.Store({
  state: {
    dictionarys: {}
  },
  actions: {
    async getDictionarys({ commit }) {
      let result = await axios.get('http://localhost:64508/api/translate/get')
      commit('getDictionarys', result.data)
    }
  },
  mutations: {
    getDictionarys(state, data) {
      state.dictionarys = data
    }
  },
  getters: {
    dictionarys: state => state.dictionarys
  },
  strict: process.env.NODE_ENV === 'development'
})
component的部份
<template>
  <div>
    <a href="#" :title="dictionarys.Edit" @click="click">{{dictionarys.Edit}}</a>
    <br>
    {{dictionarys.Create}}
  </div>
</template>

<script>
import { mapActions, mapGetters } from 'vuex'
export default {
  name: 'translate',
  methods: {
    ...mapActions([
      'getDictionarys'
    ]),
    click () {
      alert(this.dictionarys.CompanyName)
    }
  },
  computed: {
    ...mapGetters([
      'dictionarys'
    ])
  },
  created () {
    this.getDictionarys()
  }
}
</script>

<style>

</style>
接著來看一下畫面的結果吧
這樣子確實是已經顯示出後端回傳的多國語系了,但是我們如何切換成別種語系版本呢?簡單使用一個下拉式選單來示例一下
stores/index.js
import Vue from 'vue'
import Vuex from 'vuex'
import axios from 'axios'

Vue.use(Vuex)

export default new Vuex.Store({
  state: {
    dictionarys: {}
  },
  actions: {
    async getDictionarys({ commit }, lang) { // 增加傳入語系
      let result = await axios.get('http://localhost:64508/api/translate/get',
       { headers: { 'Accept-Language': lang } })// 新增可以改變語系的header
      commit('getDictionarys', result.data)
    }
  },
  mutations: {
    getDictionarys(state, data) {
      state.dictionarys = data
    }
  },
  getters: {
    dictionarys: state => state.dictionarys
  },
  strict: process.env.NODE_ENV === 'development'
})
component
<template>
  <div>
    <select v-model="lang" @change="changeLang">
      <option value="zh-TW">繁中</option>
      <option value="zh-CN">簡中</option>
      <option value="en-US">英文</option>
    </select>
    <a href="#" :title="dictionarys.Edit" @click="click">{{dictionarys.Edit}}</a>
    {{dictionarys.Create}}
  </div>
</template>
<script>
import { mapActions, mapGetters } from 'vuex'
export default {
  name: 'translate',
  data () {
    return {
      lang: 'zh-TW'
    }
  },
  methods: {
    ...mapActions([
      'getDictionarys'
    ]),
    changeLang () {
      // 增加傳入語系
      this.getDictionarys(this.lang)
    },
    click () {
      alert(this.dictionarys.CompanyName)
    }
  },
  computed: {
    ...mapGetters([
      'dictionarys'
    ])
  },
  created () {
    this.getDictionarys(this.lang)
  }
}
</script>
<style>

</style>
接下來再看一下畫面示例
雖然多國語系都完成了,不過我們每次換頁或重整,就重新的跟web api要一次,這不是一件好事,那我們簡單來改造一下,為web api加上快取吧,因為我們要以傳入的語系當做快取條件,所以我把TranslateController改成要傳入參數,而不是去取Header的方式,並加入要求server和client都得快取的方式,如果對快取這個attribute不熟的話,想了解可以看筆者之前文章(https://dotblogs.com.tw/kinanson/2017/05/09/222747)
    public class TranslateController : ApiController
    {
        [CacheOutput(ServerTimeSpan = 120, ClientTimeSpan = 120)]
        public IHttpActionResult Get(string lang)
        {
            var resources = GetResources(lang);
            return Ok(resources);
        }

        private Dictionary<string, string> GetResources(string lang)
        {
            var resources = new Dictionary<string, string>();
            var resourceSet = Resource.ResourceManager.GetResourceSet(new CultureInfo(lang), true, true);
            IDictionaryEnumerator enumerator = resourceSet.GetEnumerator();
            while (enumerator.MoveNext())
            {
                resources.Add(enumerator.Key.ToString(), enumerator.Value.ToString());
            }

            return resources;
        }
    }
接著把vuex的傳入改成參數,而不是原本的修改Header的方式
import Vue from 'vue'
import Vuex from 'vuex'
import axios from 'axios'

Vue.use(Vuex)

export default new Vuex.Store({
  state: {
    dictionarys: {}
  },
  actions: {
    async getDictionarys({ commit }, lang) {
      let result = await axios.get(`http://localhost:64508/api/translate/get?lang=${lang}`)// 修改為傳入參數
      commit('getDictionarys', result.data)
    }
  },
  mutations: {
    getDictionarys(state, data) {
      state.dictionarys = data
    }
  },
  getters: {
    dictionarys: state => state.dictionarys
  },
  strict: process.env.NODE_ENV === 'development'
})
最後再來看一下結果示例
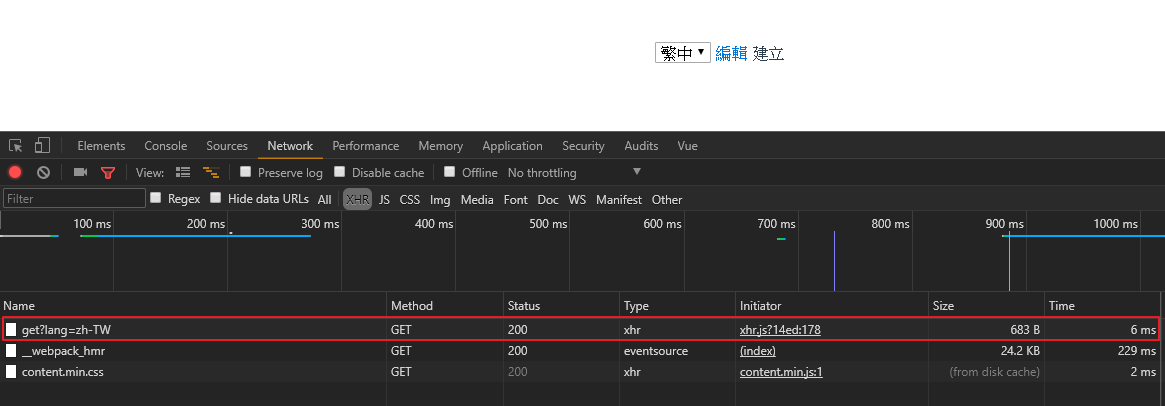
第一次傳入繁中語系,是從伺服器來的
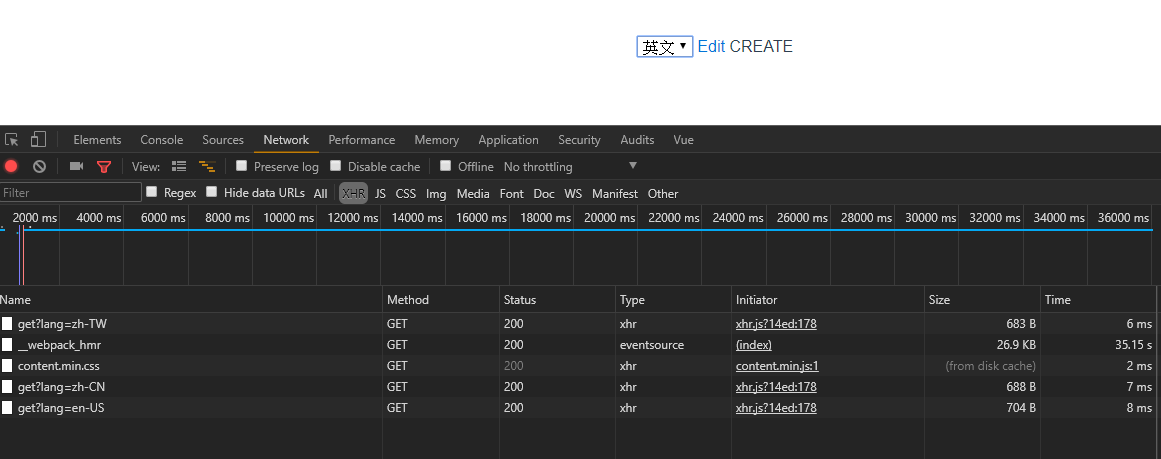
接著切換到英文或簡體語系,第一次一樣還是從伺服器來的
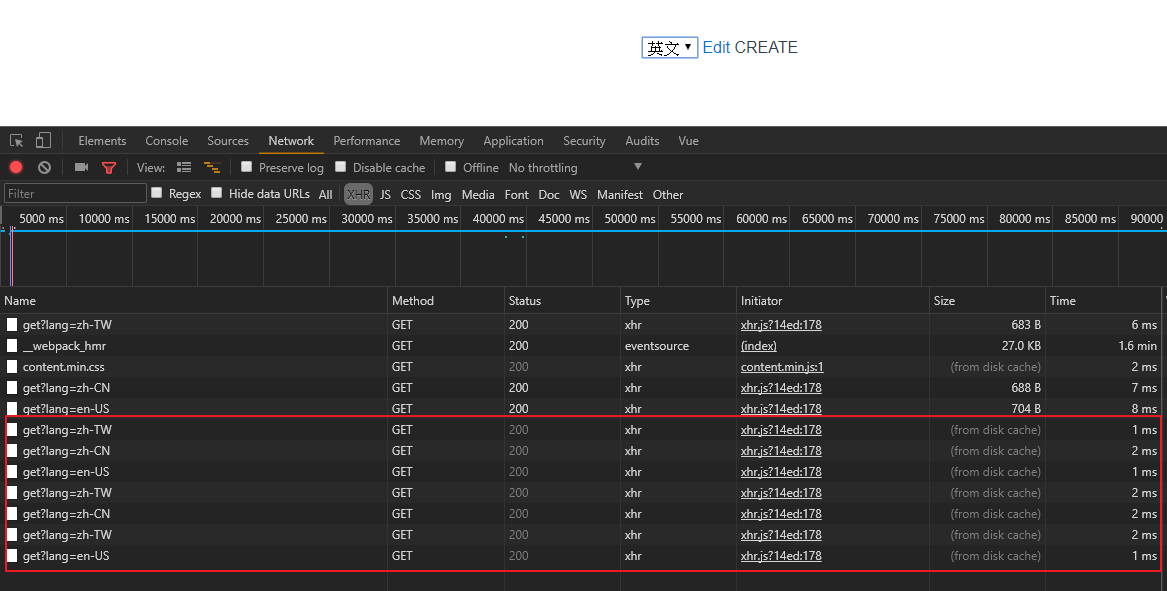
但如果我們之後切換這三種語系就都會cache在client端
從此範例我們可以看到,其實要完成多國語系的需求並不會很困難,而且我們又實做了伺服器端的快取,只是用很簡單的技術來快取,什麼redis等等的快取機制都不需要用到,而且資源檔這種變動不大的部份,實際上儲存在各台ap上面就足夠了,還不需要存到一個快取中心給不同ap共用,不過因為我們在client也快取了,所以一旦我們就算重新上版伺服器的部份,client的快取還是會保留起來,並不會馬上去跟伺服器要最新的多國語系資料,就請讀者自行評估快取策略囉。
