How to use Cinemachine
( from 196 )
一、基本介紹: Cinemachine Document(2.1) (or 2.2)
1. 安裝: from "asset store" or Package Manager depends on your Unity version.
2. 介紹Cinemachine: 裝Cinemachine brain 在main camear上並驅動建立虛擬的cameras。新建的虛擬的camera有不同的設定和參數。
( Cinemachine solves the complex mathematics and logic of tracking targets, composing, blending, and cutting between shots. )
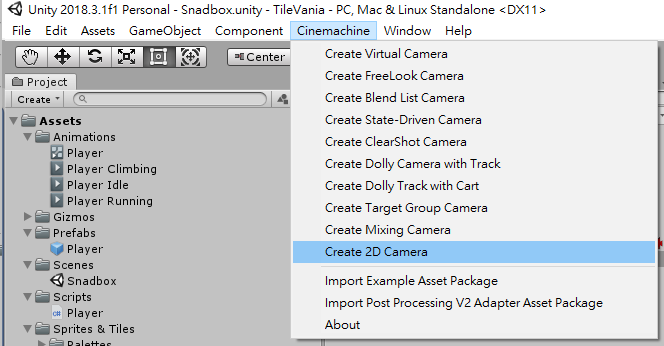
二、使用
1. create 2D camera
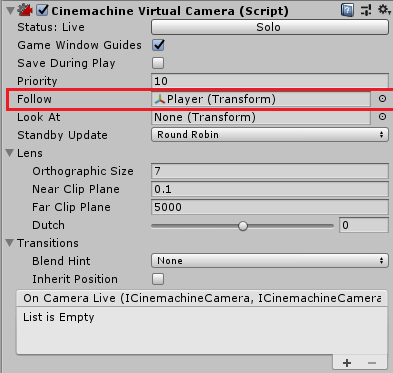
 2. Follow the "Player"
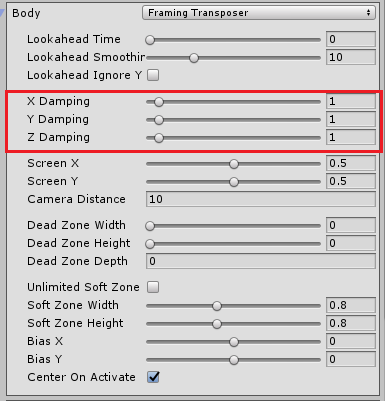
3. Dead Zone: camera 不會跟著動的範圍

4. damping: camera的跟隨速度
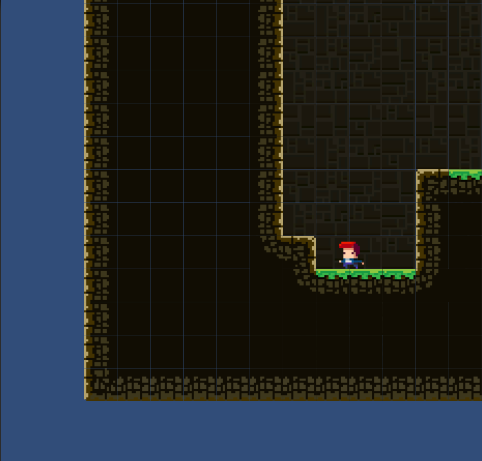
三、限制Camera的顯示邊界。
怎樣不顯示藍色區域?
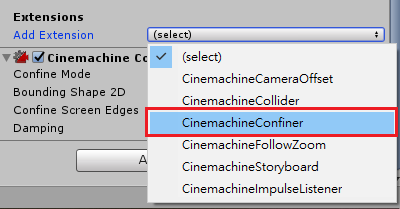
 1. in the "Virtual camera" (新增的2D camera) -> Add Extension -> 點CinemachineConfiner。
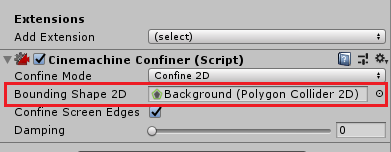
 2. select a Gameobject with Collider for "Bounding Shap 2D",該 Collider 就會是camera的範圍。
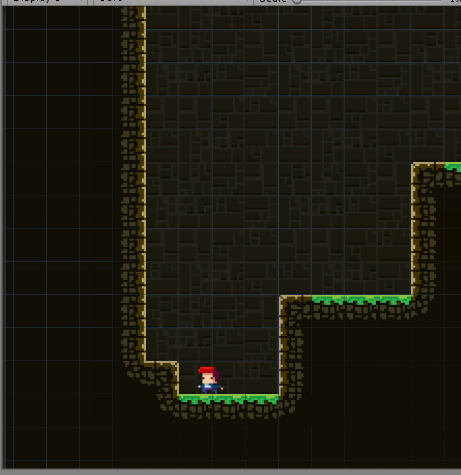
完成後:
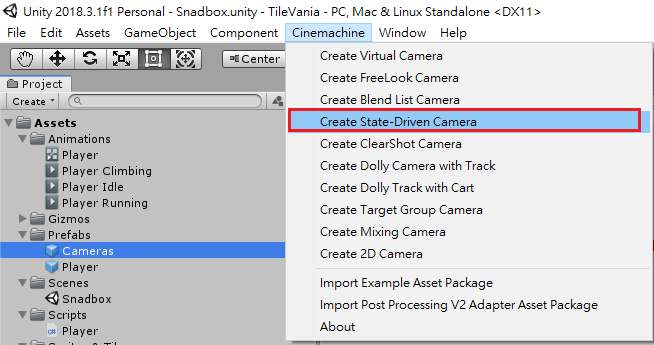
四、 State-Driven Cameras - 可以根據Animator State改變 camera
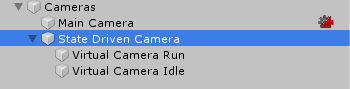
1. create State-Driven Camera
2. It's a parent for Virtual Cameras, so 要被控制的 Cameras要是其child。
3. In the State Driven Camera slect an animator for "Animated Target "。 And create new State for your virtual cameras。
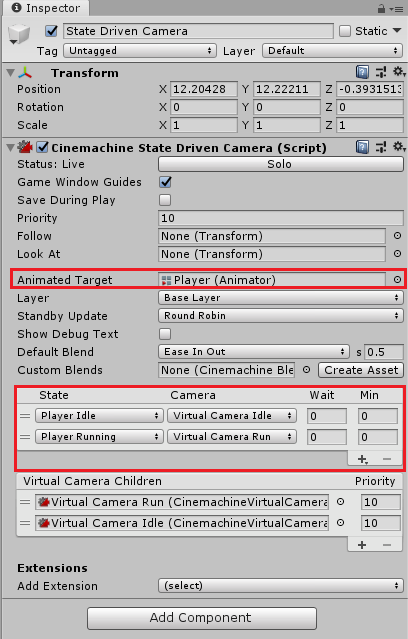
這樣就能根據不同的 Animator State 使用不同的 virtual cameras。
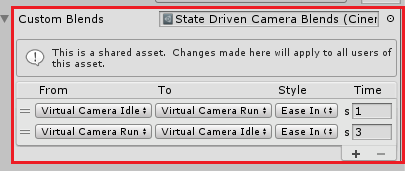
4. In the State Driven Camera -> "Custom Blends" 可以設定不同 virtual camera間的切換方式和速度。
五、Noise
1. In the virtual camera ( 新增的2D camera ) 使用Noise可以產生震動的效果。
