[Windows Azure] 我在雲端的第一隻 Web Service 應用程式
瞭解Cloud,請參考以下前輩的帖子:
John:
從Windows Azure 雲端平台談Web應用程式執行環境的安全性
小朱:
Windows Azure
前置環境作業:帳號開通
MSDN 訂閱使用者請參考:
如何啟動MSDN Ultimate訂閱免費的Windows Azure雲端服務
一般使用者請參考:
若在開通帳號時,若你像我一樣一直看到畫面處於Loading的狀態,無法進入信用卡輸入畫面
根據我回報Microsoft的回信,它給予的做法如下,按著步驟操作即可開通帳號。
Please follow the below steps and let us know if you are able to sign up successfully.
1. Go to https://account.live.com.
2. Change your account first name and/or last name to have no Unicode characters (i.e. pure English, ASCII characters only). Or, clear them if it makes it easier.
3. Start/retry Windows Azure signup.
4. In the credit card or whichever page that requires name, you can then correct it or fill it in.
5. Complete the signup process.
6. After signup you can go back to https://account.live.com and change your first and/or last name fields to have Unicode characters again.
開發環境:安裝SDK
SDK下載頁面
https://www.windowsazure.com/en-us/develop/downloads/?redirectToLocale=false
選擇開發環境,我是用.NET VS2010
Cloud 專案範本:
SDK安裝完之後,就能看到有關雲端(Cloud)的範本
手動加入雲端部署專案:
除了從範本裡面挑選專案,你也可以選好專案後再加入雲端部署,在這裡我用Web Service專案當範例
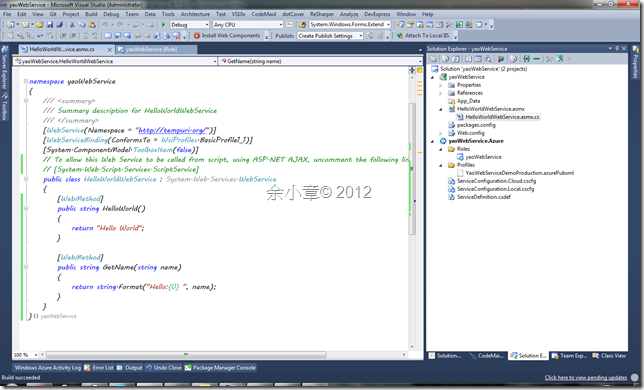
依慣例,寫了一隻Hello World 應用程式
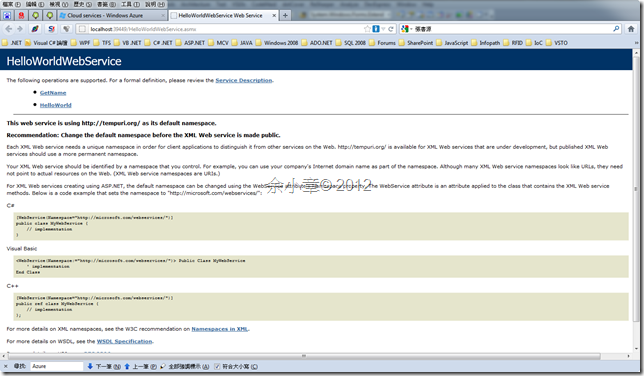
測試一下,Ctrl+Shit+W
部署步驟:
上面的步驟就跟我們一般在寫Web Service一樣沒啥差別,若是要發佈到雲端就必需要遵守發佈規則。
對Web Service按右鍵加入雲端專案
接著部署配置裡設定VM的大小跟數量,建議數量選2以上,這樣才能做負載平衡跟備援
設定完配置後,對著雲端專案按右鍵→Publish
下載憑證並匯入憑證
建立服務名稱
啟用遠端搖控
建立儲存體(Storage)
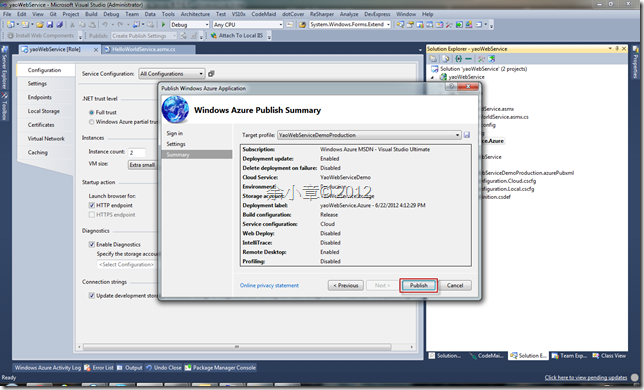
發佈,要記住,發佈前一定要確認程式可執行,否則就浪費流量了。
發佈狀態
舊版入口網站
Preview版入口網站
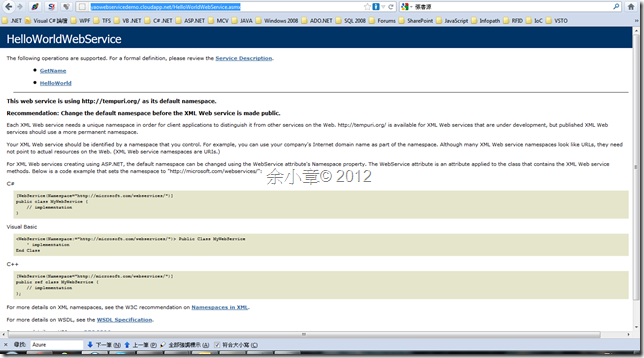
部署完成的網址超連結
點了超連結之後變這樣,別急
我們得輸入正確的網址才行
若有謬誤,煩請告知,新手發帖請多包涵
Microsoft MVP Award 2010~2017 C# 第四季
Microsoft MVP Award 2018~2022 .NET

![clip_image002[8] clip_image002[8]](https://dotblogsfile.blob.core.windows.net/user/yc421206/1206/Windows-Azure_CE7C/clip_image002%5B8%5D_thumb.jpg)
![clip_image002[6] clip_image002[6]](https://dotblogsfile.blob.core.windows.net/user/yc421206/1206/Windows-Azure_CE7C/clip_image002%5B6%5D_thumb.jpg)


