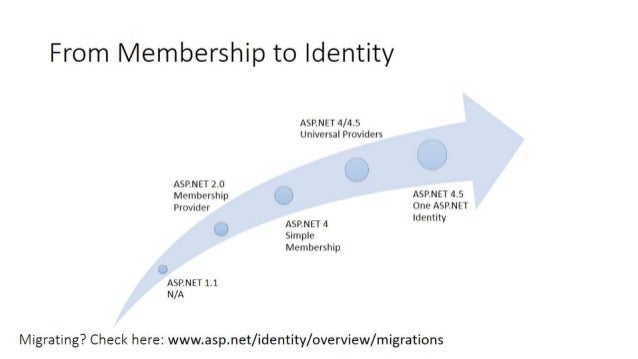
會員管理的演進過程有很長的一段時間,從 ASP.NET 2.0 開始的 Membership 到現在的 ASP.NET 4.5 的 Identity,一代比一代好,每一代都有他存在的價值,沒有絕對的優點
現代,若是要開發一個安全性高(雙因子驗證),整合外部帳號(Google、Facebook) ,ASP.NET Identity 就成為我的首選
另外它以 OWIN 為基礎,可以在所有 .NET Framework中使用,包含 ASP.NET MVC、 Web Forms、Web Pages、Web API,與SignalR等類型的應用程式
Identity 發展歷史圖

ASP.NET Identity 2 架構圖
以 OWIN 為基礎的會員管理,如下圖

上圖出自:http://www.spheregen.com/asp-net-identity-2-0-2/
每一層都獨立運作,未來要抽換也相當容易,如下圖:
Manager
- 高階的類別,用來建立會員資料並提供安全性處理,比如:建立一筆會員資料,密碼存放到資料庫時已經被Hash過
Store
- 提供資料庫 CRUD 並以 IUserStore 為主,架構圖如下:
開發環境:
- Windows 10 x64 Enterprise CHT
- VS 2015 Update3
步驟:
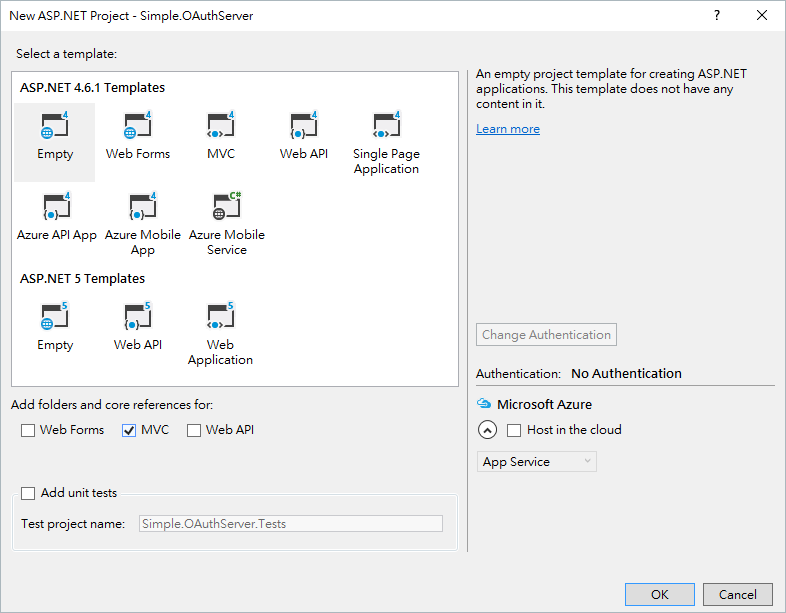
Step1.開啟一個空白 MVC 專案

Step2.從 Nuget 安裝 ASP.NET Identity
裝了這個其他相依的套件也會一併安裝,目前版本為 2.2.1
Install-Package Microsoft.AspNet.Identity.EntityFramework
相依套件
- Microsoft.AspNet.Identity.Core (>= 2.2.1)
- EntityFramework (>= 6.1.0)
Step3.加入ApplicationIdentityUser
它是 EF 所需要的 Entity Model,你可以在這裡擴充你想要的欄位
public class ApplicationIdentityUser: IdentityUser
{
}
Step4.加入ApplicationDbContext
public class ApplicationDbContext: IdentityDbContext<ApplicationIdentityUser>
{
    public ApplicationDbContext() :
        base("DefaultConnection")
    {
    }
}
Step5.加入ApplicationUserStore
ApplicationUserStore 的建構函數一定要傳入 DbContext

public class ApplicationUserStore : UserStore<ApplicationIdentityUser>
{
    public ApplicationUserStore(ApplicationDbContext context) : base(context)
    {
    }
}
Step6.加入ApplicationUserManager
public class ApplicationUserManager: UserManager<ApplicationIdentityUser>
{
    public ApplicationUserManager(IUserStore<ApplicationIdentityUser> store) :
        base(store)
    {
    }
}
Step7.加入測試專案
public string Password { get; set; } = "Pass@w0rd1";

public string UserName { get; set; } = "test";

public string Email { get; set; } = "test@aa.cc";

[TestMethod]
public void UserManager_AddUser()
{
    var dbContext = new ApplicationDbContext();
    var userModel = new ApplicationIdentityUser
    {
        UserName = UserName,
        Email = Email
    };

    var password = Password;

    var userStore = new ApplicationUserStore(dbContext);
    var userManager = new ApplicationUserManager(userStore);

    var result = userManager.Create(userModel, password);
    result.Succeeded.Should().Be(IdentityResult.Success.Succeeded);
}
也可以使用 UserStore 把資料存到 DB
[TestMethod]
public async Task UserStore_AddUser()
{
    //arrange
    var dbContext = new ApplicationDbContext();
    var userModel = new ApplicationIdentityUser
    {
        UserName = UserName,
        Email =Email
    };
    var passwordHash = "AAYDYJmN/+M+AB1GABoxjU77pIOnEXftePKuD6NIbOrN8kbFBjjie8Cq9TA84RxCIA==";
    var userStore = new ApplicationUserStore(dbContext);

    //act

    await userStore.SetPasswordHashAsync(userModel, passwordHash);
    await userStore.CreateAsync(userModel);

    //assert

    using (var db=new ApplicationDbContext())
    {
       var findUser= db.Users.AsNoTracking().FirstOrDefault(p => p.UserName == UserName);
        findUser.PasswordHash.Should().Be(passwordHash);
    }
}
變更密碼也可以這樣寫:
var passwordStore = userStore as IUserPasswordStore<ApplicationIdentityUser, string>;
await passwordStore.SetPasswordHashAsync(userModel, passwordHash);
執行結果:

為了讓測試專案每次都能夠運行,必須要還原資料庫,請參考以下:
結論:
透過簡單的演練理解 UserManager 和 UserStore 之間的關係,對 Identity 的運作也有了更進一步的認識
專案位置:
https://dotblogsamples.codeplex.com/SourceControl/latest#Simple.OAuthServer/
若有謬誤,煩請告知,新手發帖請多包涵
Microsoft MVP Award 2010~2017 C# 第四季
Microsoft MVP Award 2018~2022 .NET
 上圖出自:
上圖出自: