此篇文章介紹以下內容,主要是簡單的環境建立,提供要做自動化測試的入門使用
- 如何在 Vue 專案建立 Jest 測試
- 如何在 push 至 GitLab 時進行自動化測試
新專案 - 透過 Vue Cli 建立 Jest
使用 Vue Cli 新增專案


這裡選擇 Jest 作為我的測試框架

專案完成建立後,只要使用 npm run test:unit 就可以進行測試
現有專案 - 透過 Vue Cli 建立 Jest
使用已下指令可以直接將 Jest 加到現有的專案
vue add unit-jest
它會建立和設定好我們所需要的所有資源

然後和前一項目一樣,使用 npm run test:unit 就可以進行測試
現有專案 - 手動建立 Jest
1. 安裝 Jest、babel-jest、@vue/test-utils,--D (或 --dev) 代表他們只會在開發環境下運行
npm install jest babel-jest vue-jest @vue/test-utils --D
2. 在 package.json 內做一些設定
"jest": {
  "moduleFileExtensions": [
    // 告訴 Jest 要處理哪些文件
    "js",
    "json",
    "vue"
  ],
  "transform": {
    //用 `babel-jest` 處理 js
    "^.+\\.js$": "<rootDir>/node_modules/babel-jest"
  },
  "moduleNameMapper": {
    // 如果有設置 /src 的別名為 @,要加上這個設定
    "@/(.*)$": "<rootDir>/src/$1"
  }
}
3. 在 package.json 內加上 "test": "jest"
"scripts": {
  "test": "jest",
}
4. 然後就可以開始寫測試了,以下為一個範例,在任何一個 folder 內新增包含 .test.js 的檔案,Jest 會預設測試包含 .test.js 和 .spec.js 的檔案,可以參考 testRegex
describe("test", () => {
  it("if 1 is equal to 1", () => {
    expect("1").toMatch("1");
  });
});
5. 如果發現 eslint 標註 'describe' is not defined 的話

可以在 .eslintrc.js 內新增這個設定
"env": {
    "jest": true
}
6. 最後,執行測試!
npm run test

GitLab CI 自動化測試
使用 GitLab CI 的自動化測試很容易,GitLab 會認得 yaml 檔,在 push 異動後自動針對 yaml 的內容來執行
首先在專案的 root 建立 .gitlab-ci.yml
unit test:
  image: node:latest
  stage: test
  script:
    - npm install --progress=false
    - npm run test
image: node:latest- 使用最新或特定版本的 node imagescript- 在這下面撰寫要執行的指令
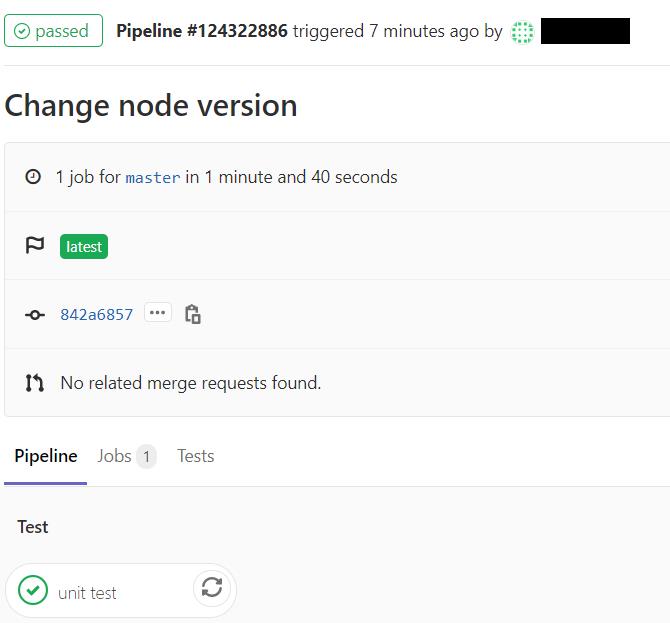
Push 異動到 GitLab 後,GitLab 就會自動執行測試,是否成功也都可以很清楚在 Pipeline 內看到
