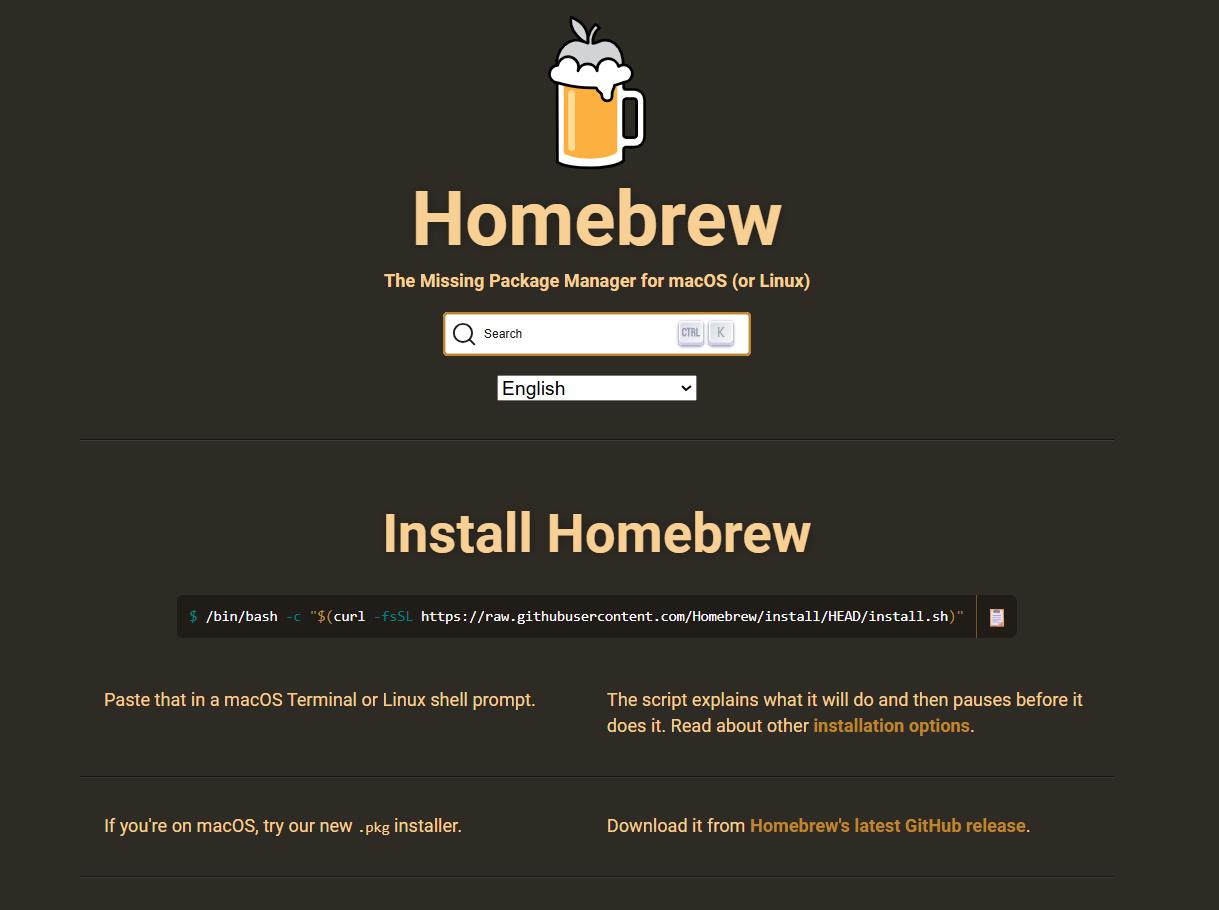
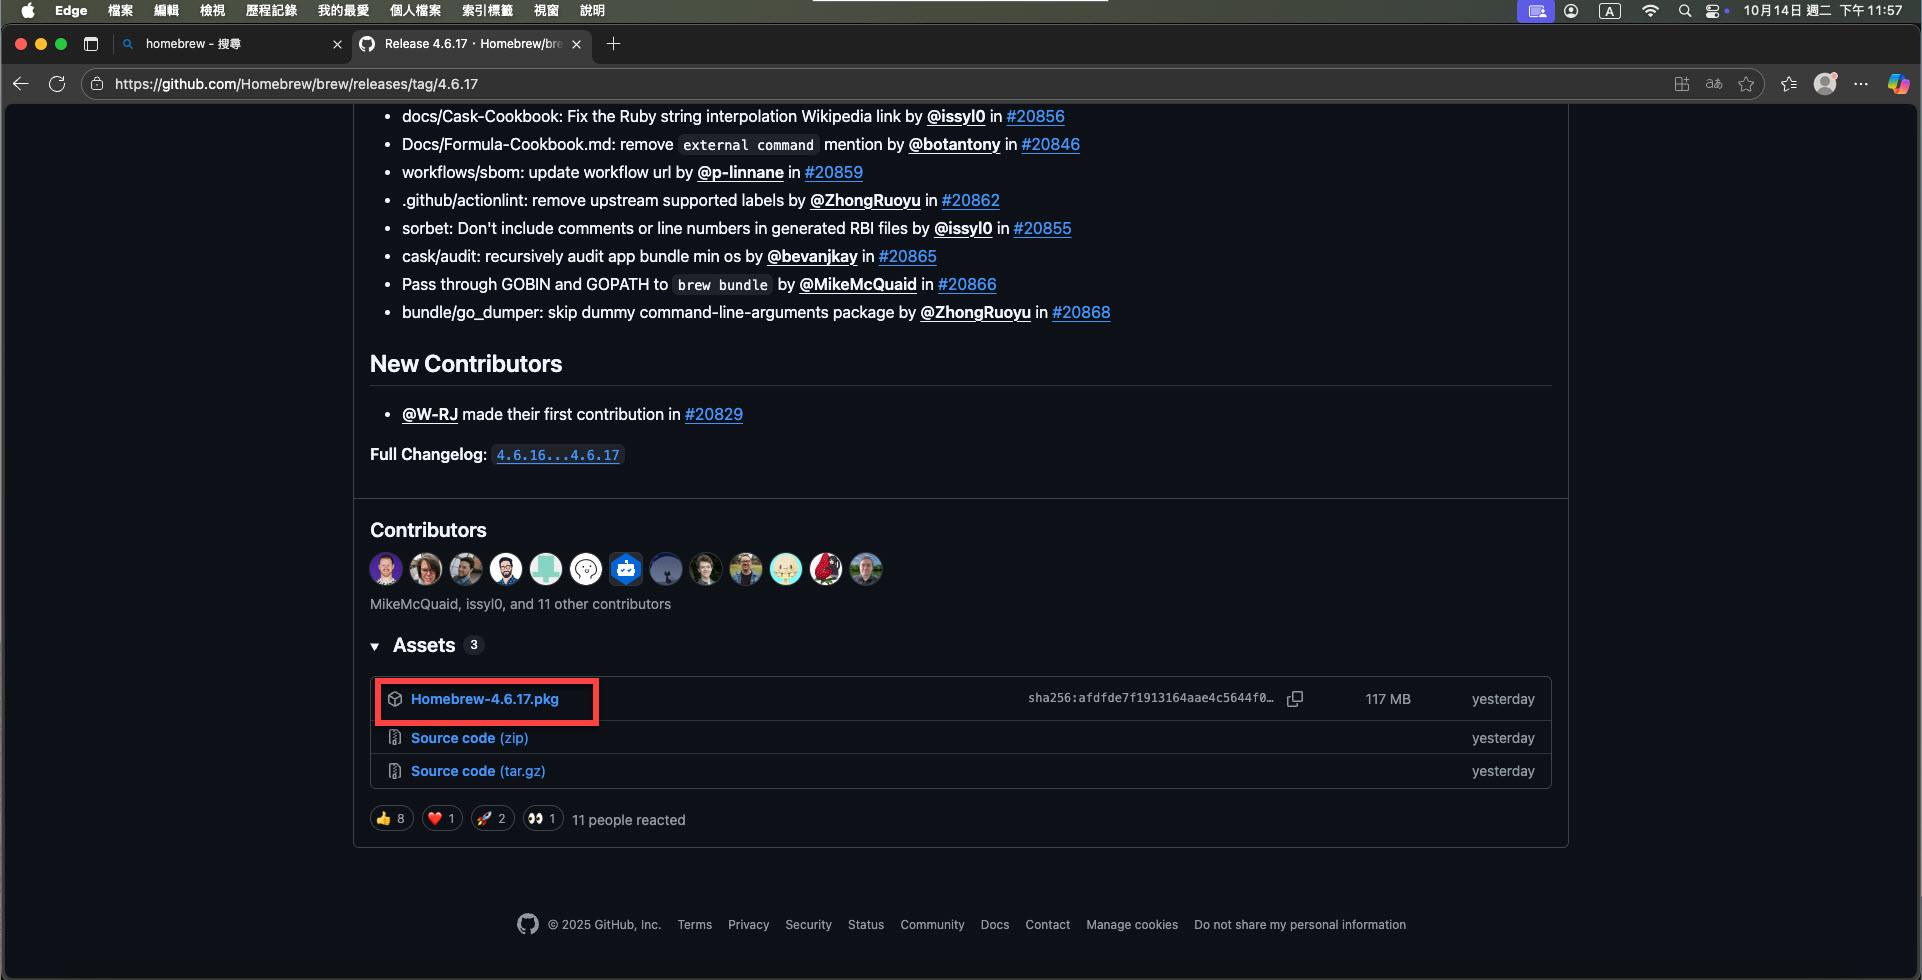
透過其 GitHub 的 Release 頁面,可以下載到最新釋出的 .pkg 檔(標準的 macOS 環境的安裝執行檔;與 Windows 的 *.msi 概念一樣)。
下載完成後執行該 *.pkg 起來後,安裝程式的 "簡介" 階段中有說明:
如果是 Intel 版的 mac 會安裝到 "/usr/local/bin/brew" 路徑;如果是 Apple Sillicon 版的 Mac 則會安裝到 "/opt/homebrew" 路徑。
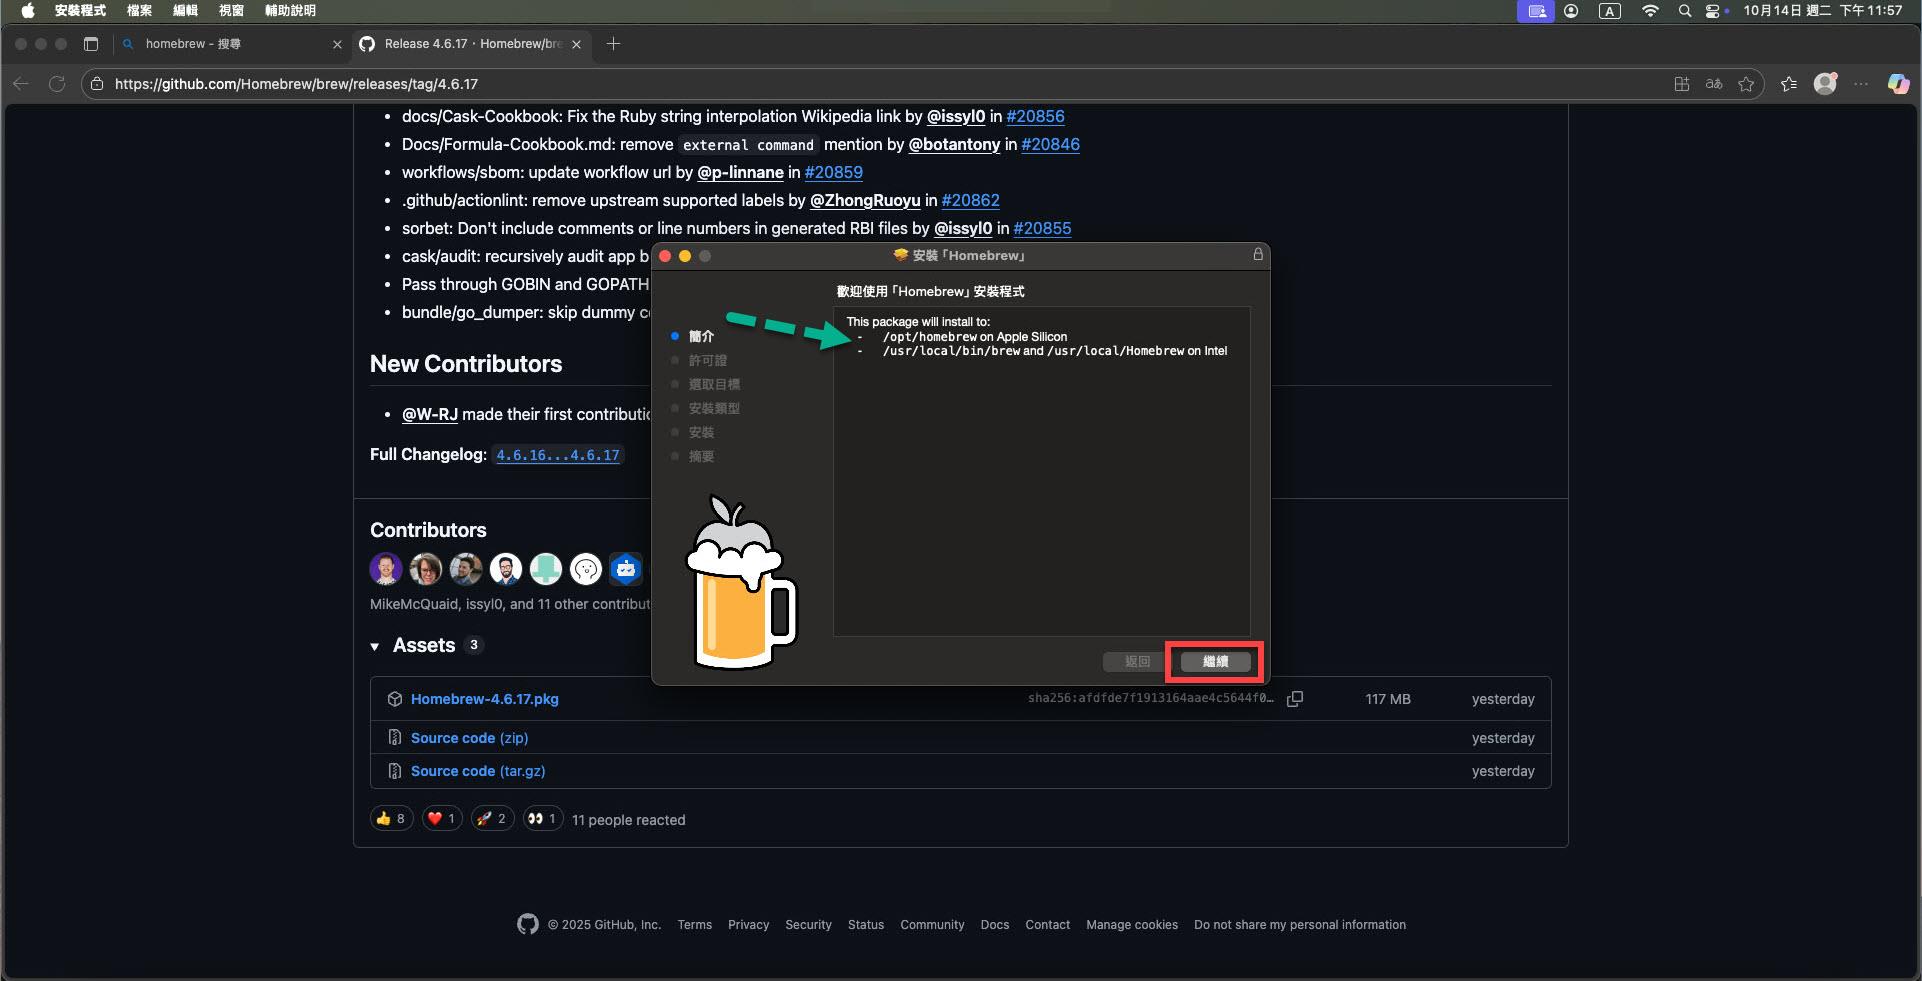
點選 "繼續"。
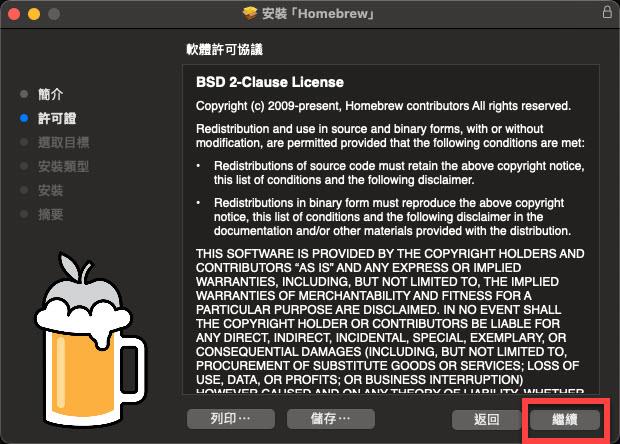
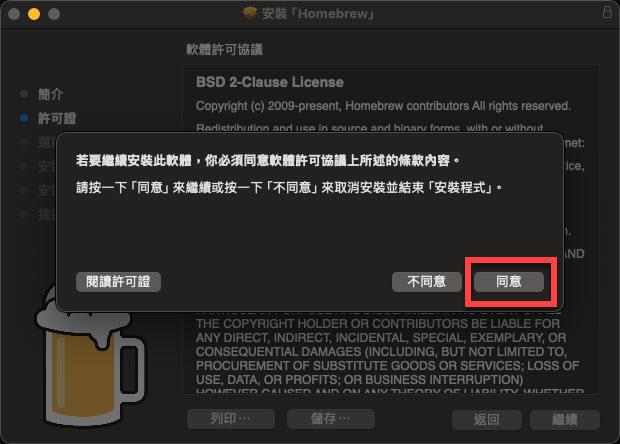
"許可證" 階段,也就是常見的軟體授權許可,點選 "繼續" 後,點選 "同意"。
接著在 "安裝類型" 階段點選 "安裝":

"摘要" 階段,告知 Homebrew 安裝完成,而接下來需手動加入相關設定,以利 macOS 中使用的 shell 系統能透過 path 跟 Homebrew 互動:
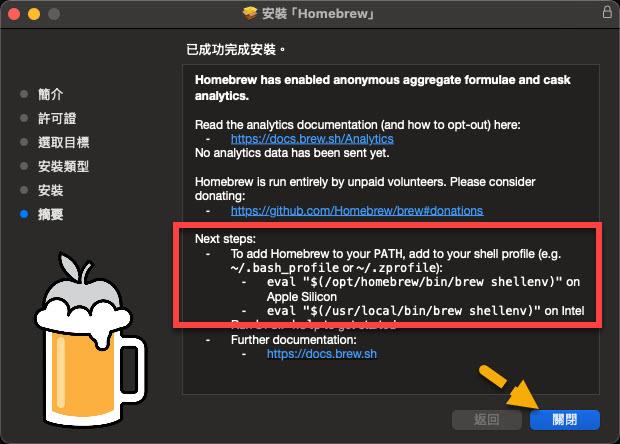
確認自己是哪種類型的 Mac 就可以點選 "關閉"。
打開終端機:
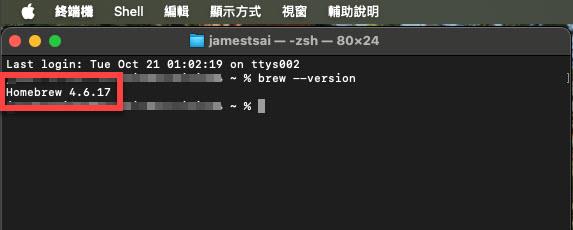
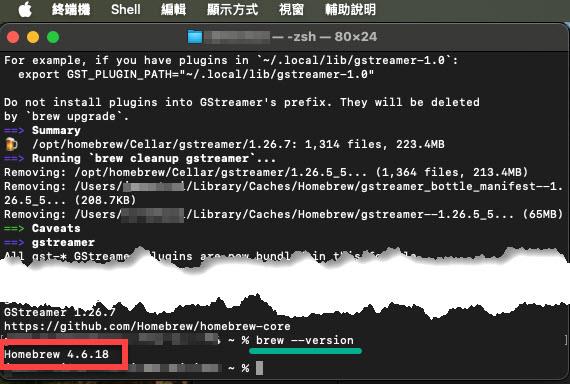
輸入 "brew --version":
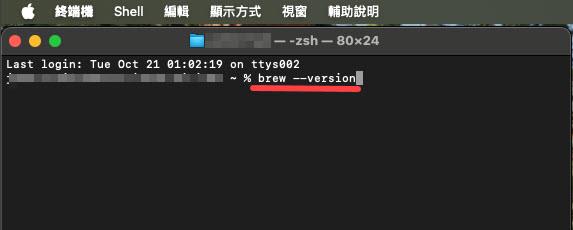
回應所安裝的 Homebrew 版本號碼:
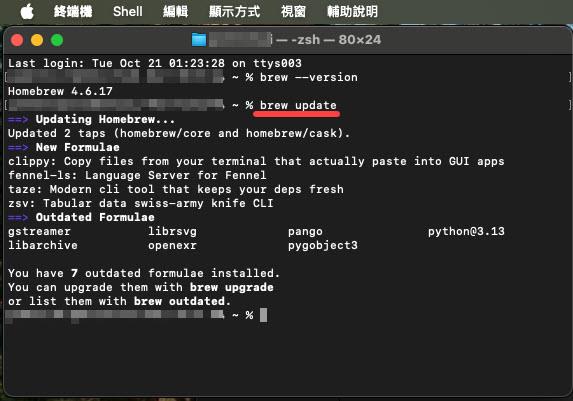
輸入 "brew update" 看看有那些套件可以更新:
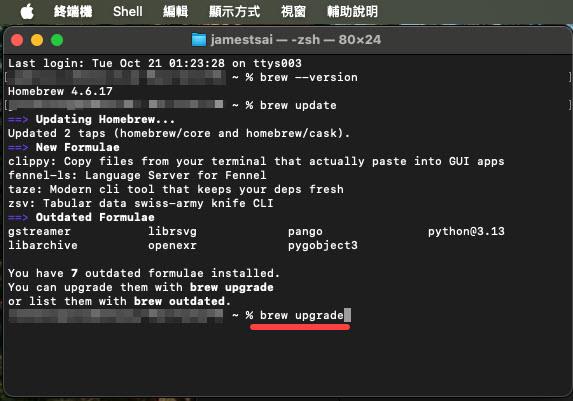
輸入 "brew upgrade" 進行更新:
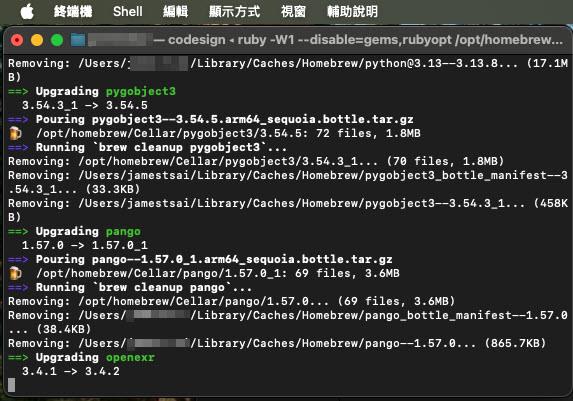
已透過 brew 安裝的套件更新中:
更新完成再次輸入 "brew --version" 查看版本:
I'm a Microsoft MVP - Developer Technologies (From 2015 ~).
I focus on the following topics: Xamarin Technology, Azure, Mobile DevOps, and Microsoft EM+S.
If you want to know more about them, welcome to my website:
https://jamestsai.tw
本部落格文章之圖片相關後製處理皆透過 Techsmith 公司 所贊助其授權使用之 "Snagit" 與 "Snagit Editor" 軟體製作。