在 AI 流行起來後,CLI (Command Line Interface) 又躍升為比較主流的操作方式,所以如果只能在 IDE 當中操作 GitHub Copilot 就似乎稍嫌不足。
GitHub Copliot CLI 的安裝當然也就要介紹一下囉!
在 GitHub Copilot 的官網上當然有 CLI 的安裝相關介紹。
這邊就參考其介紹,同時安裝 Windows / macOS 的 GitHub Copilot CLI 來看看囉!
若要按照本篇的介紹進行安裝,請先滿足以下條件:
Windows 環境:先安裝好 winget。
macOS 環境:先安裝好 brew。
在 Windows 10 (version: 1809) 之後,內建 winget。詳見 Microsoft Learn 官網。
macOS 安裝 brew 的介紹可參考此篇:"在 macOS 中使用 GStreamer - 安裝 Homebrew (或稱 brew)"
開啟 命令提示字元 / 終端機:
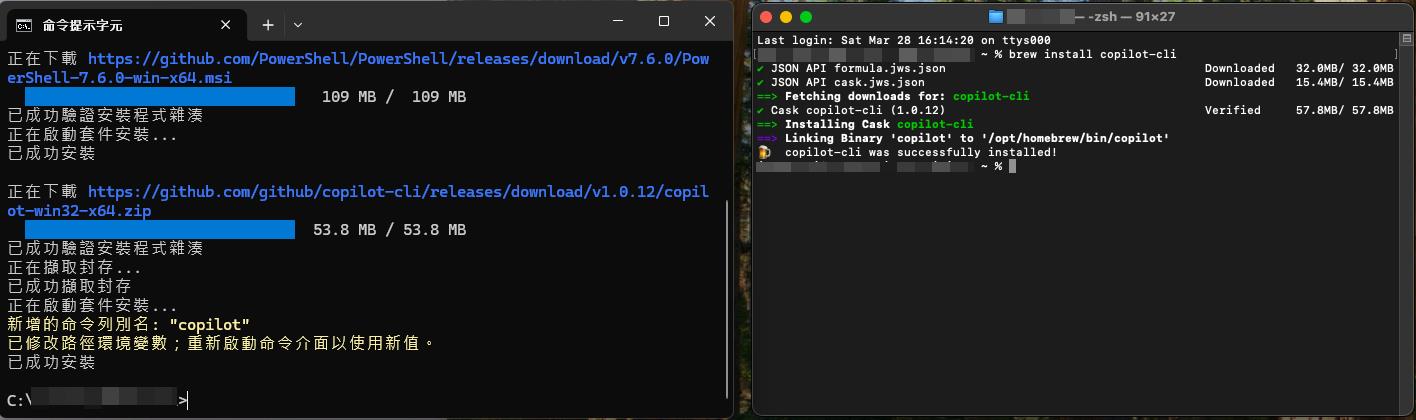
Windows 輸入 "winget install GitHub.Copilot"。
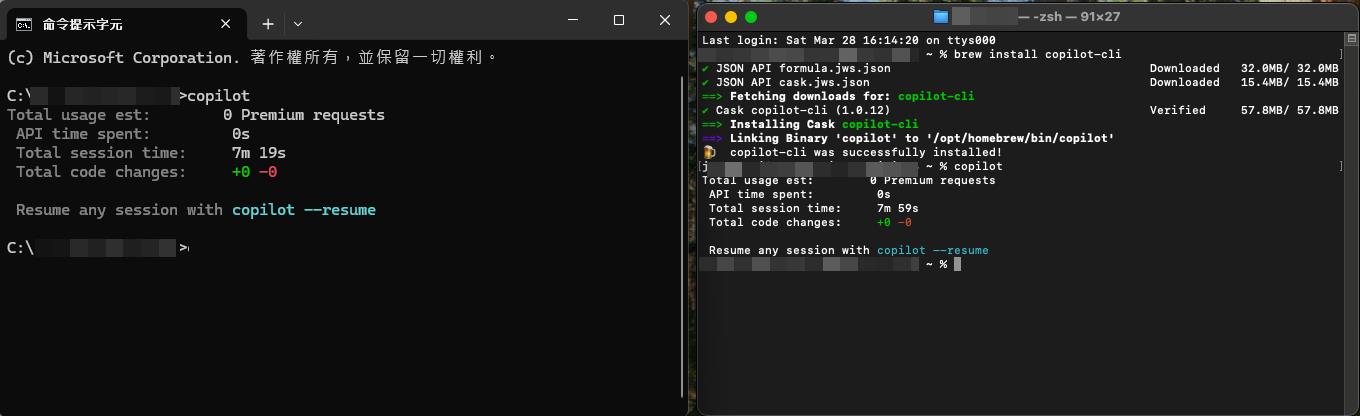
macOS 輸入 "brew install copilot-cli"。

應該正常來講就會很順利的安裝完畢:
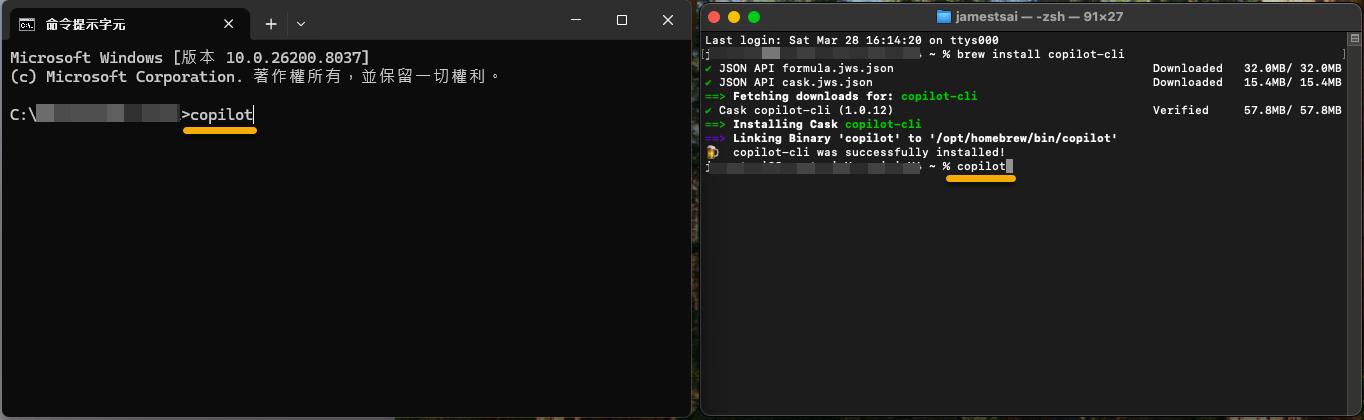
接著輸入 "copilot":
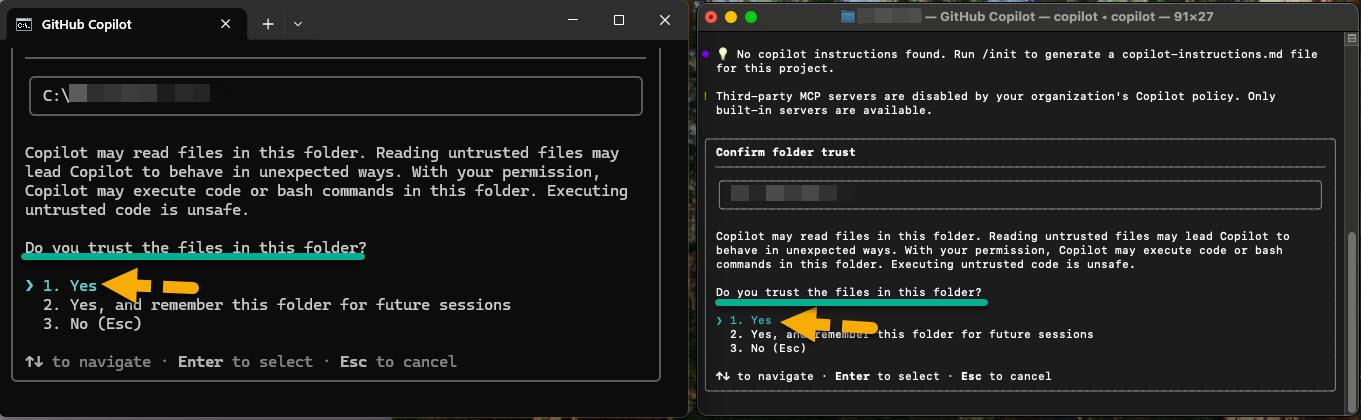
確認當前的資料夾是可以被信任的話,就直接選擇 "Yes":
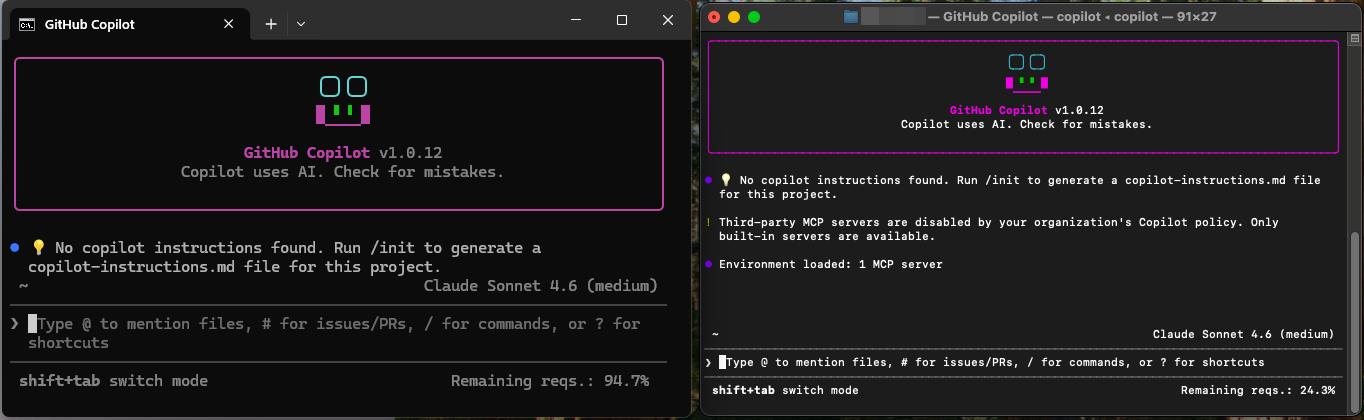
登愣~~~
GitHub Copilot CLI 現身:

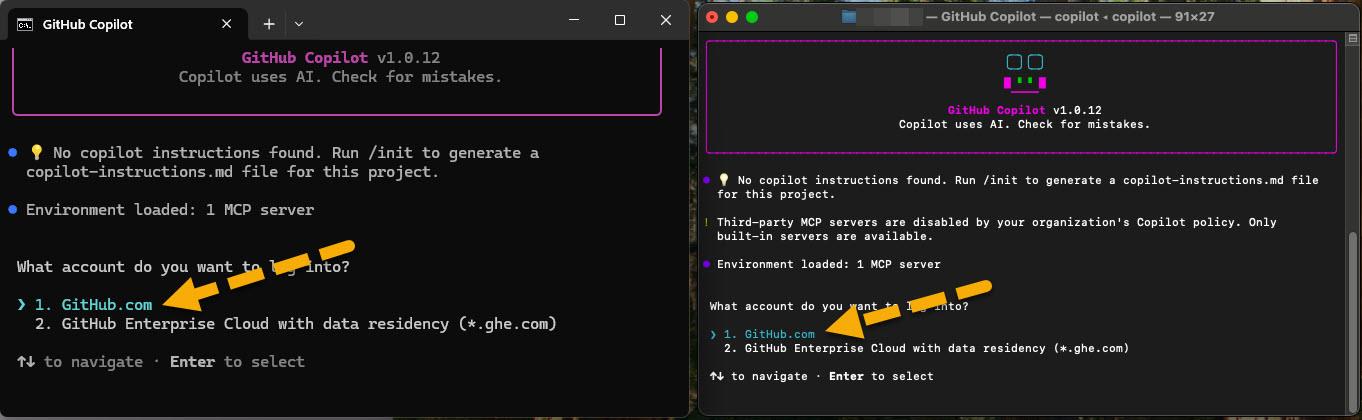
如果還沒有登入過 GitHub Account 的話,那就會需要進行 "/login":

除非你有特殊的 GitHub Enterprise Cloud 不然應該都是選擇 "GitHub.com" 來進行登入:
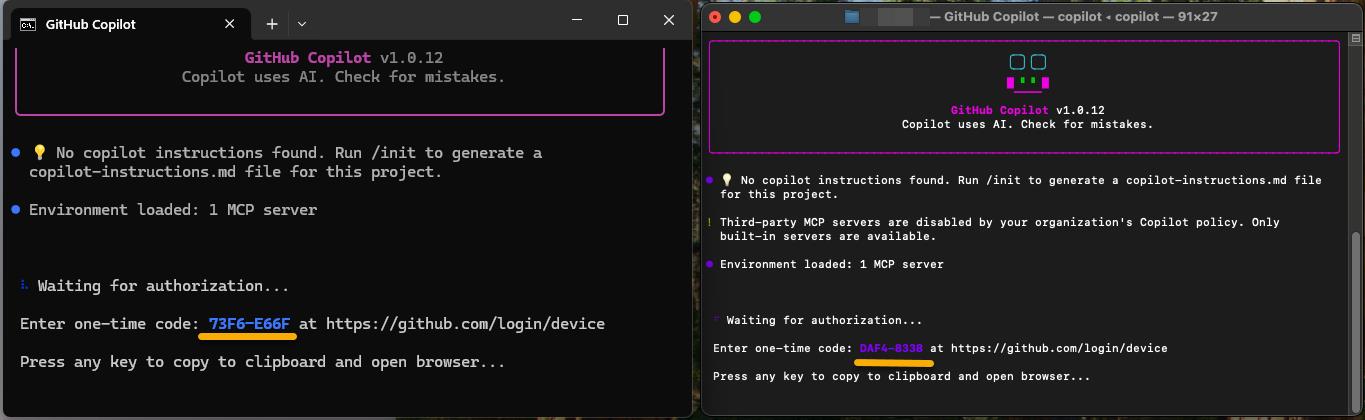
出現 Device "one-time code":
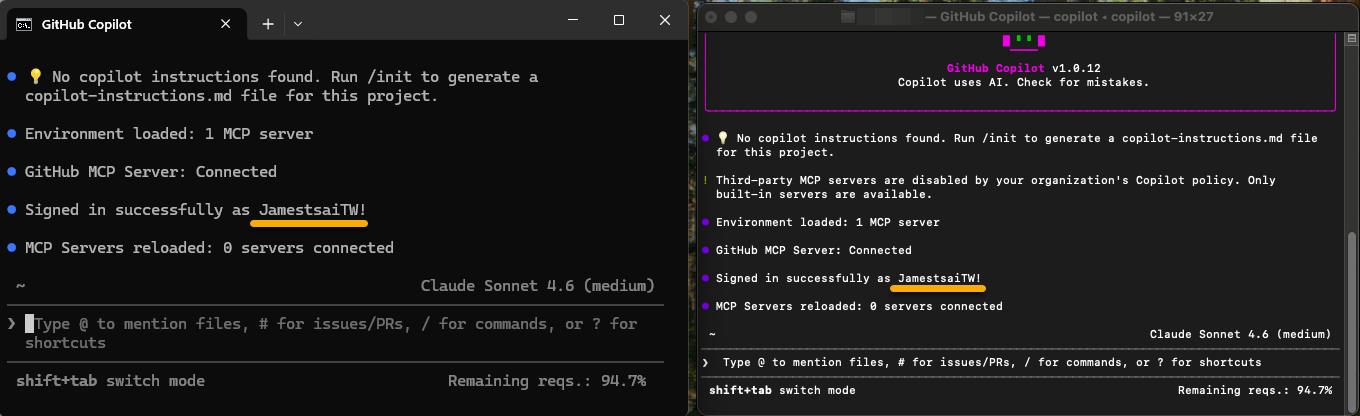
認證完成後,等待同步一下 GitHub Copilot CLI 會顯示登入成功:
離開 GitHub Copilot CLI,請輸入 "/exit" 或 "/quit":
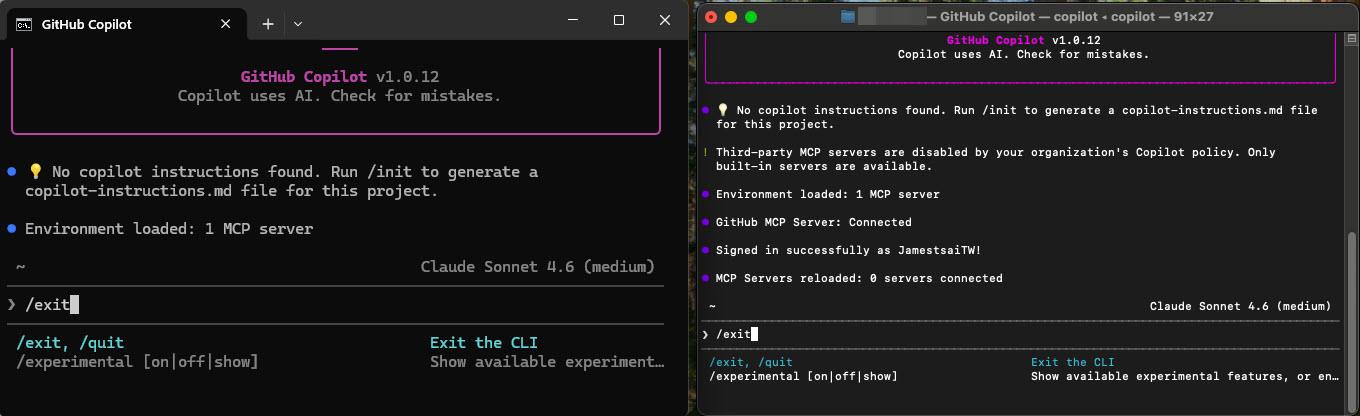
退出 "GitHub Copilot CLI" 回到原本的 "命令提示字元 / 終端機" 模式中:
I'm a Microsoft MVP - Developer Technologies (From 2015 ~).
I focus on the following topics: Xamarin Technology, Azure, Mobile DevOps, and Microsoft EM+S.
If you want to know more about them, welcome to my website:
https://jamestsai.tw
本部落格文章之圖片相關後製處理皆透過 Techsmith 公司 所贊助其授權使用之 "Snagit" 與 "Snagit Editor" 軟體製作。