在前篇文章中[Azure] [Xamarin] 使用Xamarin.Forms達成Azure AD的帳號驗證
說明了如何透過Xamarin撰寫登入Azure AD進行帳號驗證的動作,這篇文章則是說明以Cordova的方式進行Azure AD帳號登入驗證
使用Cordova進行Azure AD帳號的驗證功能實作起來並不難,當然在Azure AD上也要進行一些設定才行
首先,我們在Azure AD的服務中,進入至[應用程式]的設定,並在下方點選[加入]的按鈕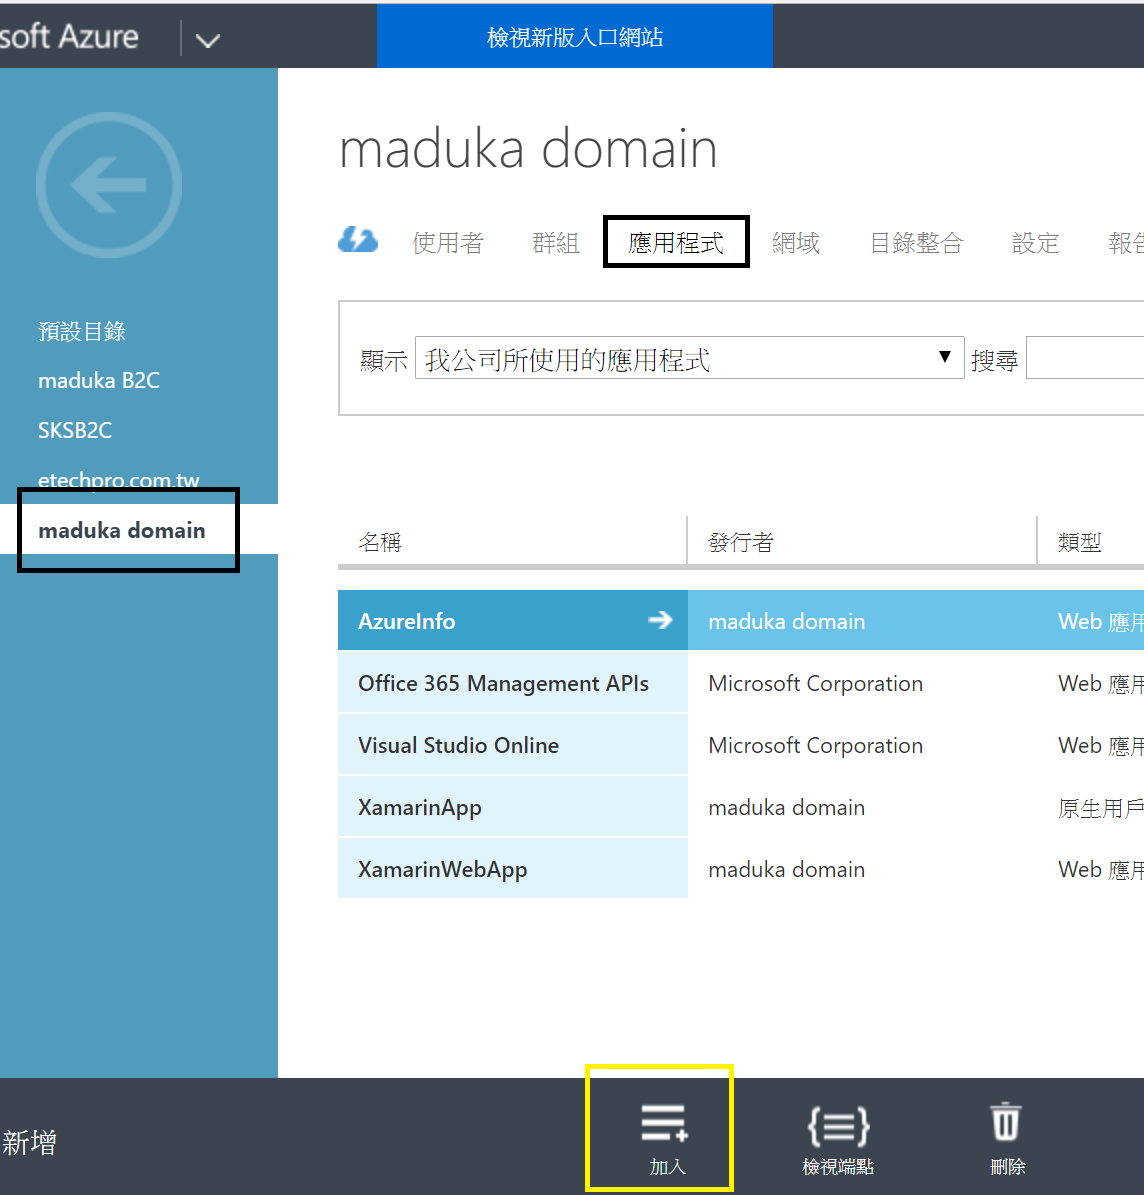
接著選擇[加入我的組織正在開發的應用程式]
在應用程式的設定頁面中,輸入應用程式的名稱,並選擇[原生用戶端應用程式]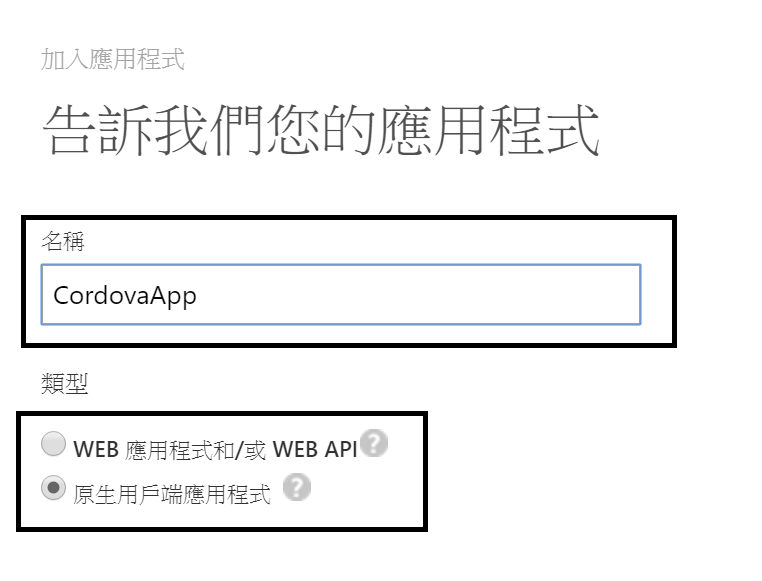
[重新導向URI]的部份,可以隨意輸入一個URL,但是請將這個URL記下來,等下在程式中會用到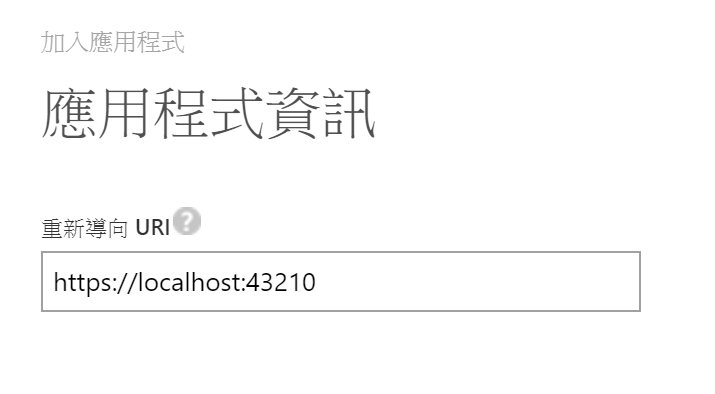
應用程式建立完成後,進入到該應用程式的設定畫面中,並將用戶端識別碼[Client Id]記下,這個等下也會用在程式中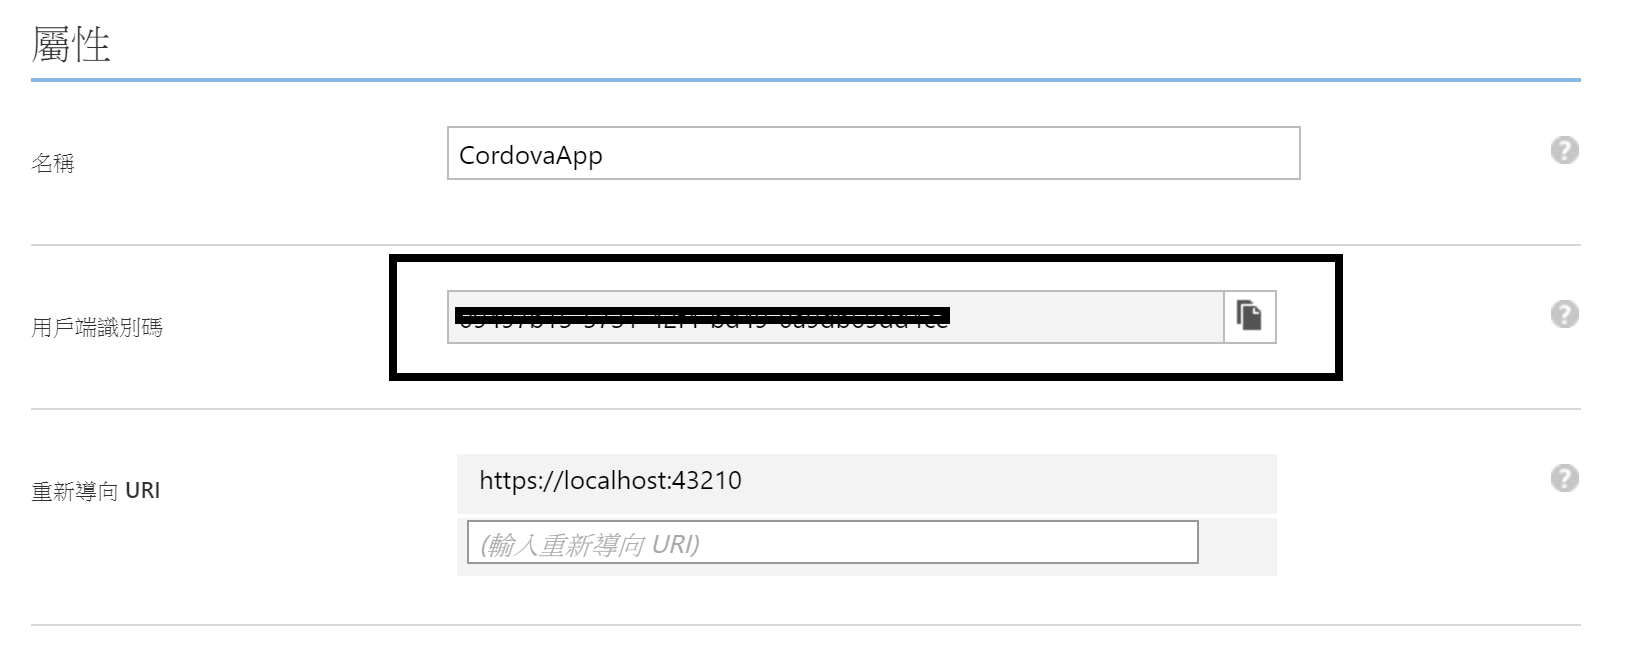
接著回到Visual Studio中,建立一個新的Apache Cordova Apps應用程式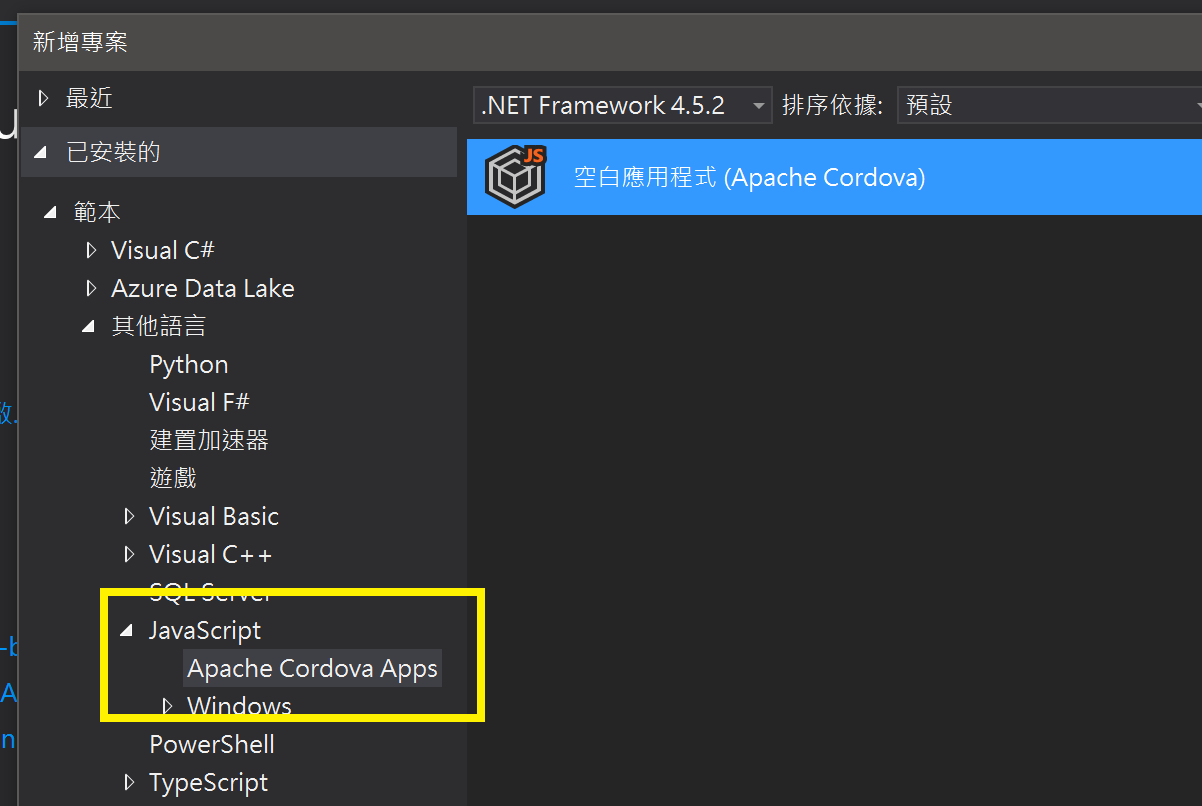
建立完成後,點選專案中的config.xml,開啟專案設定畫面,並切換至[外掛程式],然後將名為[ADAL for Cordova]的套件進行安裝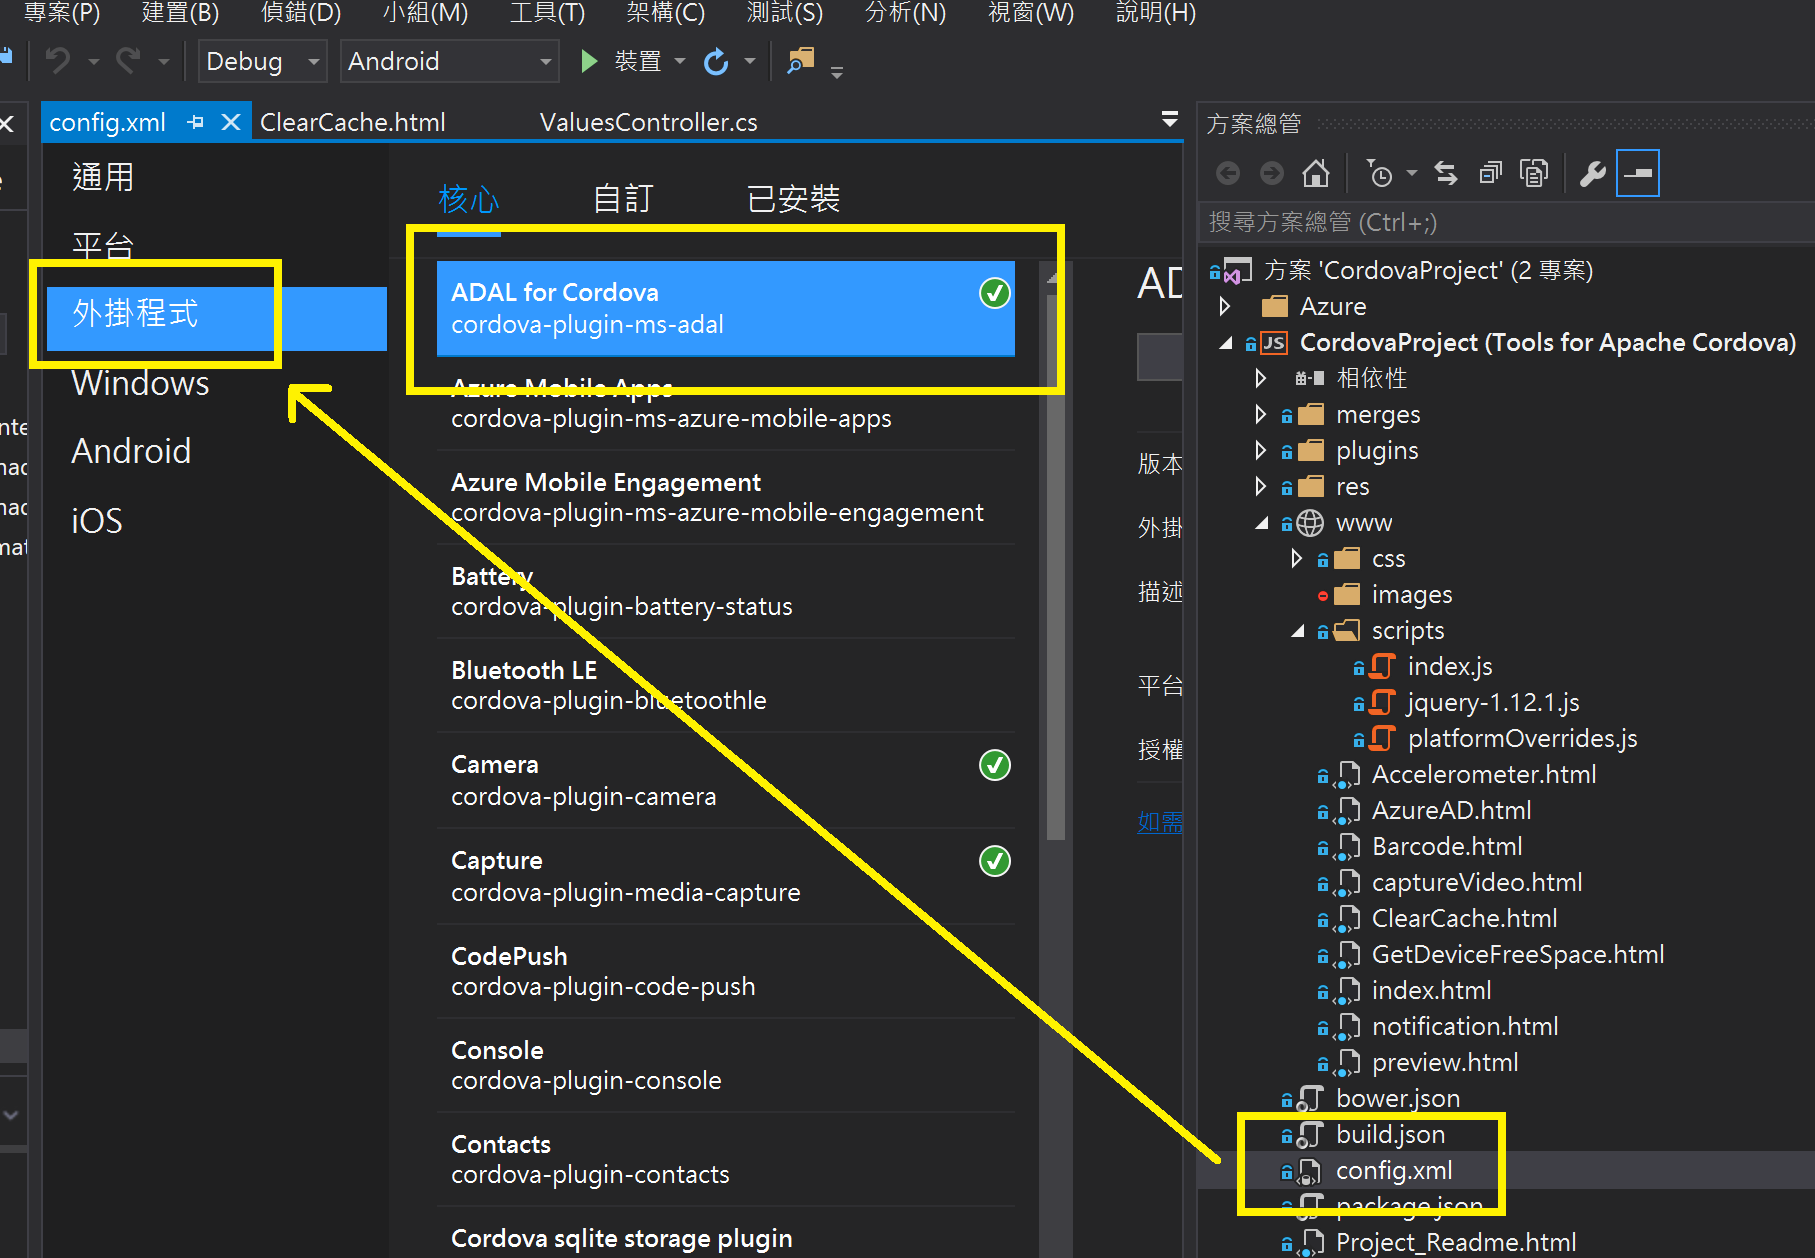
https://github.com/jospete/azure-activedirectory-library-for-cordova
安裝完成後,在www目錄下建立一個AzureAD.html檔案
將下面的html內容放入到該檔案中
<!-- jquery套件請依據實際版本進行參考,請一定要引用,不引用會無法完成功能的建立-->
<script src="scripts/jquery-1.12.1.js"></script>

<div>
    <p><button id="btnEntLogin" onclick="javascript: funEntLogin(funLoginSuccess, funLoginFail);">Enterprise AAD Login</button></p>
    <p><button id="btnLogout" onclick="javascript: funLogout();">Logout</button></p>
</div>
<div>
    userInfo.userId:<span id="spanObjectId"></span><br />
    userInfo.displayableId:<span id="spandisplayableId"></span><br />
    userInfo.uniqueId:<span id="spanuniqueId"></span><br />
    expiresOn:<span id="spanexpiresOn"></span><br />
    statusCode:<span id="spanstatusCode"></span><br />
    accessToken:<span id="spanToken"></span><br />
</div>
這段html主要是放入一個登入按鈕與登出按鈕,以及登入後顯示登入帳號資訊的網頁物件,其中jquery的套件請一定要引用
接著將下面的Javascript放入js檔或是html檔中
var authority = "https://login.windows.net/common";
var resourceUri = "https://graph.windows.net";
var clientId = "[在這裡填上Client Id]";
var redirectUri = "[在這裡填上Redirect Uri]";
var graphApiVersion = "2013-11-08";

// Shows user authentication dialog if required
function funEntLogin(authCompletedCallback, errorCallback) {
    var authContext = new Microsoft.ADAL.AuthenticationContext(authority);
    authContext.tokenCache.readItems().then(function (items) {
        if (items.length > 0) {
            authority = items[0].authority;
            authContext = new Microsoft.ADAL.AuthenticationContext(authority);
        }

        // 先於背景方式取得Token,若是失敗則開啟UI畫面
        authContext.acquireTokenSilentAsync(resourceUri, clientId)
        .then(authCompletedCallback, function () {
            // 透過對話的UI介面進行登入與取得Token
            authContext.acquireTokenAsync(resourceUri, clientId, redirectUri)
            .then(authCompletedCallback, errorCallback);
        });
    });
};

function funLoginSuccess(authResponse) {
    // 變更畫面上的資訊
    document.getElementById("spanObjectId").innerText = authResponse.userInfo.userId;
    document.getElementById("spandisplayableId").innerText = authResponse.userInfo.displayableId;
    document.getElementById("spanuniqueId").innerText = authResponse.userInfo.uniqueId;

    document.getElementById("spanexpiresOn").innerText = authResponse.expiresOn;
    document.getElementById("spanstatusCode").innerText = authResponse.statusCode;
    document.getElementById("spanToken").innerText = authResponse.accessToken;

    // 呼叫REST API,從Graph API上取得AAD中登入帳號完整的資訊
    var strUrl = "https://graph.windows.net/me?api-version=1.6";
    funCallAPI(strUrl, authResponse.accessToken);

    console.log("Token acquired: " + authResponse.accessToken);
    console.log("Token will expire on: " + authResponse.expiresOn);
    console.log("object: " + JSON.stringify(authResponse));
}

function funLoginFail(err) {
    alert("Failed to authenticate: " + err);
    console.log("Failed to authenticate: " + err);
}

function funCallAPI(strUrl, strToken) {
    $.ajax({
        url: strUrl,
        type: 'GET',
        beforeSend: function (xhr) {
            xhr.setRequestHeader("Authorization", "BEARER " + strToken);
        },
        success: function (data) {
            // data的內容就是完整的Azure AD帳號資訊
            console.log(data);
        },
        error: function (data, errorThrown) {
            console.log(data);
            console.log(errorThrown);
            alert(3);
        }
    });
}

function funLogout() {
    var authContext = new Microsoft.ADAL.AuthenticationContext("https://login.windows.net/common");
    authContext.tokenCache.clear();
}
在這段Script的內容裡,最一開始的地方宣告了登入Azure AD所需要的資料,[Client Id]以及[重新導向URI]就放在這裡進行字串的更換,在funEntLogin的動作中,則是會進行Azure AD登入的動作,當登入完成後,則會進入到funLoginSuccess的副程式中,將取得的登入者資訊放入到頁面上
而funCallAPI則是透過Graph API,傳入登入者的Token,並取得在Azure AD上完整的帳號資訊,包含組織內容以及mail信箱等等的內容
這是點選登入動作時顯示的畫面內容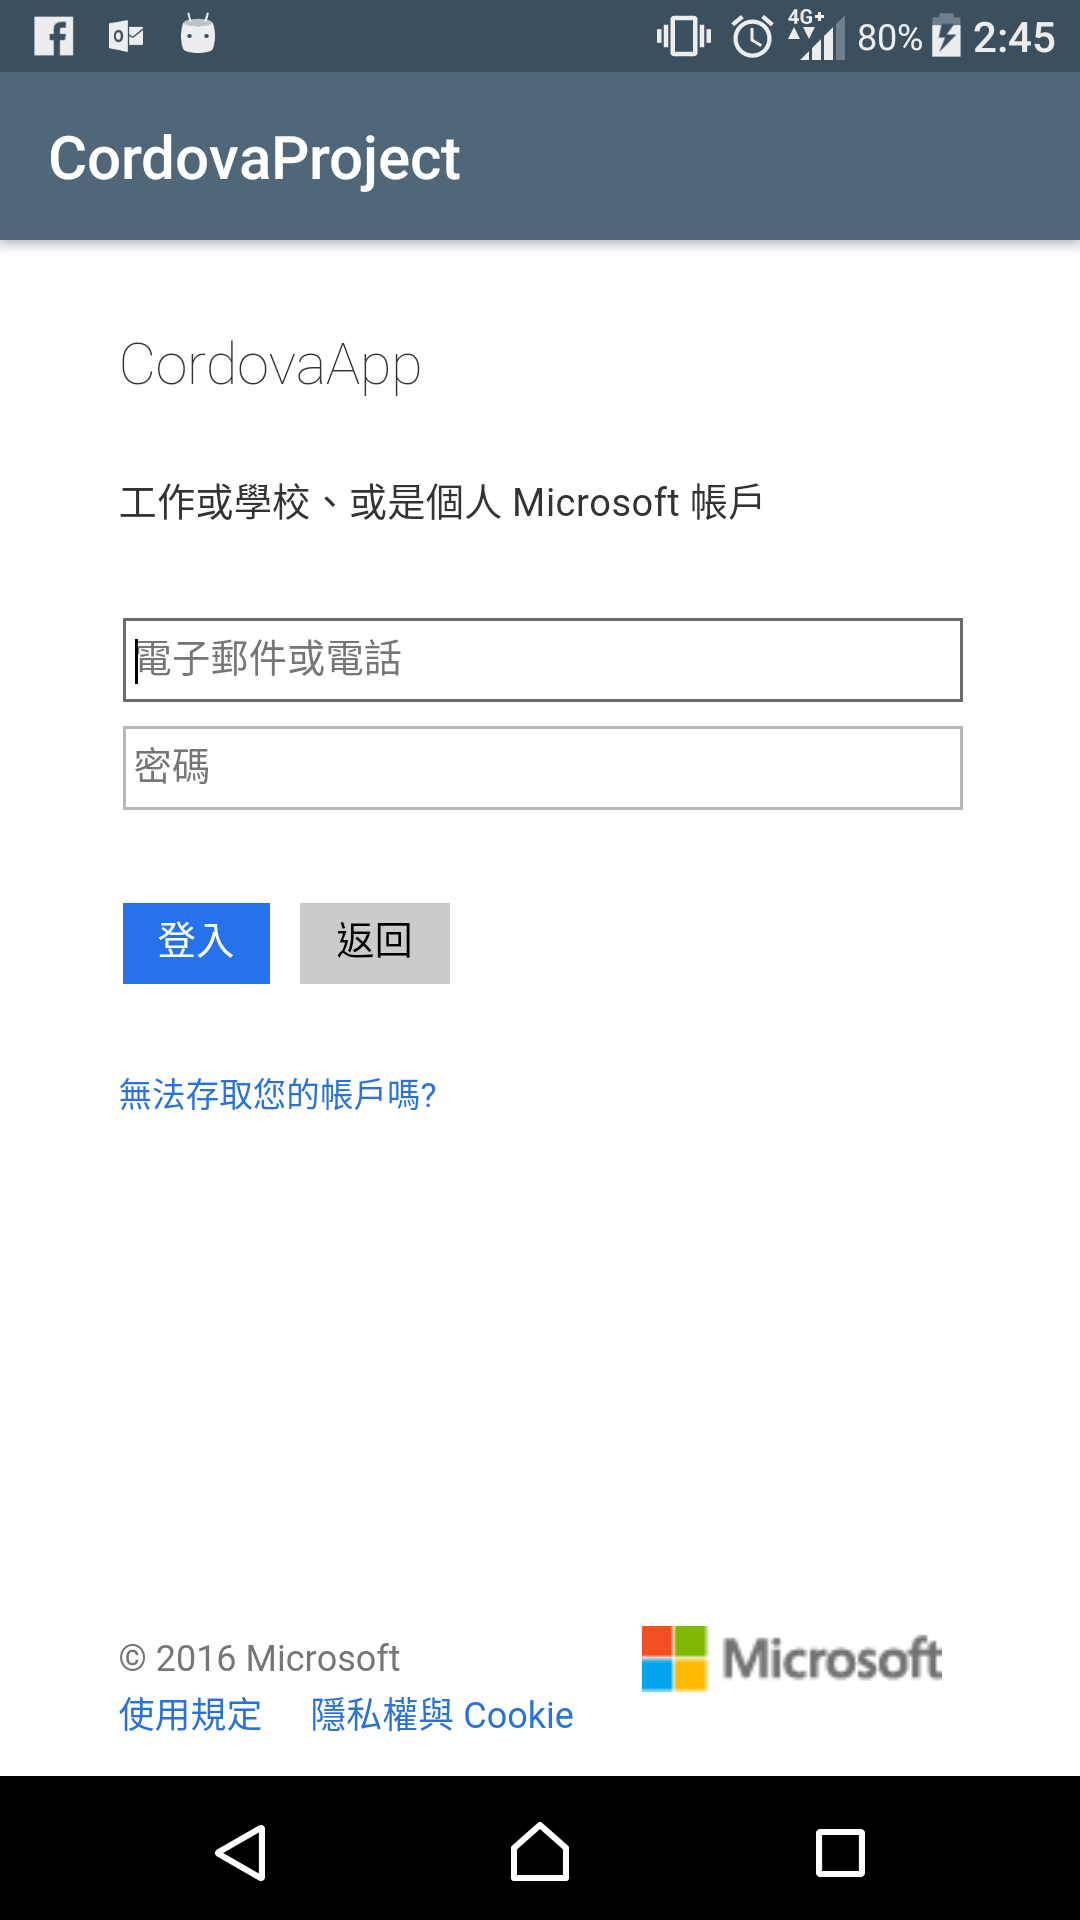
當登入完成後,會顯示這個帳號的資訊在畫面上,當然要作後續的運用也可以直接取用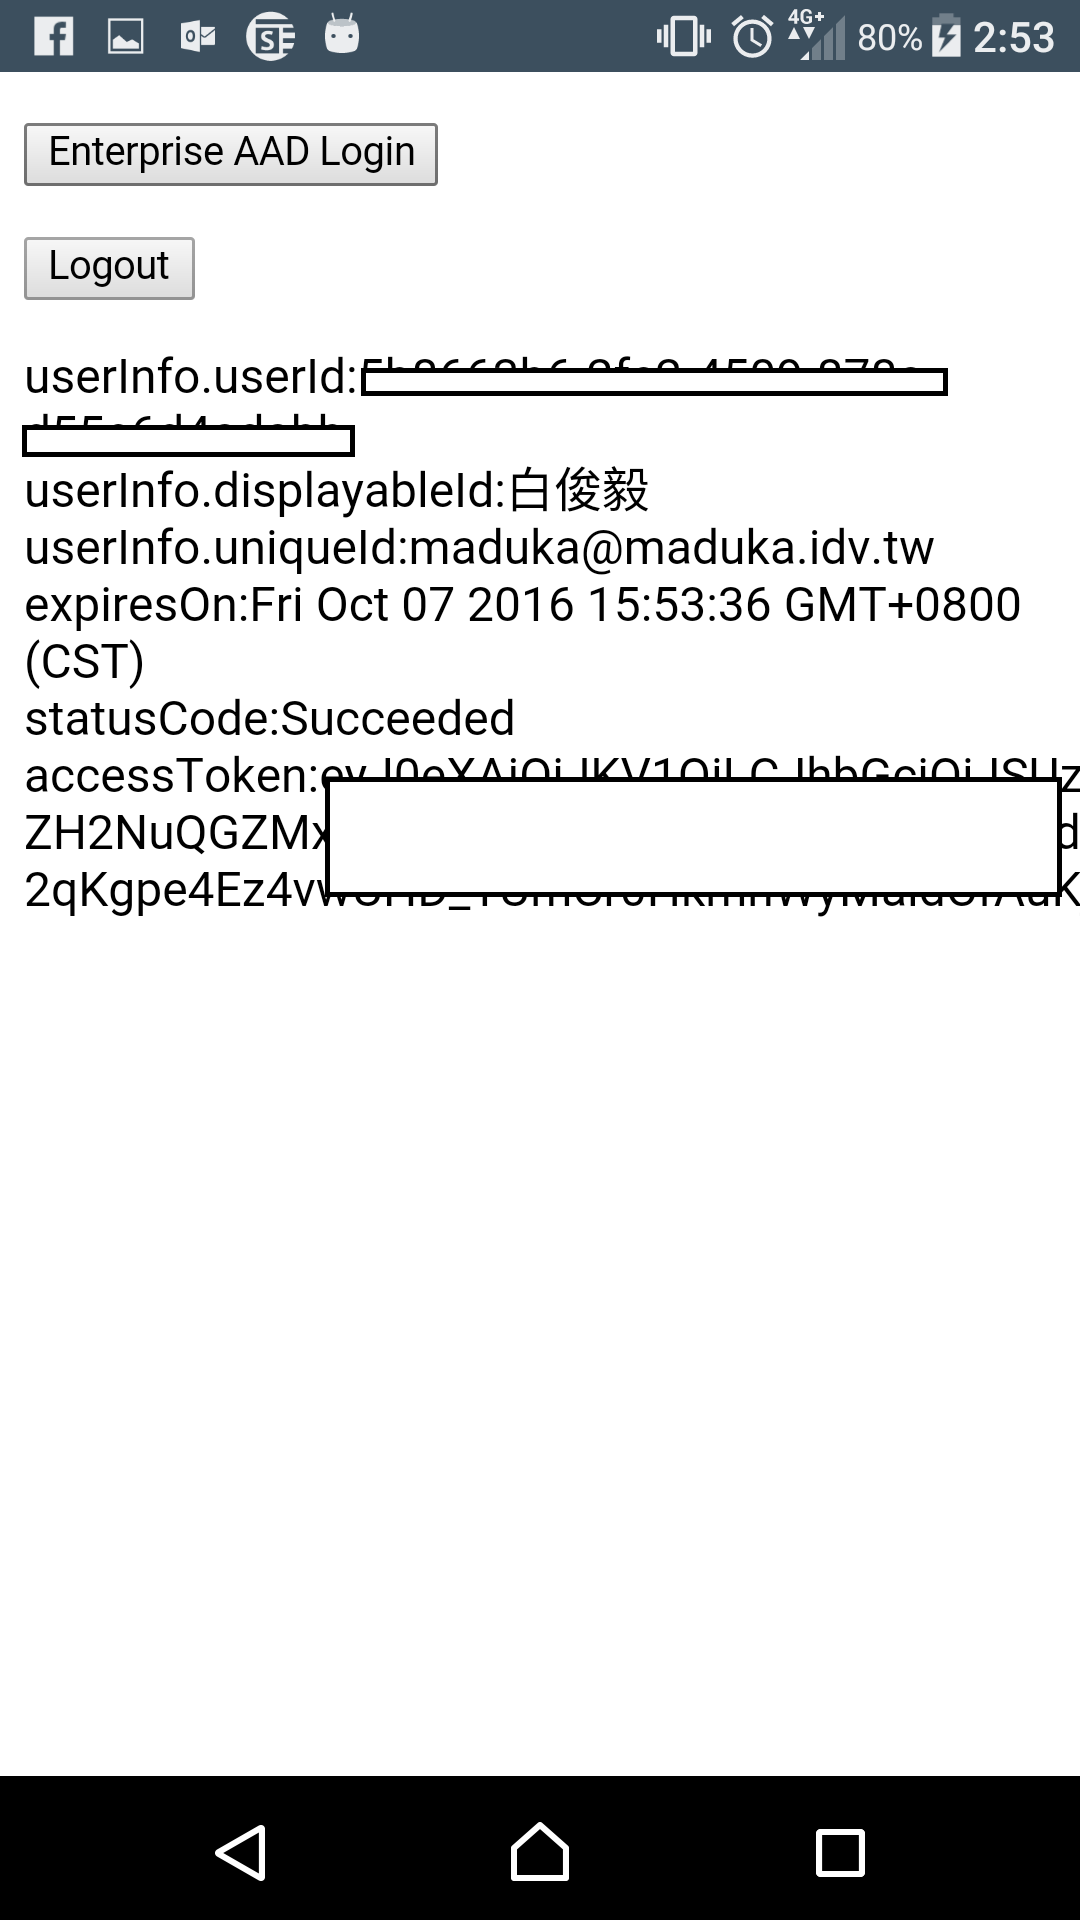
除了Xamarin外,現在也可以透過Cordova登入Azure AD進行帳號驗證的動作了,讓跨平台開發的人可以有多一個更好的選擇與運用
參考資料:
整合 Azure AD 與 Apache Cordova 應用程式
Get the signed-in user
https://github.com/jospete/azure-activedirectory-library-for-cordova
https://github.com/AzureAD/azure-activedirectory-library-for-cordova