Xamarin自從被微軟收購後,慢慢成為了跨平台開發的主力
而Azure AD則是扮演了企業內進行帳號驗證的主要服務提供角色
在本文章中,會說明如何使用Xamarin.Forms的開發架構,完成App進行Azure AD的帳號驗證動作
若是有Cordova登入Azure AD的需求,可以參考這篇[Azure] [Cordova] 使用Cordova達成Azure AD的帳號驗證
在文章開始之前,若是有需要進行本地端AD與Azure AD進行同步的工作,可以參考下面的文章進行實作
[Azure] 同步本地端AD與Azure AD的帳號與群組資訊
要達成手機App進行Azure AD的帳號驗證動作很容易,依照下面步驟就可以很快的作出來
首先,我們在Azure AD的服務中,進入至[應用程式]的設定,並在下方點選[加入]的按鈕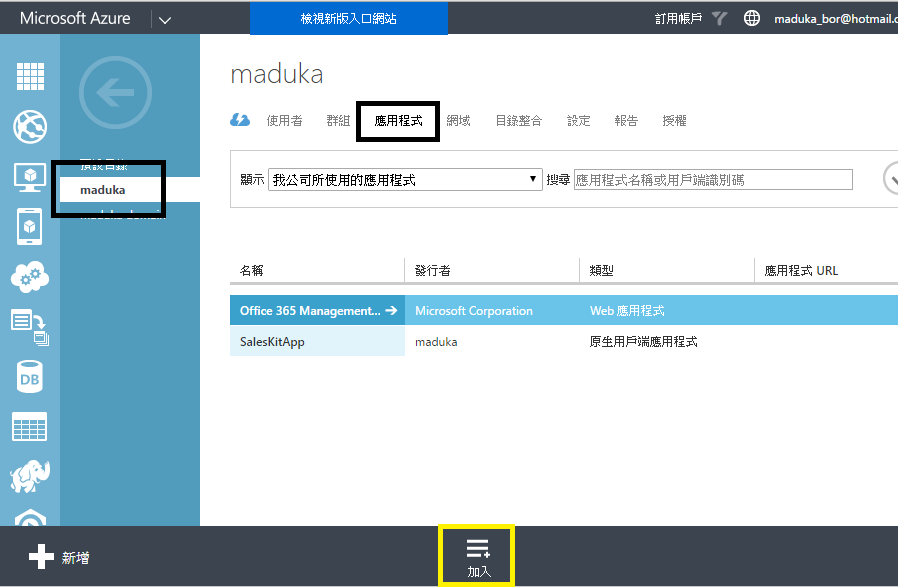
接著選擇[加入我的組織正在開發的應用程式]
在應用程式的設定頁面中,輸入應用程式的名稱,並選擇[原生用戶端應用程式]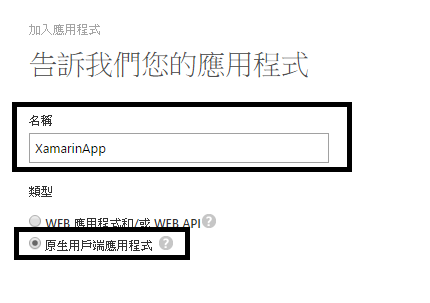
重新導向URI的部份,可以隨意輸入一個URL,但是請將這個URL記下來,等下在程式中會用到,我在這裡先輸入的是http://xamarinapp.url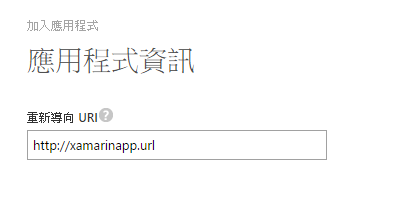
應用程式建立完成後,進入到該應用程式的設定畫面中,並將用戶端識別碼記下,這個等下也會用在程式中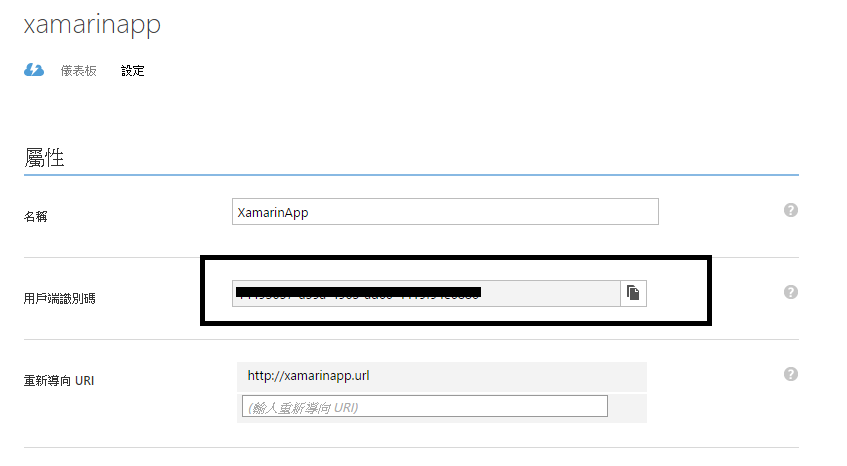
接著回到Visual Studio中,建立一個新的跨平台應用程式,並採用[Cross-Platform],再選擇[Xamarin.Forms Portable]的專案格式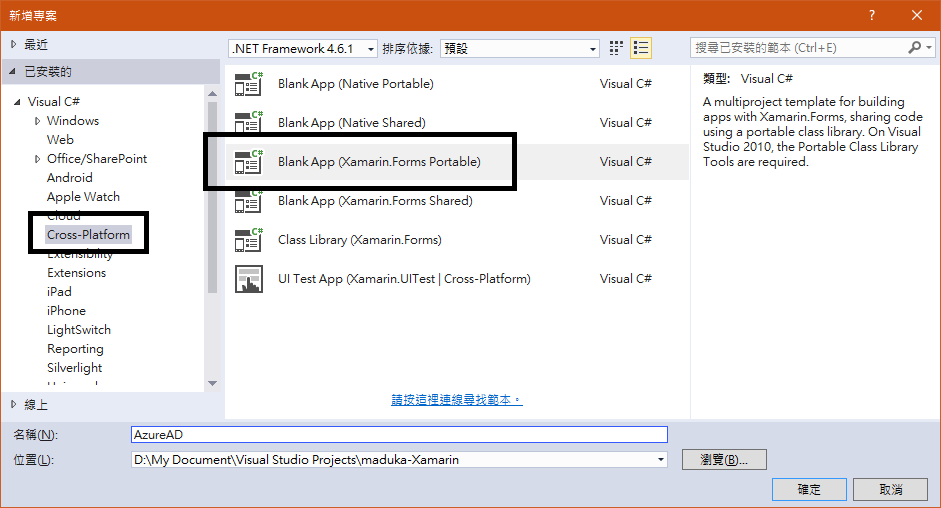
專案建立完成後,請在(可攜式)的專案,也就是共用類別庫(PCL)的專案中,打開Nuget套封裝管理員,並加入[Microsoft.IdentityModel.Clients.ActiveDirectory]這個套件,請把[包括搶鮮版]打勾,不然無法找到相對應的版本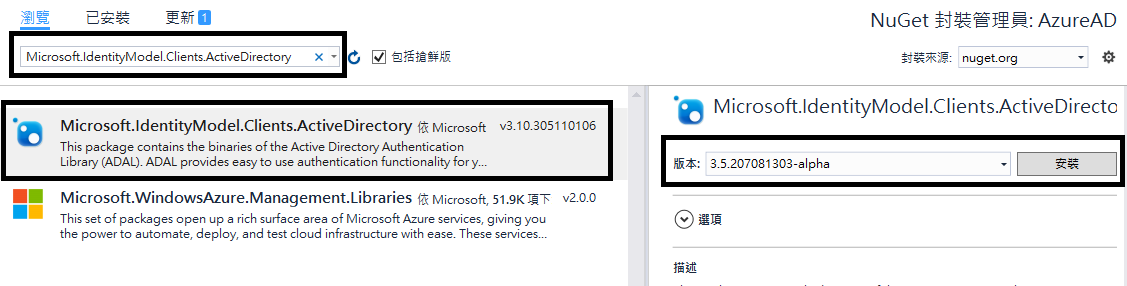
接著建立一個Services的資料夾,然後在下方加入一個IAuthenticator.cs的類別庫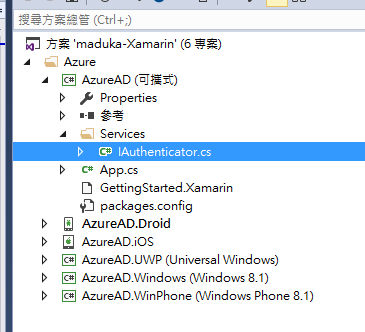
在IAuthenticator.cs類別庫中加入下方程式碼
using Microsoft.IdentityModel.Clients.ActiveDirectory;
public interface IAuthenticator
{
    Task<AuthenticationResult> Authenticate(string authority, string resource, string clientId, string returnUri);

    void Logout(string authority);
}
這段程式碼主要的目的在建立一個Interface,以後其他平台的程式碼繼承該介面並方便實作
接著打開Droid的專案,一樣加入[Microsoft.IdentityModel.Clients.ActiveDirectory]這個套件,並在專案中加入一個Services的資料夾與加入一個AuthenticatorService.cs的類別庫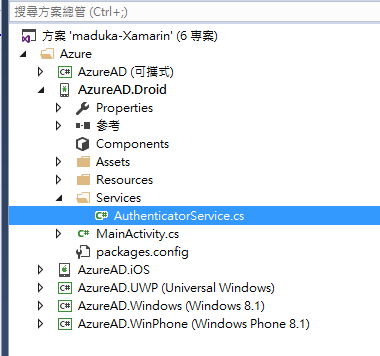
在AuthenticatorService.cs的類別庫中,加入下方的程式碼
using Xamarin.Forms;
using AzureAD.Services;
using System.Threading.Tasks;
using Microsoft.IdentityModel.Clients.ActiveDirectory;

[assembly: Dependency(typeof(AzureAD.Droid.Services.AuthenticatorService))]
namespace AzureAD.Droid.Services
{
    class AuthenticatorService : IAuthenticator
    {
        public async Task<AuthenticationResult> Authenticate(string authority, string resource, string clientId, string returnUri)
        {
            var authContext = new AuthenticationContext(authority);
            if (authContext.TokenCache.ReadItems().Any())
                authContext = new AuthenticationContext(authContext.TokenCache.ReadItems().First().Authority);

            var uri = new Uri(returnUri);
            var platformParams = new PlatformParameters((Activity)Forms.Context);
            var authResult = await authContext.AcquireTokenAsync(resource, clientId, uri, platformParams);
            return authResult;

        }

        public void Logout(string authority)
        {
            var authContext = new AuthenticationContext(authority);
            authContext.TokenCache.Clear();
        }
    }
}
在Droid專案根目錄裡,MainActivity.cs程式碼中,加上下面的程式內容
using Microsoft.IdentityModel.Clients.ActiveDirectory;
using Android.Content;

protected override void OnActivityResult(int requestCode, Result resultCode, Intent data)
{
    base.OnActivityResult(requestCode, resultCode, data);
    AuthenticationAgentContinuationHelper.SetAuthenticationAgentContinuationEventArgs(requestCode, resultCode, data);
}
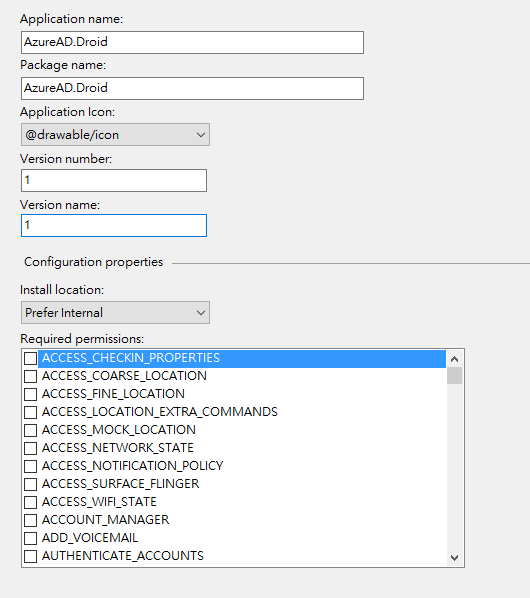
接著在Droid專案上點選右鍵,選擇屬性,進入專案的屬性頁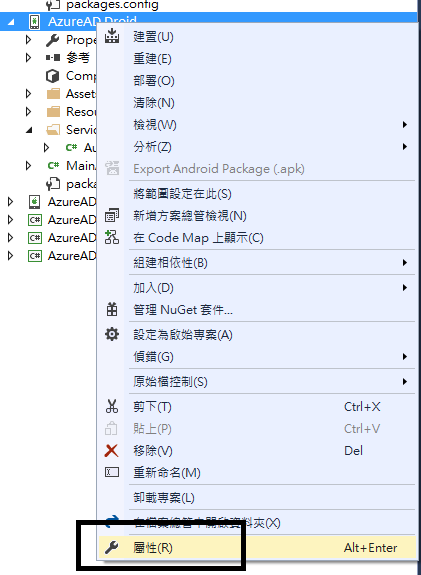
在[Android Minifest] => [Required permissions]的項目中,勾選三個項目,分別是
GET_ACCOUNTS
MANAGE_ACCOUNTS
USE_CREDENTIALS
而在iOS的專案也一樣作相同的動作,加入Nuget套件以及類別庫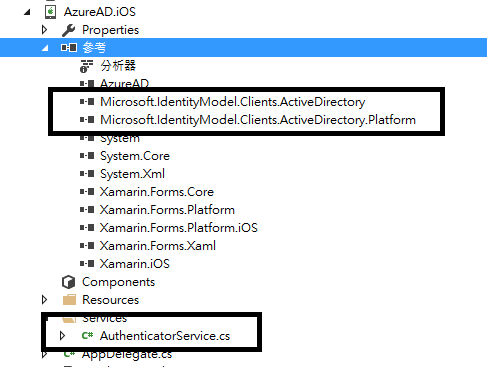
類別庫中的程式碼,請加入下方內容,Namespace的部份一樣請注意需要進行修改以符合當下專案環境
using SalesKitApp.Services;
using Foundation;
using Microsoft.IdentityModel.Clients.ActiveDirectory;
using UIKit;
using Xamarin.Forms;
using System.Linq;

[assembly: Dependency(typeof(SalesKitApp.iOS.Services.AuthenticatorService))]
namespace SalesKitApp.iOS.Services
{
    class AuthenticatorService : IAuthenticator
    {
        public async Task<AuthenticationResult> Authenticate(string authority, string resource, string clientId, string returnUri)
        {
            var authContext = new AuthenticationContext(authority);
            if (authContext.TokenCache.ReadItems().Any())
                authContext = new AuthenticationContext(authContext.TokenCache.ReadItems().First().Authority);

            var controller = UIApplication.SharedApplication.KeyWindow.RootViewController;
            var uri = new Uri(returnUri);
            var platformParams = new PlatformParameters(controller);
            var authResult = await authContext.AcquireTokenAsync(resource, clientId, uri, platformParams);
            return authResult;
        }

        public void Logout(string authority)
        {
            var authContext = new AuthenticationContext(authority);
            authContext.TokenCache.Clear();
        }
    }
}
這樣Andriod與iOS的環境基本上都已經準備好了,接著回到(可攜式)PCL專案中,打開App.cs檔,並加入下方內容
Label lblLoginName = new Label();
Button btnLogin = new Button() { Text = "登入", };
Button btnLogout = new Button() { Text = "登出", IsVisible = false };

public static string clientId = "[在這裡填上用戶端識別碼]";
public static string returnUri = "[在這裡填上重新導向URI]";

public static string authority = "https://login.windows.net/common";
private const string graphResourceUri = "https://graph.windows.net";
public static string graphApiVersion = "2013-11-08";
private AuthenticationResult authResult = null;

IAuthenticator iAuth = DependencyService.Get<IAuthenticator>();

public App()
{
    // The root page of your application
    MainPage = new ContentPage
    {
        Content = new StackLayout
        {
            VerticalOptions = LayoutOptions.Center,
            Children =
            {
                lblLoginName,
                btnLogin,
                btnLogout
            }
        }
    };

    btnLogin.Clicked += BtnLogin_Clicked;
    btnLogout.Clicked += BtnLogout_Clicked;
}

/// <summary>
/// 點選登出的動作
/// </summary>
/// <param name="sender"></param>
/// <param name="e"></param>
private void BtnLogout_Clicked(object sender, EventArgs e)
{
    iAuth.Logout(authority);
    lblLoginName.Text = "";
}

/// <summary>
/// 點選登入的動作
/// </summary>
/// <param name="sender"></param>
/// <param name="e"></param>
private async void BtnLogin_Clicked(object sender, EventArgs e)
{
    var data = await iAuth.Authenticate(authority, graphResourceUri, clientId, returnUri);
    var userName = data.UserInfo.GivenName + " " + data.UserInfo.FamilyName;
    await MainPage.DisplayAlert("Token", userName, "Ok", "Cancel");
    lblLoginName.Text = userName;
    btnLogout.IsVisible = true;
}
其中需要修改的部份,就是[clientId]以及[returnUrl]的兩個字串,將剛剛在Azure AD上記下來的字串填入至程式碼之中
執行的結果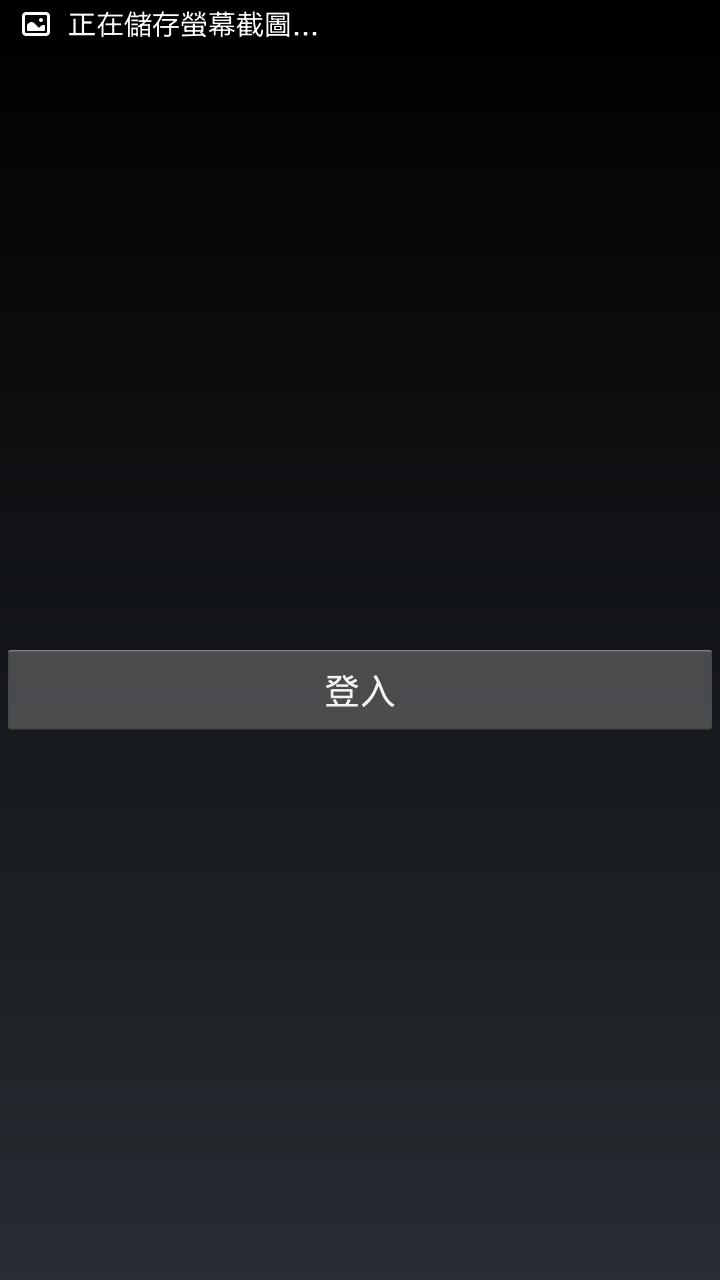
點選登入後,會跳至Azure AD的登入頁,App的名稱也會顯示在畫面上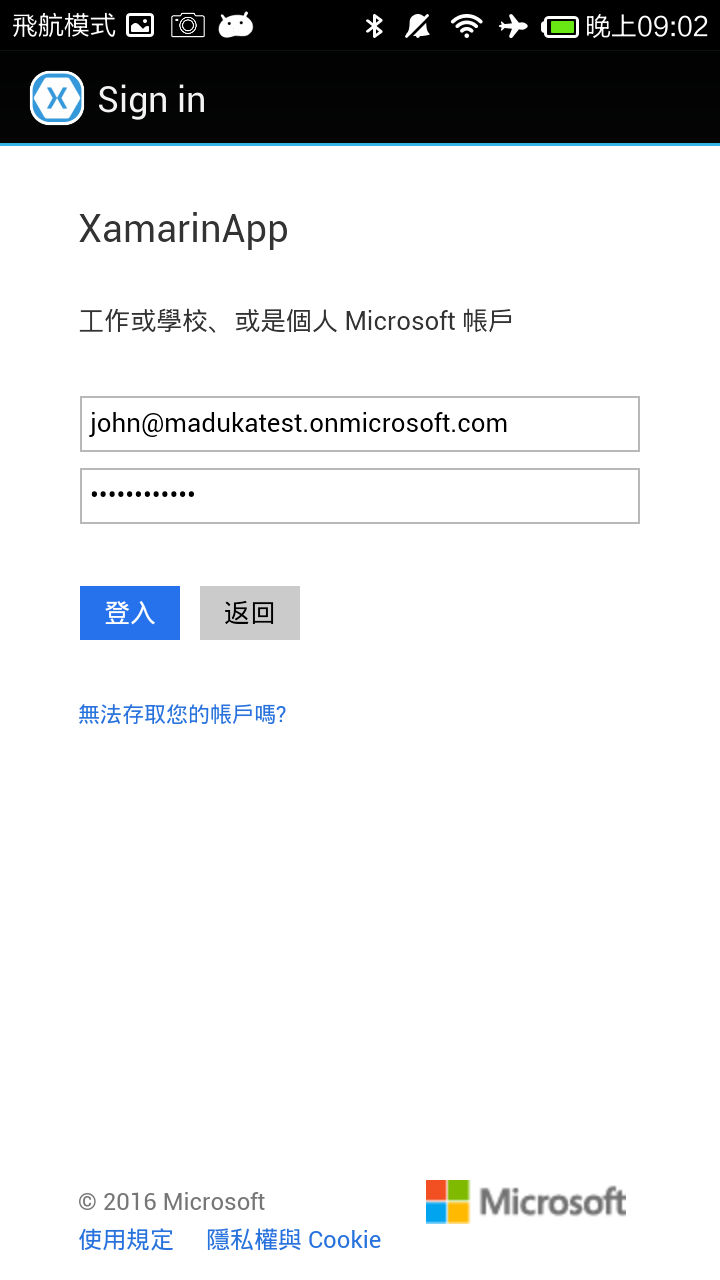
登入完成後,可以從App端取得登入者的Token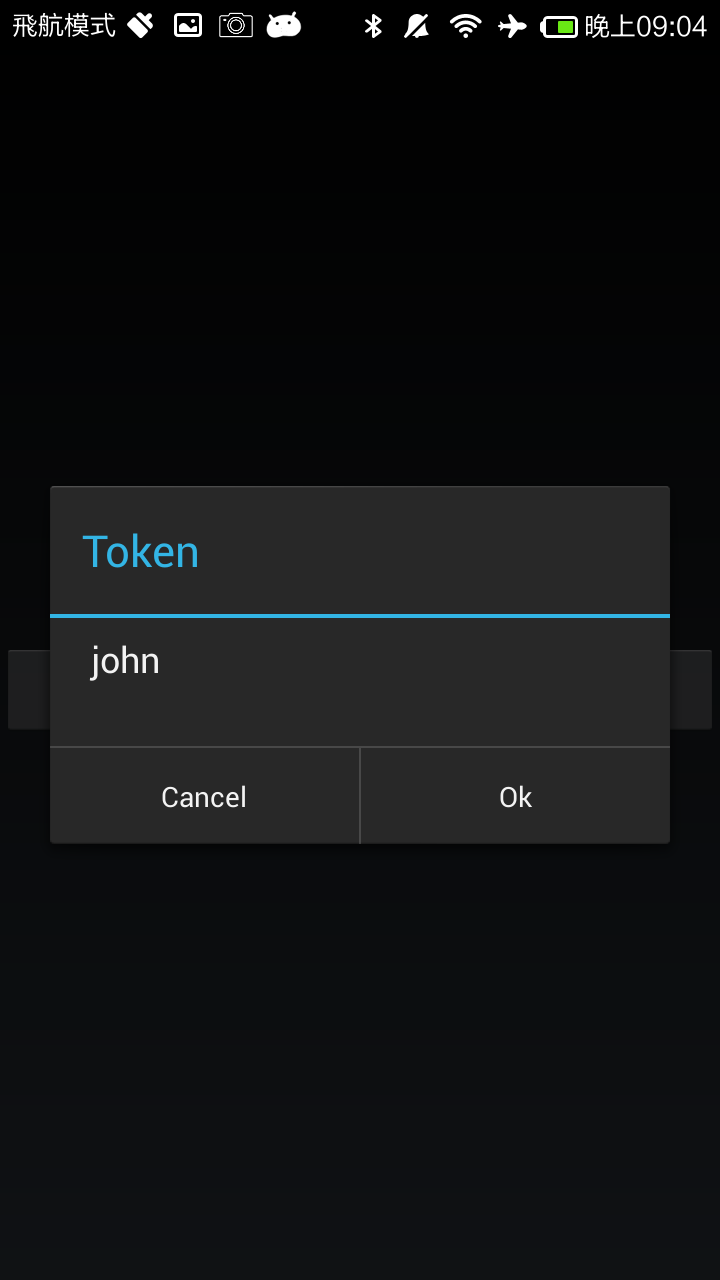
透過Xamarin與登入Azure AD進行帳號驗證的動作,讓跨平台開發以及企業應用上,多了更多的可行性與行動性,即使讓業務人員在外網也可以輕易的透過內部網域驗證的資料進行App的登入
參考資料
Authenticate Xamarin Mobile Apps Using Azure Active Directory
Put Some Azure Active Directory in Xamarin.Forms
Microsoft Azure Active Directory
程式碼範例已放上GitHub,有興趣的人可以參考下面GitHub的網址:
https://github.com/madukapai/maduka-Xamarin