當我們的 Swagger / OpenAPI Specification 寫到某一個程度就會開始想要模組化、重用它,例如,當 components/schemas 節點需要被其他的檔案參照。
開發環境
- Windows 11
- Rider
分離檔案
延續上篇我還是選用 OpenAPI Specification 3.0 的範例 OpenAPI-Specification/petstore.yaml,內容如下
openapi: "3.0.0"
info:
  version: 1.0.0
  title: Swagger Petstore
  license:
    name: MIT
servers:
  - url: http://petstore.swagger.io/v1
paths:
  /pets:
    get:
      summary: List all pets
      operationId: listPets
      tags:
        - pets
      parameters:
        - name: limit
          in: query
          description: How many items to return at one time (max 100)
          required: false
          schema:
            type: integer
            format: int32
      responses:
        '200':
          description: A paged array of pets
          headers:
            x-next:
              description: A link to the next page of responses
              schema:
                type: string
          content:
            application/json:
              schema:
                $ref: "#/components/schemas/Pets"
        default:
          description: unexpected error
          content:
            application/json:
              schema:
                $ref: "#/components/schemas/Error"
    post:
      summary: Create a pet
      operationId: createPets
      tags:
        - pets
      responses:
        '201':
          description: Null response
        default:
          description: unexpected error
          content:
            application/json:
              schema:
                $ref: "#/components/schemas/Error"
  /pets/{petId}:
    get:
      summary: Info for a specific pet
      operationId: showPetById
      tags:
        - pets
      parameters:
        - name: petId
          in: path
          required: true
          description: The id of the pet to retrieve
          schema:
            type: string
      responses:
        '200':
          description: Expected response to a valid request
          content:
            application/json:
              schema:
                $ref: "#/components/schemas/Pet"
        default:
          description: unexpected error
          content:
            application/json:
              schema:
                $ref: "#/components/schemas/Error"
components:
  schemas:
    Pet:
      type: object
      required:
        - id
        - name
      properties:
        id:
          type: integer
          format: int64
        name:
          type: string
        tag:
          type: string
    Pets:
      type: array
      items:
        $ref: "#/components/schemas/Pet"
    Error:
      type: object
      required:
        - code
        - message
      properties:
        code:
          type: integer
          format: int32
        message:
          type: string
分離 components / parameters
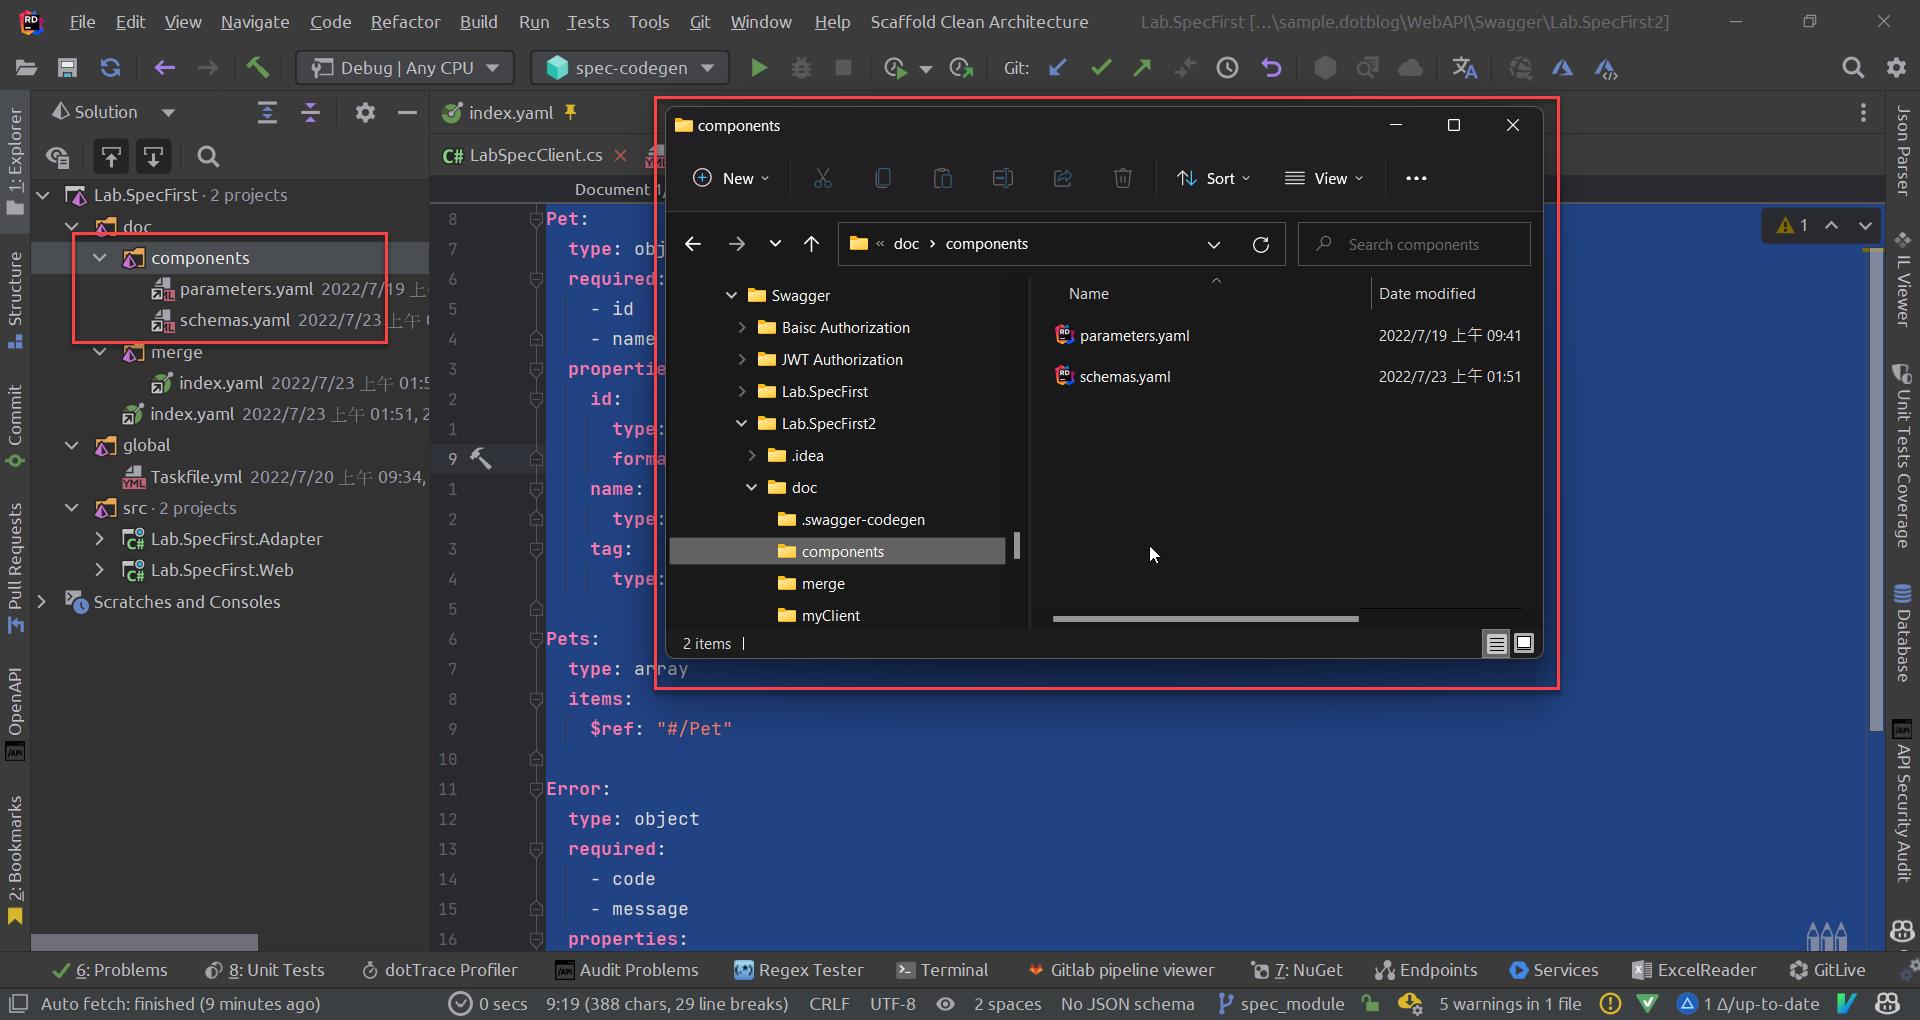
根據結構名稱建立 components 資料夾和 schemas.yaml,然後在方案資料夾建立相同的資料夾結構
@schemas.yaml
Pet:
  type: object
  required:
    - id
    - name
  properties:
    id:
      type: integer
      format: int64
    name:
      type: string
    tag:
      type: string

Pets:
  type: array
  items:
    $ref: "#/Pet"

Error:
  type: object
  required:
    - code
    - message
  properties:
    code:
      type: integer
      format: int32
    message:
      type: string
@index.yaml
在 request/response 節點使用 $ref: path
- 原本:$ref: "#/components/schemas/Pets"
- 現在:$ref: "components/schemas.yaml#/Pets"
Components 節點的使用方式參考:Components Object (swagger.io)
openapi: "3.0.3"
info:
  version: 1.0.0
  title: Swagger Petstore
  license:
    name: MIT
servers:
  - url: http://localhost:7087/api/
#  - url: http://petstore.swagger.io/v1
paths:
  /pets:
    get:
      summary: List all pets
      operationId: listPets
      tags:
        - pets
      parameters:
        - name: limit
          in: query
          description: How many items to return at one time (max 100)
          required: false
          schema:
            type: integer
            format: int32
      responses:
        '200':
          description: A paged array of pets
          headers:
            x-next:
              description: A link to the next page of responses
              schema:
                type: string
          content:
            application/json:
              schema:
                $ref: "components/schemas.yaml#/Pets"

        default:
          description: unexpected error
          content:
            application/json:
              schema:
                $ref: 'components/schemas.yaml#/Error'
    post:
      summary: Create a pet
      operationId: createPets
      tags:
        - pets
      responses:
        '201':
          description: Null response
        default:
          description: unexpected error
          content:
            application/json:
              schema:
                $ref: "components/schemas.yaml#/Error"
  /pets/{petId}:
    get:
      summary: Info for a specific pet
      operationId: showPetById
      tags:
        - pets
      parameters:
        - $ref: "components/parameters.yaml#/petId"
      responses:
        '200':
          description: Expected response to a valid request
          content:
            application/json:
              schema:
                $ref: "components/schemas.yaml#/Pet"
        default:
          description: unexpected error
          content:
            application/json:
              schema:
                $ref: "components/schemas.yaml#/Error"
分離節點的技巧就大同小異,這裡就不贅述了
需要知道更多細節的可以參考以下連結
如何撰寫立即可交付的組件化 Swagger 文件. 雖然公司的部分專案已經使用 Swagger 一段時間,但我總覺得… | by Leo Chien | Medium
How to split a large OpenAPI document into multiple files - David Garcia
合併檔案
由於檔案被我分離了原本的 Code Gen 也會因為找不到外部節點而失效,這時候還需要進行檔案合併的動作,市面上有許多的 Code Gen 工具都有支援,我研究了好幾套,最終,選定了openapi-merger
安裝
npm install -g openapi-merger
合併檔案
openapi-merger -i openapi.yaml -o merged.yaml
新增 merge 資料夾,和 index.yaml,且在方案總管建立對應資料夾和加入檔案,確定指令沒有問題
openapi-merger -i ./doc/index.yaml -o ./doc/merge/index.yaml
當指令碼確定成功後,便收納到 taskfile,由 spec-codegen 集中執行,他的順序為
- 合併檔案
- 產生 Client Code
- 產生 Server Code
version: "3"

dotenv: [ "secrets/secrets.env" ]

tasks:
  spec-codegen:
    desc: 產生 Client / Server Code
    cmds:
      - task: spec-merge-file
      - task: spec-codegen-client
      - task: spec-codegen-server

  spec-codegen-client:
    desc: 產生 Client Code
    cmds:
      - nswag openapi2csclient /input:doc/merge/index.yaml /classname:LabSpecClient /namespace:Lab.SpecFirst.Adapter /output:src/Lab.SpecFirst.Adapter/AutoGenerated/LabSpecClient.cs /jsonLibrary:SystemTextJson /generateClientInterfaces:true /exposeJsonSerializerSettings:false /useBaseUrl:false

  spec-codegen-server:
    desc: 產生 Server Code
    cmds:
      - nswag openapi2cscontroller /input:doc/merge/index.yaml /classname:SpecFirstContract /namespace:Lab.SpecFirst.Web.Controllers /output:src/Lab.SpecFirst.Web/AutoGenerated/Controller.cs /jsonLibrary:SystemTextJson

  spec-merge-file:
    desc: 合併 Swagger File
    cmds:
      - openapi-merger -i ./doc/index.yaml -o ./doc/merge/index.yaml
執行結果如下:

範例位置
sample.dotblog/WebAPI/Swagger/Lab.SpecFirst2 at master · yaochangyu/sample.dotblog (github.com)
若有謬誤,煩請告知,新手發帖請多包涵

Microsoft MVP Award 2010~2017 C# 第四季
Microsoft MVP Award 2018~2025 .NET
