在這兩篇文章當中有
一個必要條件:
- 必須擁有 Microsoft 帳號能使用 Azure。
兩個網址要使用:
三個觀念要知道:
- Azure AD 文中會簡稱 AAD。
- Office 365 的 E5 試用期只有 30 天,到期後可再延 30 天(需綁信用卡)。
- Azure 基本操作 與 AD 觀念的基本認知。
以上都捧友都清楚的話,即可繼續閱讀本文...
開始繼續閱讀本文之前,請先確認已閱畢 "申請 Azure Active Directory 與 Microsoft EM + S 的 E5 免費試用(前篇)"。
開始囉~~~
再來我們針對先前所設立的帳號賦予此 AAD 管理的 "授權"。
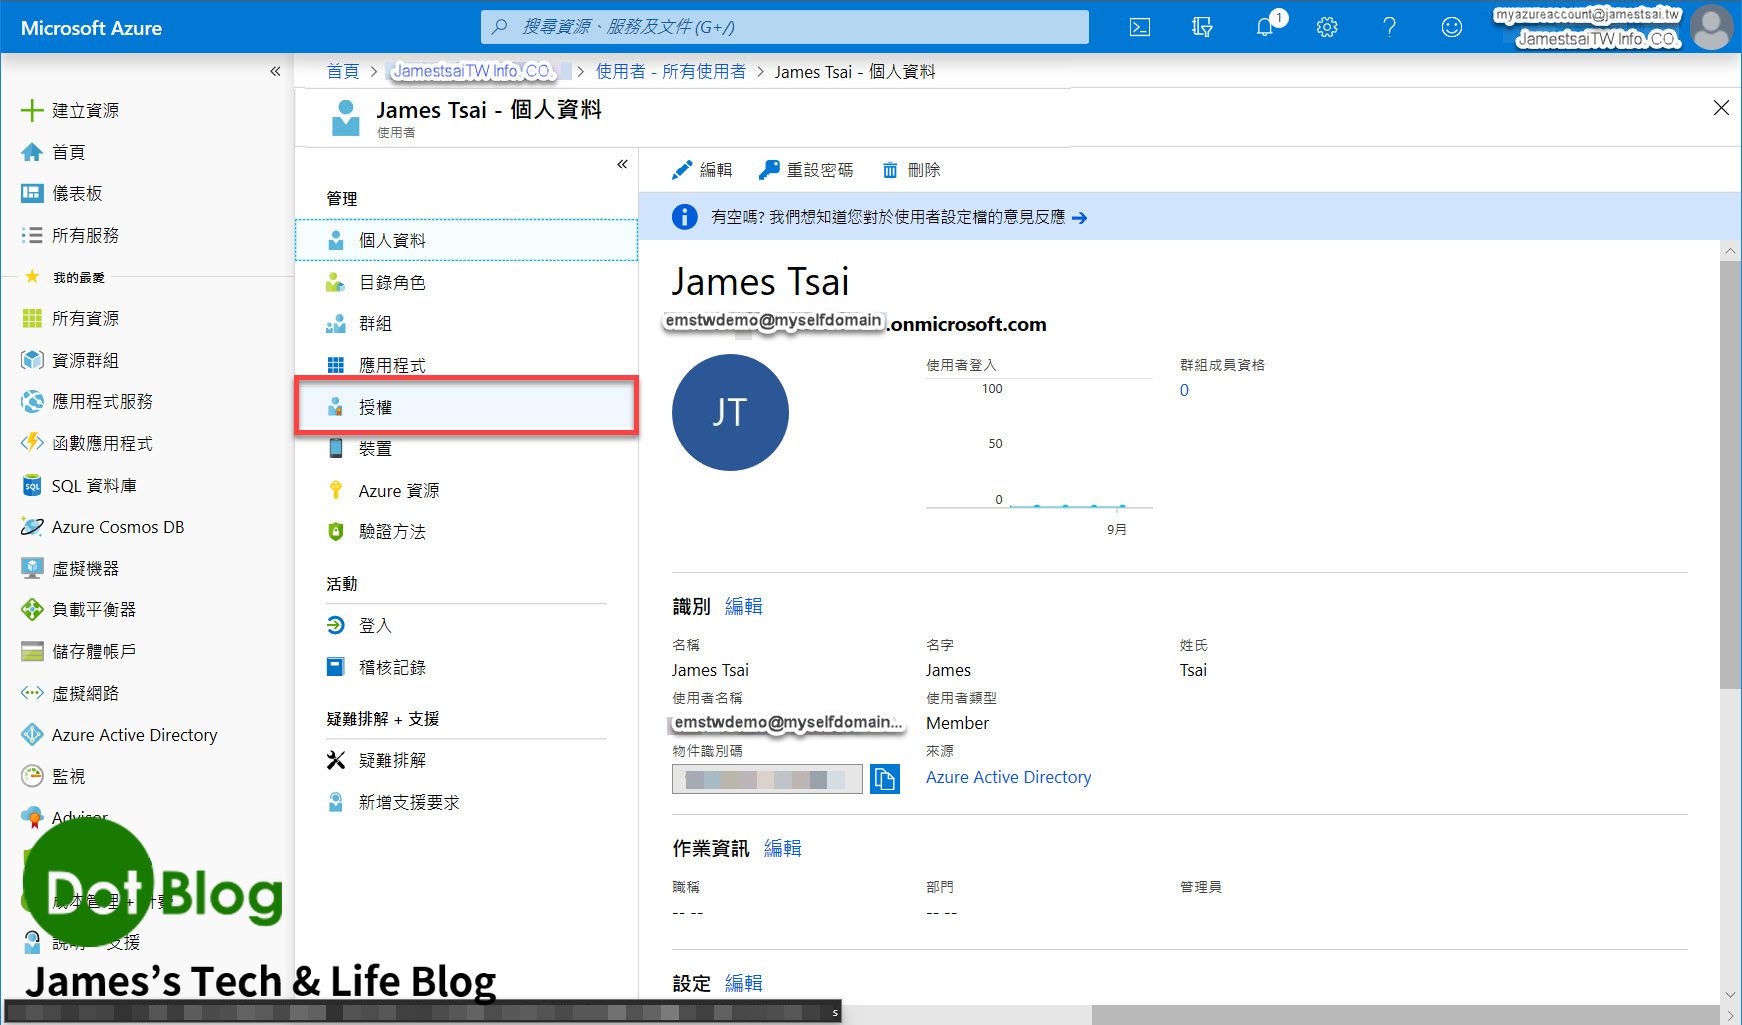
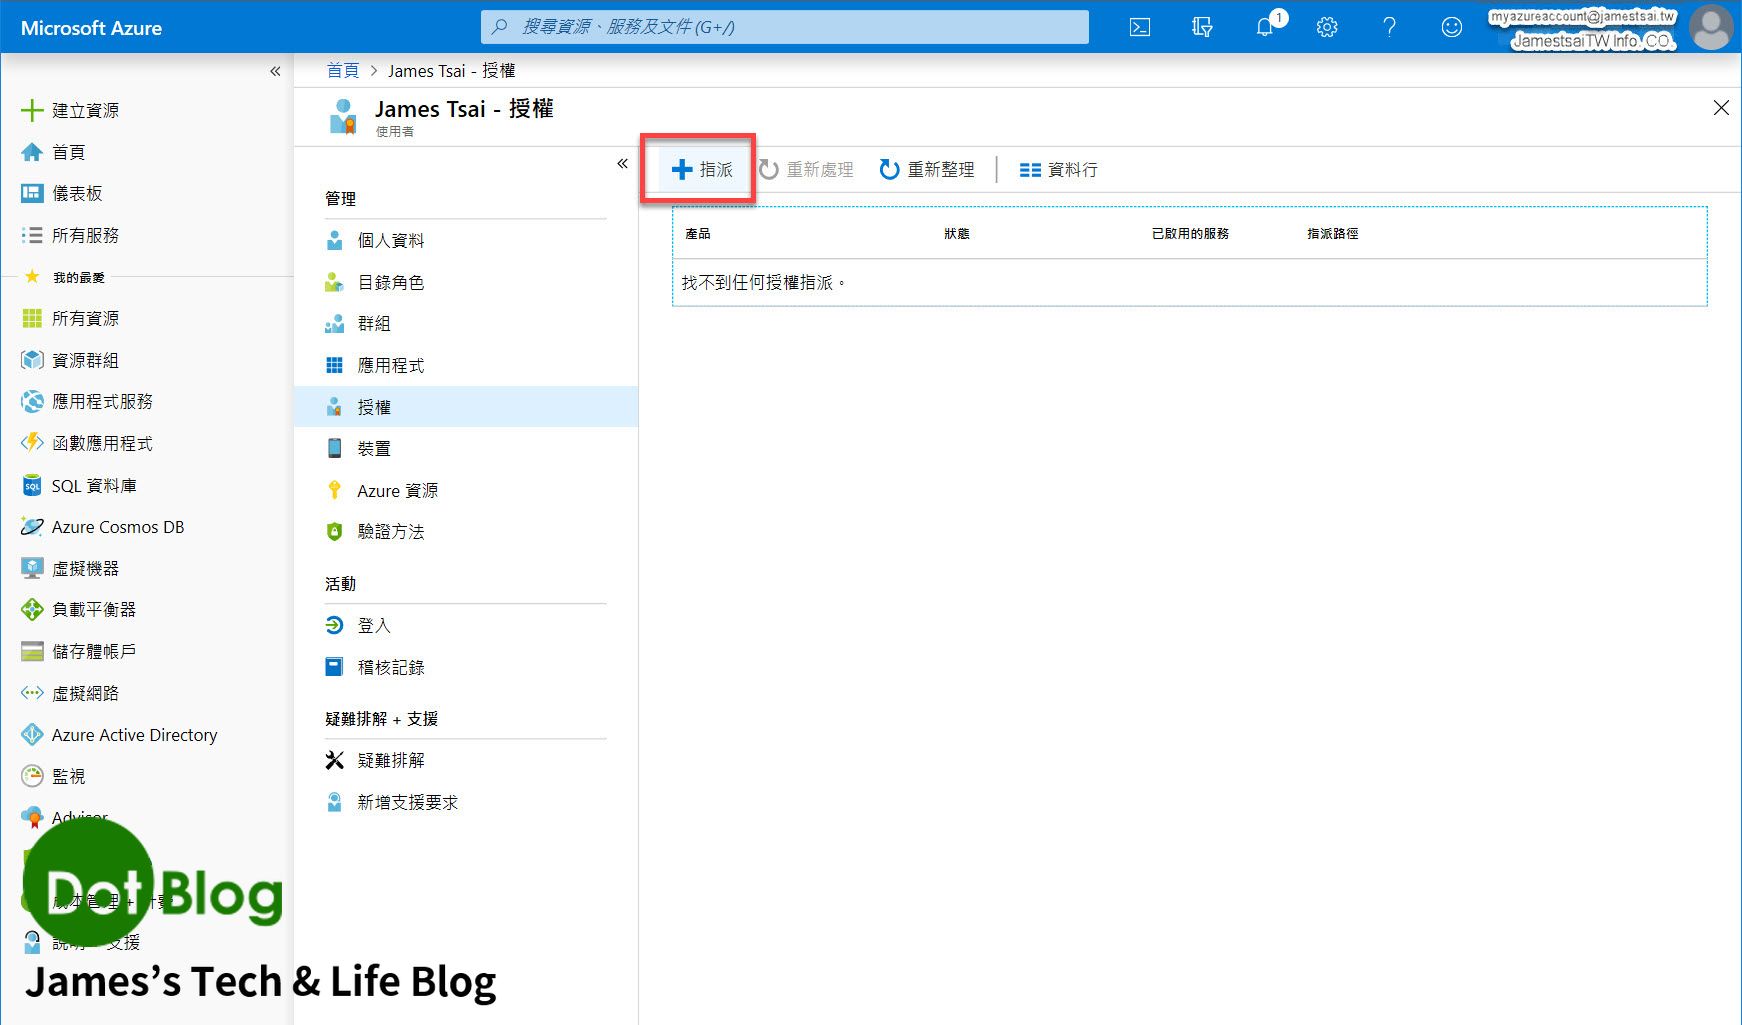
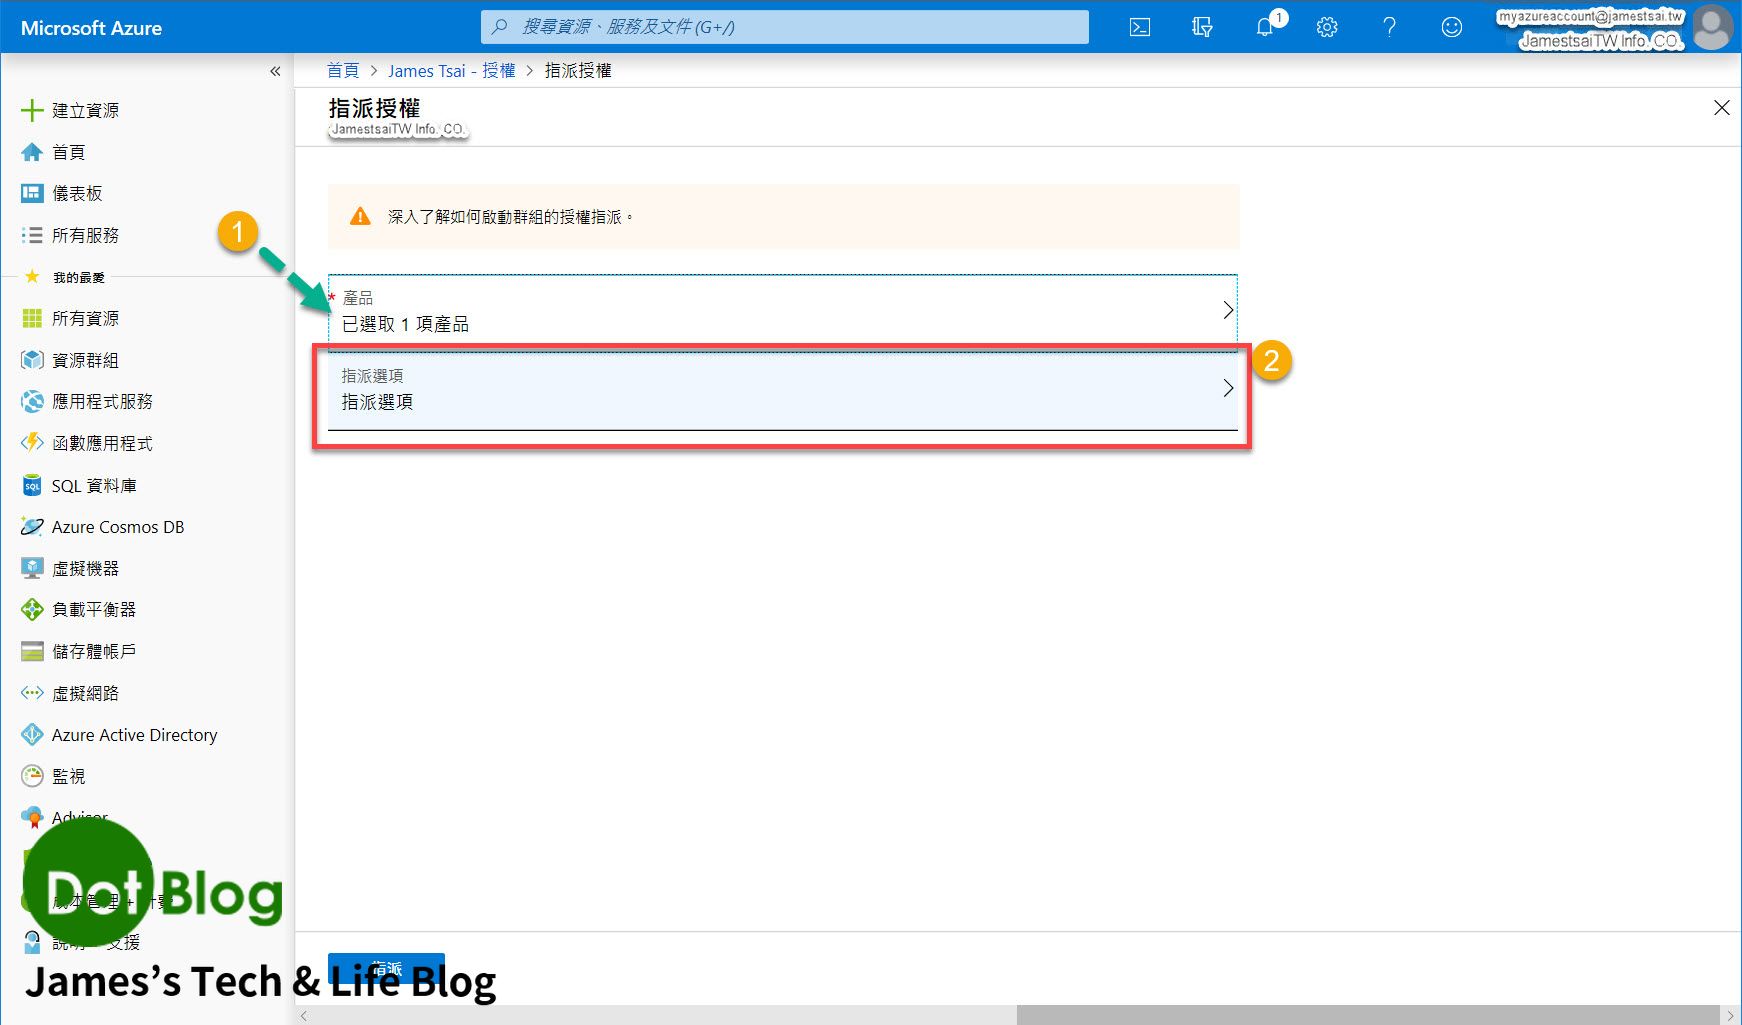
點選 "指派"。
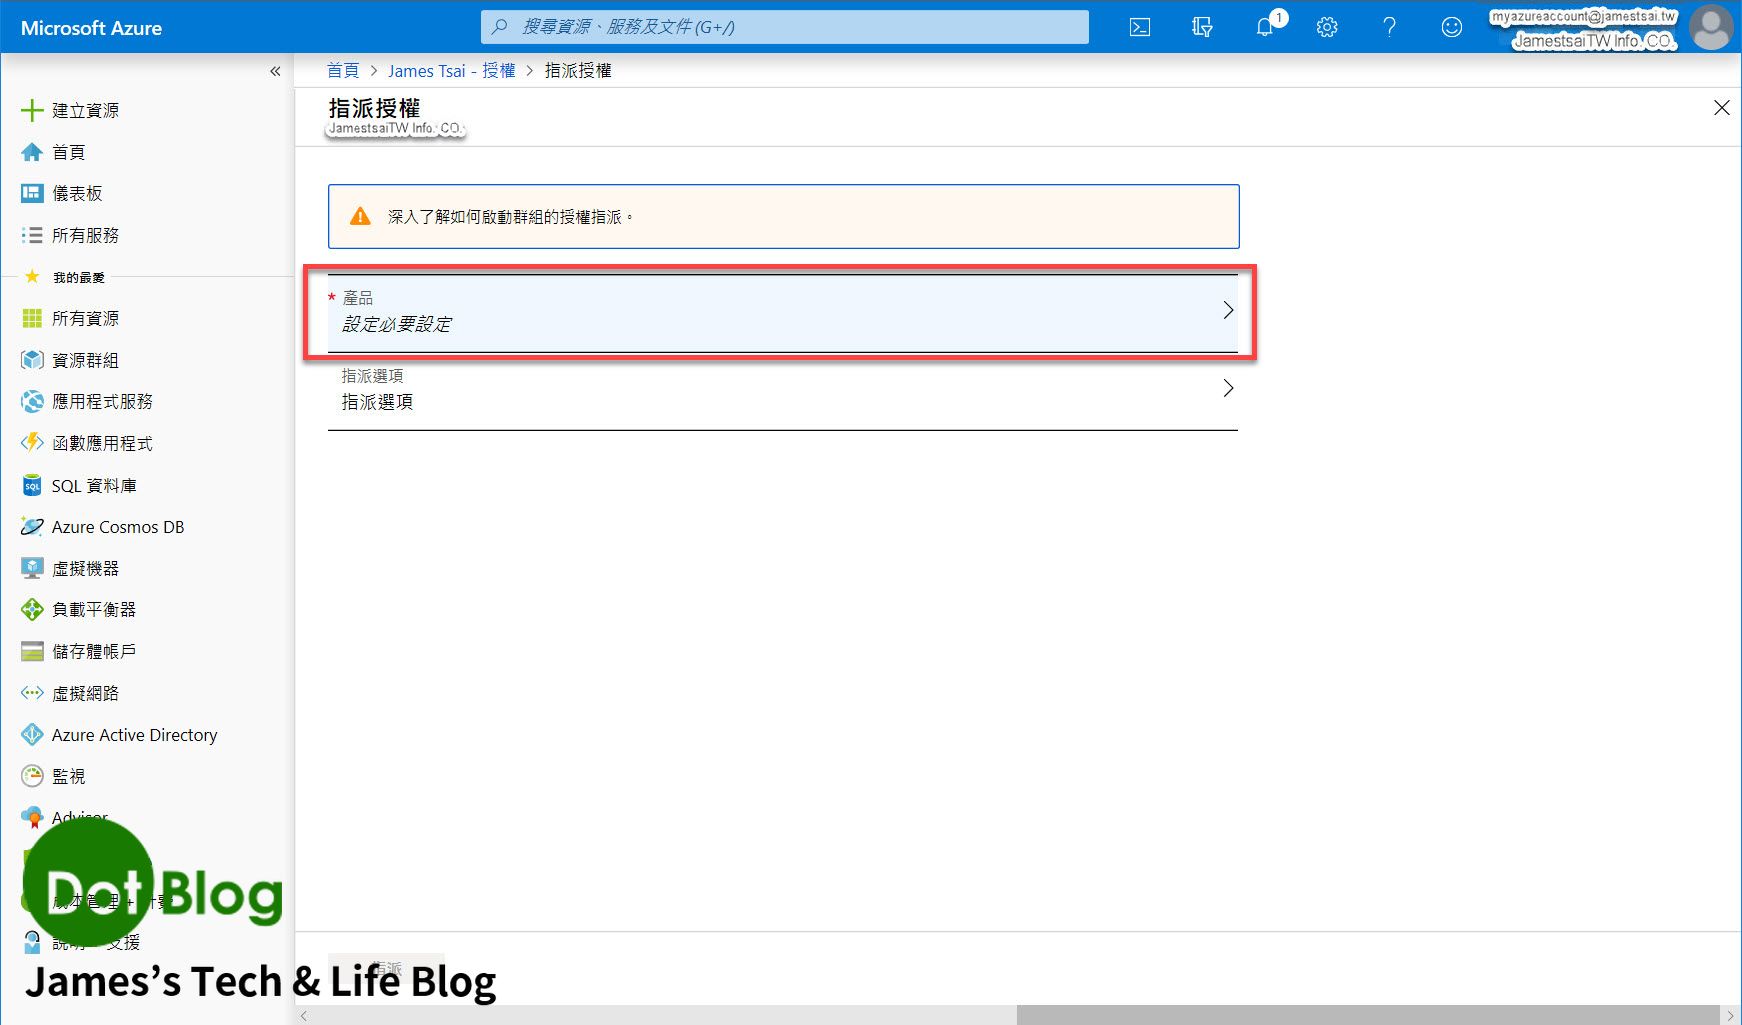
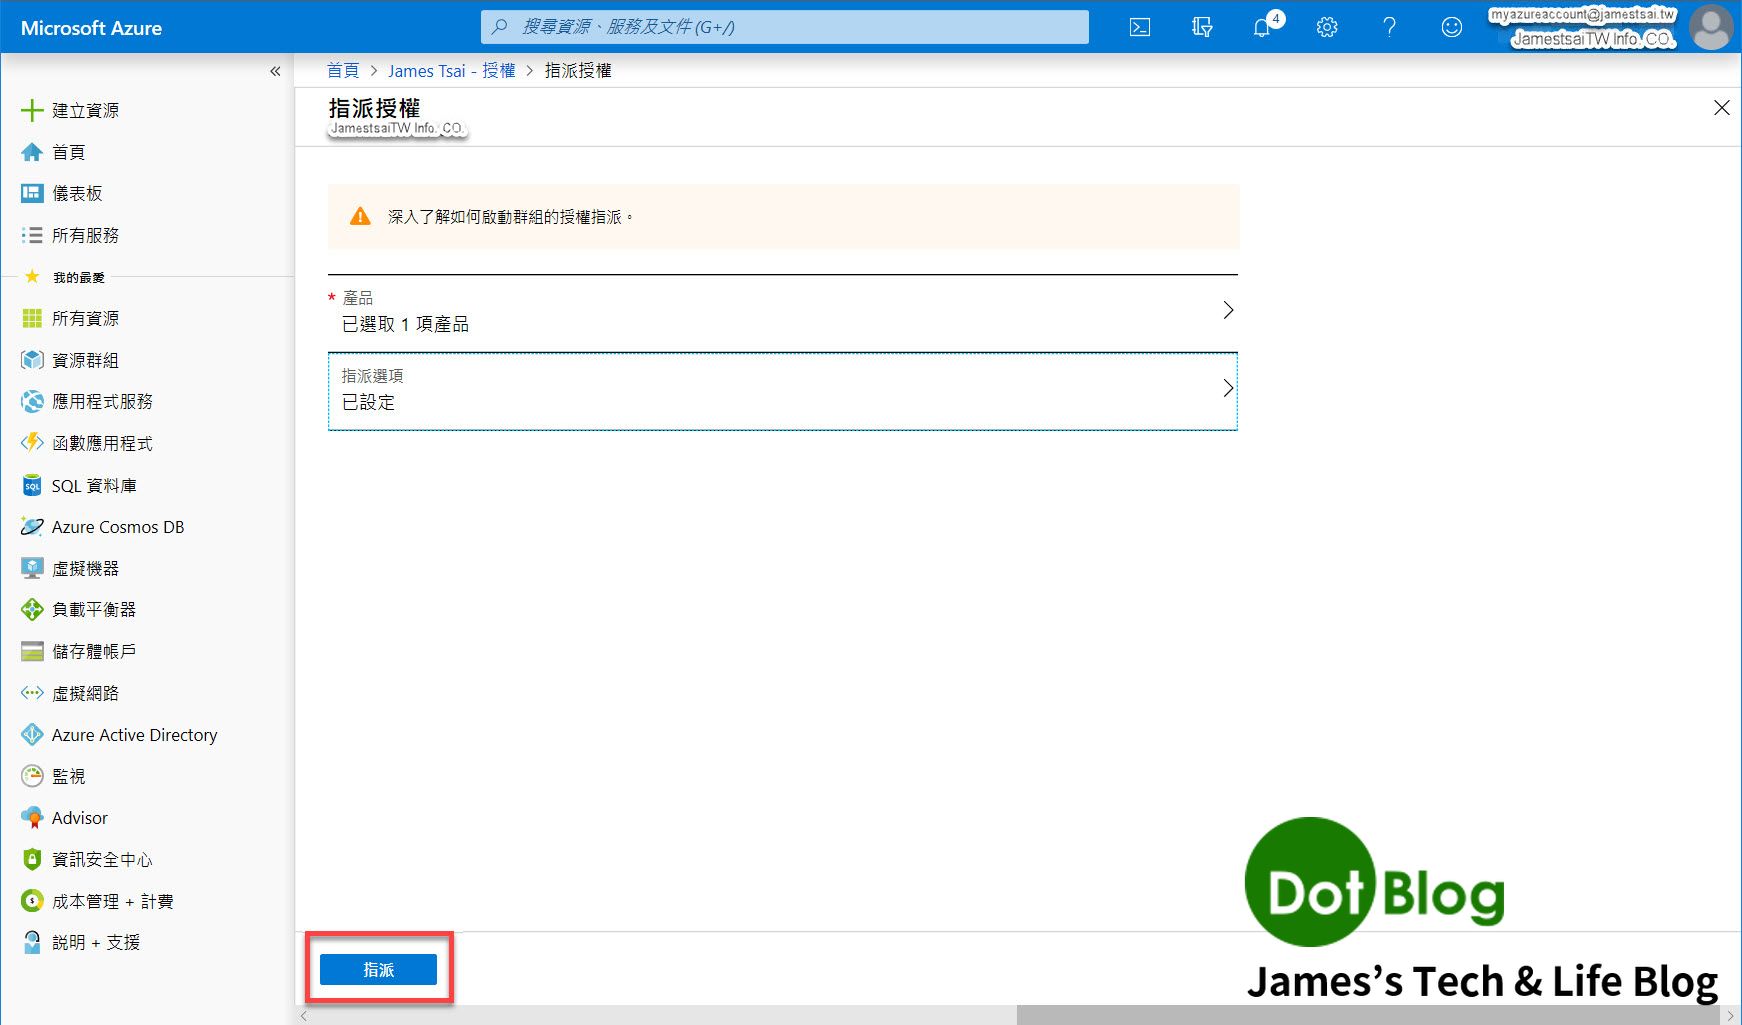
進到 "指派授權" 畫面中,點選 "產品" 設定必要設定。
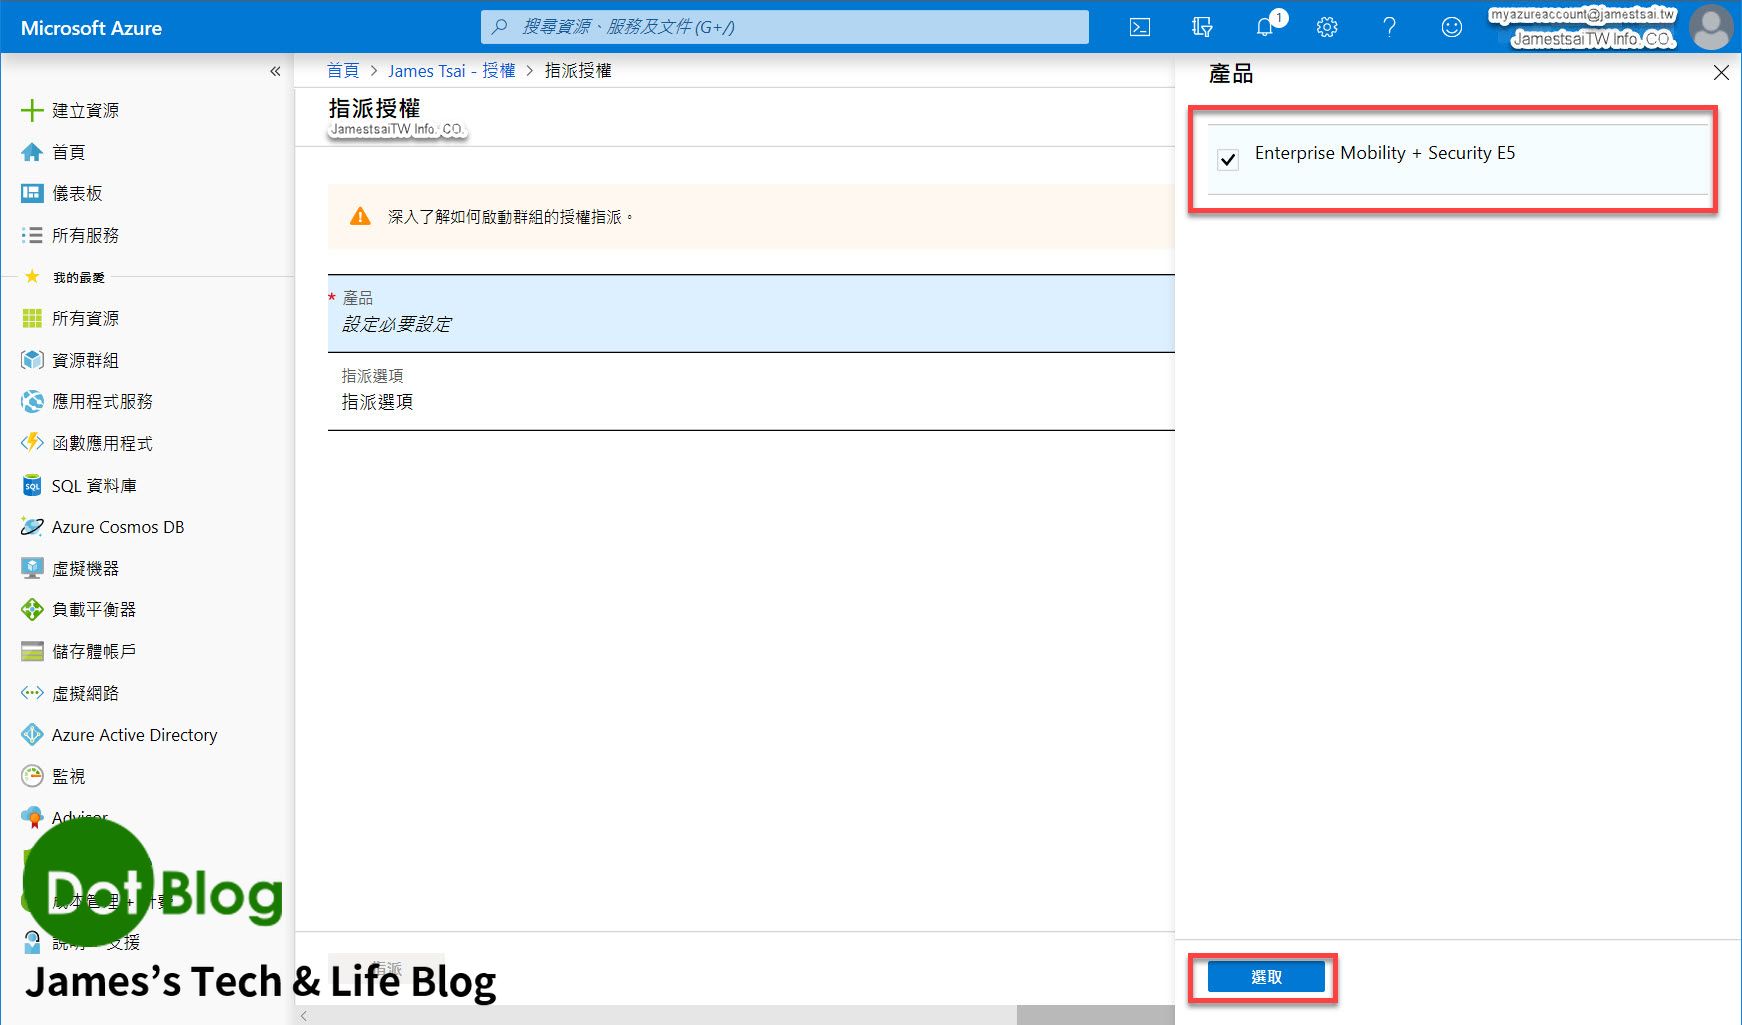
在 Azure 的刀鋒視窗會跳出 "產品" 的勾選窗格,在此將 "Enterprise Mobility + Security E5" 的選項勾選後,點選 "選取"。
回到 "指派授權" 畫面,確認產品已經有呈現 "已選取",接著在點選 "指派選項" (個人認為 Azure 的畫面在這邊應該要寫成 "授權選項" 比較正確)。
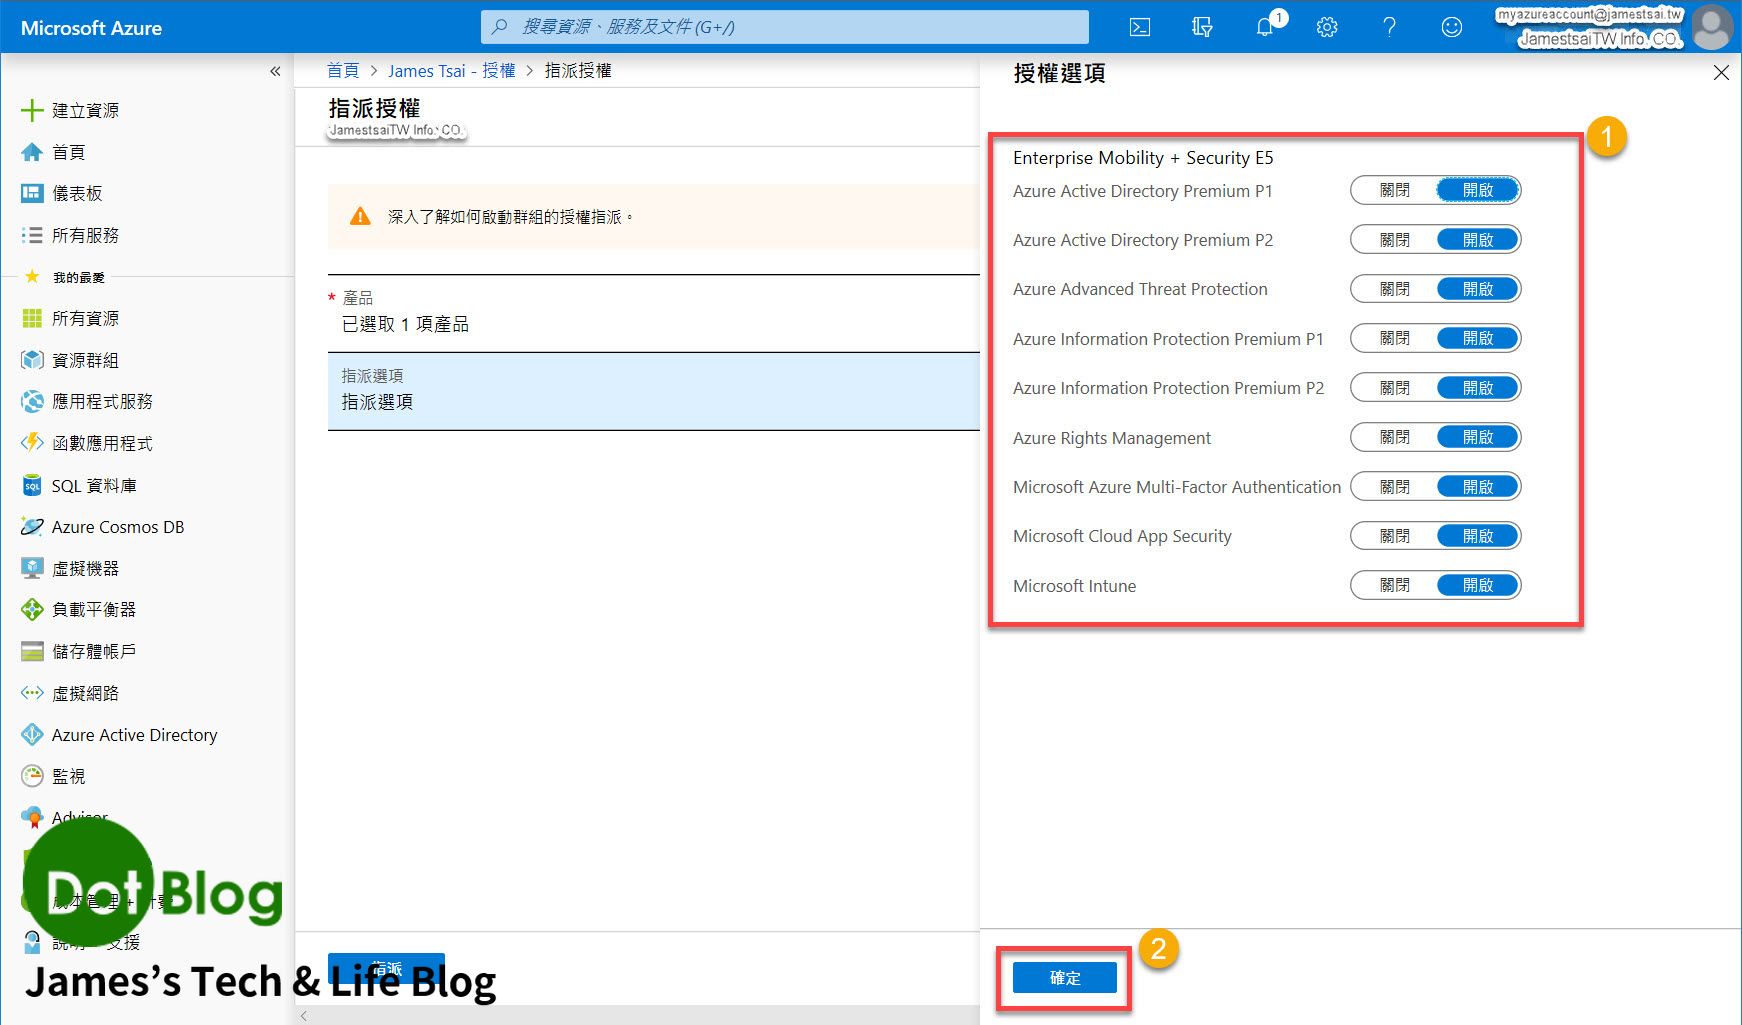
在 Azure 的刀鋒視窗會右側會彈出 "授權選項" 的窗格,在這邊是全部選擇 "開啟" 以便做測試,捧友可以根據所需要的授權使用自行決定。完成後就點選 "確定"。
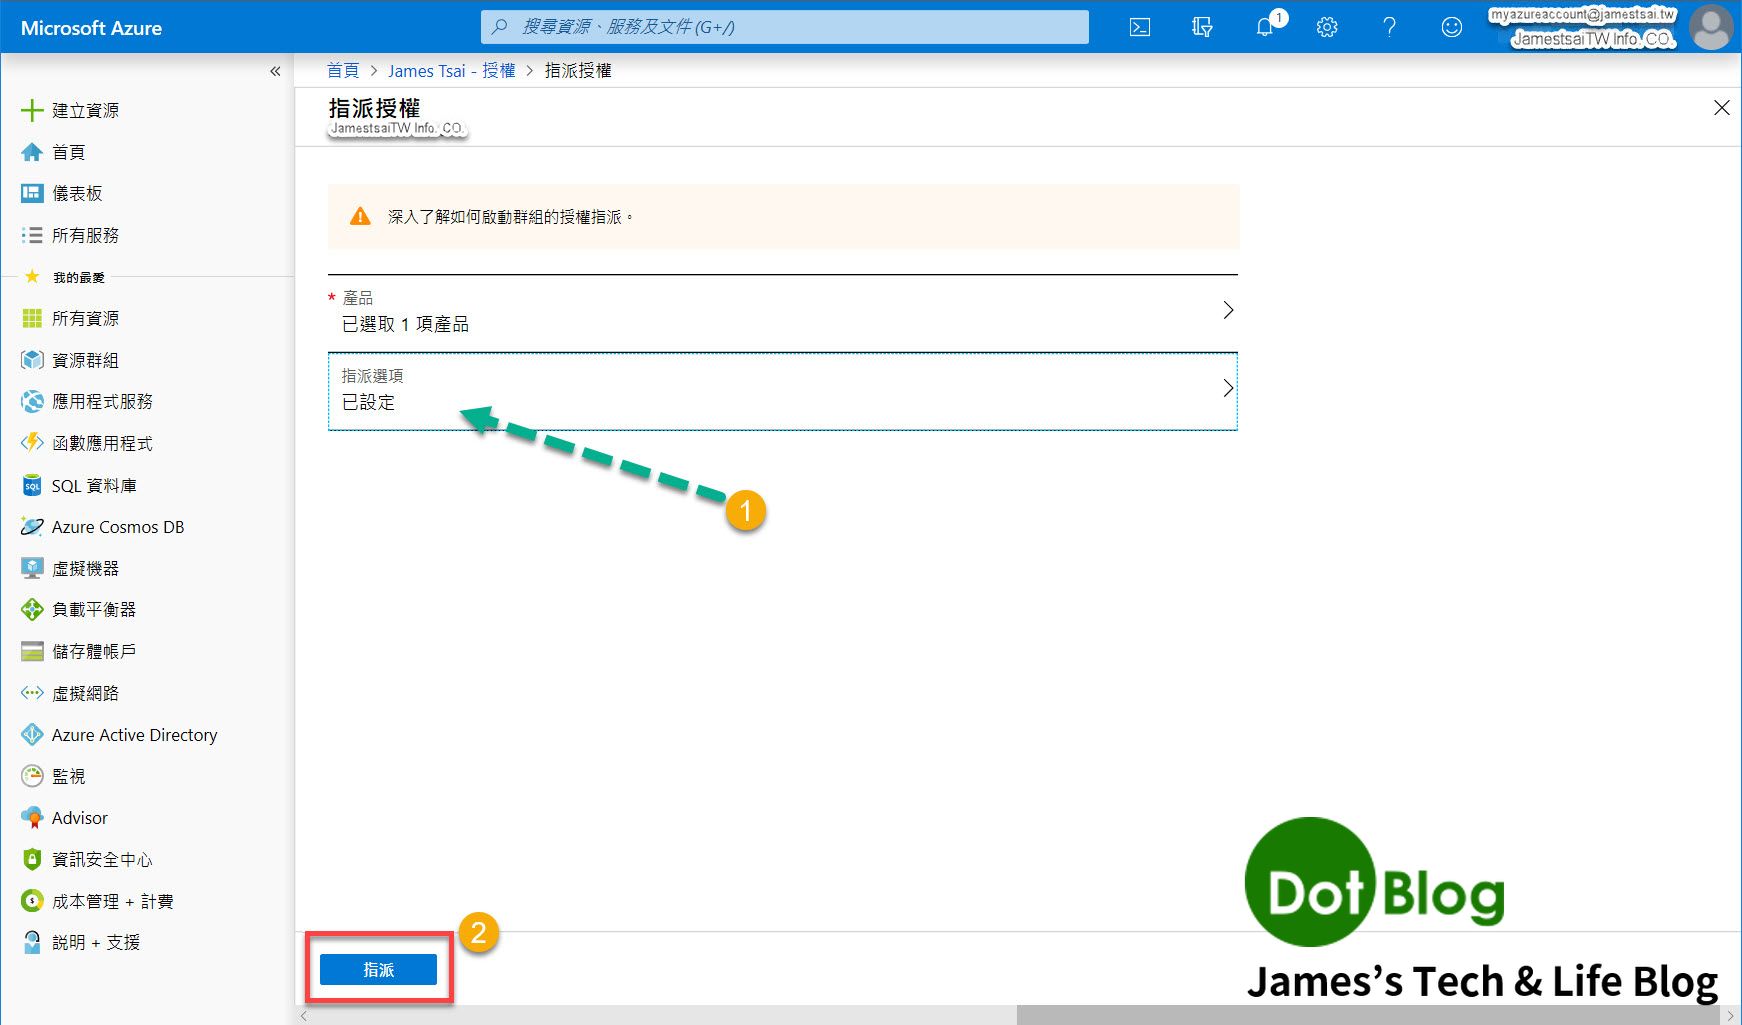
在這邊注意 "指派選項" 已呈現 "已設定",即可點選 "指派"。
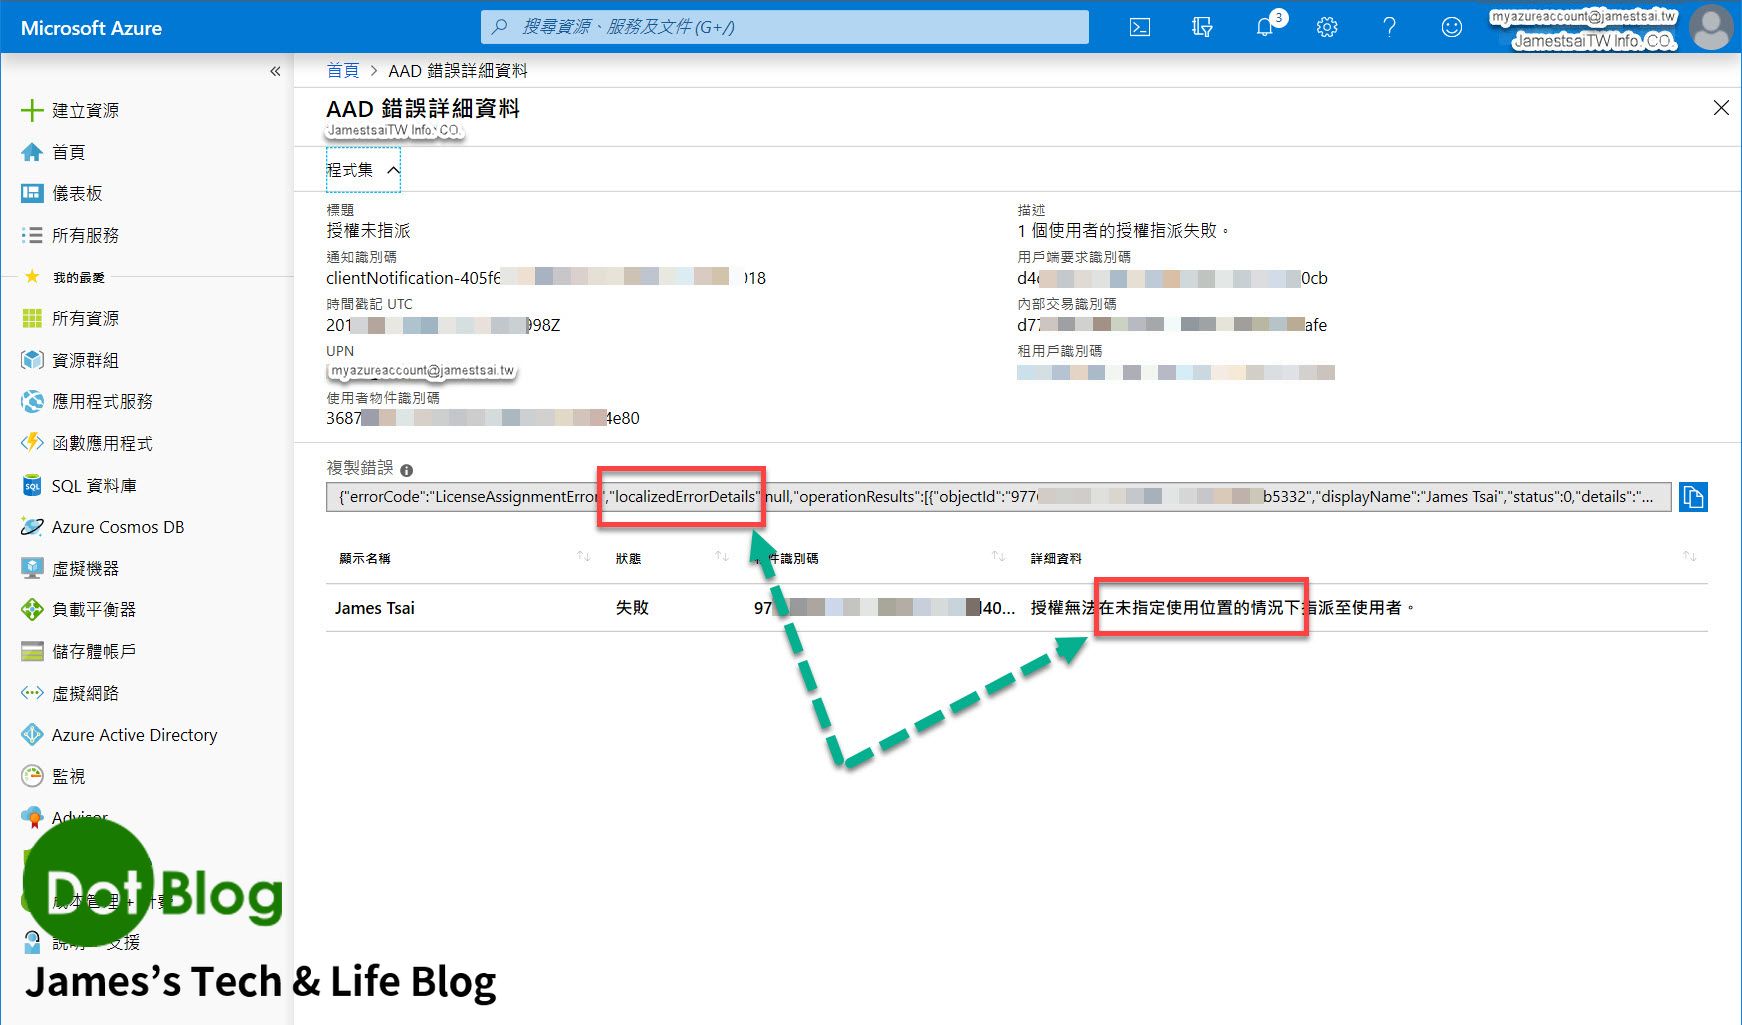
然後 "等燈"....Azure 會出現 "錯誤" 的通知。
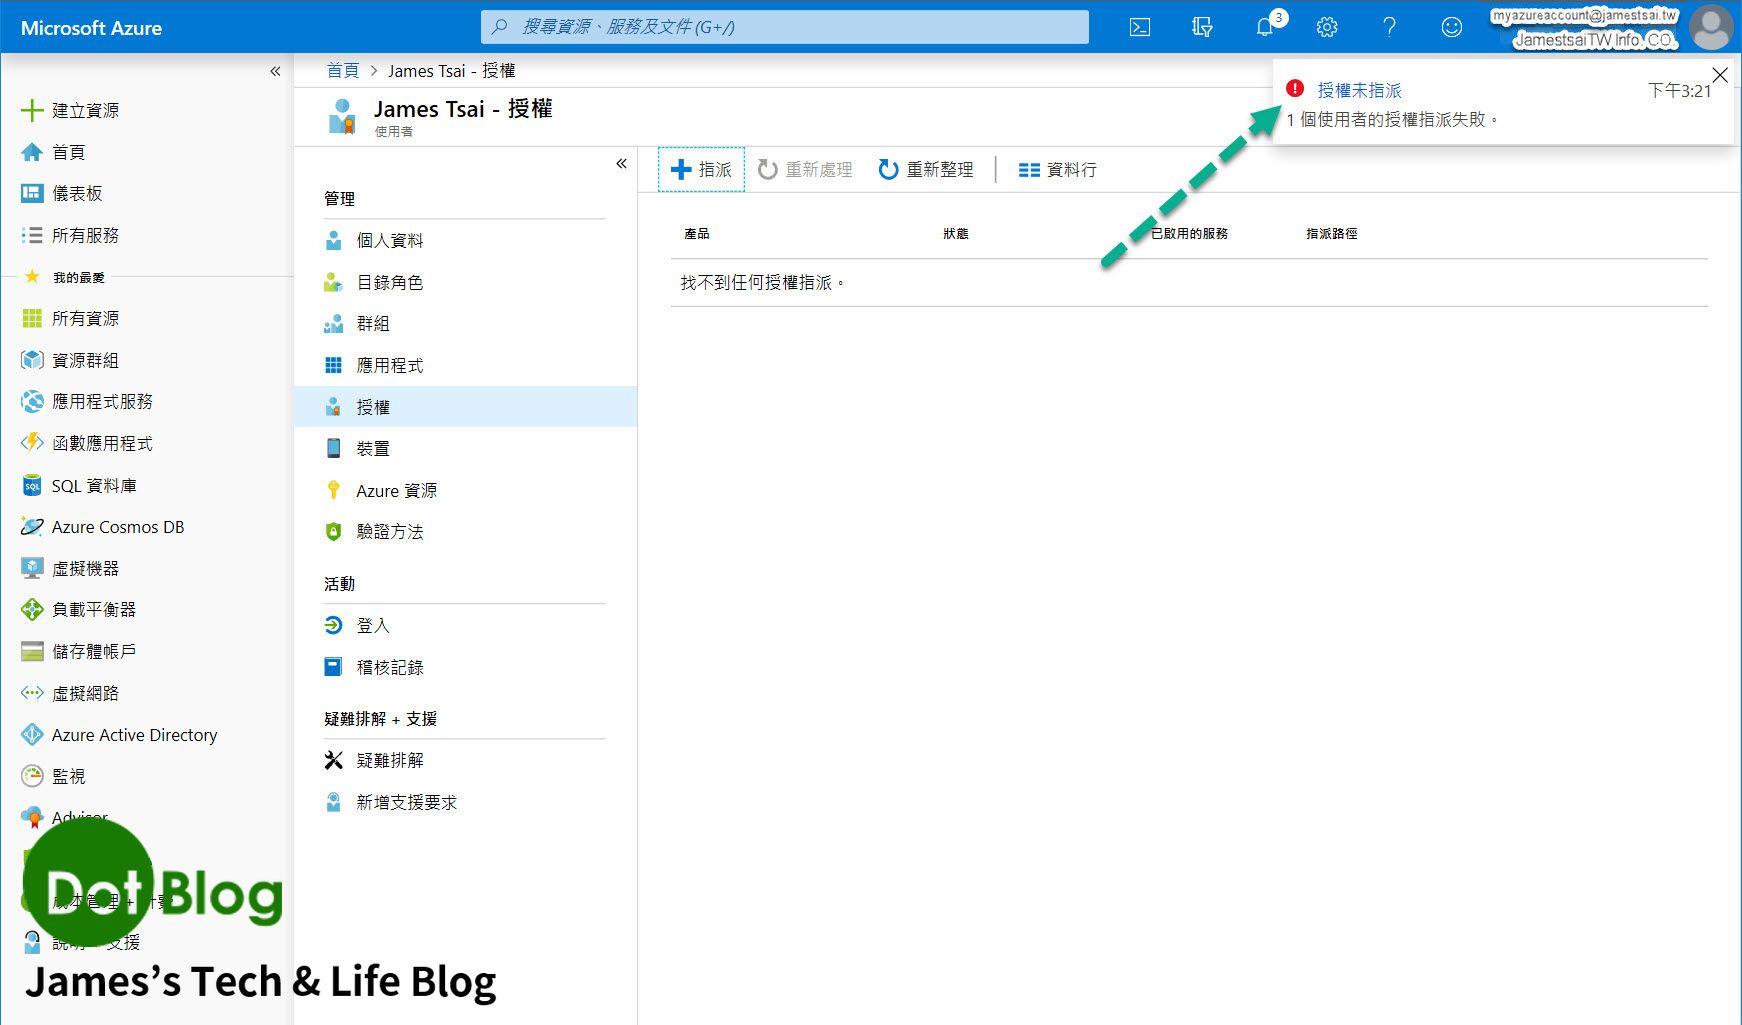
點選該錯誤通知訊息,進入到 "AAD 錯誤詳細資料" 的畫面。再觀察相關的錯誤訊息後,猜測是帳號的位置未設定所造成的。
回到該帳號的 "個人資料"。
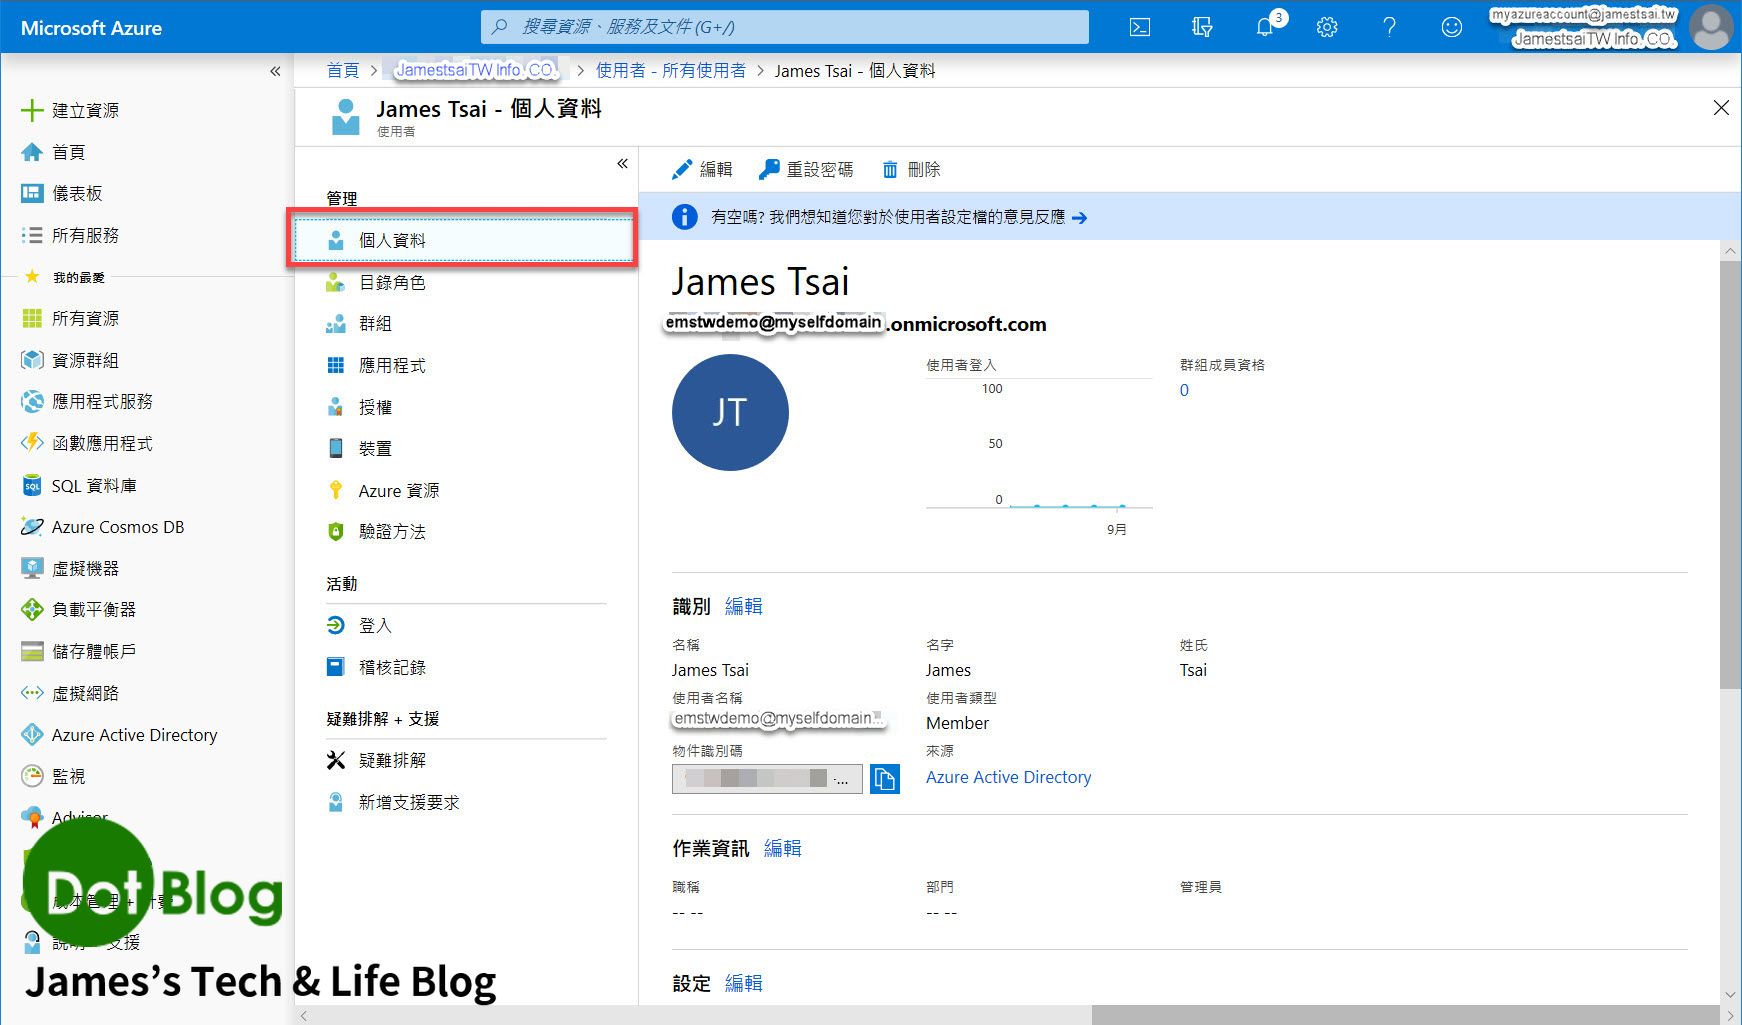
捲動頁面到下方一點,就會看到設定的選項在 "使用位置" 是呈現 "空白",此時點選 "編輯"。

進入編輯模式後,選擇想要的使用位置後,點選 "儲存"。
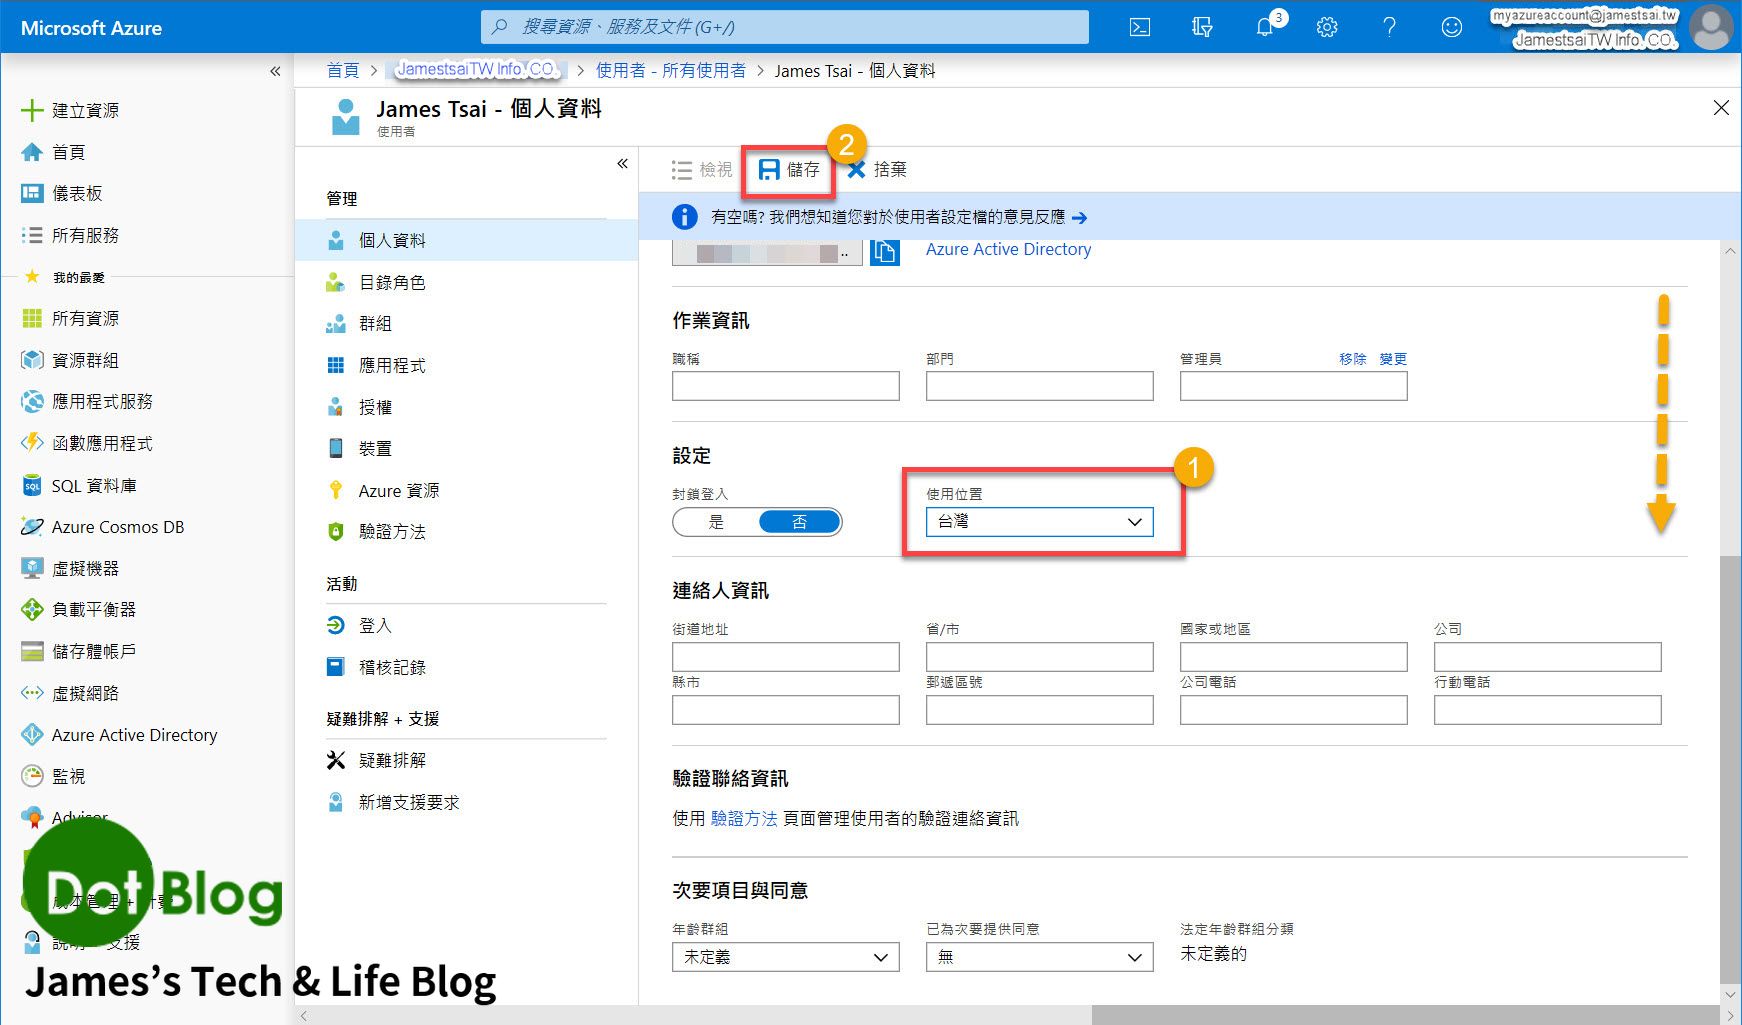
在這邊個人猜測應該是該帳號選擇的 "使用位置" 不同,其相關的 AAD 與 Microsoft EM + S 的計價方式也會有所不同,所以需先替該帳號設定 "使用位置"。
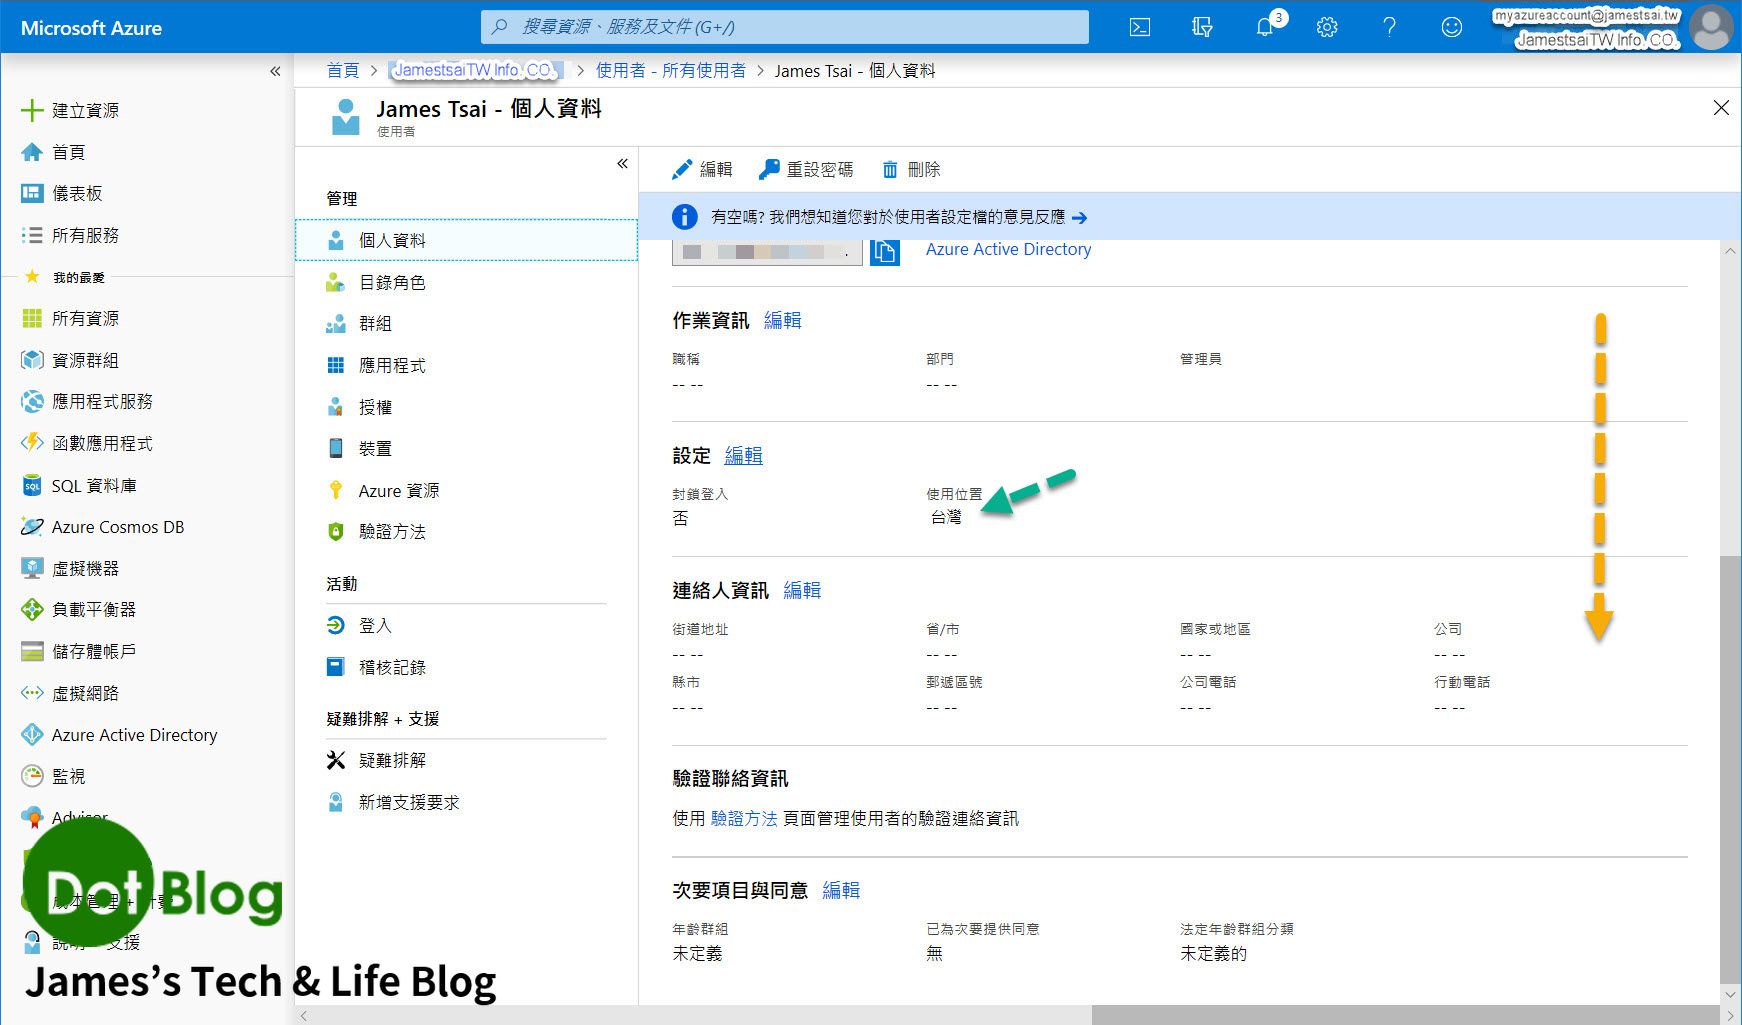
確認使用位置出現剛剛的選項後,即可回到前面的步驟,進到此 AAD 帳號的 "指派授權" 畫面。
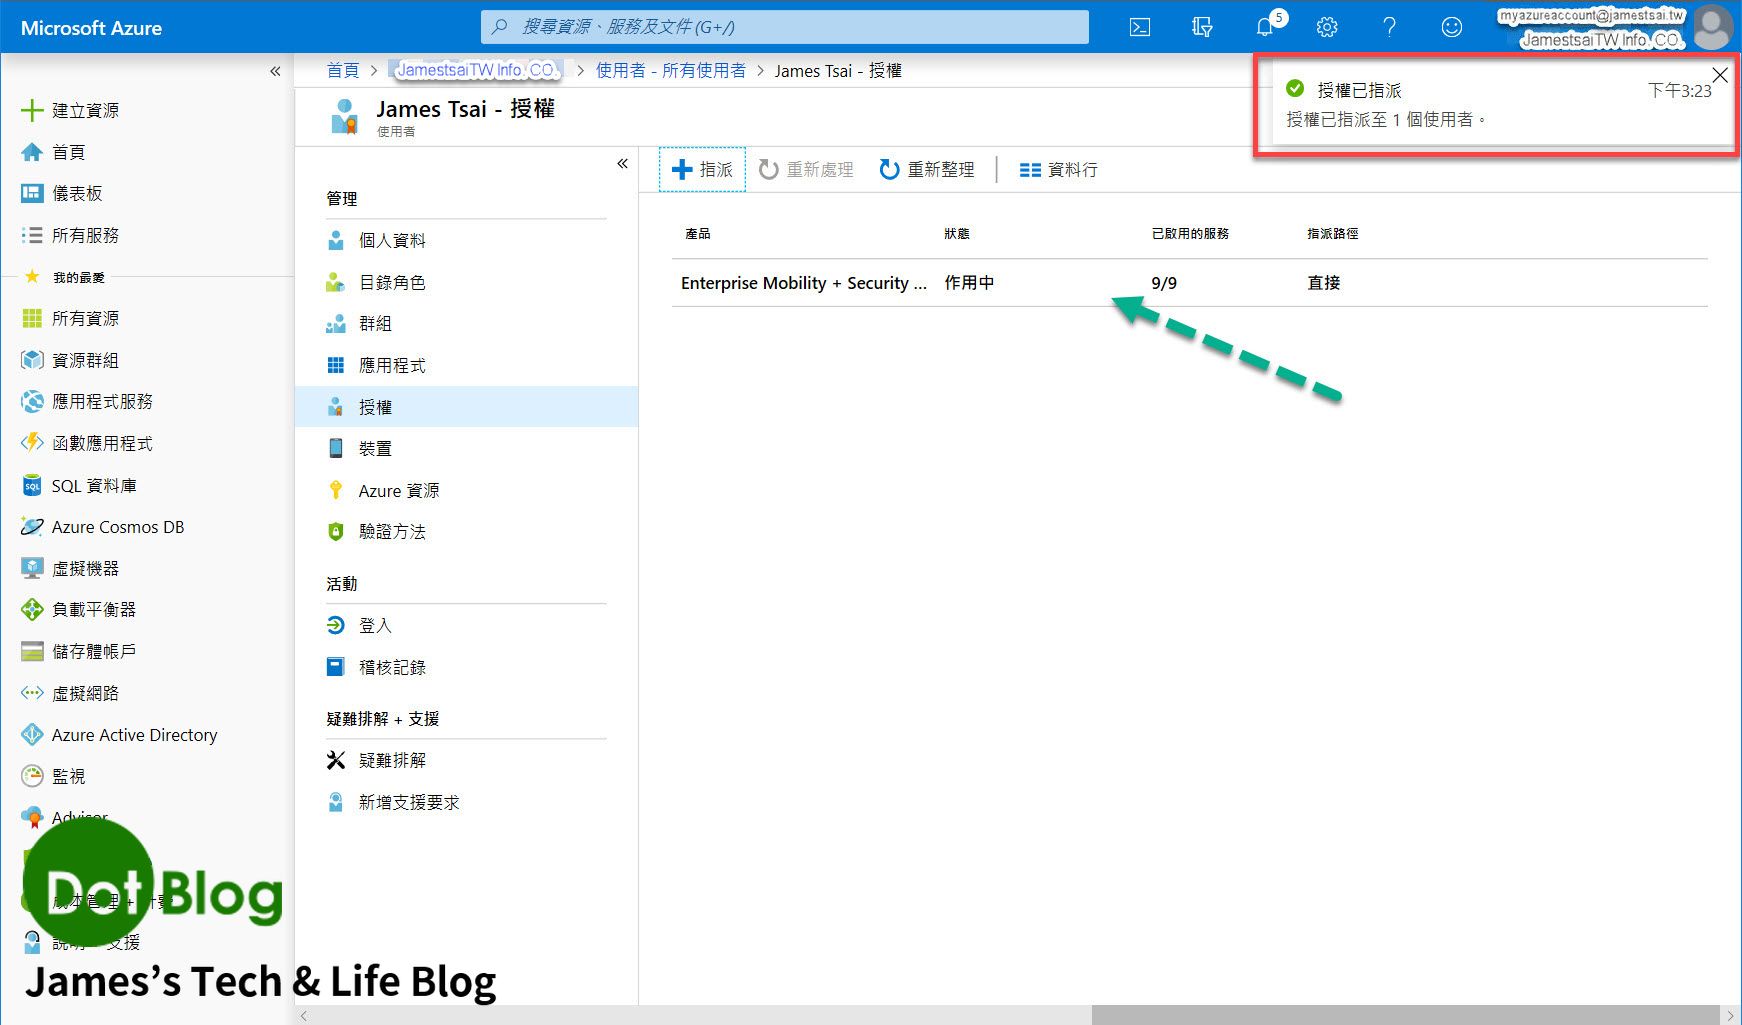
如同之前步驟的設定完成後,點選 "指派"。
完成後 Azure 會出現 "授權已指派" 完成的通知,在此 AAD 帳號下也會看到相關的設定狀態為 "作用中"。
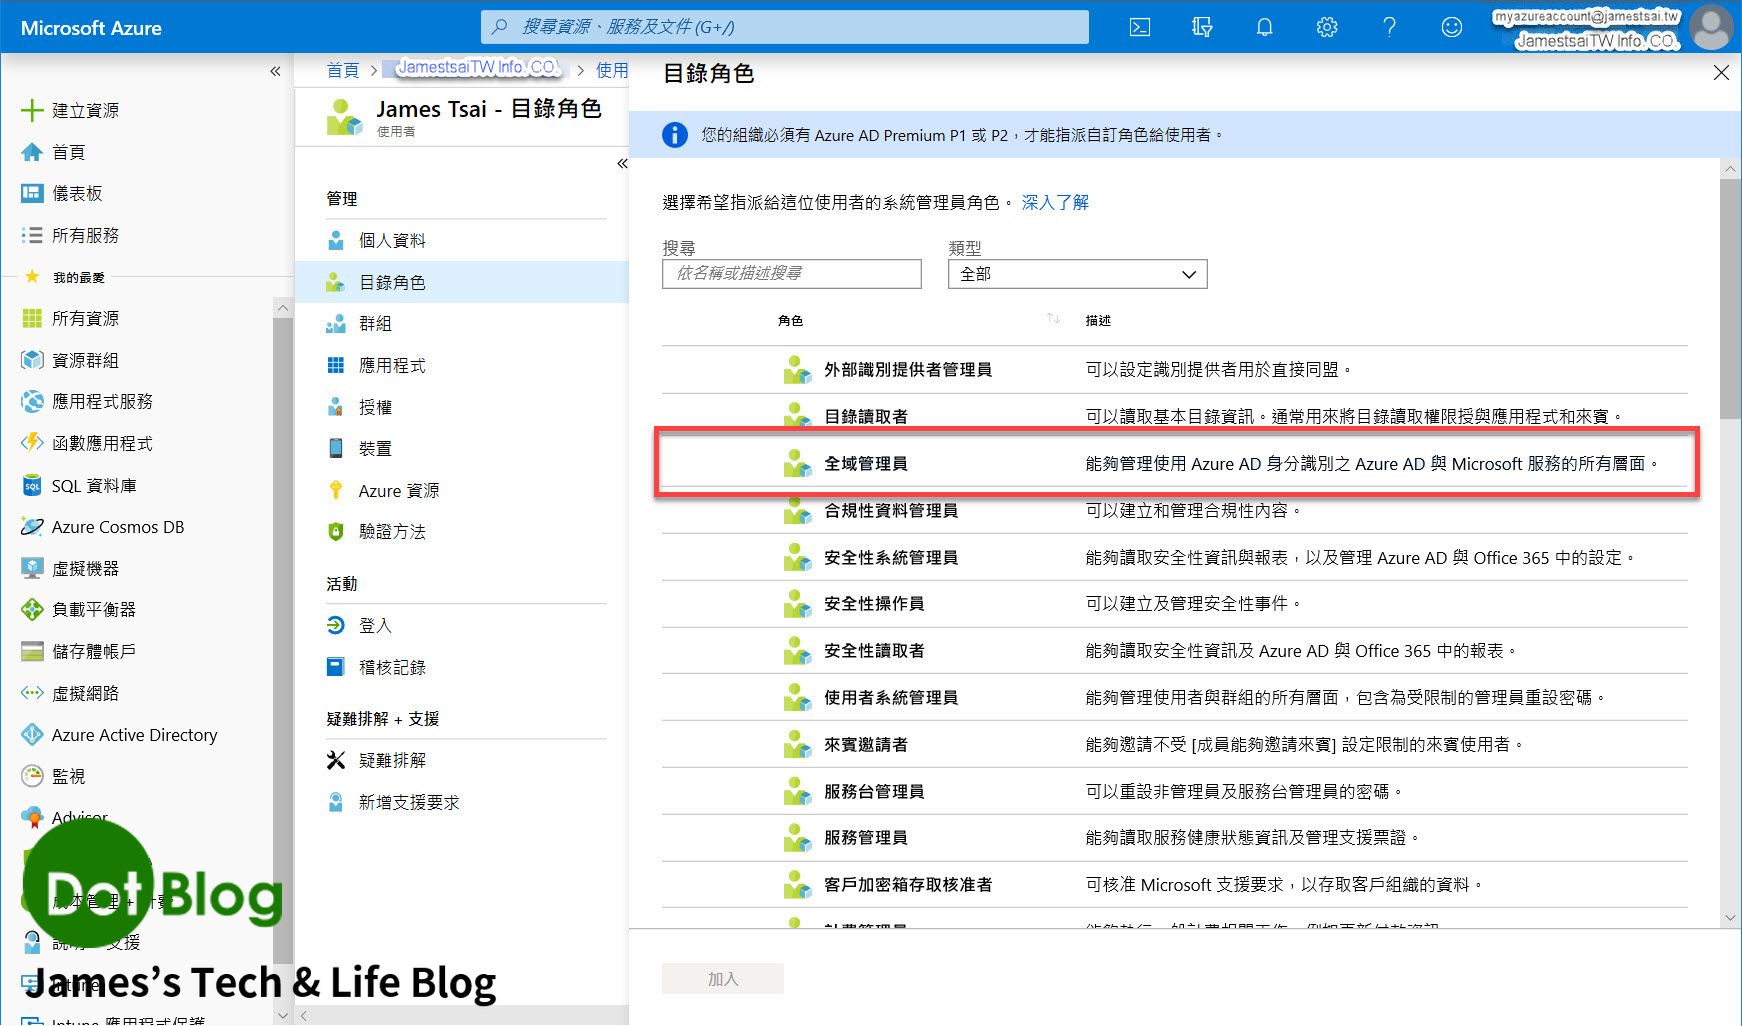
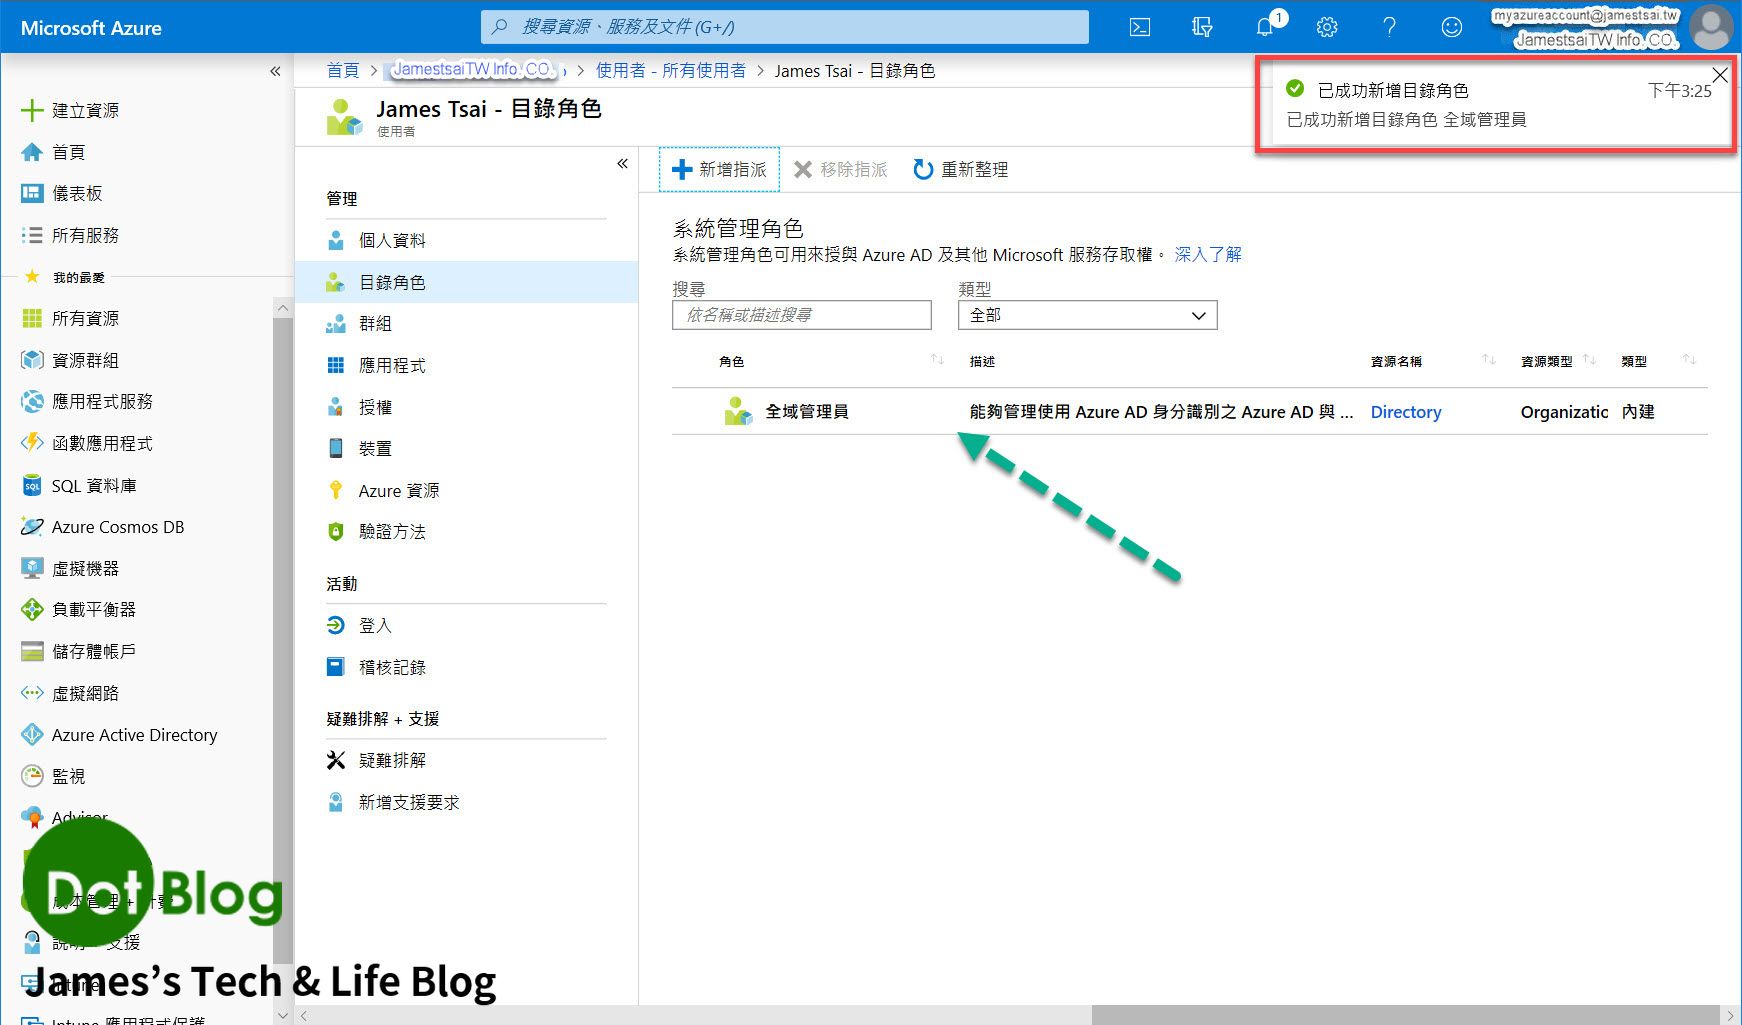
接著是設定此 AAD 的目錄角色,進到 "目錄角色" 畫面後點選 "新增指派"。

Azure 的刀鋒視窗會出現 "目錄角色" 的指派窗格,找到 "全域管理員",幫此 AAD 一開始設定一個全域管理員。
勾選 "全域管理員" 後,點選 "加入"。
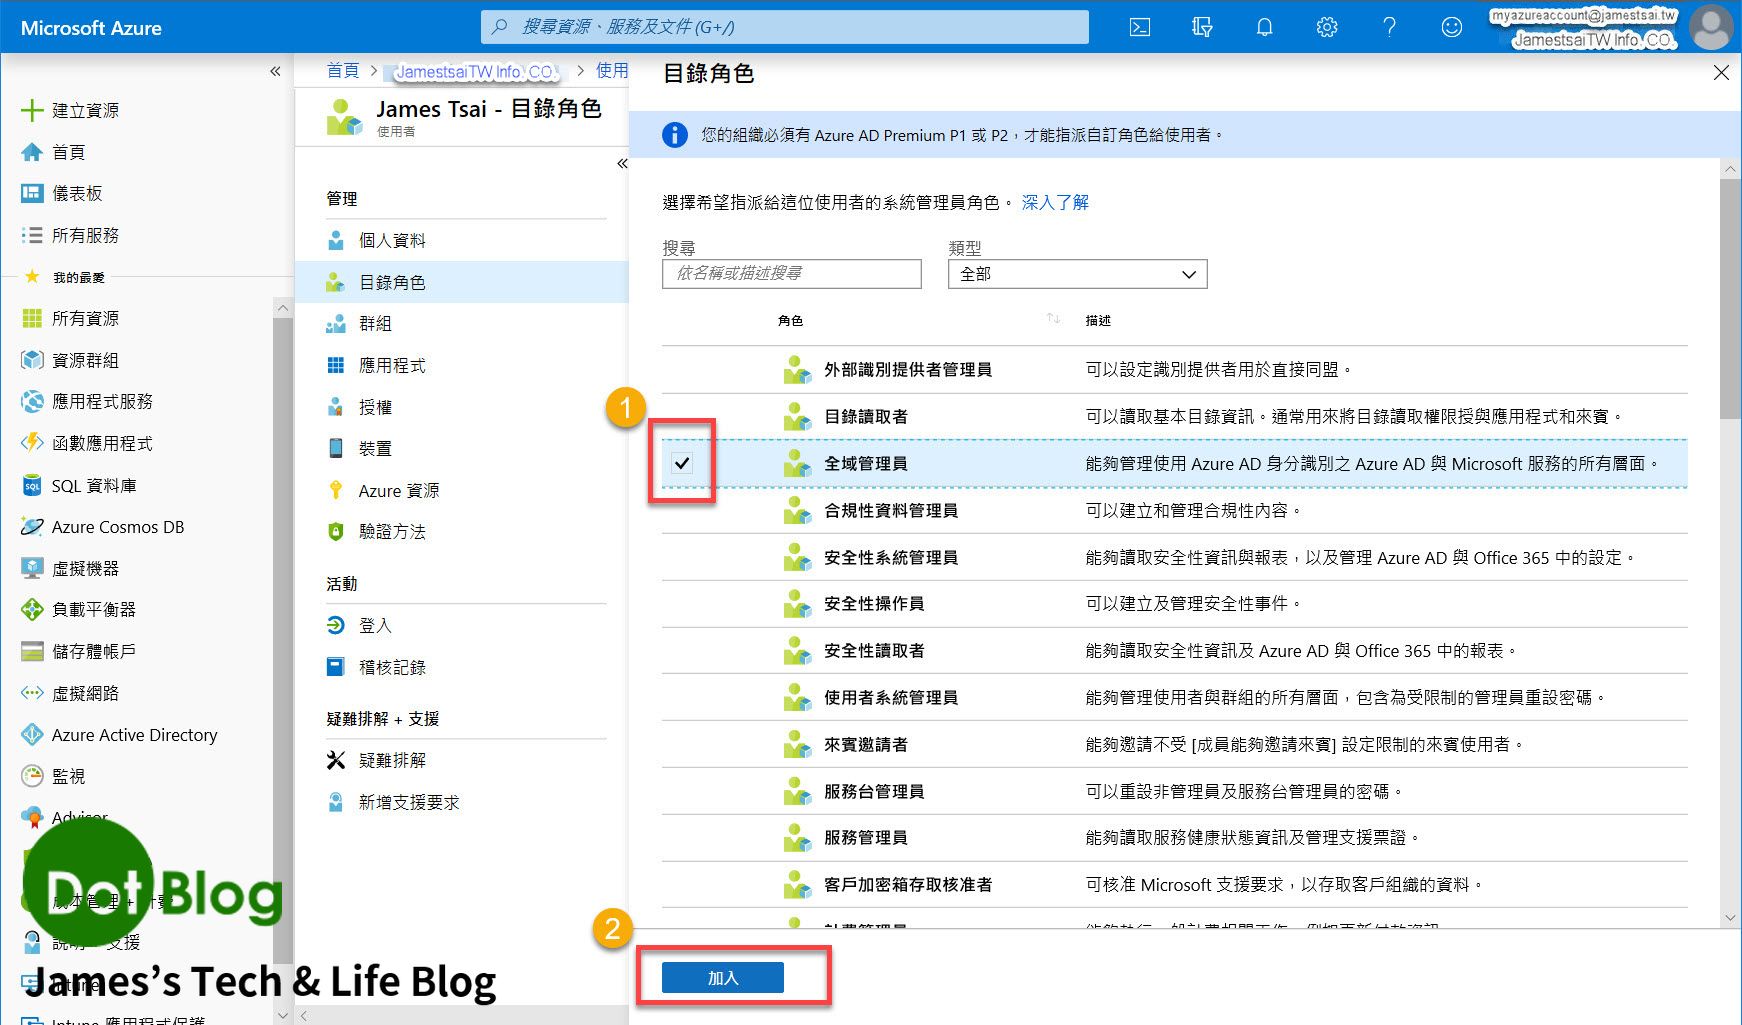
等到 Azure 出現 "已成功新增目錄角色" 的通知訊息時,可以在此帳號的 "目錄角色" 畫面中看到 "全域管理員" 的設定。
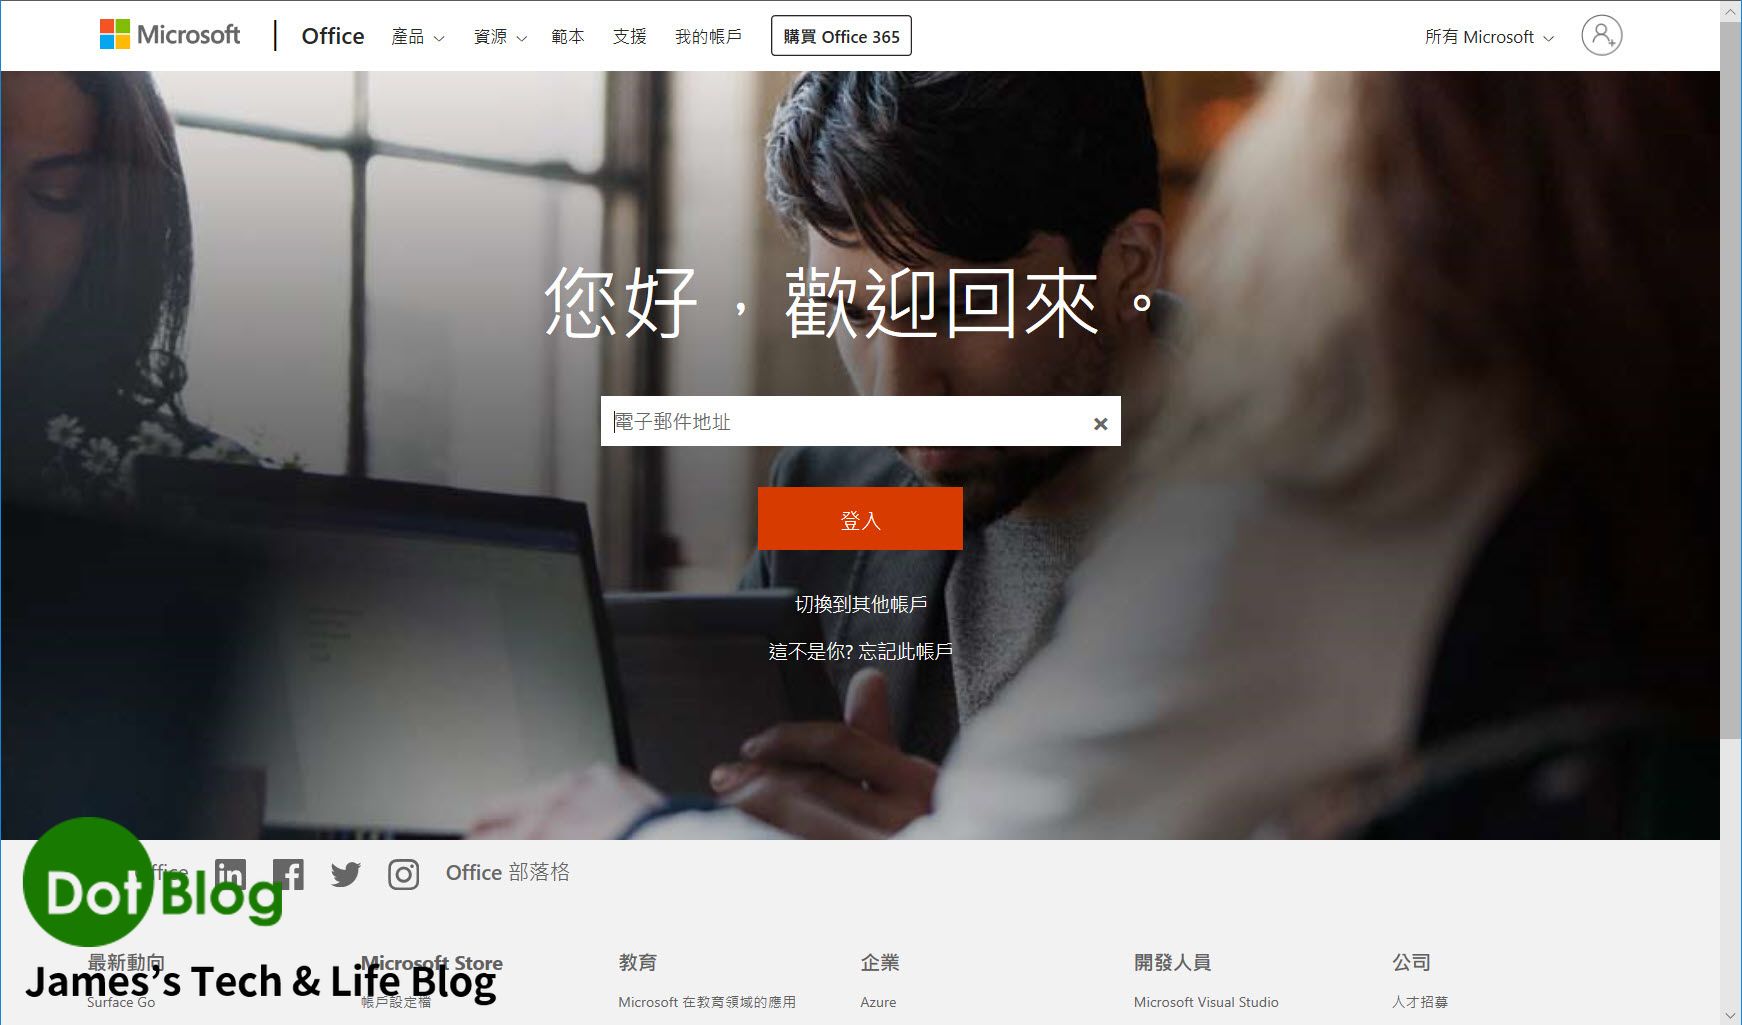
Azure Portal 就到這邊,接著我們要前往 "Office 365" 的網站:
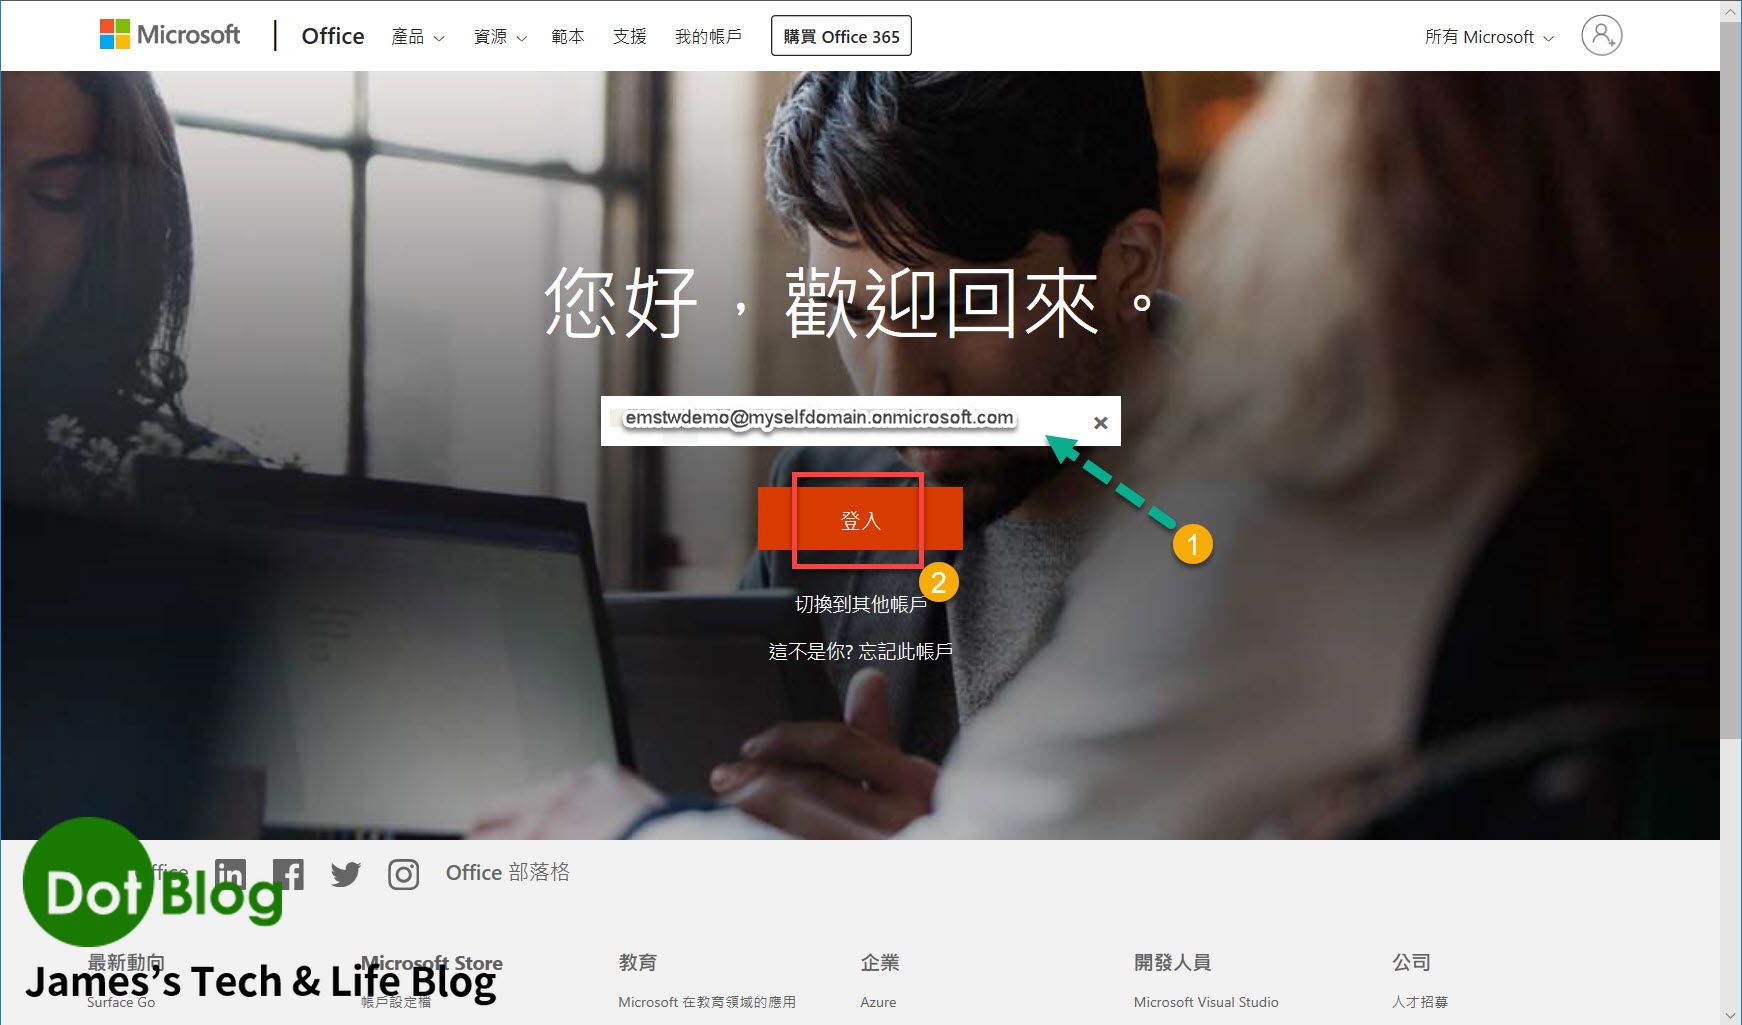
輸入先前在 AAD 裡所設定的帳號,點選 "登入"。
接著輸入 "密碼"。
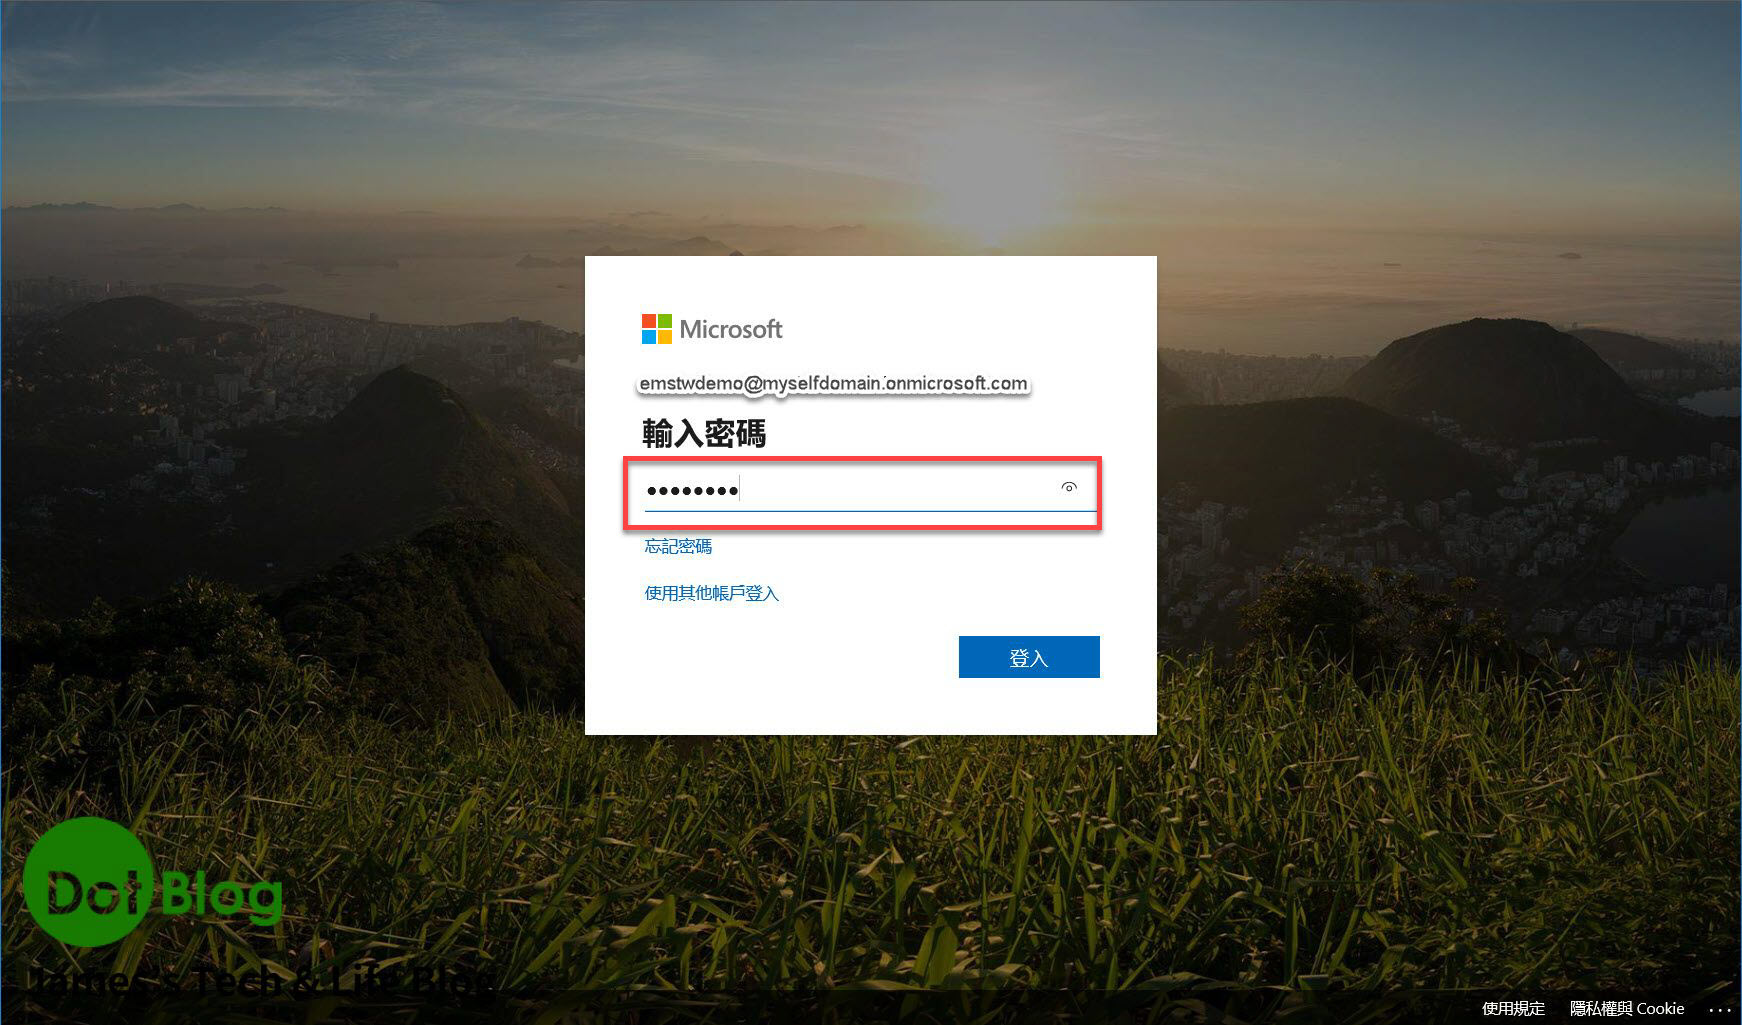
在 前篇 中在 AAD 帳號設定時,有先請捧友要先複製起來的 "暫時密碼"。
輸入後,會要求更新密碼,沒問題後點選 "登入"。
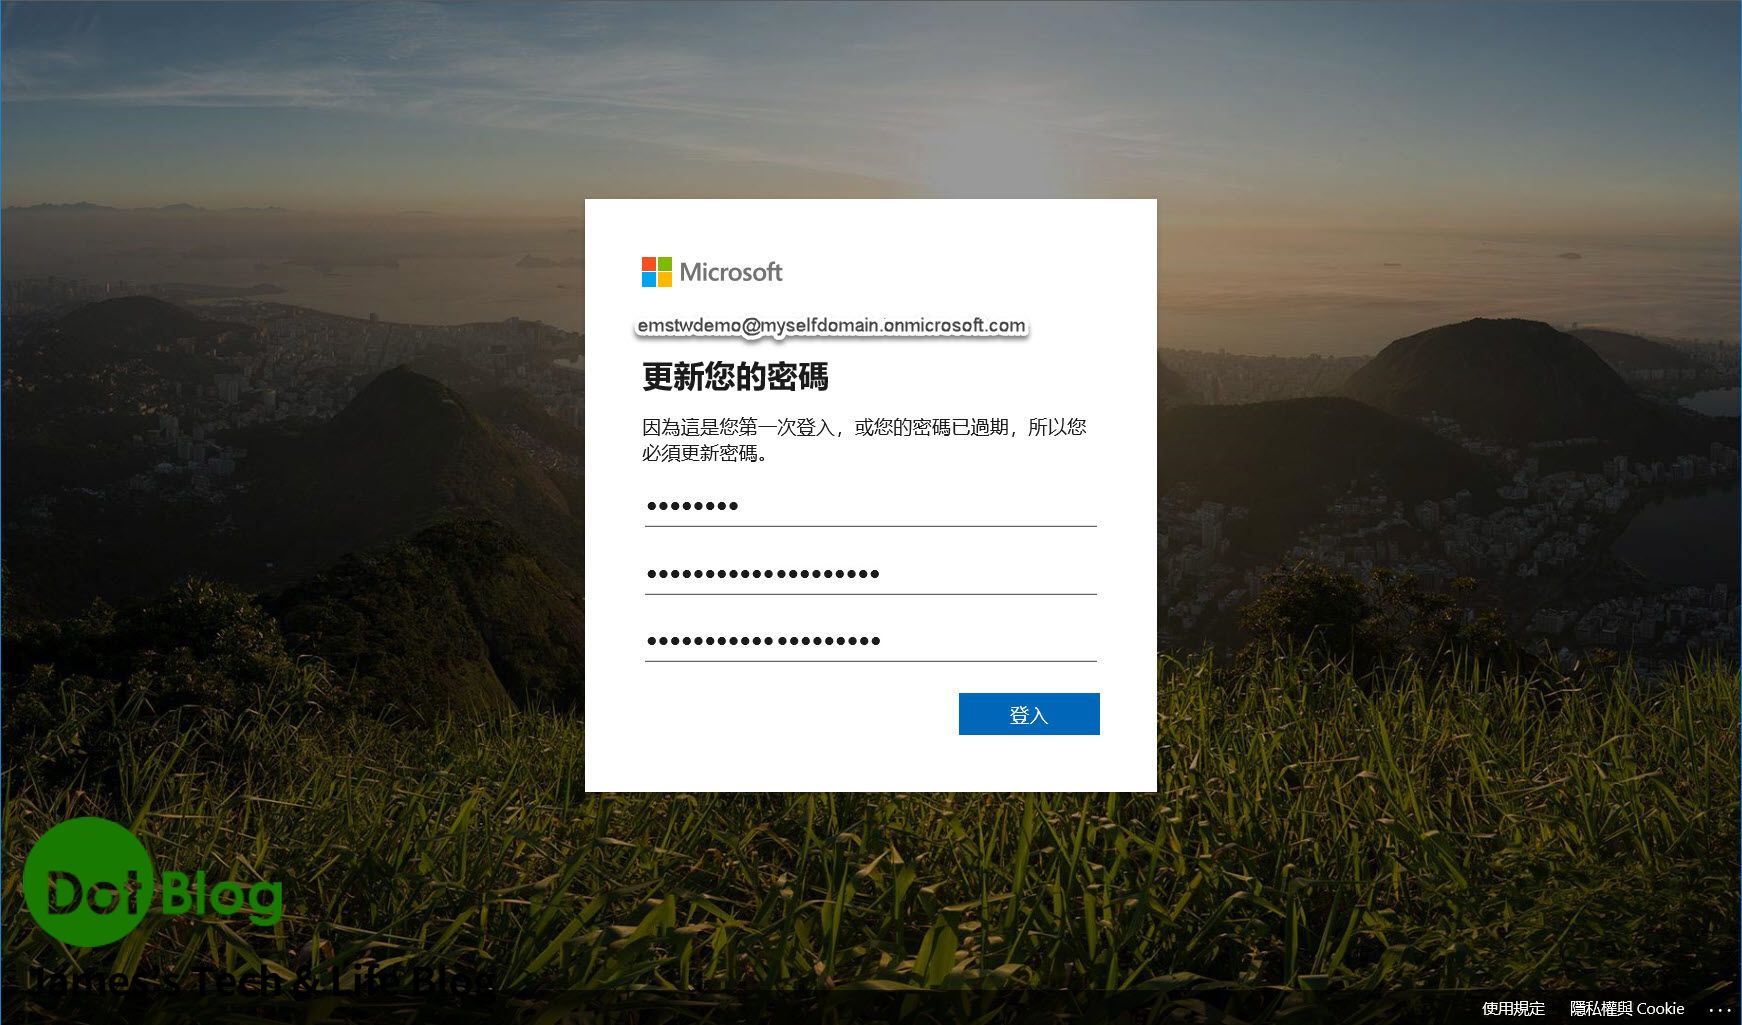
此設定的密碼不要忘記,由於此帳號是 AAD 中權限最大的 "全域管理者",忘記了就要用 開立此 AAD 的 Microsoft 帳號登入 Azure Portal 再重新去 AAD 當中幫此帳號重設密碼。
第一次進入到 Office 365 的主畫面,會出現引導步驟,在這邊是直接點選 "關閉"(若捧友有興趣可以自行看看)。
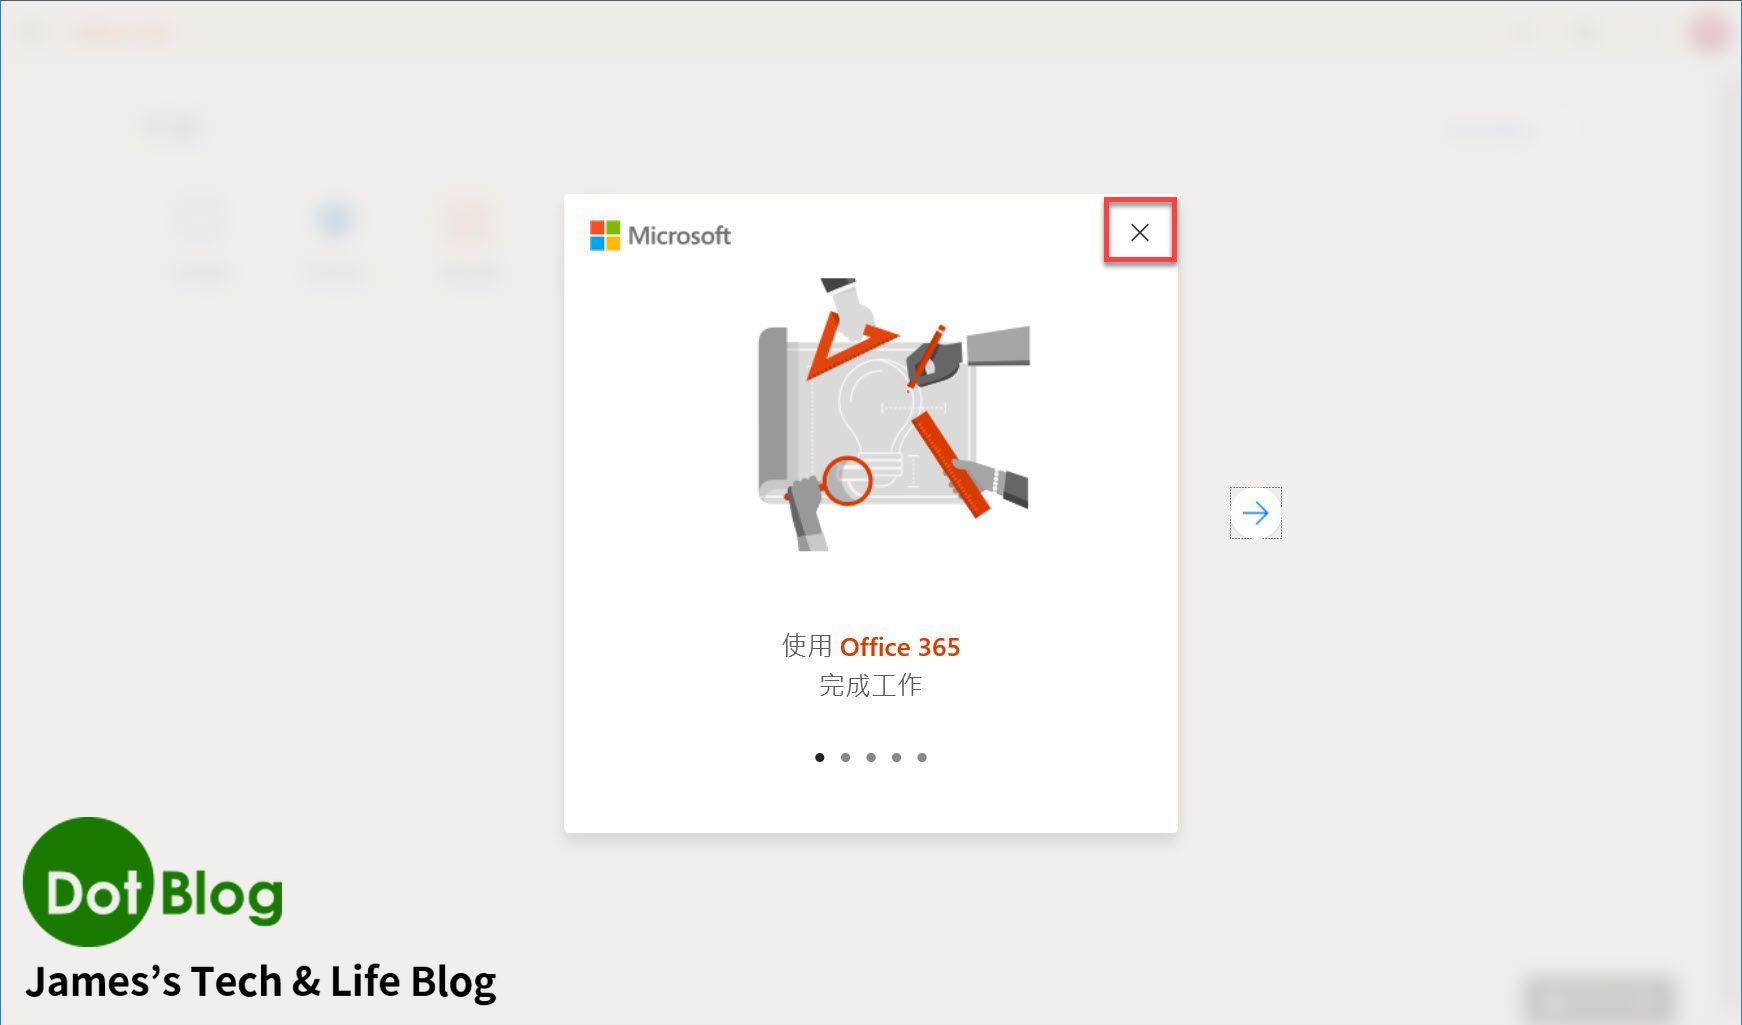
會出現 "安裝 Office" 的提示,可以直接點選 "了解" 關閉該提示。
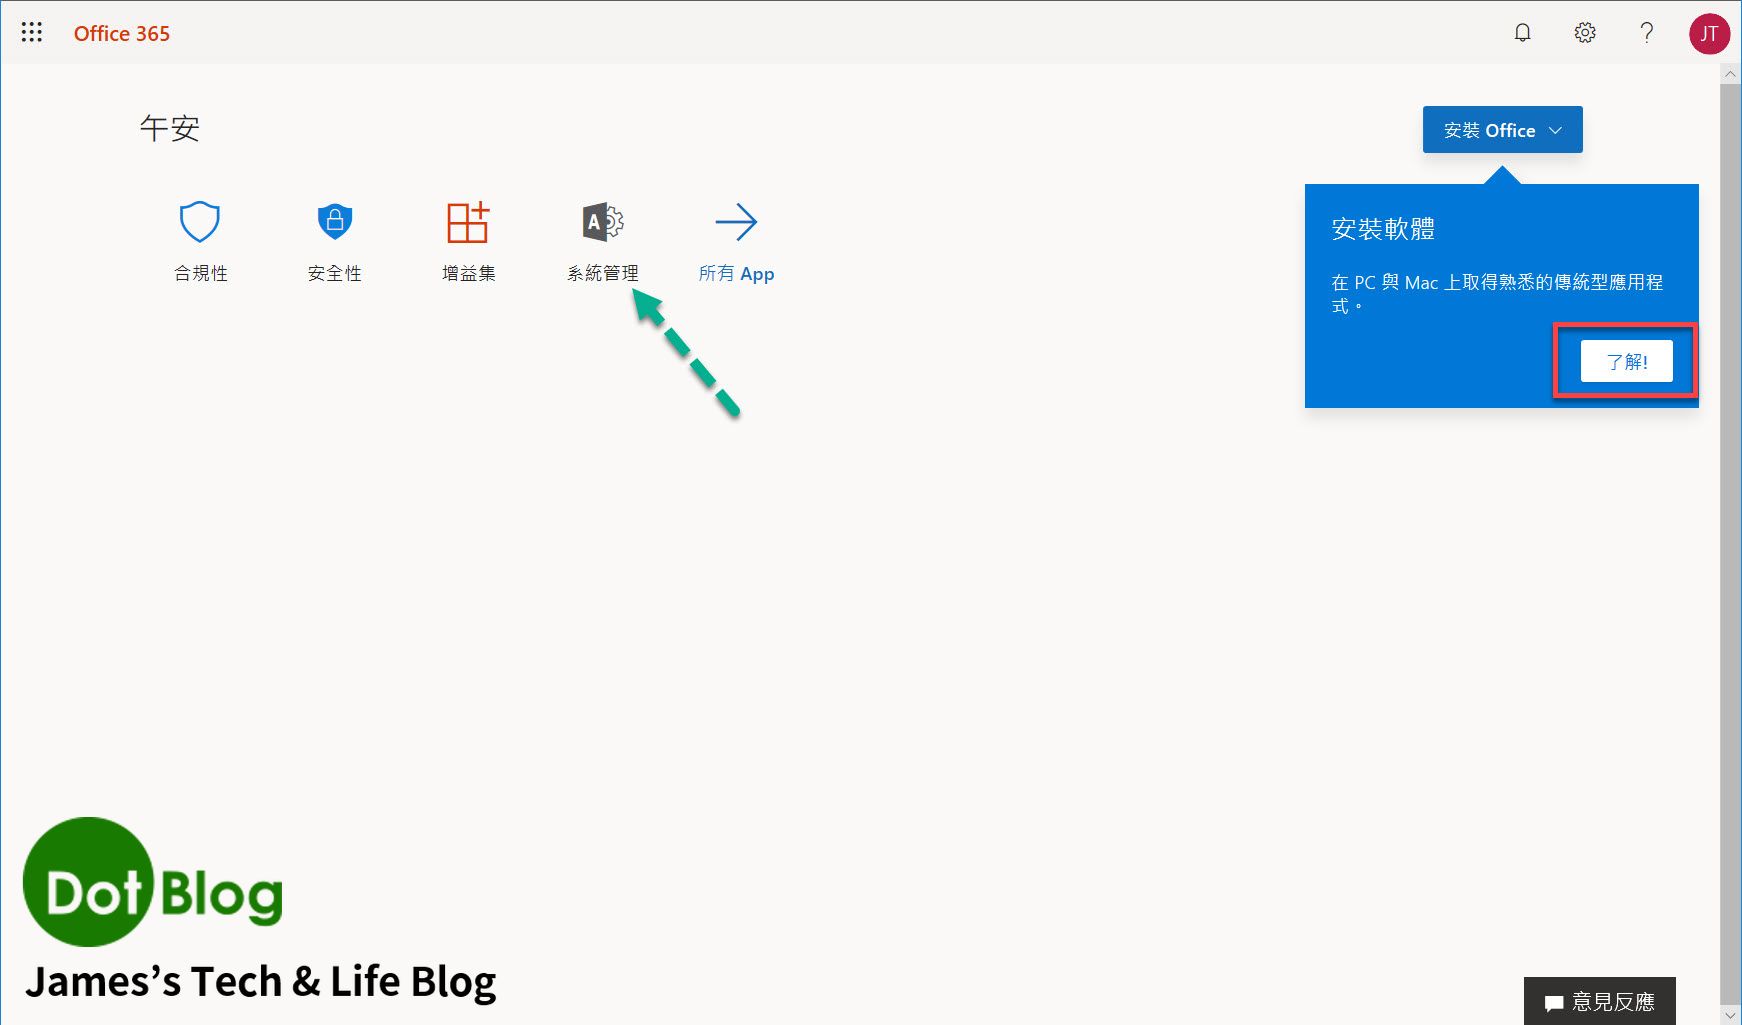
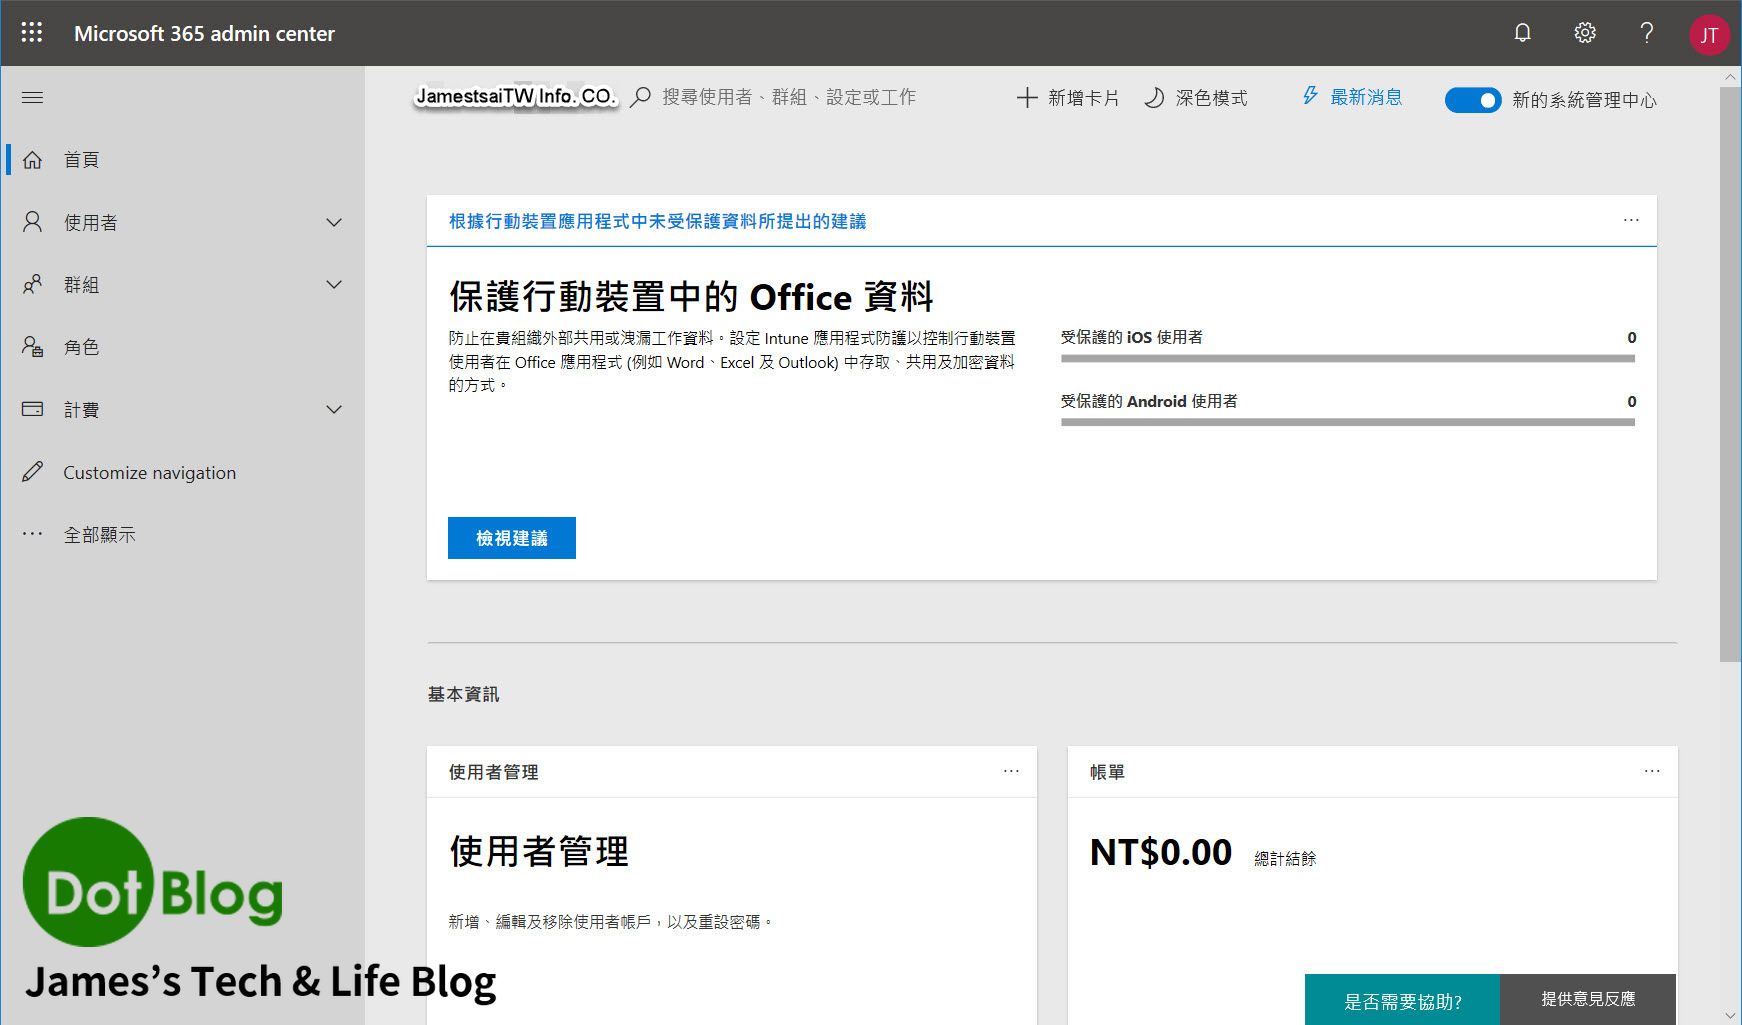
點選 "系統管理"。
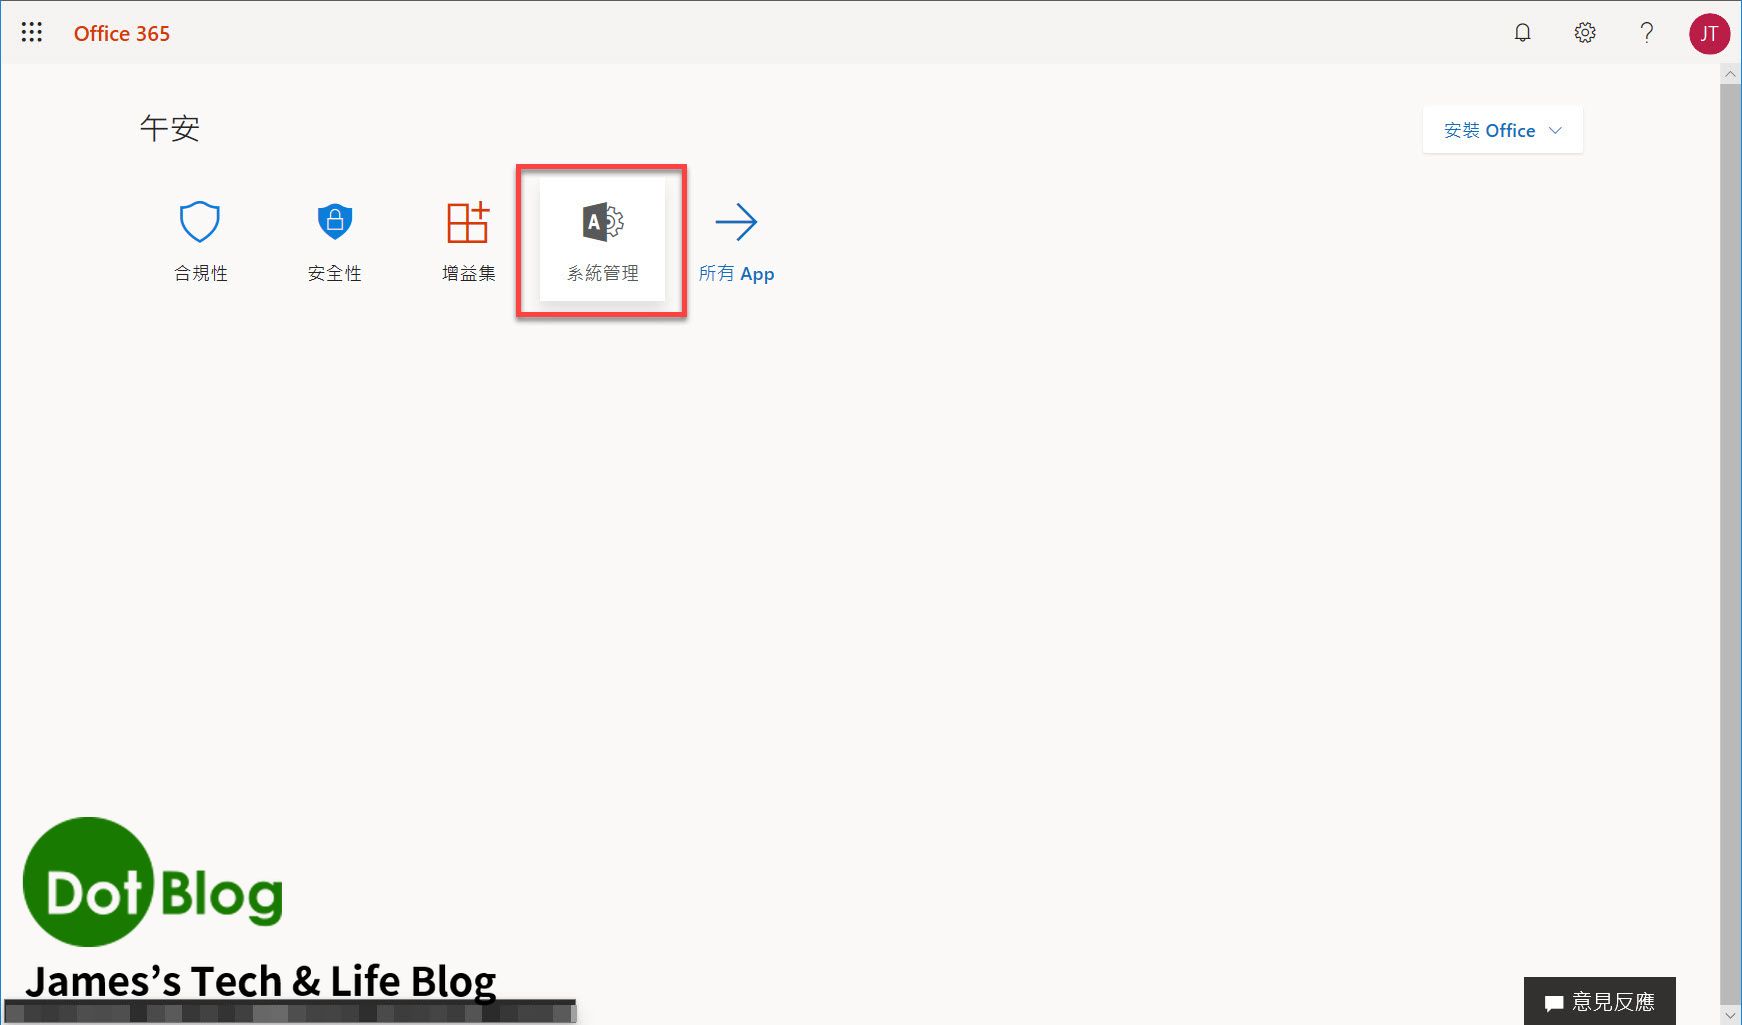
進入到 "Microsoft 365 admin center" 管理中心。
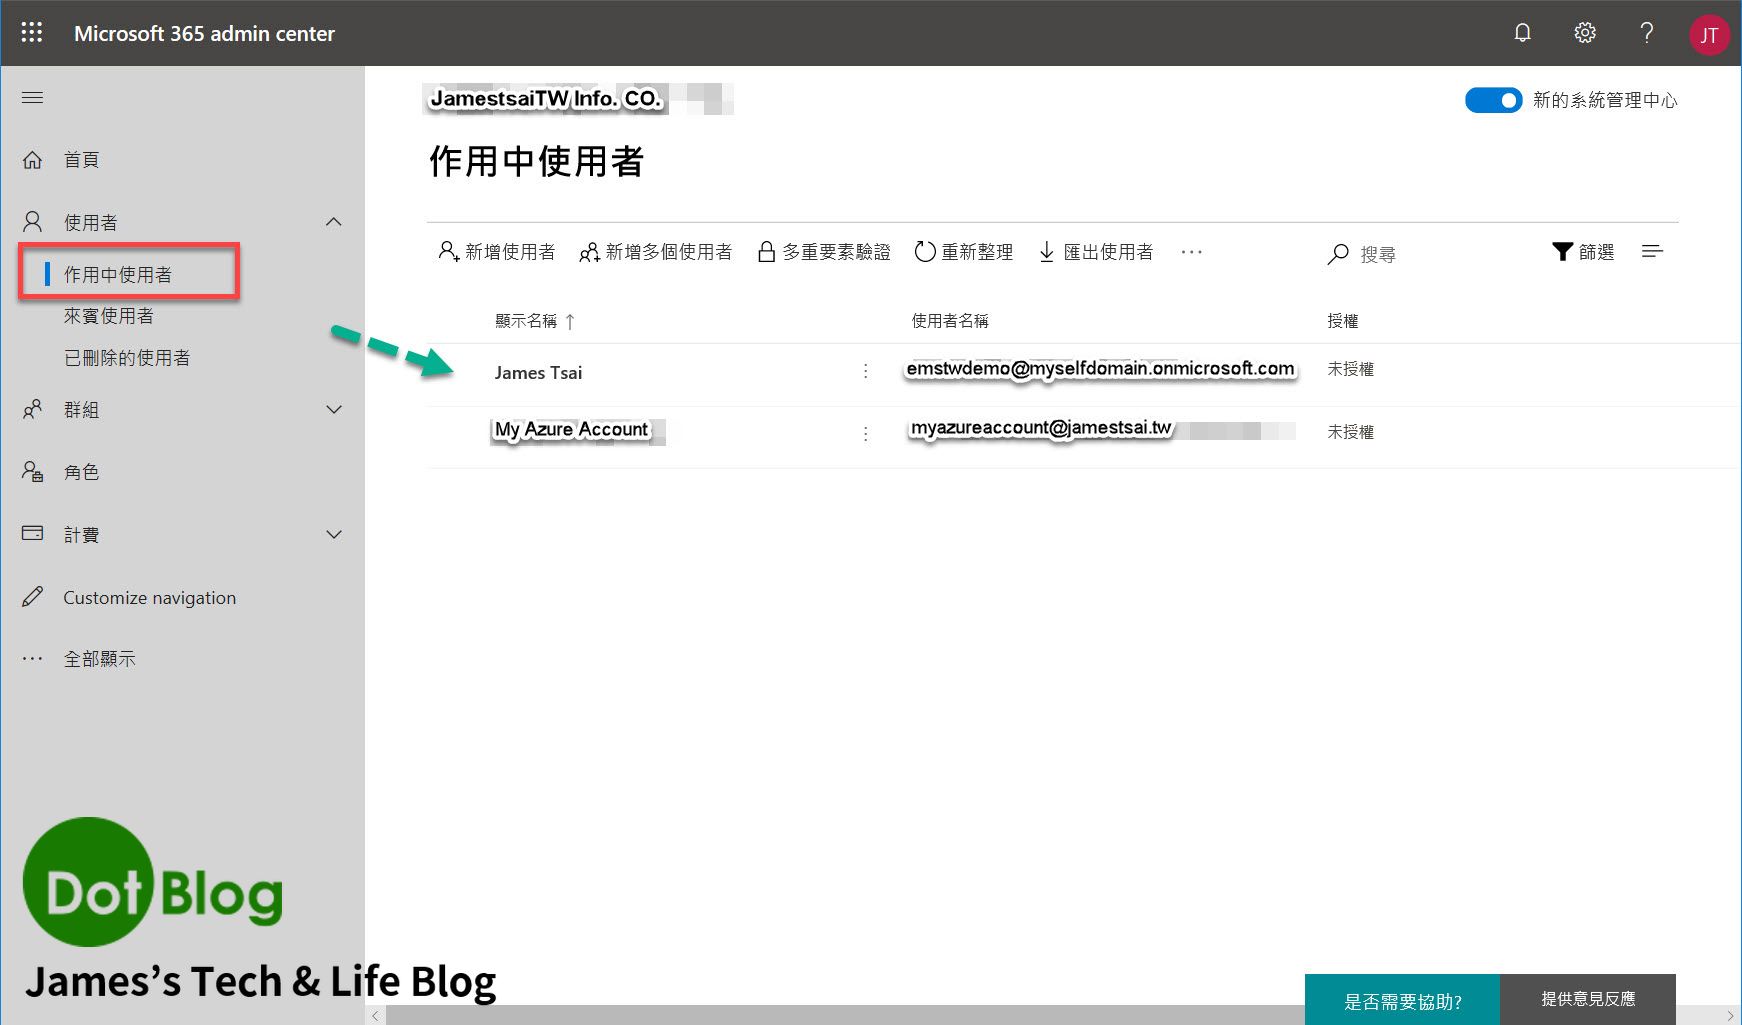
展開左側選單的 "使用者" 項目,點選 "作用中使用者"。在右側的主畫面應該會出現,我們前面在 Azure 當中所設定的帳號。
展開左側選單的 "計費" 項目,點選 "產品與服務",會看到相關的 Office 365 的 "Enterprise Mobility + Security E5 Trial" 授權訂閱。
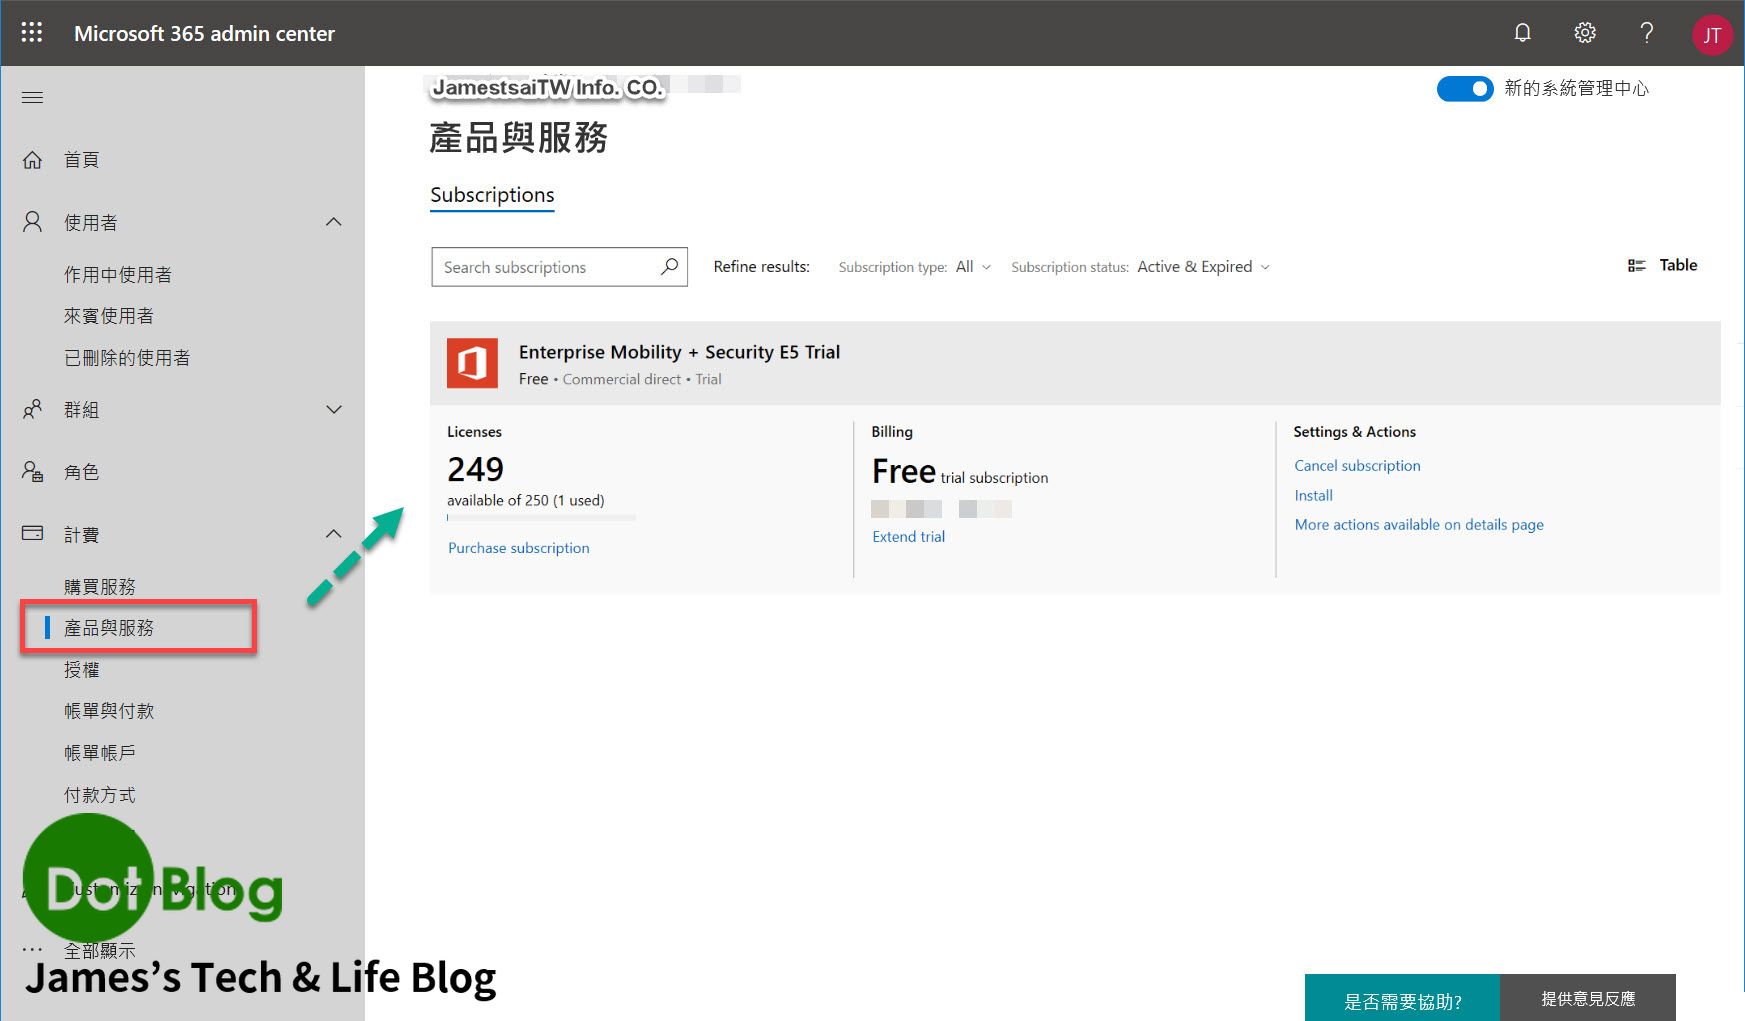
有時候在此點選後頁面會顯示無法瀏覽,可能是 "新的管理中心" 的 UI 問題,可以嘗試著關閉畫面右上角的開關,回到 "舊的管理中心" 頁面再確認此設定是否正確。
以上完成整個申請流程囉~~~
估得掰!
I'm a Microsoft MVP - Developer Technologies (From 2015 ~).
I focus on the following topics: Xamarin Technology, Azure, Mobile DevOps, and Microsoft EM+S.
If you want to know more about them, welcome to my website:
https://jamestsai.tw
本部落格文章之圖片相關後製處理皆透過 Techsmith 公司 所贊助其授權使用之 "Snagit" 與 "Snagit Editor" 軟體製作。