如果有參考過本宅先前發表的兩篇文章:
- 將 Xamarin.Android 所建置出的 App 上架到 Google Play Store…I
- 將 Xamarin.Android 所建置出的 App 上架到 Google Play Store…II
接下來就是在 Google Play Console 做相關的上傳 .apk or .abb 的動作,即可將辛苦完成的 Android App 準備在 Google Play Store 當中上架囉~~~
在前一篇 "將 Xamarin.Android 所建置出的 App 上架到 Google Play…II" 當中,我們已經建立出 Android App 的 .apk 檔 (當然,時至今日已經可以封裝 .abb 檔)。
接著就是回到 Google Play Console 當中做相關的操作。
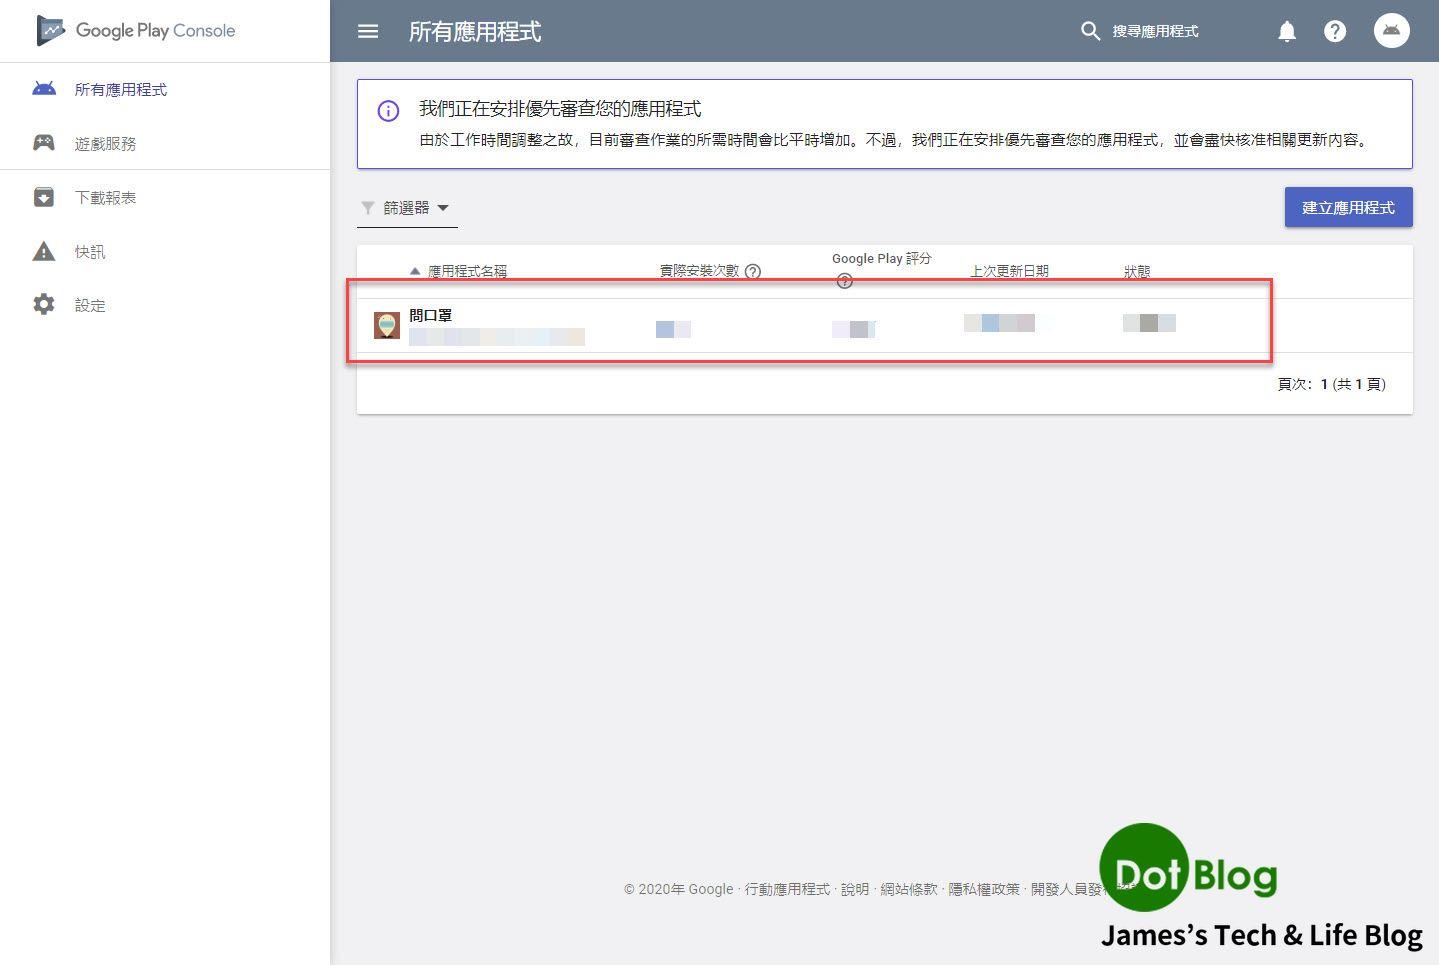
首先,先從 "所有應用程式" (可先複習 "將 Xamarin.Android 所建置出的 App 上架到 Google Play Store…I"),點選之前所建立的既有 App 應用程式進入編輯。
接著點選 Google Play Console 左側的選單 "版本管理"。

接著再點選 "應用程式版本"。
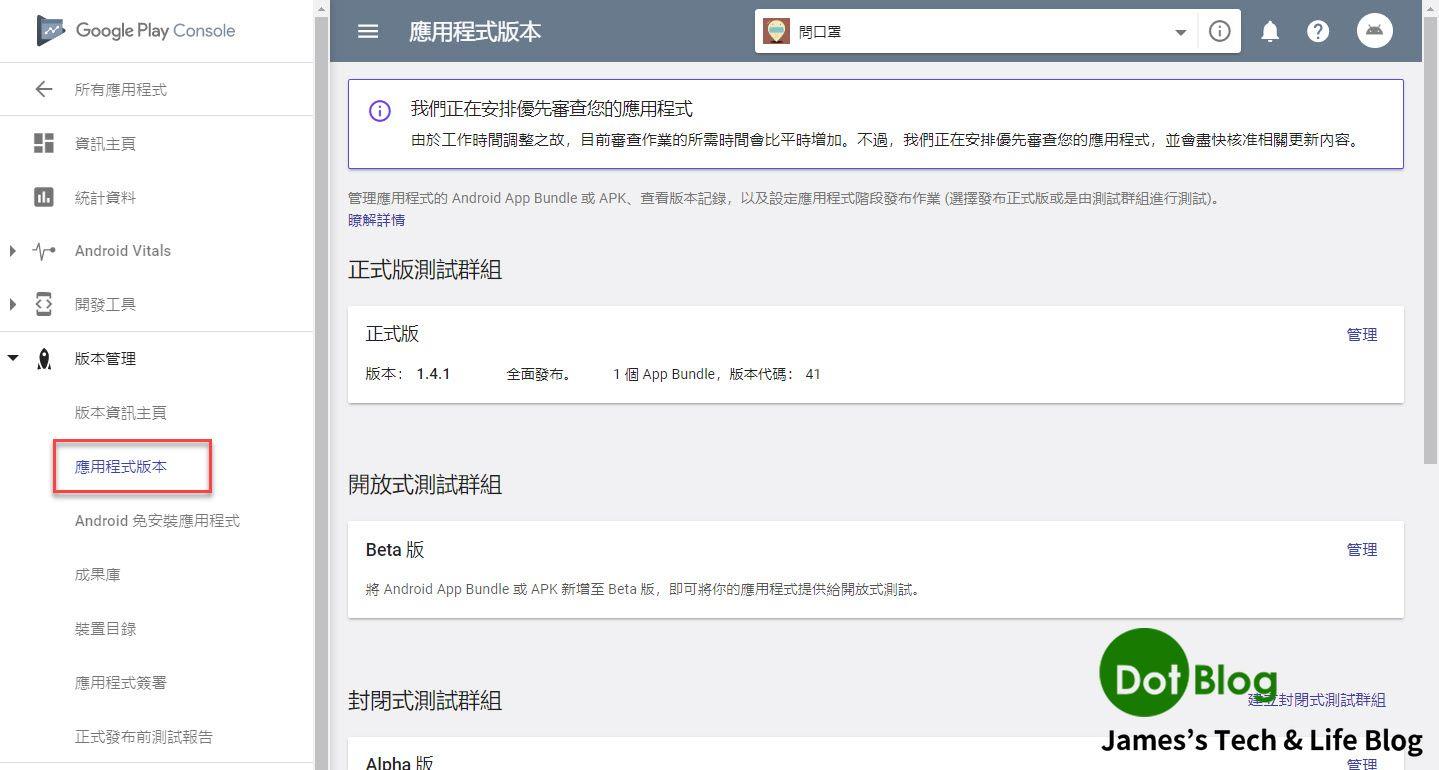
若已經發佈過 App 的話在此畫面點選 "管理",若是尚未發佈過 App 的話在此畫面應該是 "新增"。
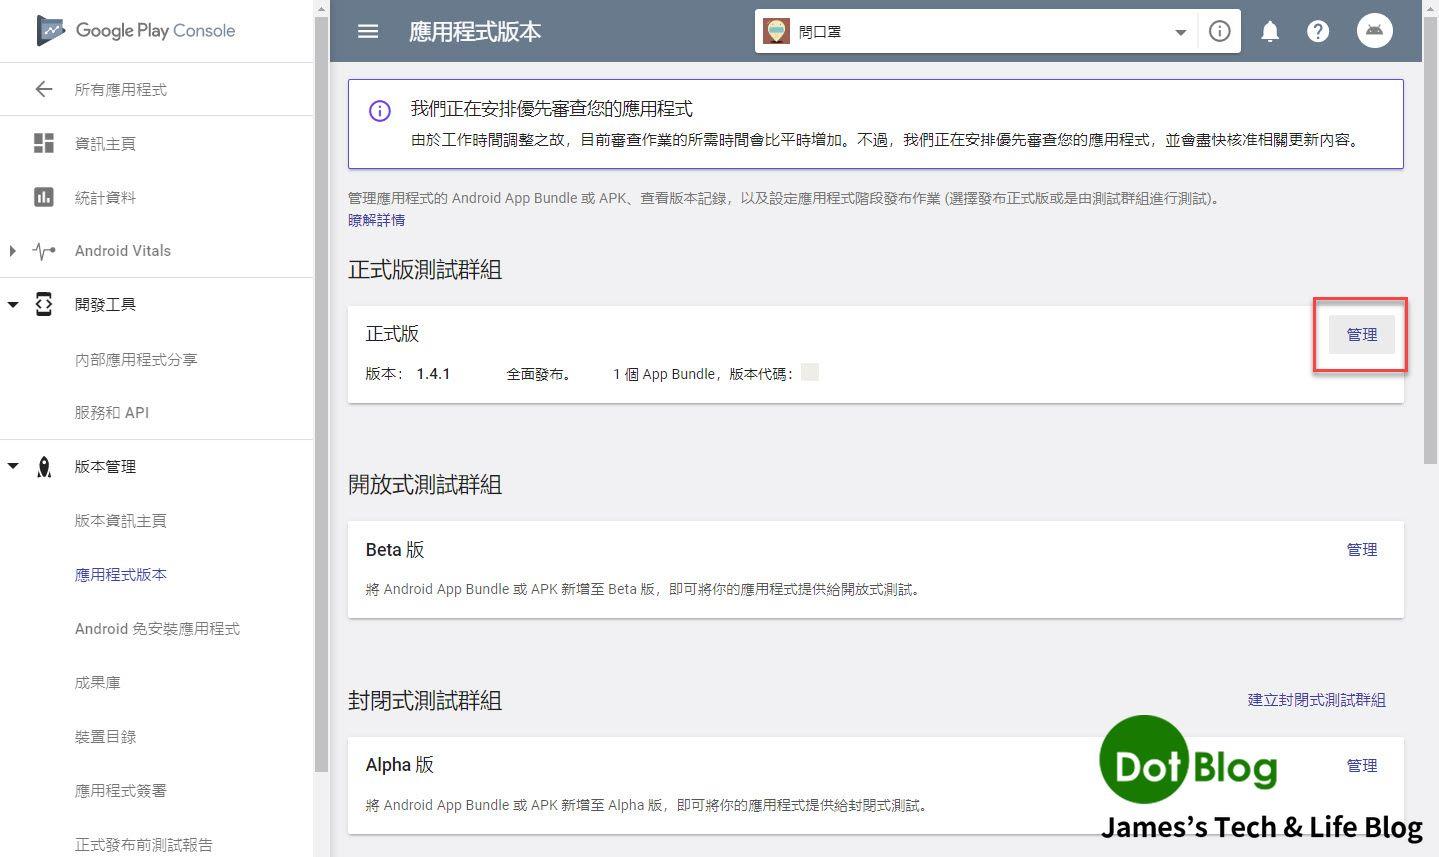
點選 "建立新版本"。
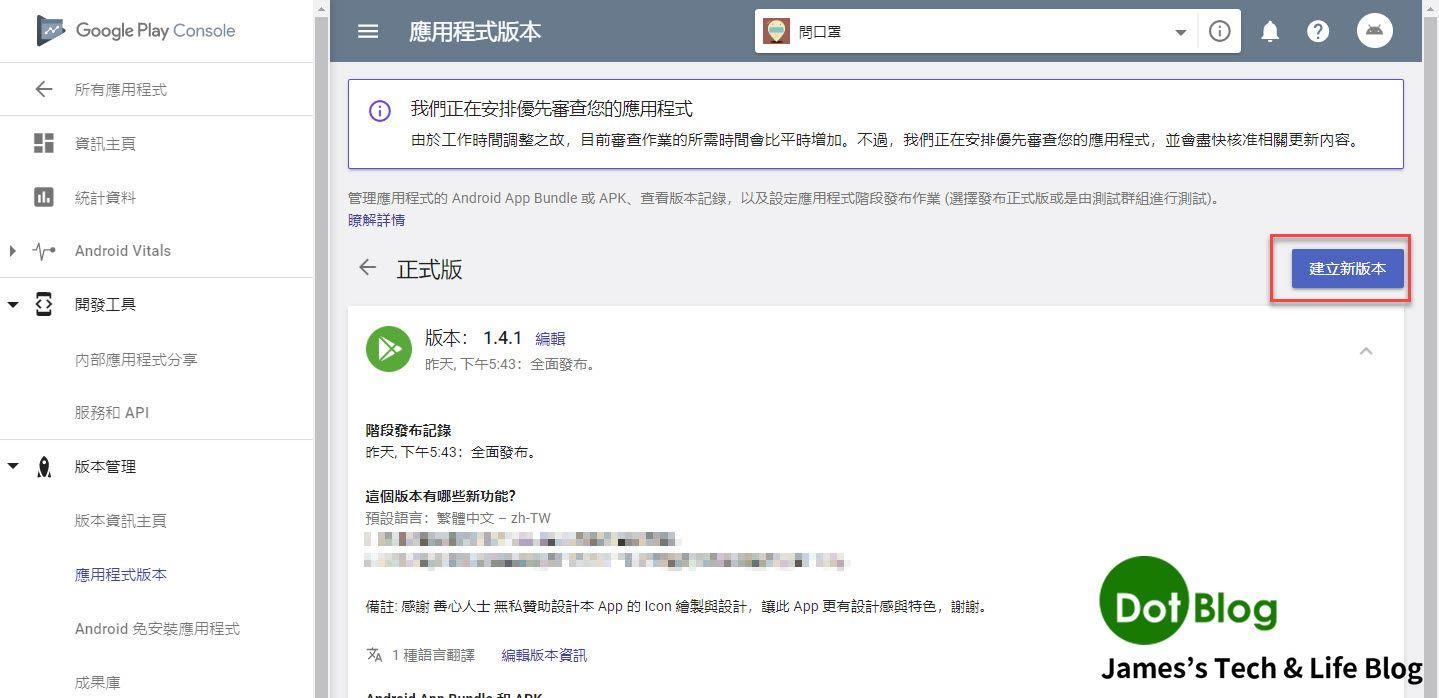
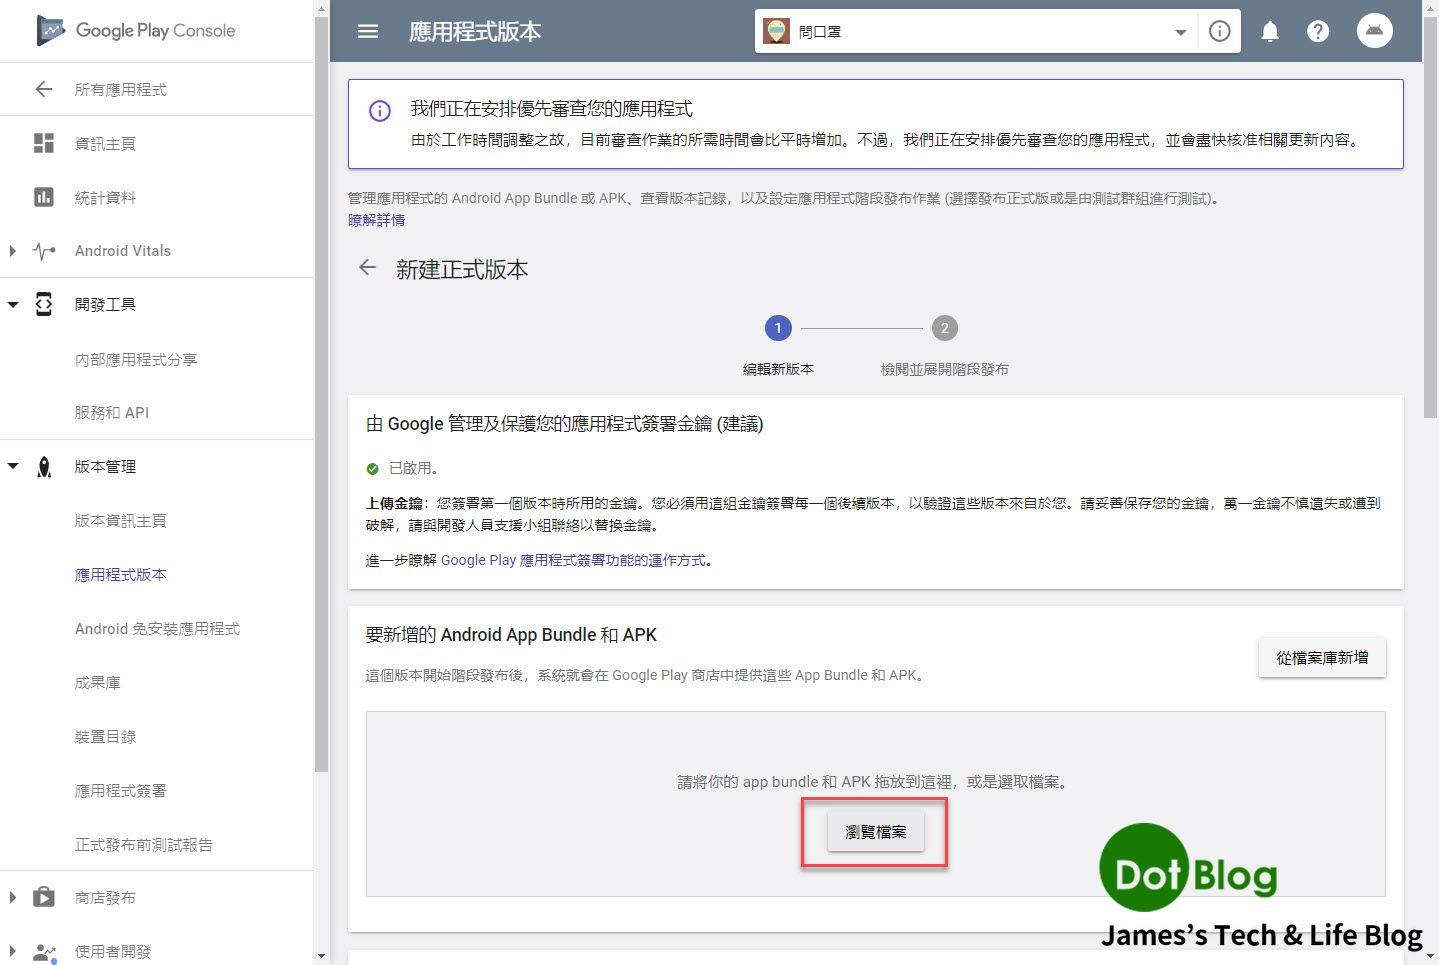
進到編輯新版本的畫面後,即可點選 "瀏覽檔案",去選擇先前透過 Visual Studio 封存 App (並且經過散發簽署後),儲存在電腦上的 .apk or .abb 檔案。
上傳 App 所封存的 .abb 檔案中,上傳 .abb 的好處可參考 本篇 "[譯文] 透過 Android App Bundle 格式發佈更小的 Android App"。
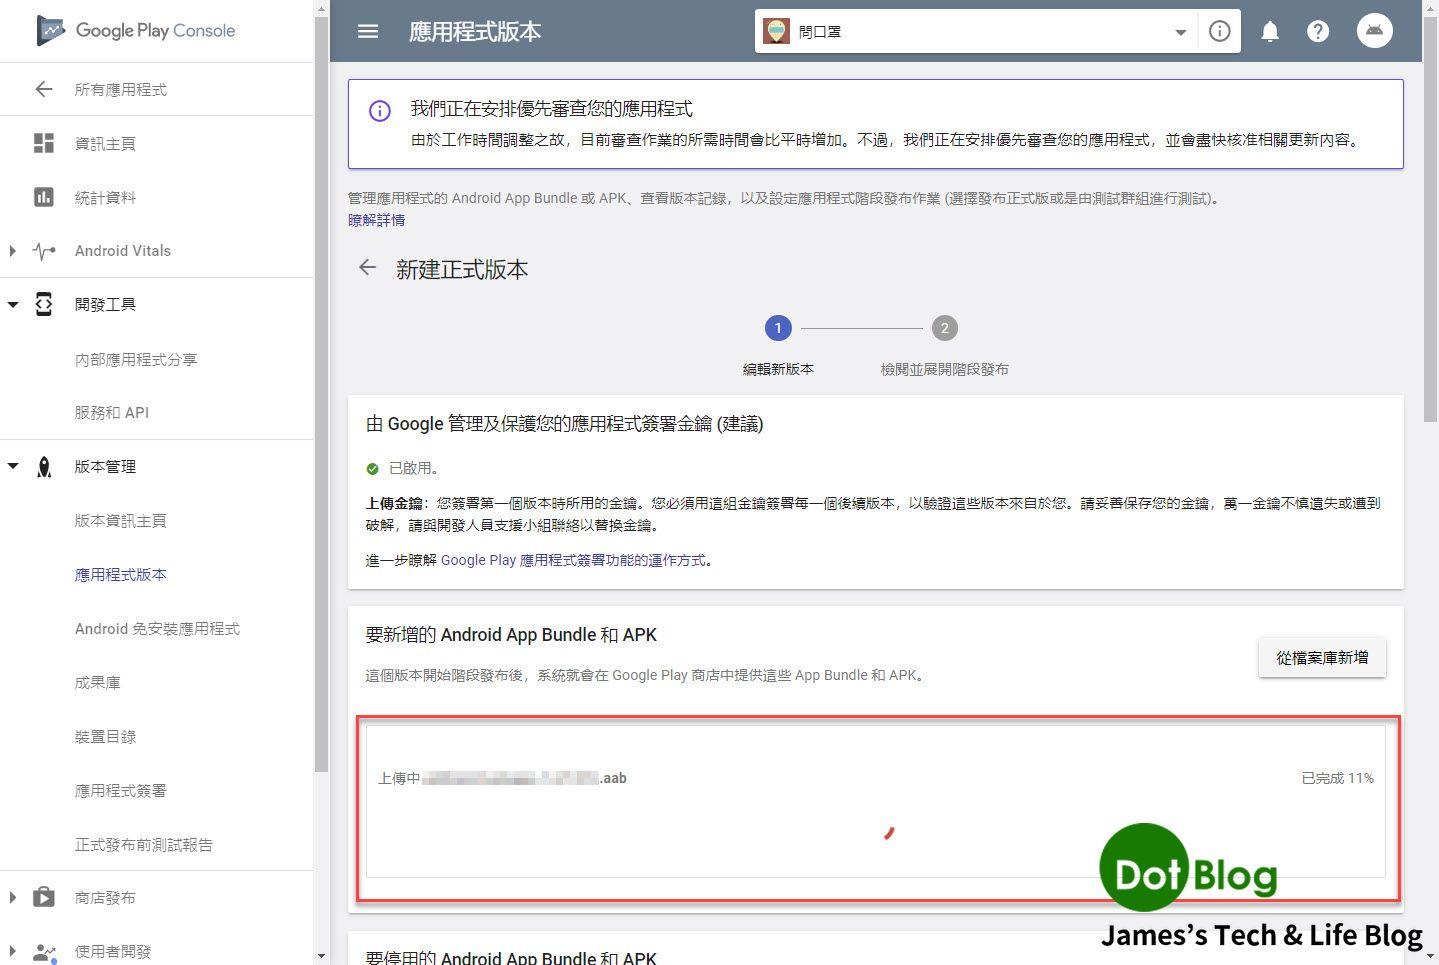
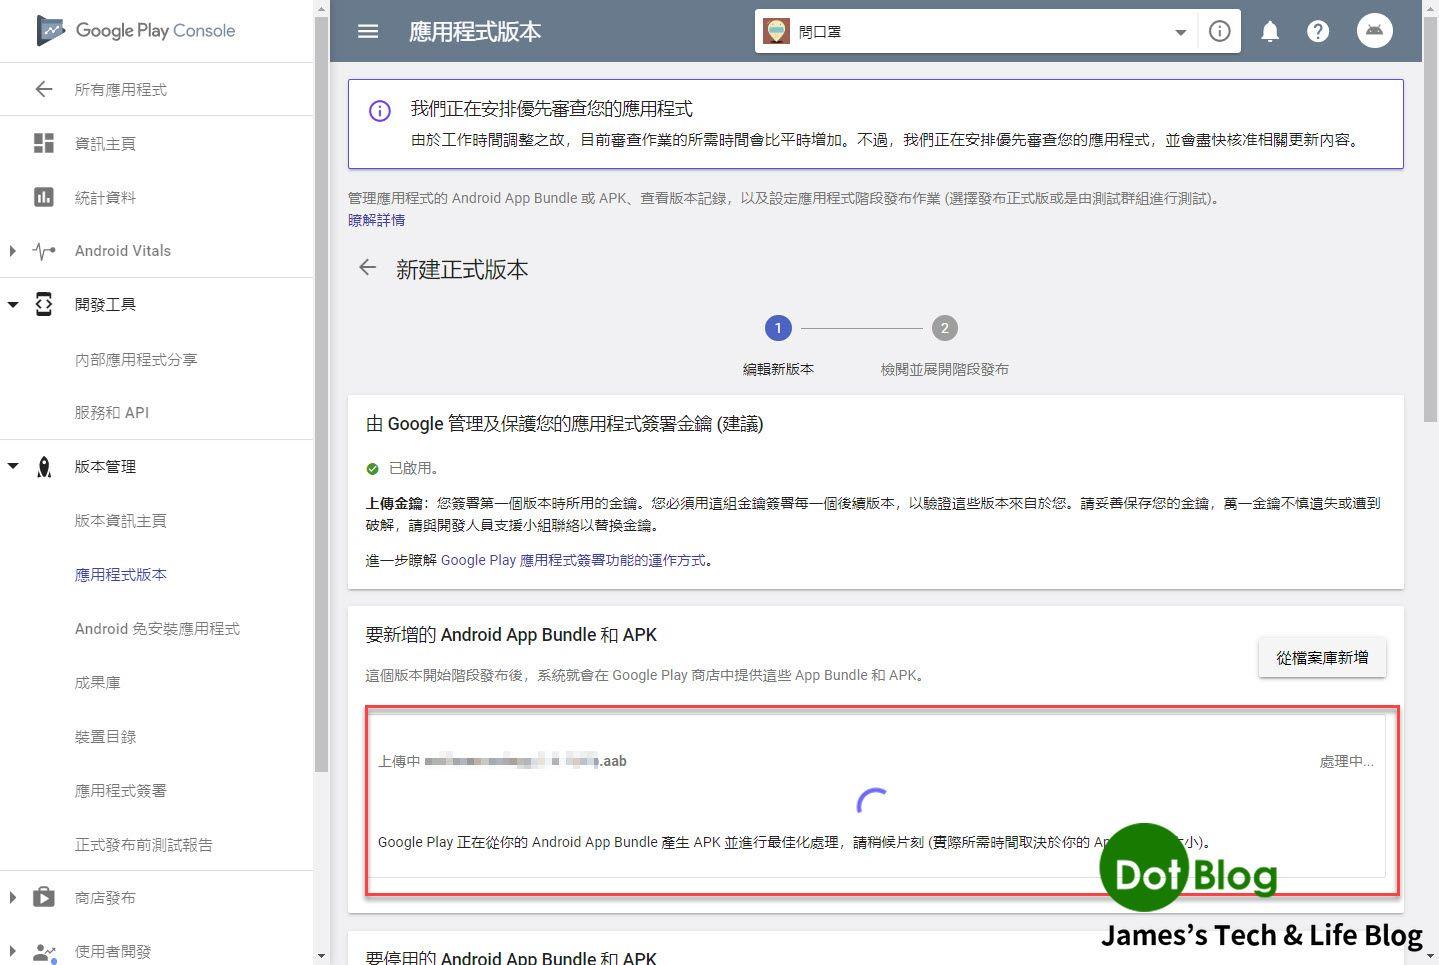
由於所上傳的 App 封存格式是 .abb 的檔案,Google Play Console 會自動協助做使用者最佳化下載的處理,就靜待處理完畢。
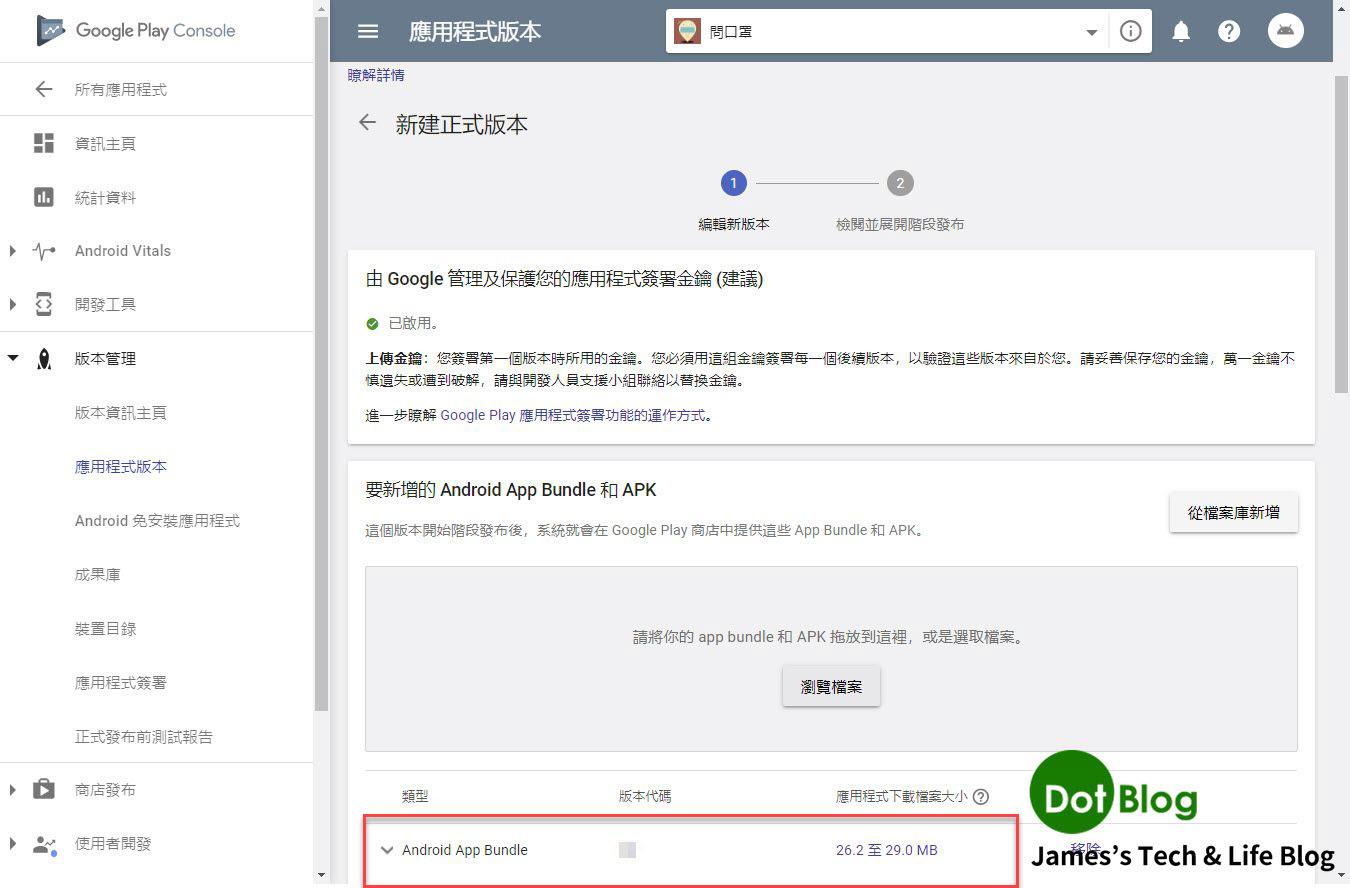
完成後,就會看到如下畫面。
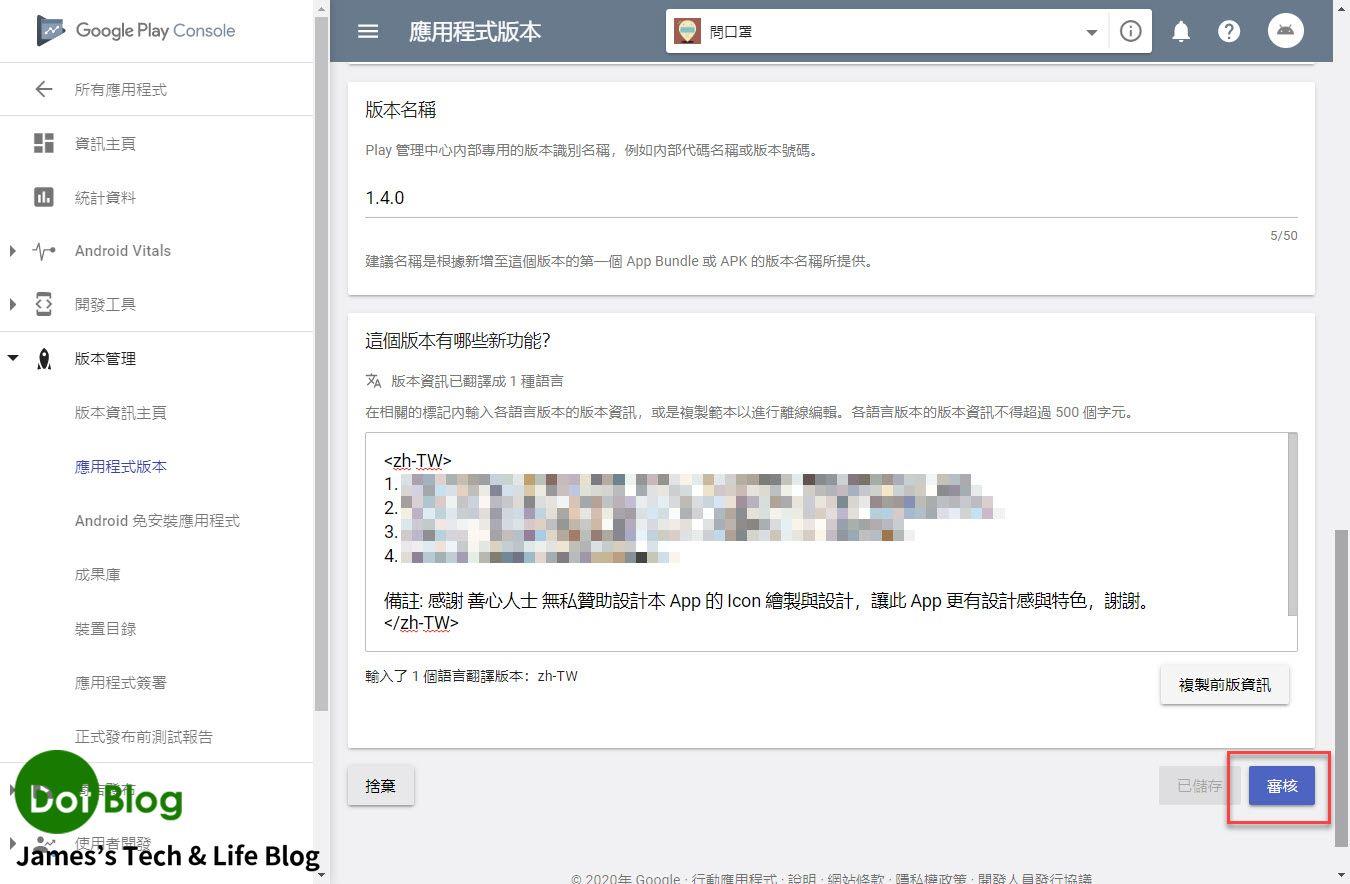
將 App 要上架的相關敘述編輯完畢,即可點選 "審核"。
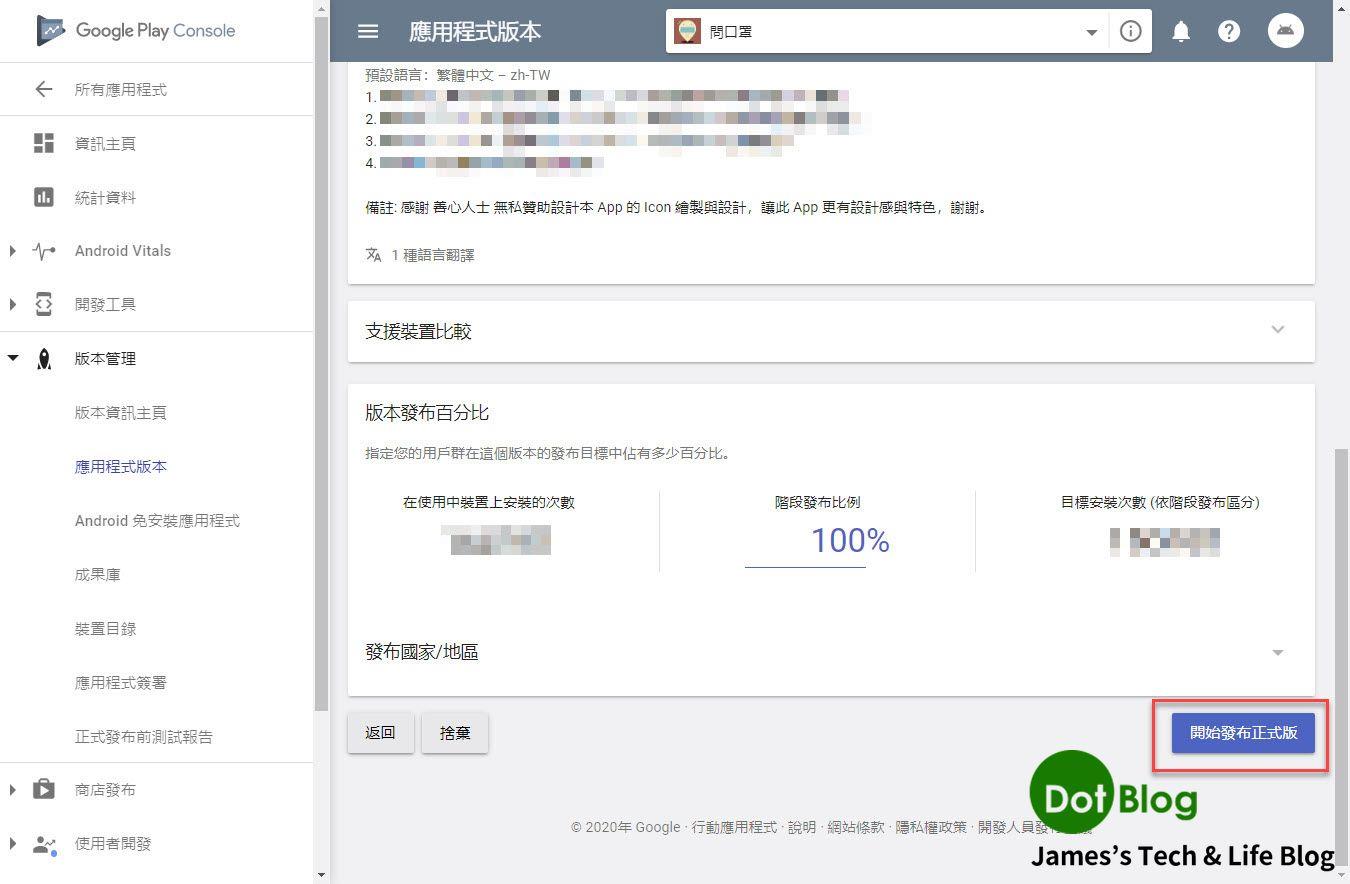
最後即可點選 "開始發布正式版",若是第一次發行 App 會經過較久的審核(大約 3~7 天)才能上架,若是更新 App 版本的話大約半天後就可以看到新版 App 出現在 Google Play Store 當中了。
以上介紹供各位朋友參考囉!
若想透過 Visual Studio 做到更多自動化發佈 Android App 的朋友,可再繼續閱讀:
"透過 Visual Studio 串接 Google Play Console 發佈 Android App"
I'm a Microsoft MVP - Developer Technologies (From 2015 ~).
I focus on the following topics: Xamarin Technology, Azure, Mobile DevOps, and Microsoft EM+S.
If you want to know more about them, welcome to my website:
https://jamestsai.tw
本部落格文章之圖片相關後製處理皆透過 Techsmith 公司 所贊助其授權使用之 "Snagit" 與 "Snagit Editor" 軟體製作。