申請完 Unity ID 後,緊接著就可以來下載並安裝 Unity Hub & Unity Editor !
Unity Hub : 是 Unity 匯集各項 Unity 所提供的各種服務的匯集程式,舉凡開發、資產、教學、討論…等,但大多都只是一個進入點的連結彙整,真的要看或使用時,都會轉跳到相關的部分去。
Unity Editor : 是在電腦上要編輯 Unity 的開發專案時,會使用的工具應用程式,安裝時同時會需要安裝所需的各平台編譯環境跟工具。
BTW,無論是何者的使用,也都要先有 Unity ID 才能進行唷~~~
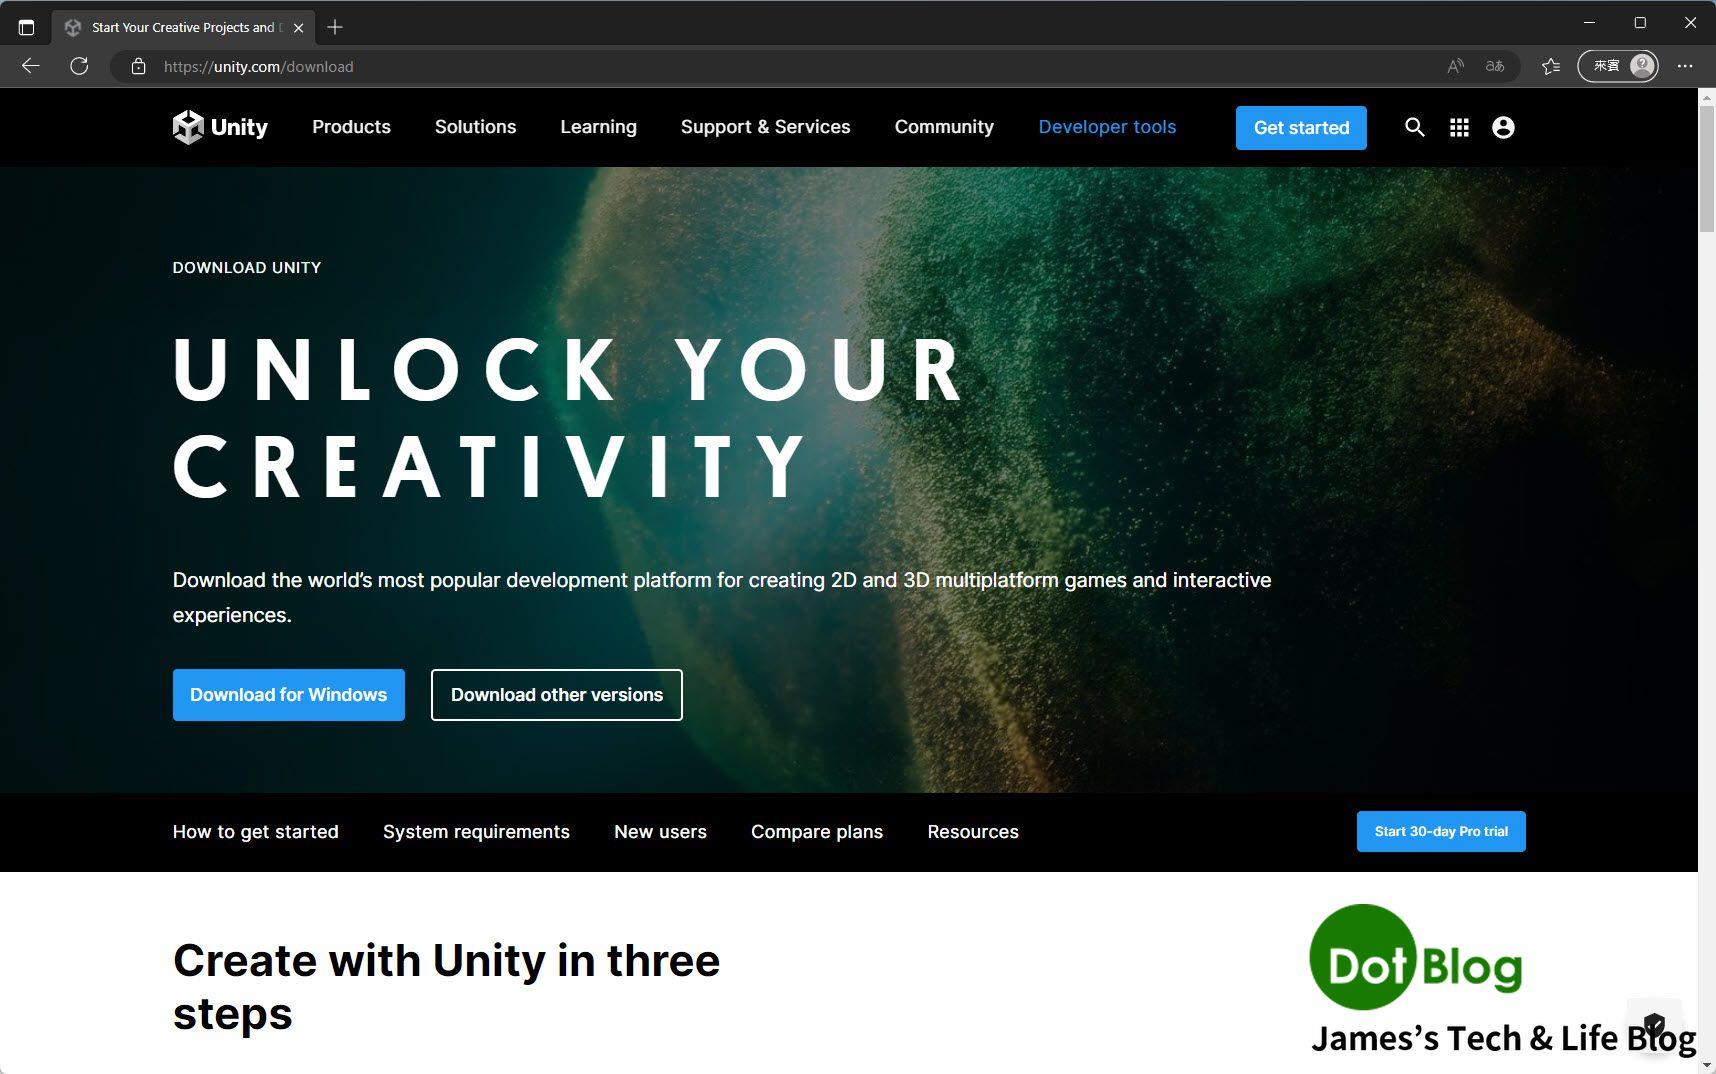
直接到 "https://unity.com/download" 即可在網頁上點選 "Download for Windows" (如果使用的是 Mac 系統應該會出現 "Download for Mac")。
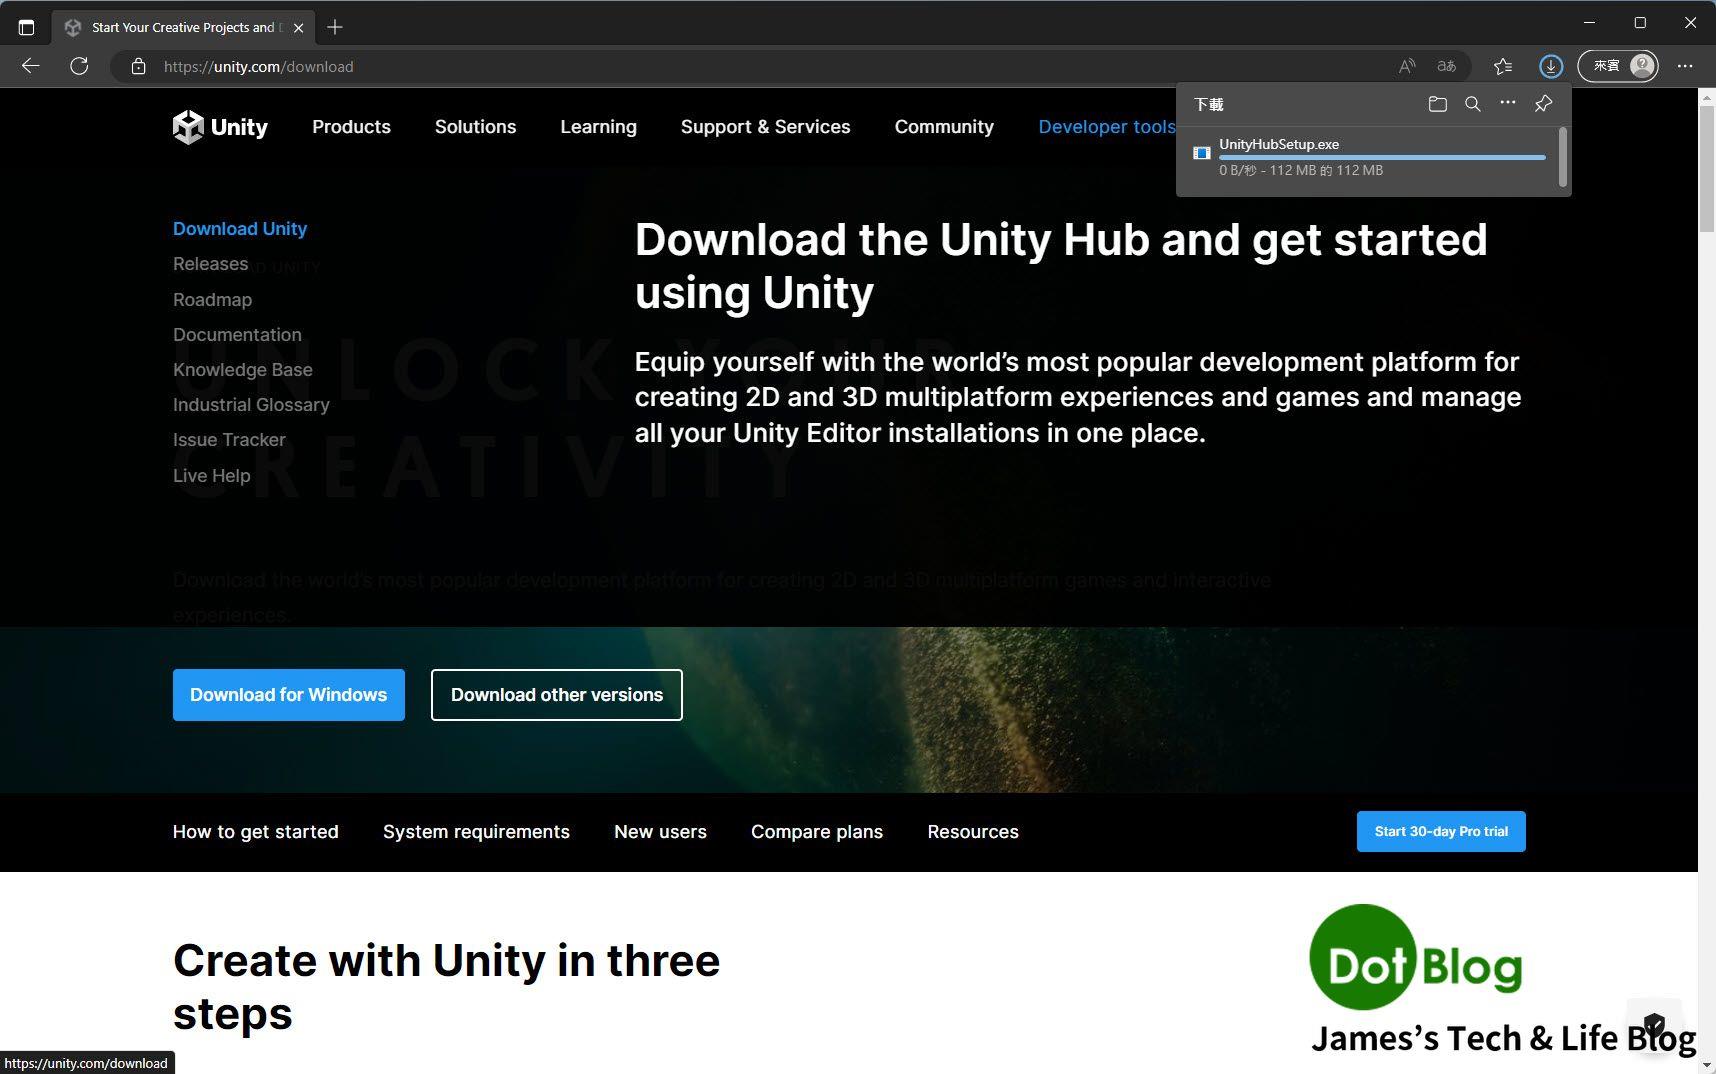
等待下載完成。
執行下載的 "Unity Hub" 進行安裝,直到 "完成"。

若在點選 "完成" 的畫面保留執行 "Unity Hub" 的勾選選項的話,緊接著就會看到 "Unity Hub" 的執行。
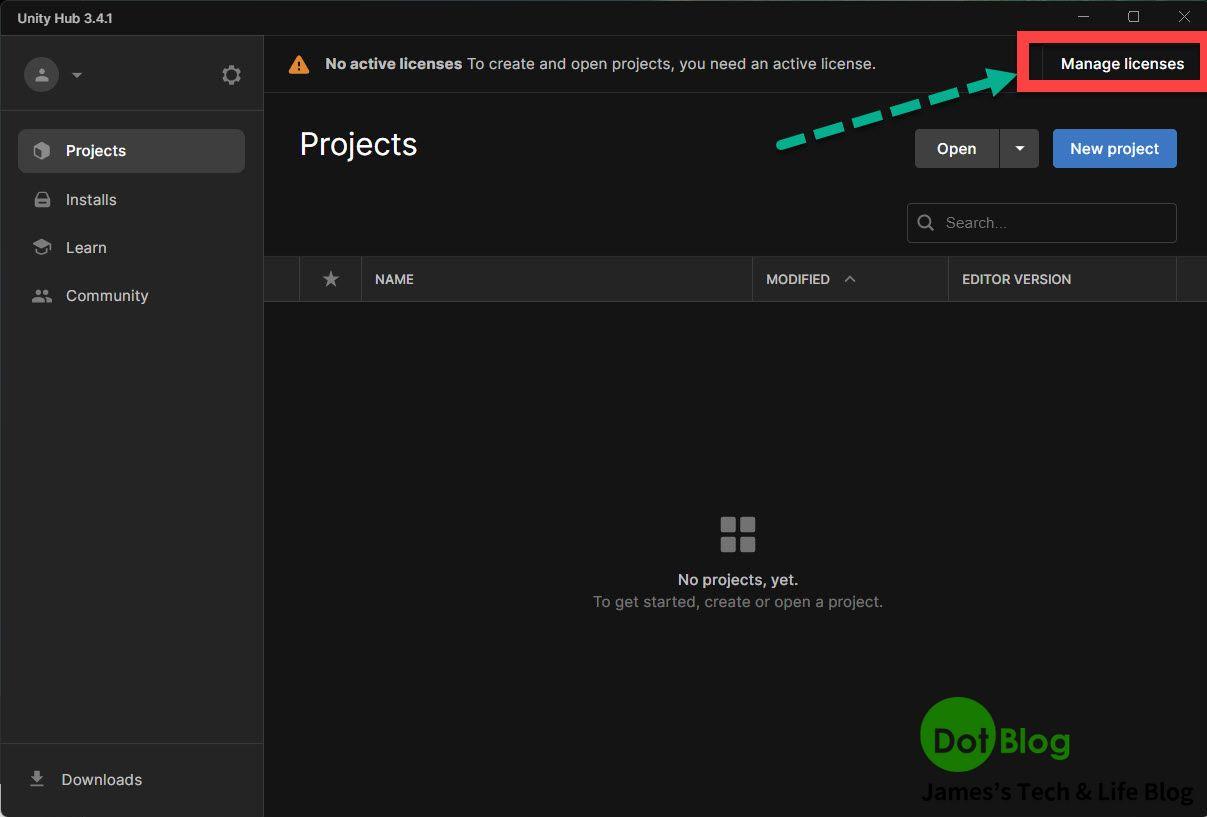
進入到 Unity Hub 的主畫面時,一開始就會遇到 Unity 詢問相關的授權請求。
請點選 "Manage licenses" 進入 Preference 畫面的 Linceses 選項進行登入。
請在點選此 "Sign in" 後,請在跳出的瀏覽器視窗當中登入在 "建立 Unity ID…" 文章介紹中,已經申請完成的 "Unity ID"。

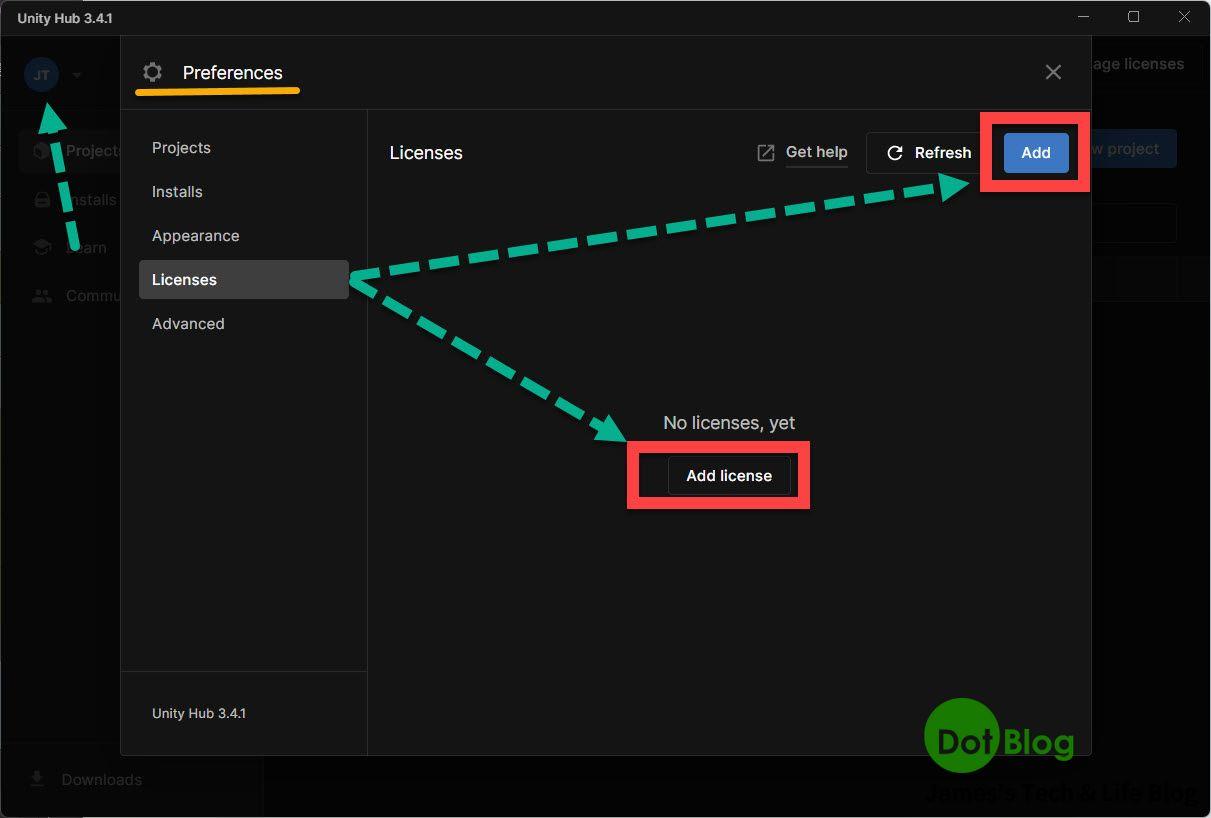
登入 "Unity ID" 完成身份驗證後(注意到畫面左邊的選單已經呈現登入的狀態),接下來要針對該帳號取得 Unity 的使用 "授權",在跳出的 Preference 畫面中的 Licenses 選項中,點選畫面中間的 "Add license" 按鈕或右上方的 "Add" 按鈕。
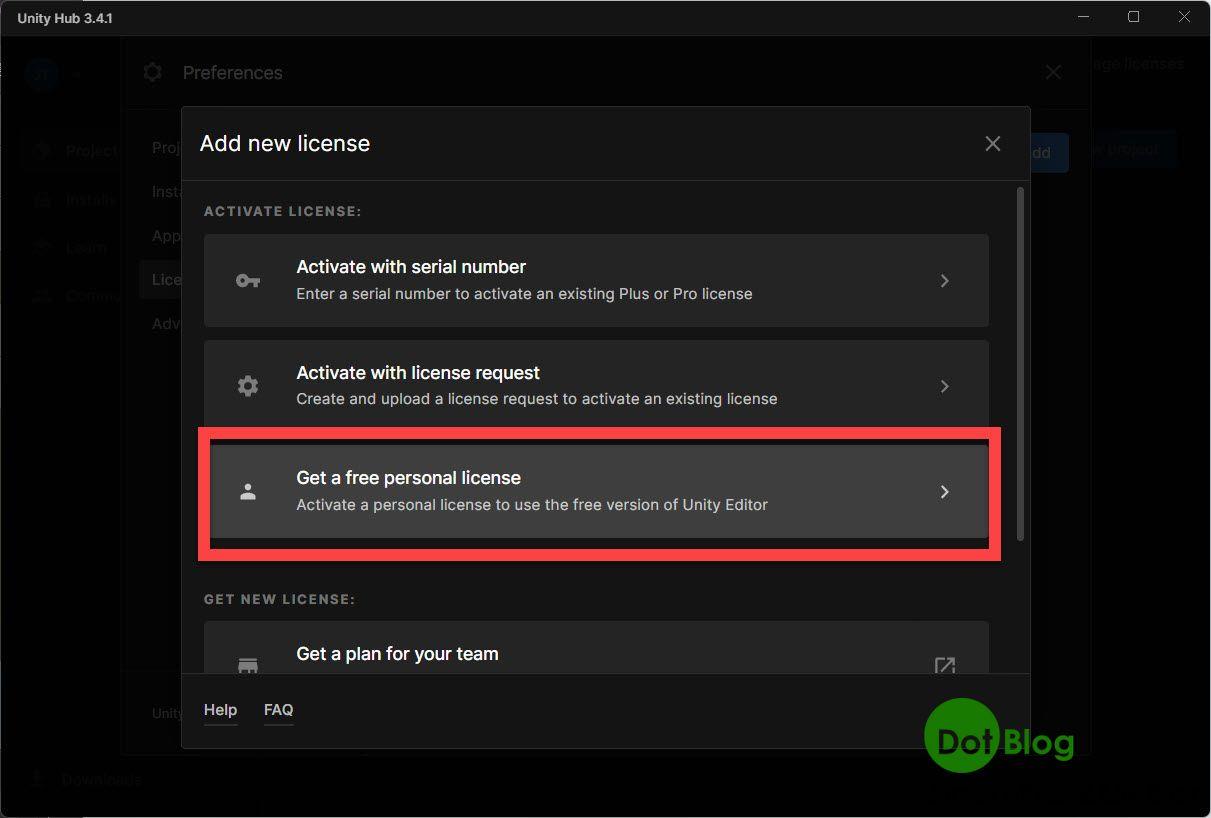
在這邊點選 "Get a free personal license" (取得免費的個人授權)。
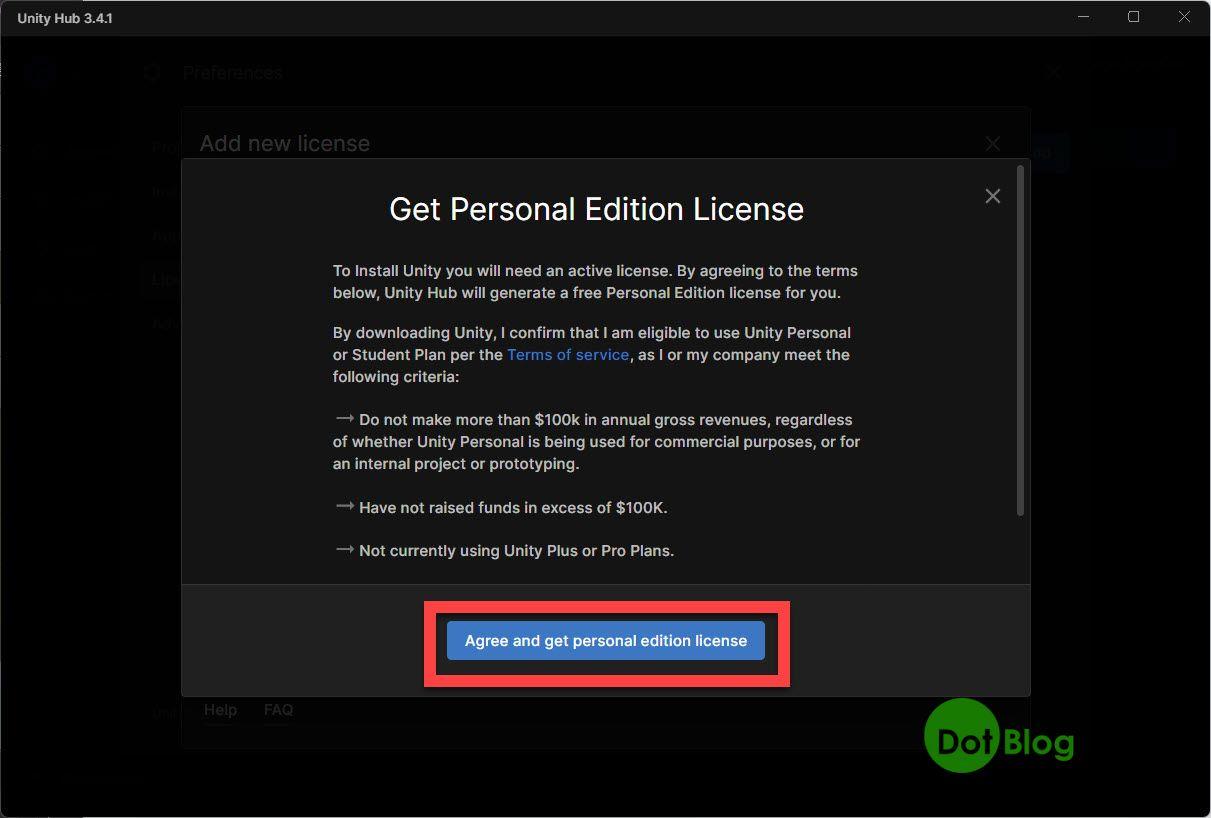
點選 "Agree and get personal edition license" (同意,並取得個人版授權)。
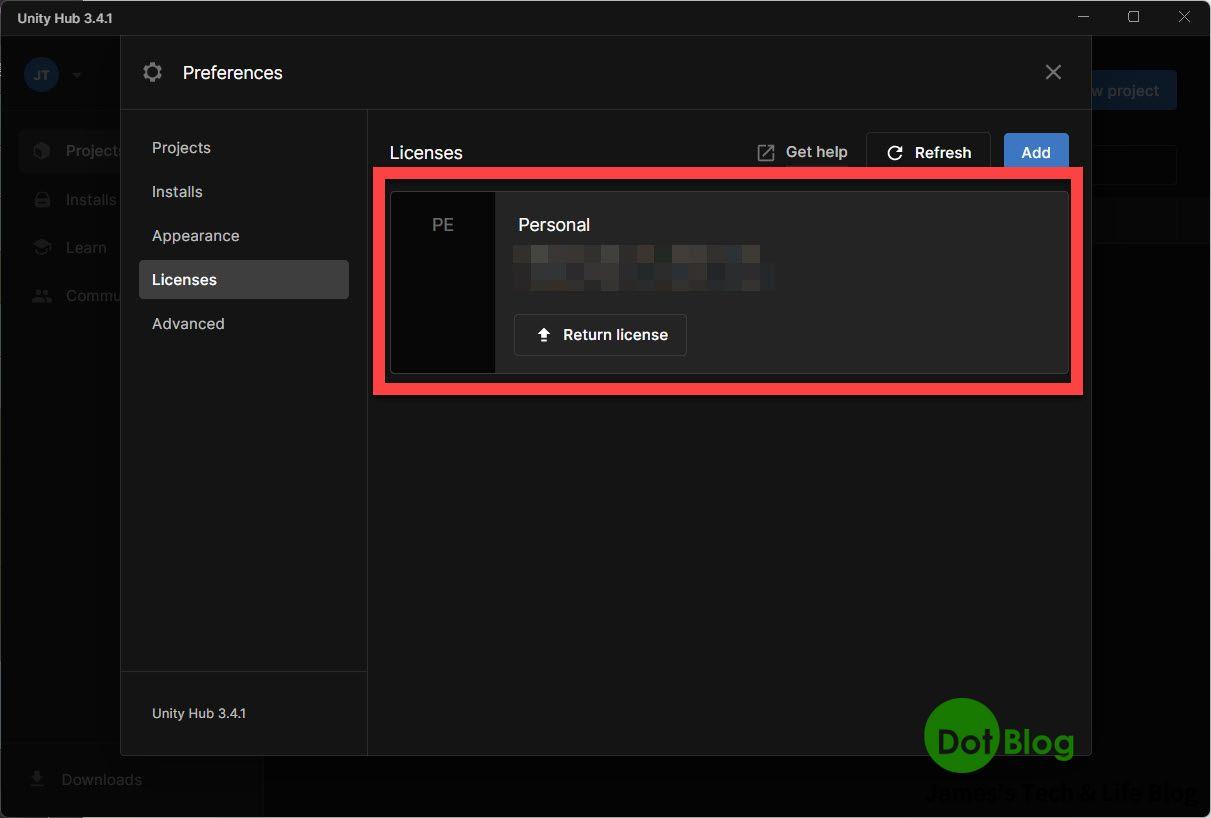
完成!
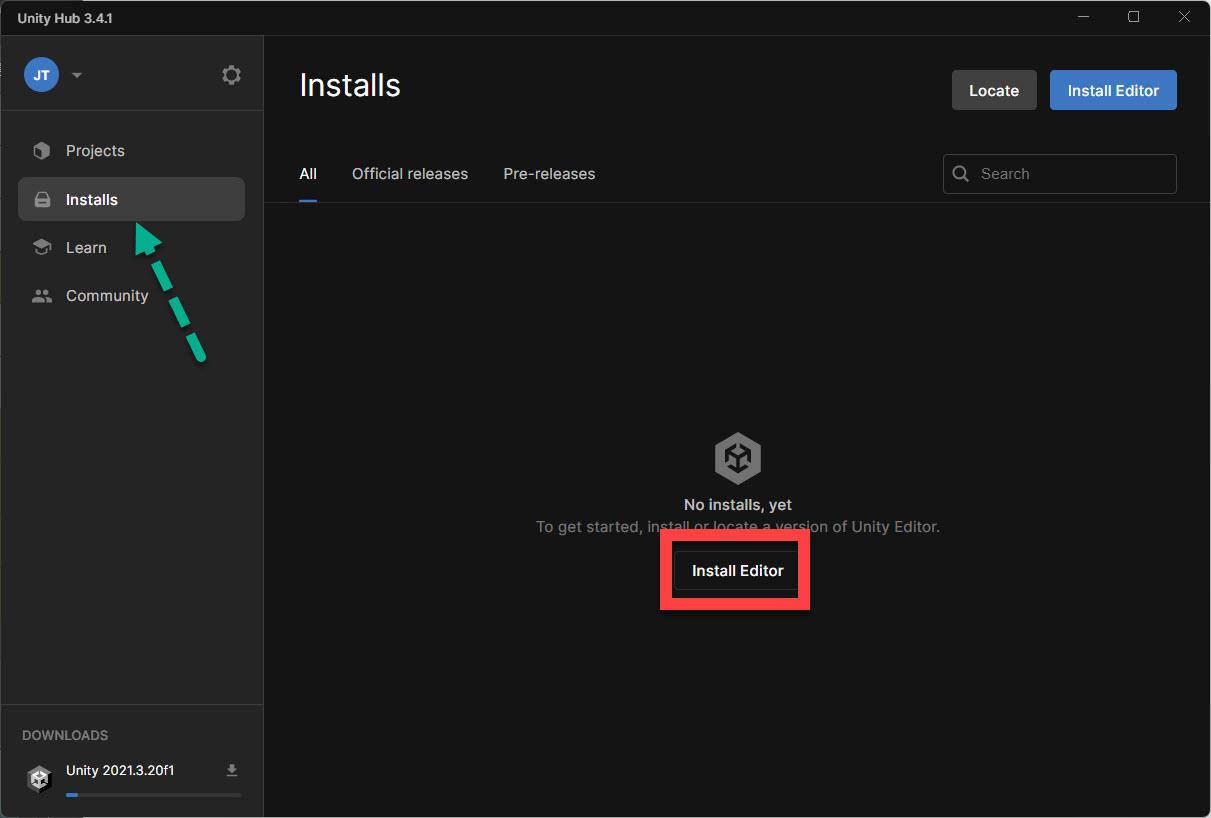
完成後,開始來安裝 Unity Editor,在左側的選單點選 "Installs" (安裝) 後,點選畫面中間的 "Install Editor" (右上方的也行)。
接著在 Install Unity Editor 的畫面中,挑選一個 "Recommended verson" (建議版本),通常也都會是 LTS 的版本,之後就點選 "Install" (安裝)。

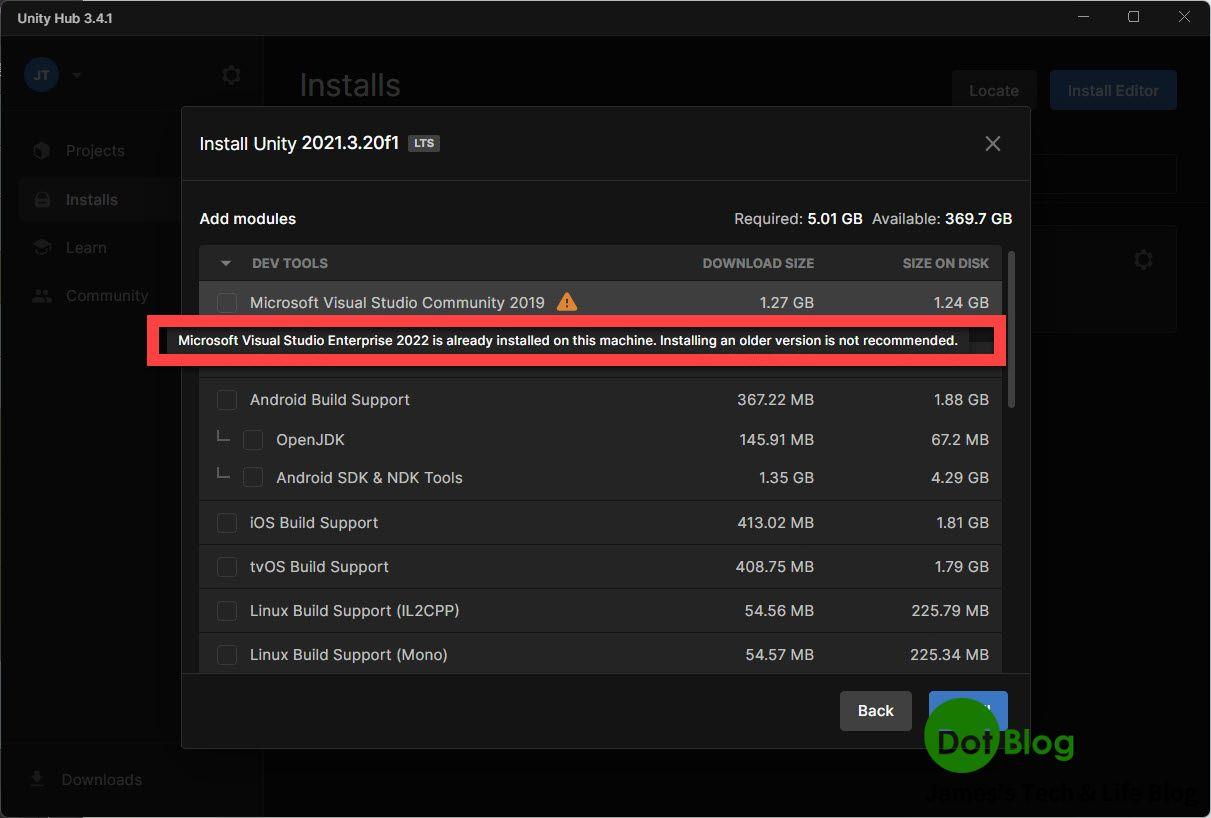
在安裝該版本的 Unity Editor 當中,通常會要挑選需要的工具跟不同平台的編譯環境,而由於正在安裝 Unity Editor 的這台電腦已經有先裝 Visual Studio 2022 了,所以不需要去特別安裝 Visaul Studio 2019。
(Unity Editor 也有提示告知,沒必要安裝舊版 Visaul Studio)
BTW, 畢竟是個人開發用途,所以 Visual Studio 是使用 Community、Personal、Enterprise 的哪種版本不是重點。
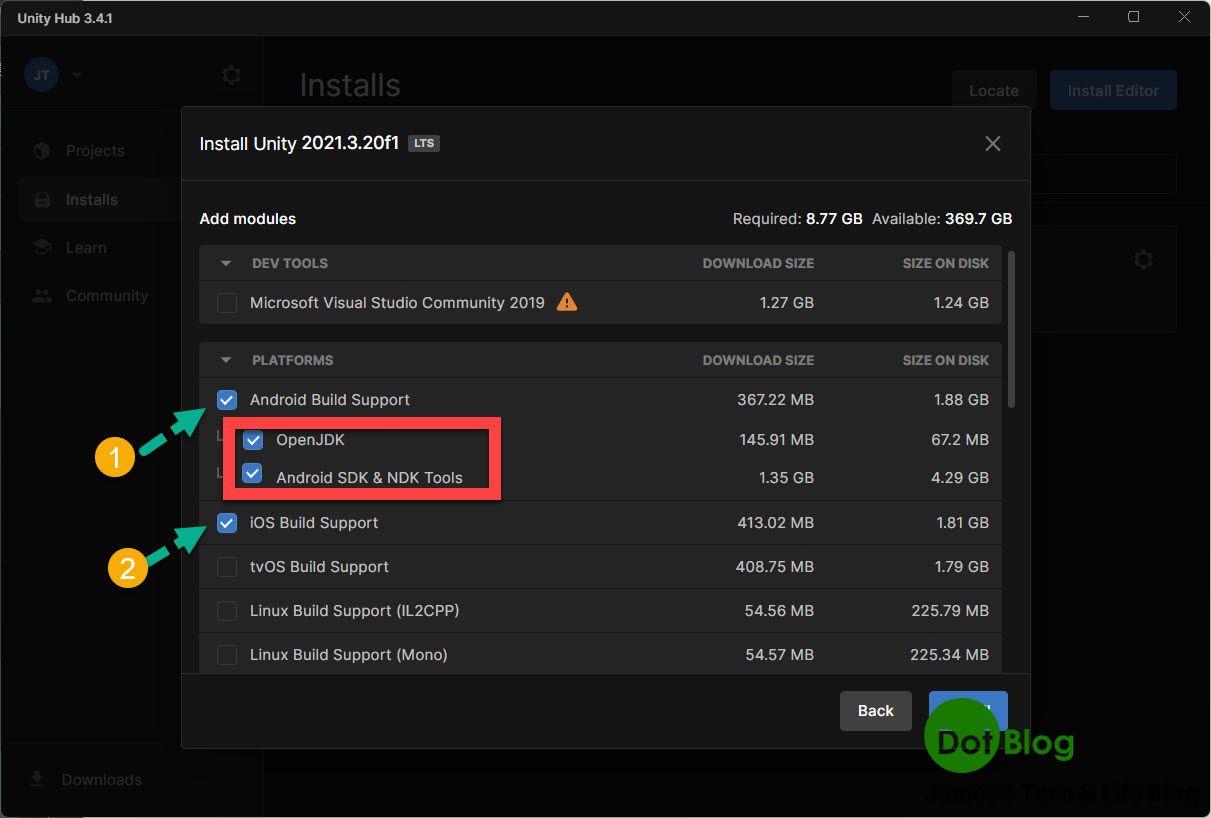
接著往下看,如果有想要透過 Unity 建置 Android 的應用程式,那就把 Android Build Support 底下的 Open JDK、Android SDK & NDK Tools 勾選。
(如果電腦環境已經有安裝過建置 Andorid 應用程式必要的 Open JDK 與 Android SDK & NDK Tools 那就不需要勾選。)
同樣的,如果有想要透過 Unity 建置 iOS 的應用程式,那就把 iOS Build Support 勾選。
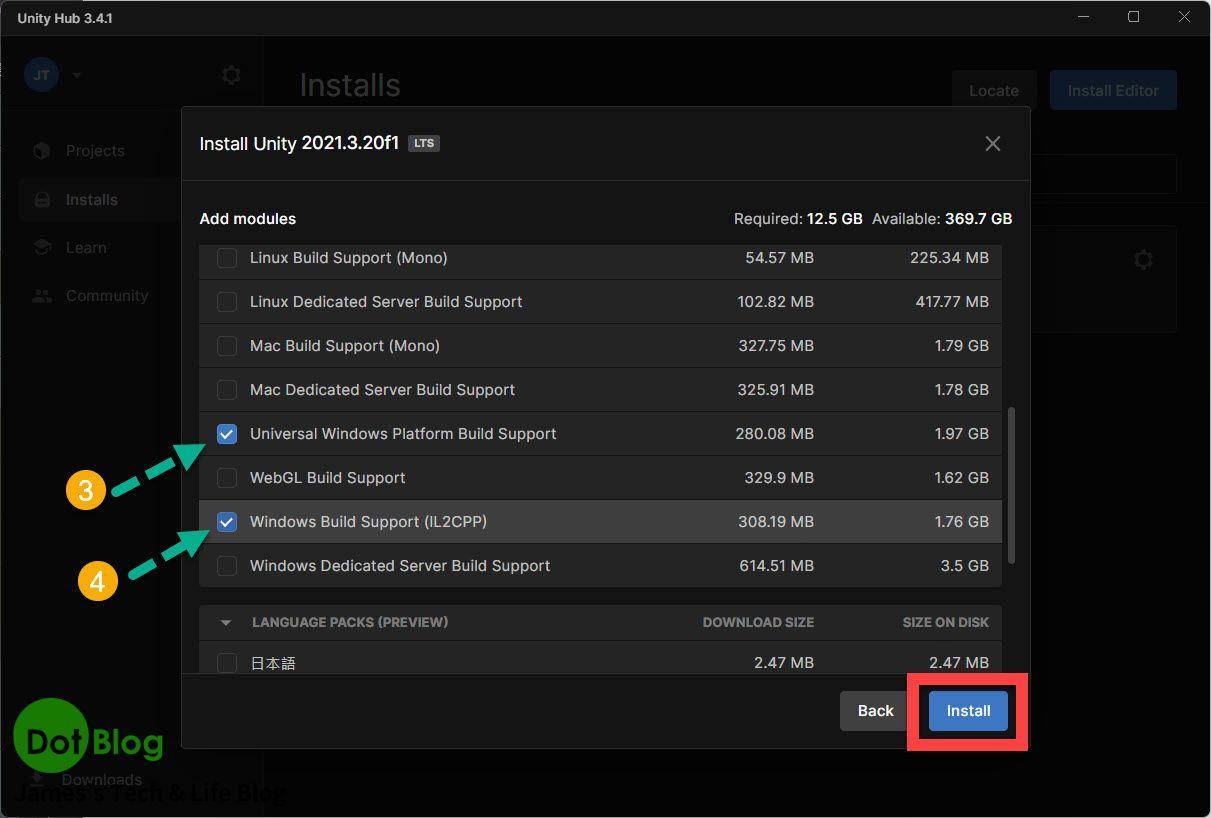
而再往下看到 "Universal Windows Platform Build Support" 與 "Windows Build Support (IL2CPP)" 這兩個選項勾選,完成後 "Install" (安裝)。
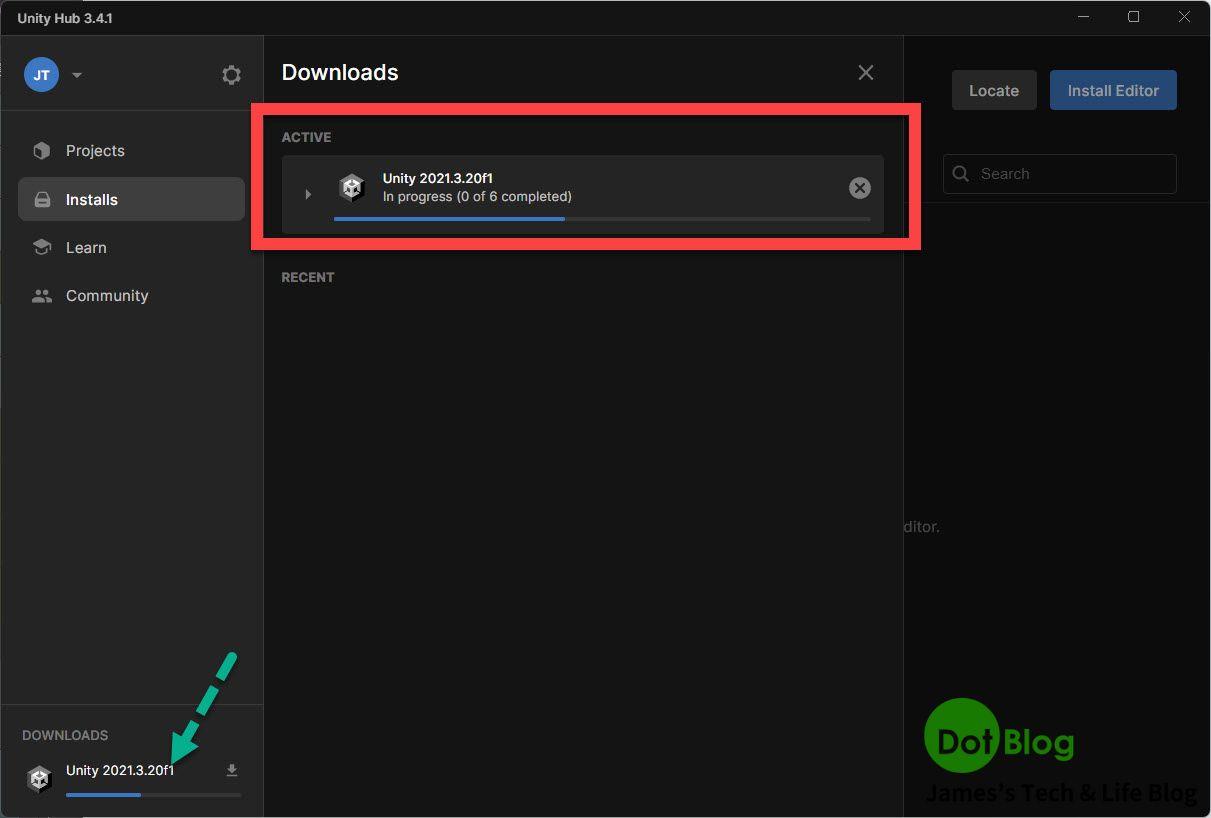
接著在 Unity Hub 的左下角會顯示目前的進度。

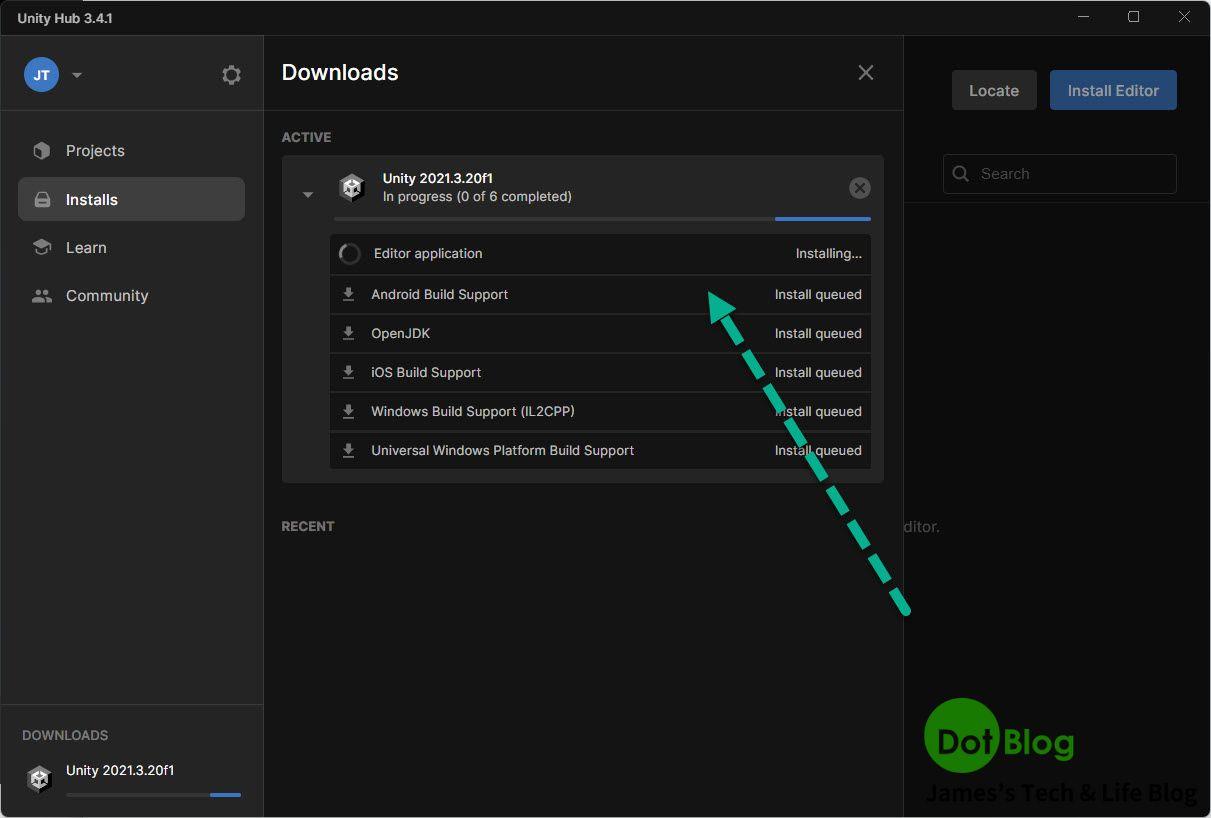
如果等待時太無聊,是可以點開來看,進一步了解目前下載與安裝各元件的進度。
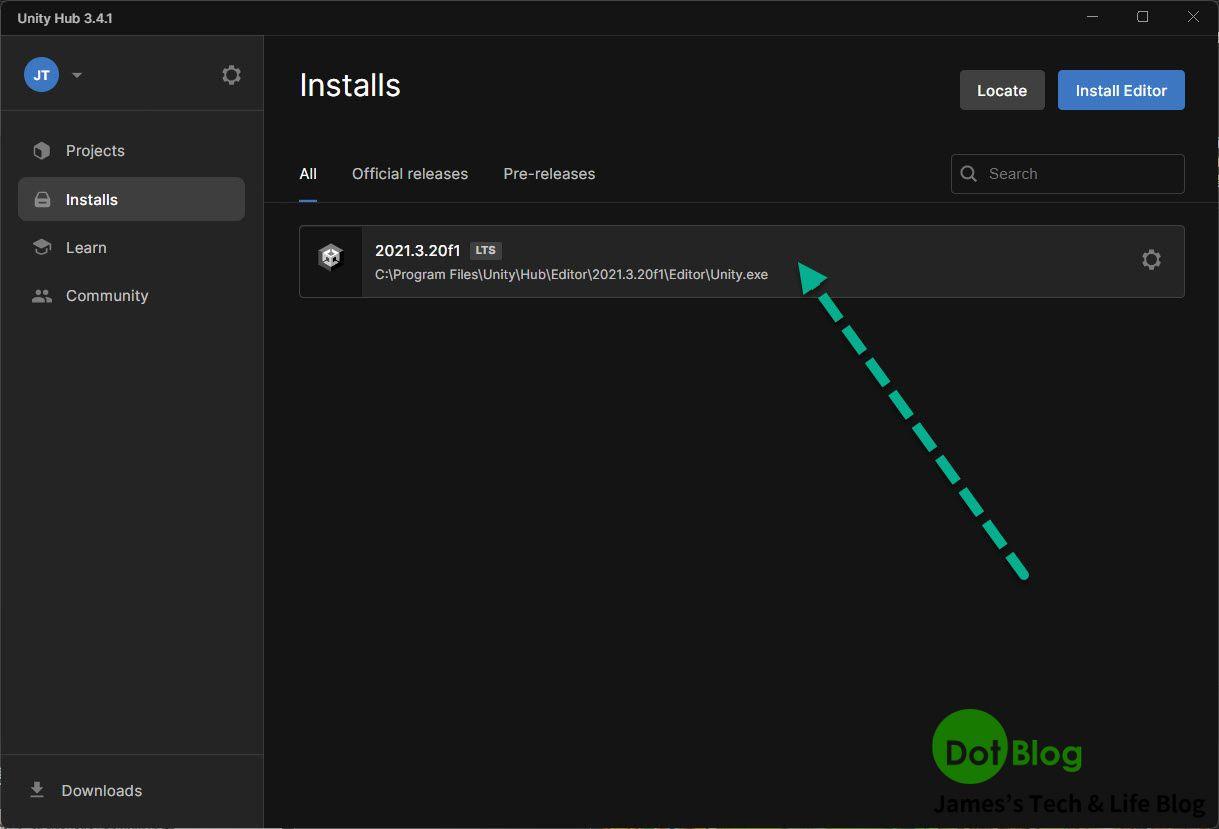
最後安裝完成,會在 Installs 當中呈現如下。
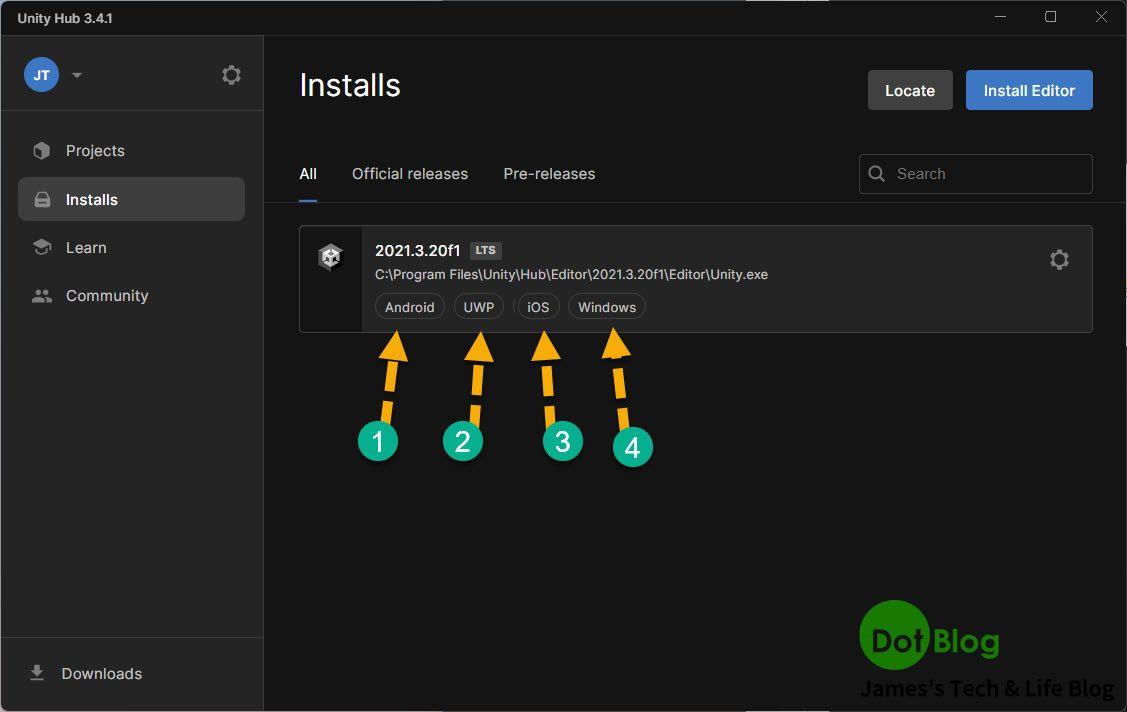
要注意的是,剛剛勾選不同平台的編譯環境是否都有被正確的安裝完成。
I'm a Microsoft MVP - Developer Technologies (From 2015 ~).
I focus on the following topics: Xamarin Technology, Azure, Mobile DevOps, and Microsoft EM+S.
If you want to know more about them, welcome to my website:
https://jamestsai.tw
本部落格文章之圖片相關後製處理皆透過 Techsmith 公司 所贊助其授權使用之 "Snagit" 與 "Snagit Editor" 軟體製作。