在前一篇已經完成OpenXR Plugin 在 Unity 3D 的專案設定,接著就進一步來透過 "MRTK Project Configurator" 繼續完成專案的 MRTK 設定吧~~~
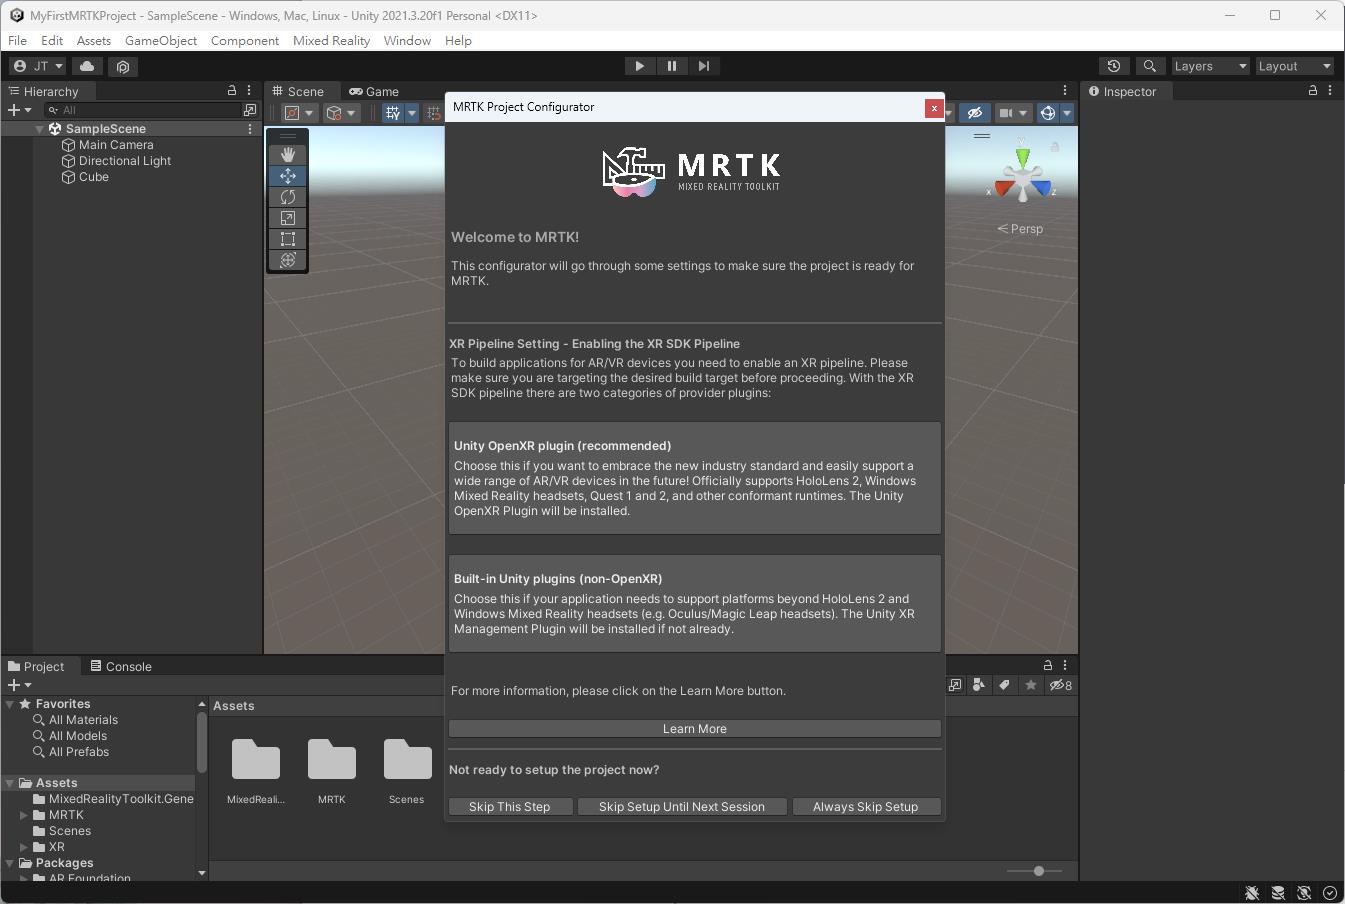
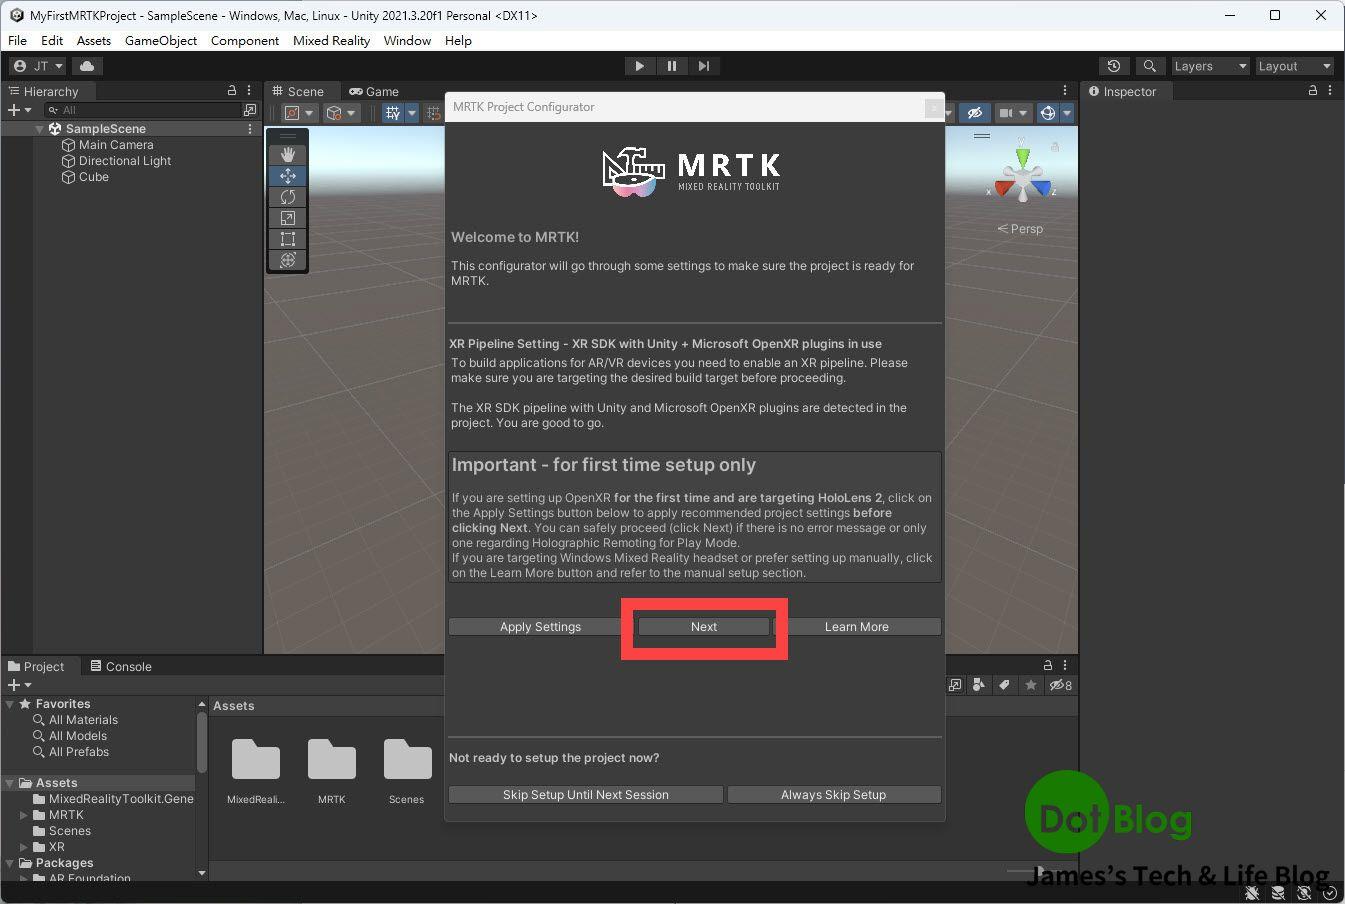
回到 "MRTK Project Configurator" 對話窗格當中,點選 "Important - for first time setup only" 下方的 "Apply Settings"

注意此時的 "MRTK Project Configurator" 所顯示畫面,跟一開始時尚未設定時所出現的 "MRTK Project Configurator" 對話窗格的畫面是不同的。
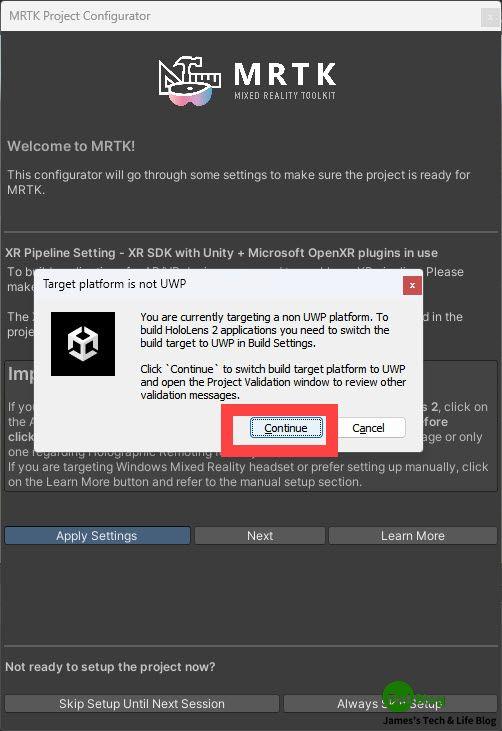
會遇到此對話窗,目的是要詢問此專案是否要針對 HoloLens 2 設計的應用,如果是的話就必須切換到 UWP 的編譯設定去,所以這邊就點選 "Continue" 讓 "MRTK Project Configurator" 直接幫忙調整。
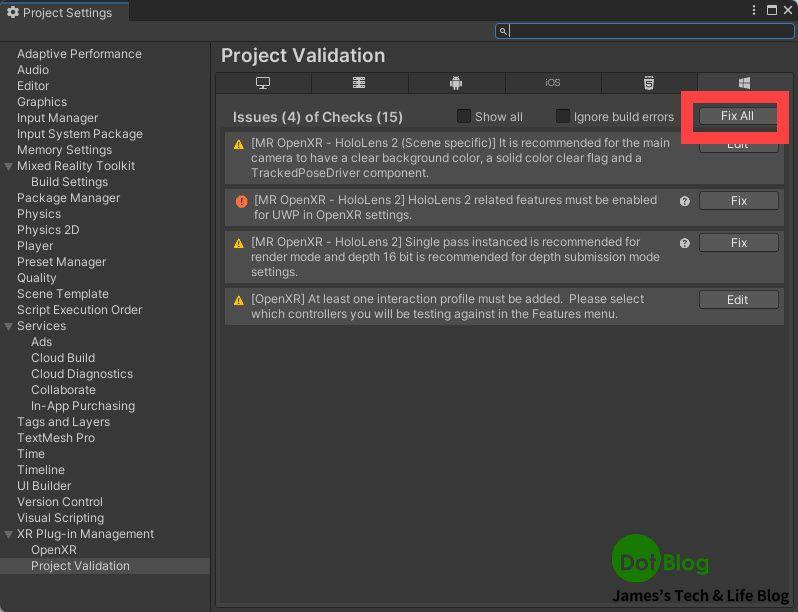
調整完畢後 "MRTK Project Configurator" 會自動再次打開 "Project Settings" 來進行 "Project Validation" 的修正,這邊就點選 "Fix All"。
完成後,會看到所有的 "Issues" 會消失。
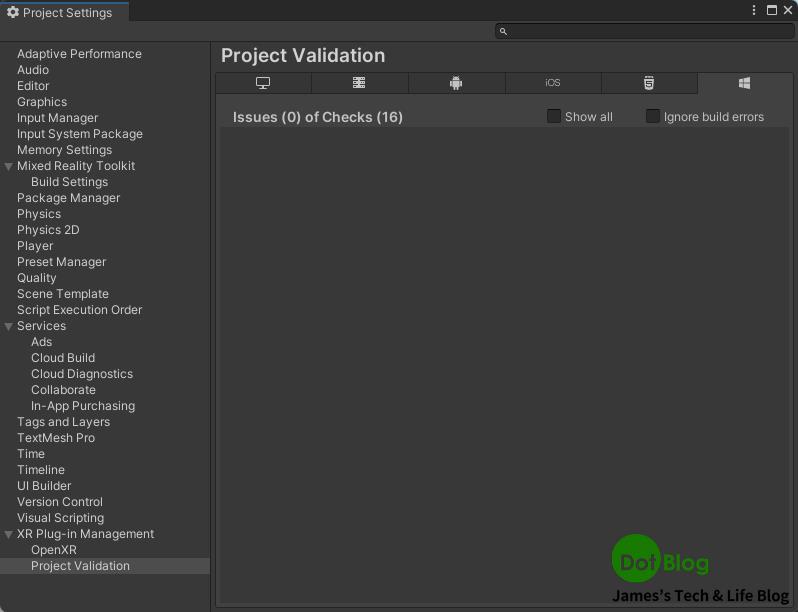
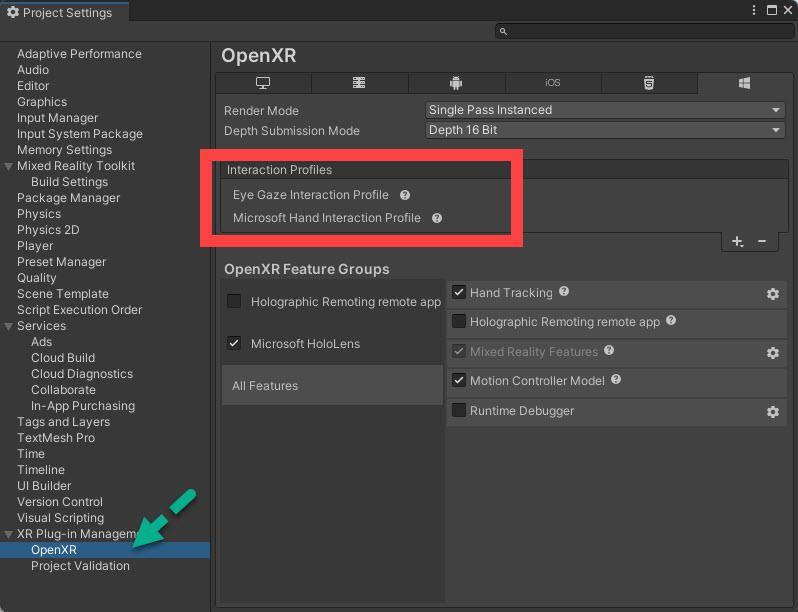
切到 "OpenXR" 則會看到在前一篇說的,相關的 "Interation Profiles" (互動設定檔)已經被 "MRTK Project Configurator" 修正更改完成。
關閉 "Project Settings" 對話窗格,回到 "MRTK Project Configurator" 對話窗格後,點選 "Next"。
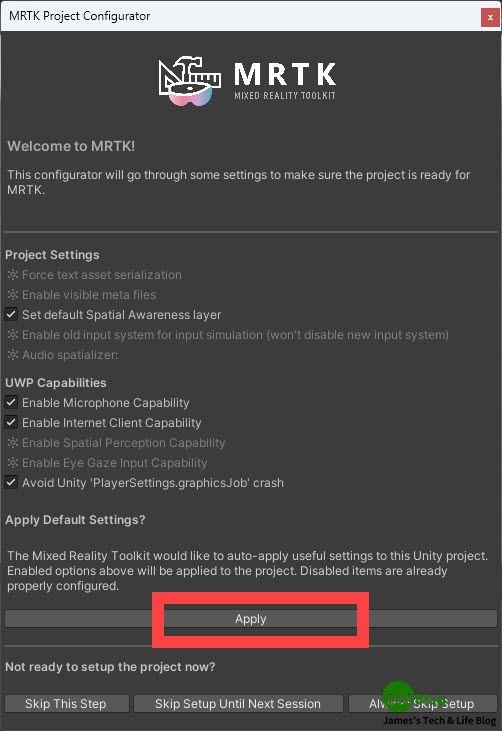
協助設定專案的空間感知層,調整 "UWP" 的權限問題,點選 "Apply"。
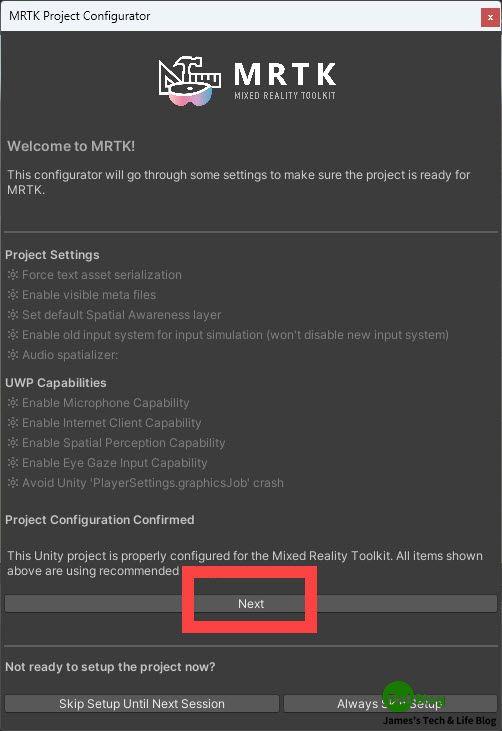
點選 "Next"。
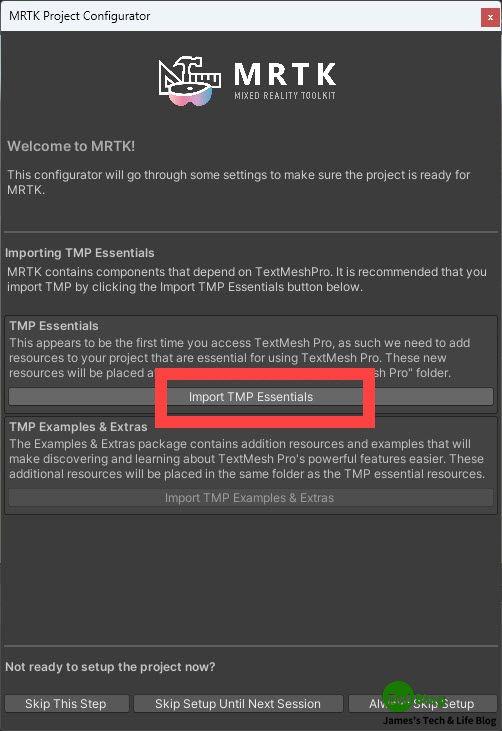
接著匯入 "TMP Essentials",點選 "Imports TMP Essentials"。
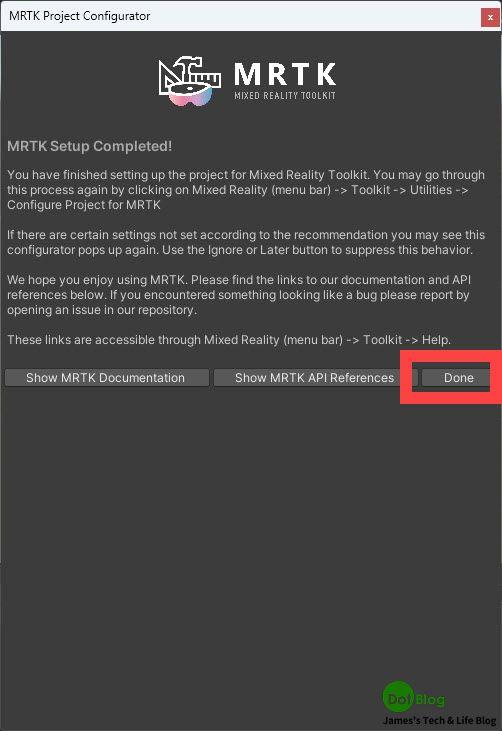
都順利完成後,就可點選 "Done",關閉 "MRTK Project Configurator" 的對話窗格。
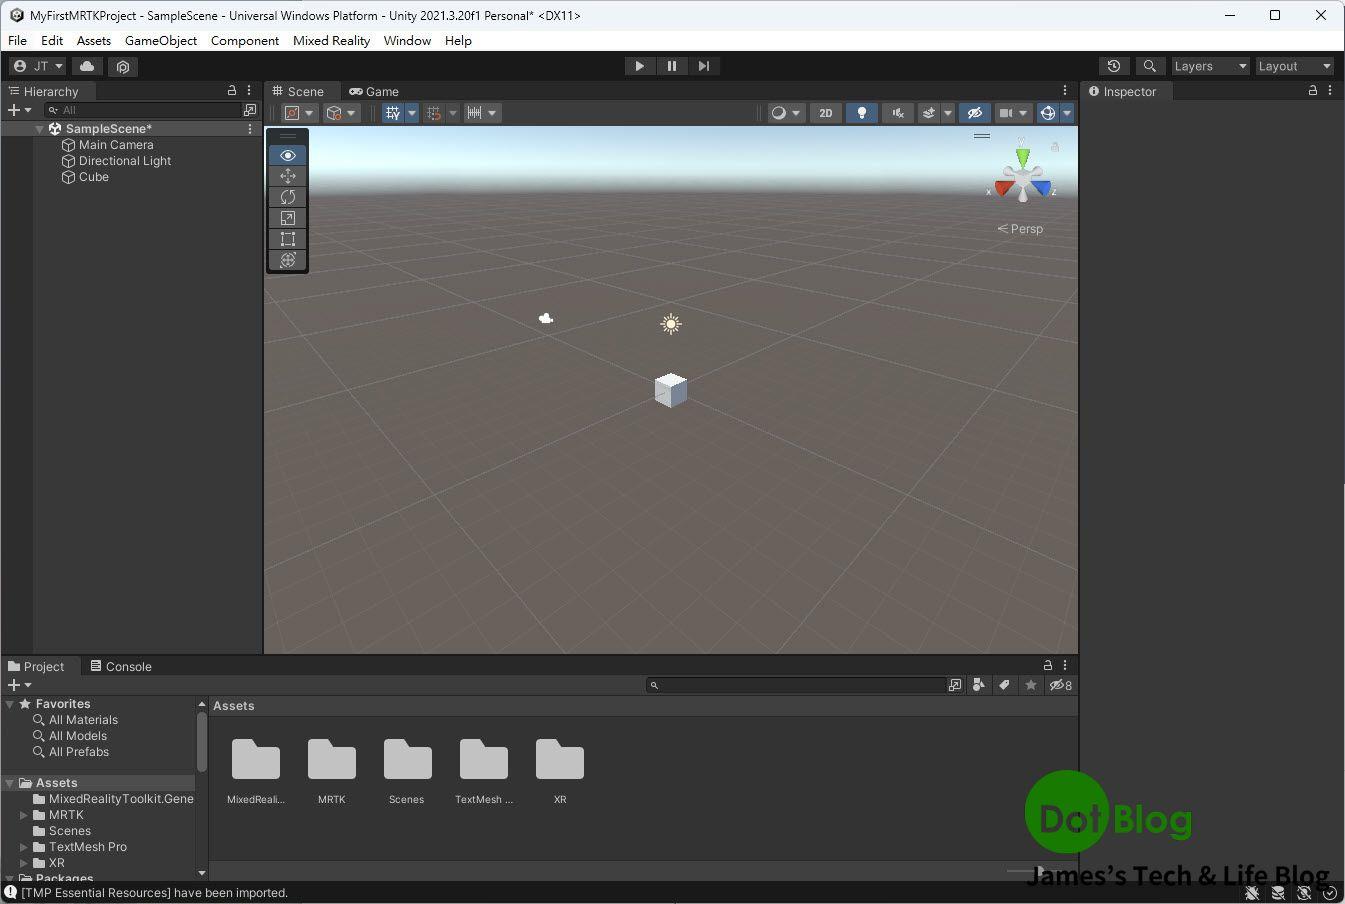
回到 Unity Editor 的主視窗。
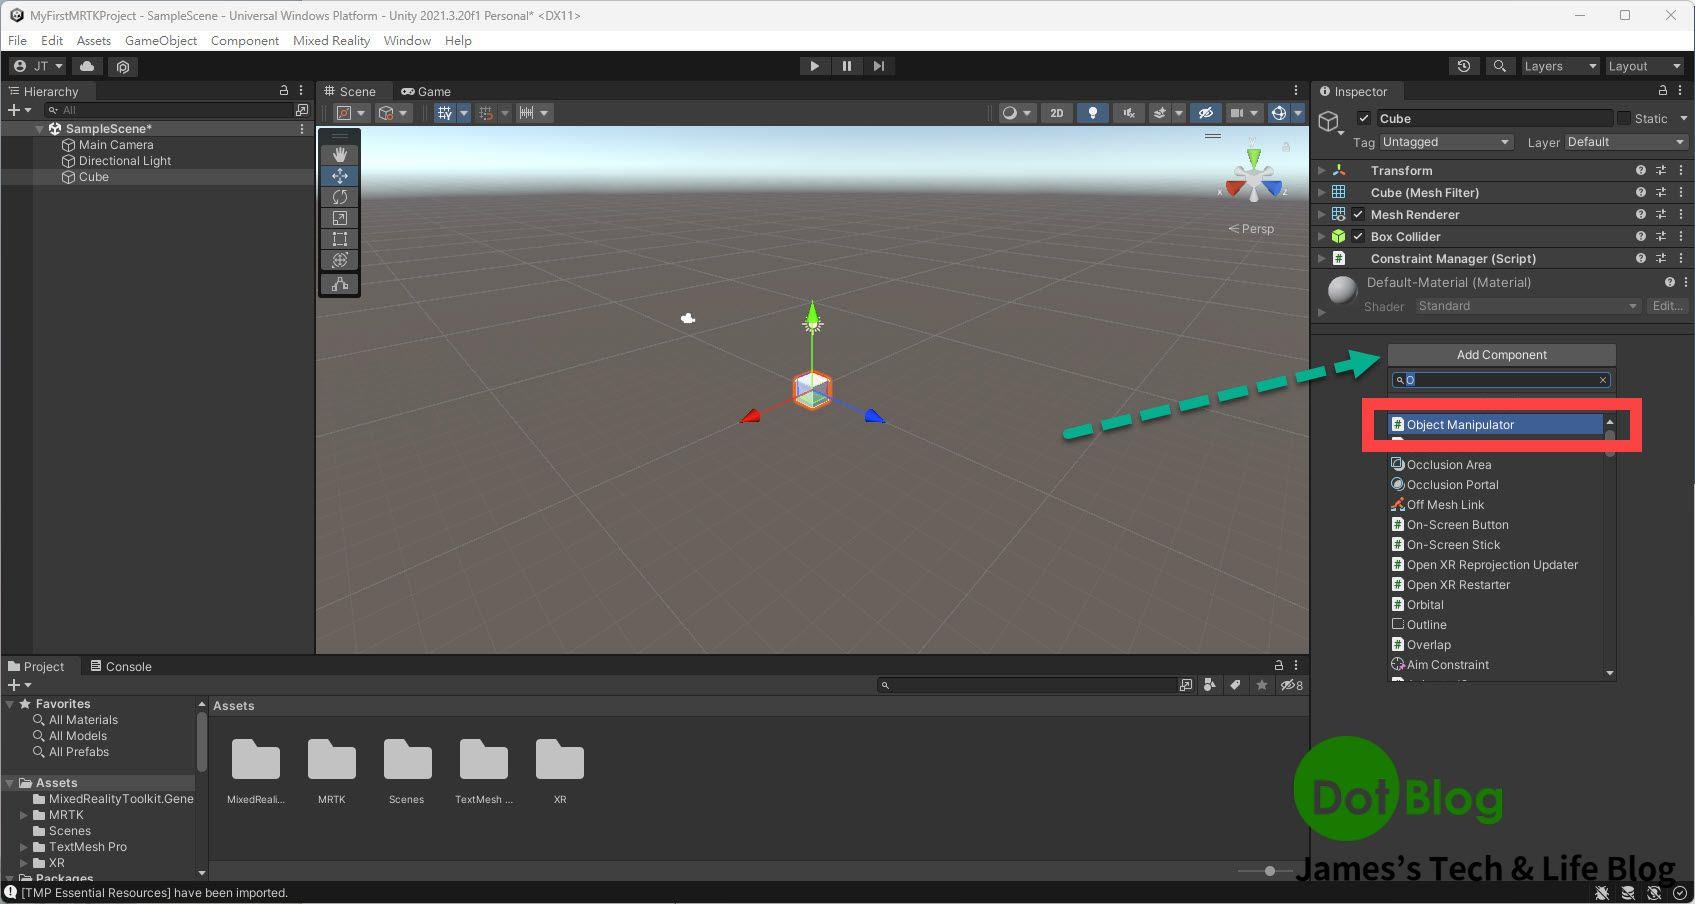
在 Hierarchy 當中點選先前增加的 "Cube",並注意到其 "Inspector"(檢視器) 呈現跟 "Cube" 有關的設定。
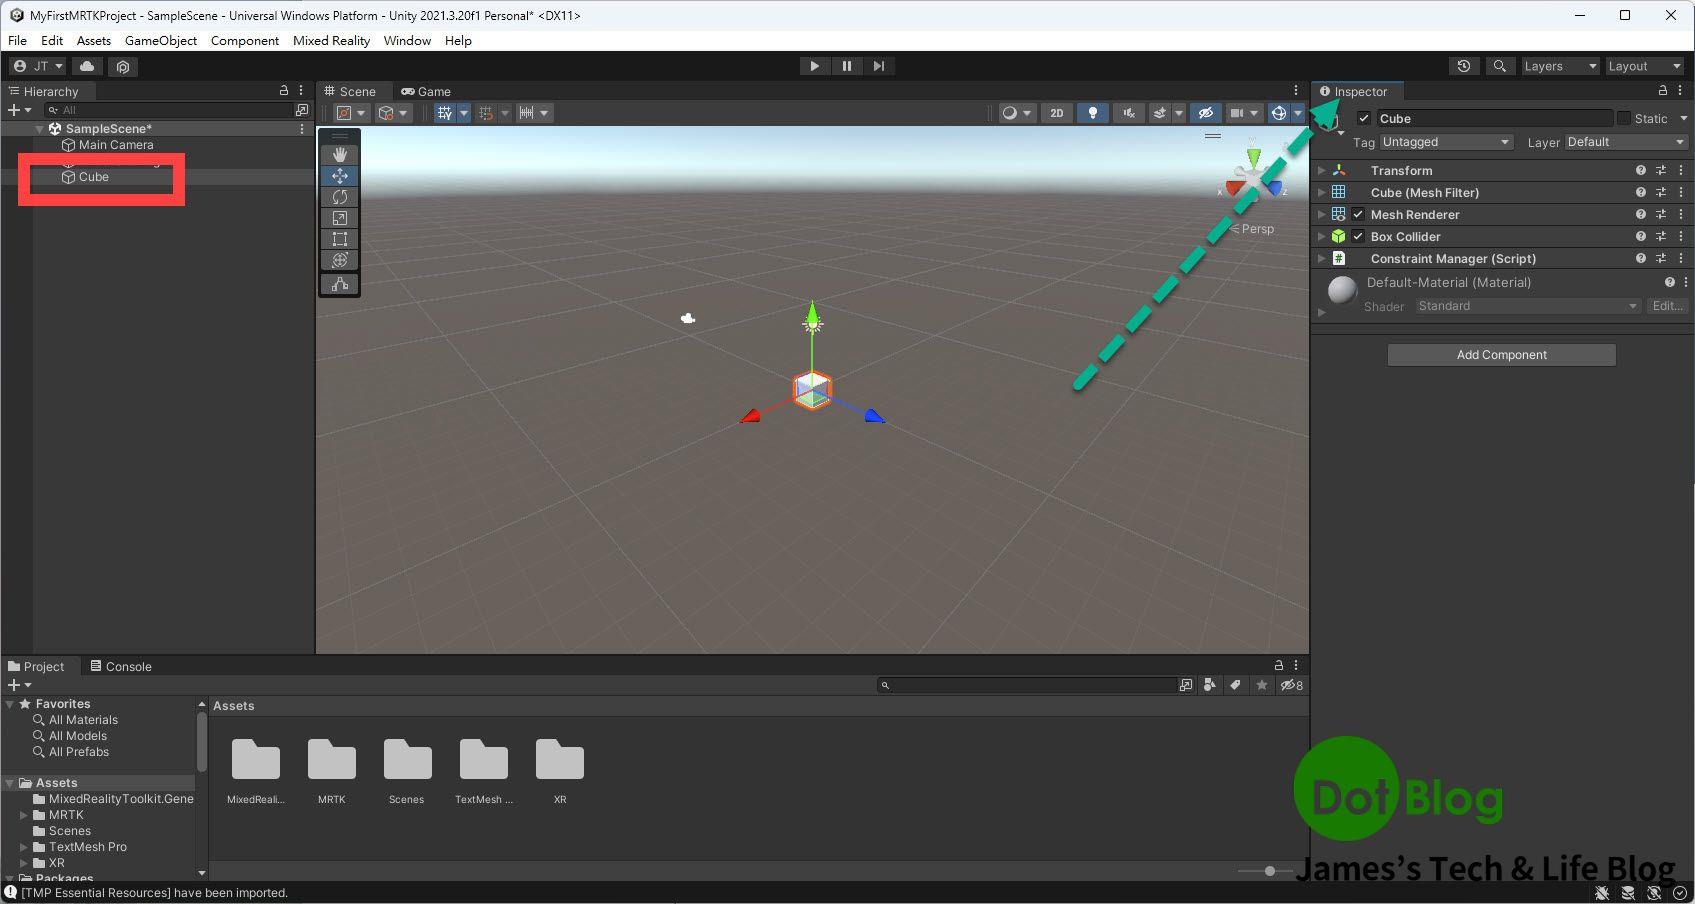
來幫 "Cube" 設定 MRTK 的使用,希望可以透過手勢控制此 "Cube"。
第一個增加的是 "Object Manipulator"。
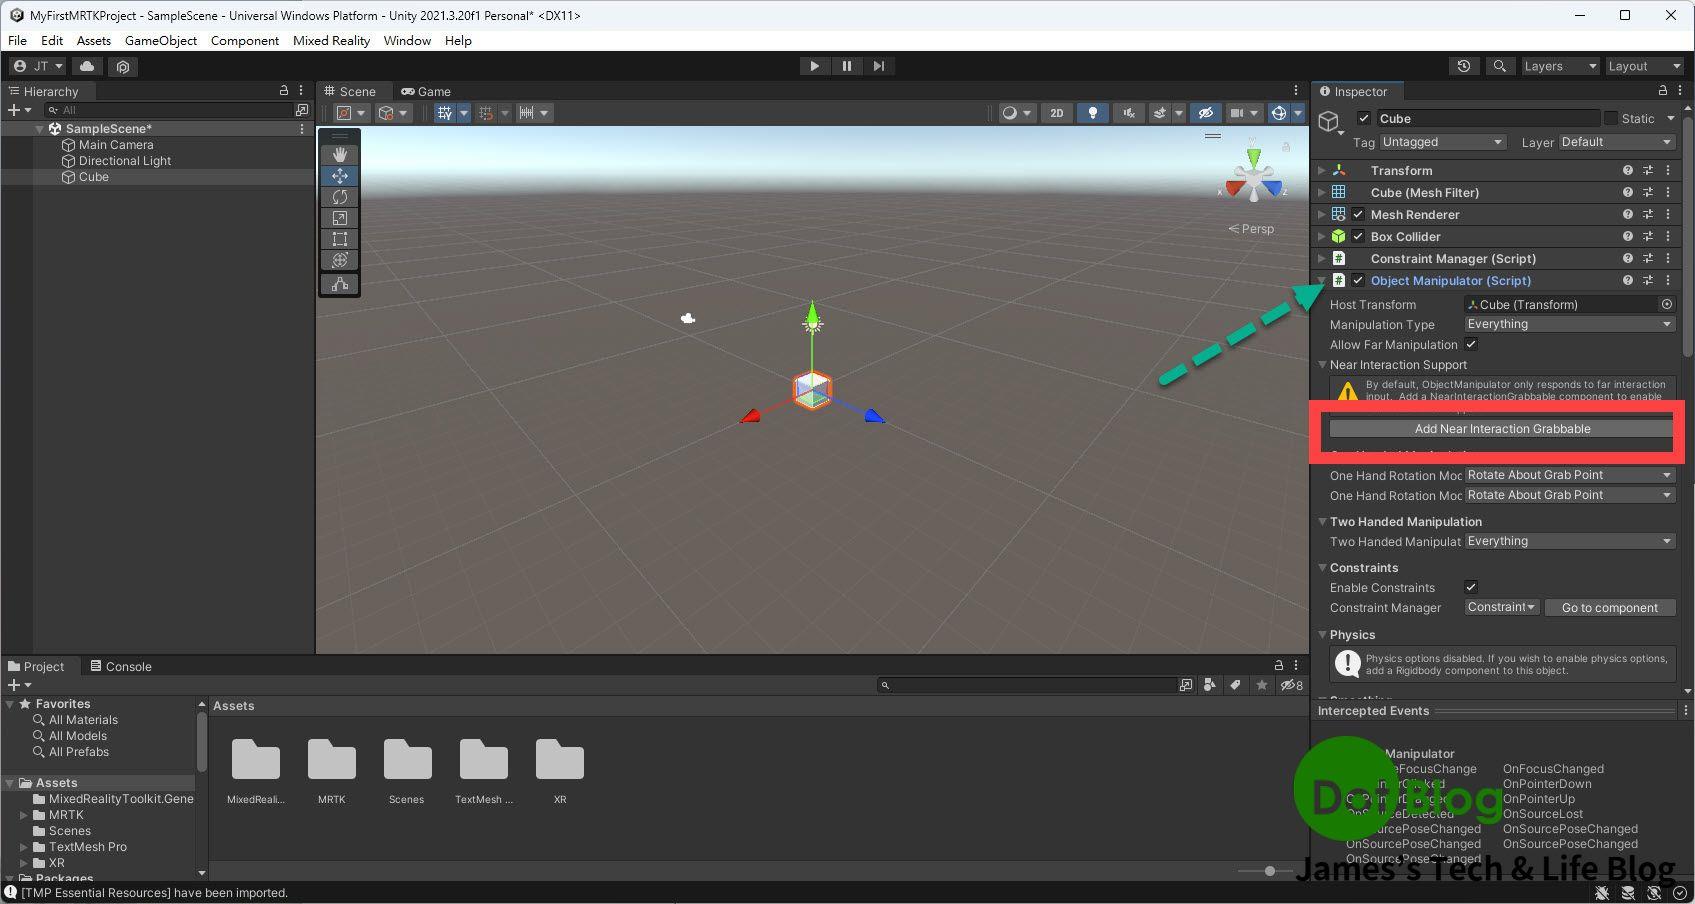
增加 "Object Manipluator" 的功能完成後,在其中可以直接點選 "Add Near Interation Grabbable"。
在 "Inspector" 當中確認 "Near Interation Grabbable" 增加完畢。
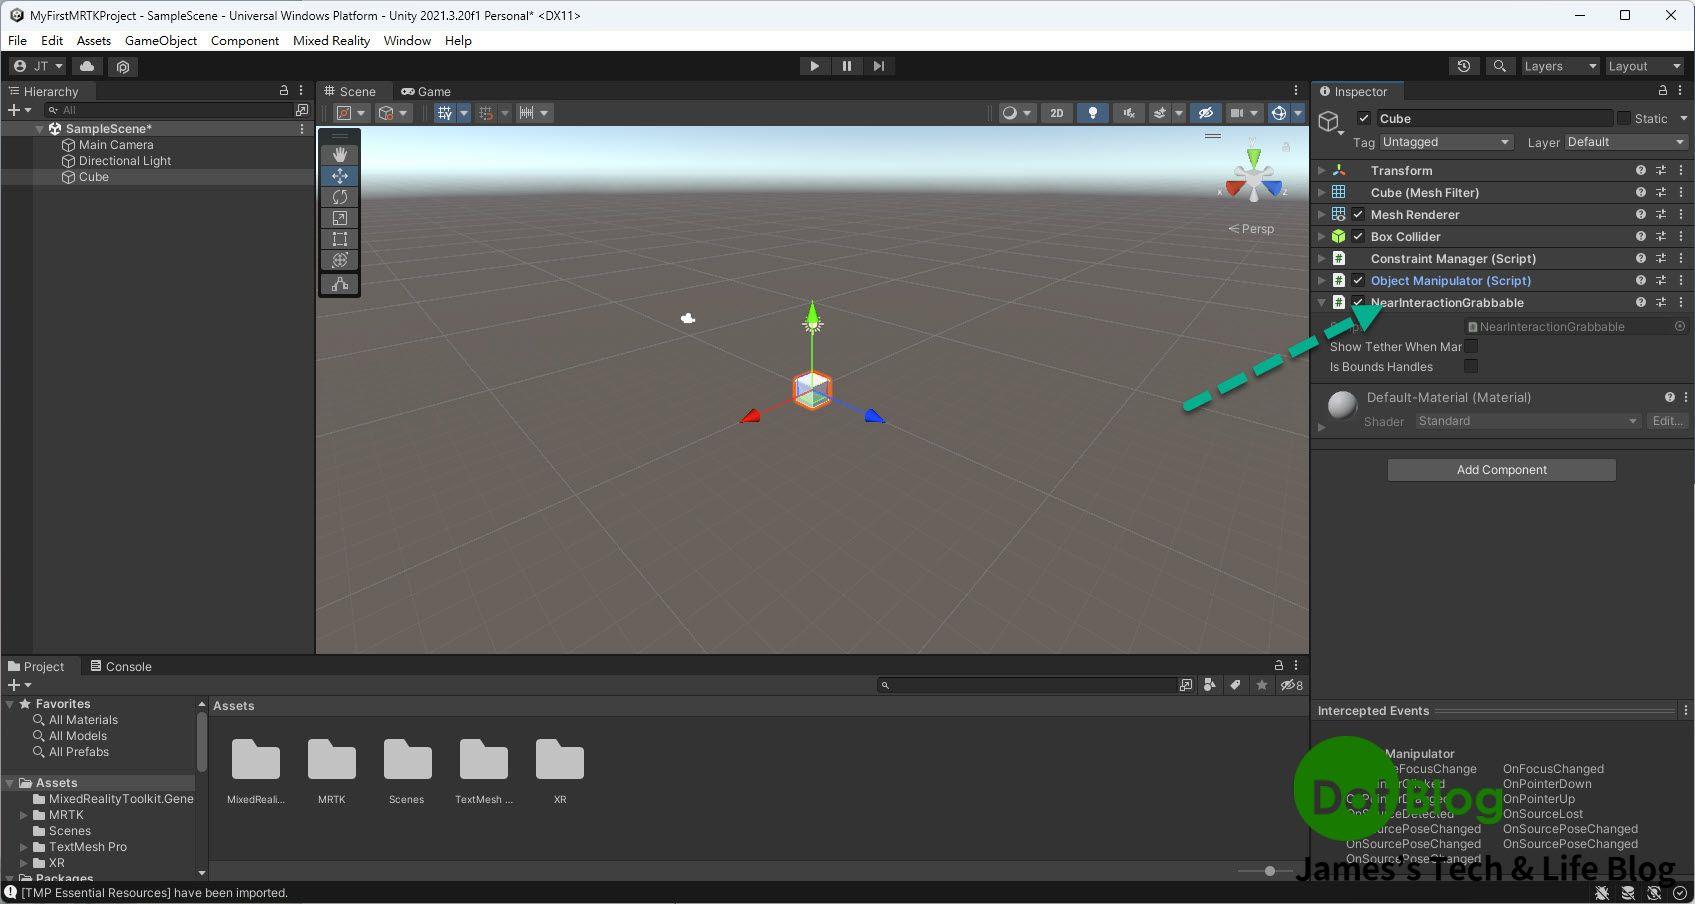
接著後續就要來調整 "Cube" 的外觀囉~~~
為了將 Cube 的外觀增添一點不同的效果,在這邊可使用 MRTK 所設計的材質樣式,以便在後續觀看此 Cube 的時侯,從不同的光線、視角觀會有不同的呈現感。
在下方的 "Project" 窗格當中,搜尋 "MRTK_Standard_Blue" (若沒有請注意是否在 "In Package" 的範圍中搜尋)。
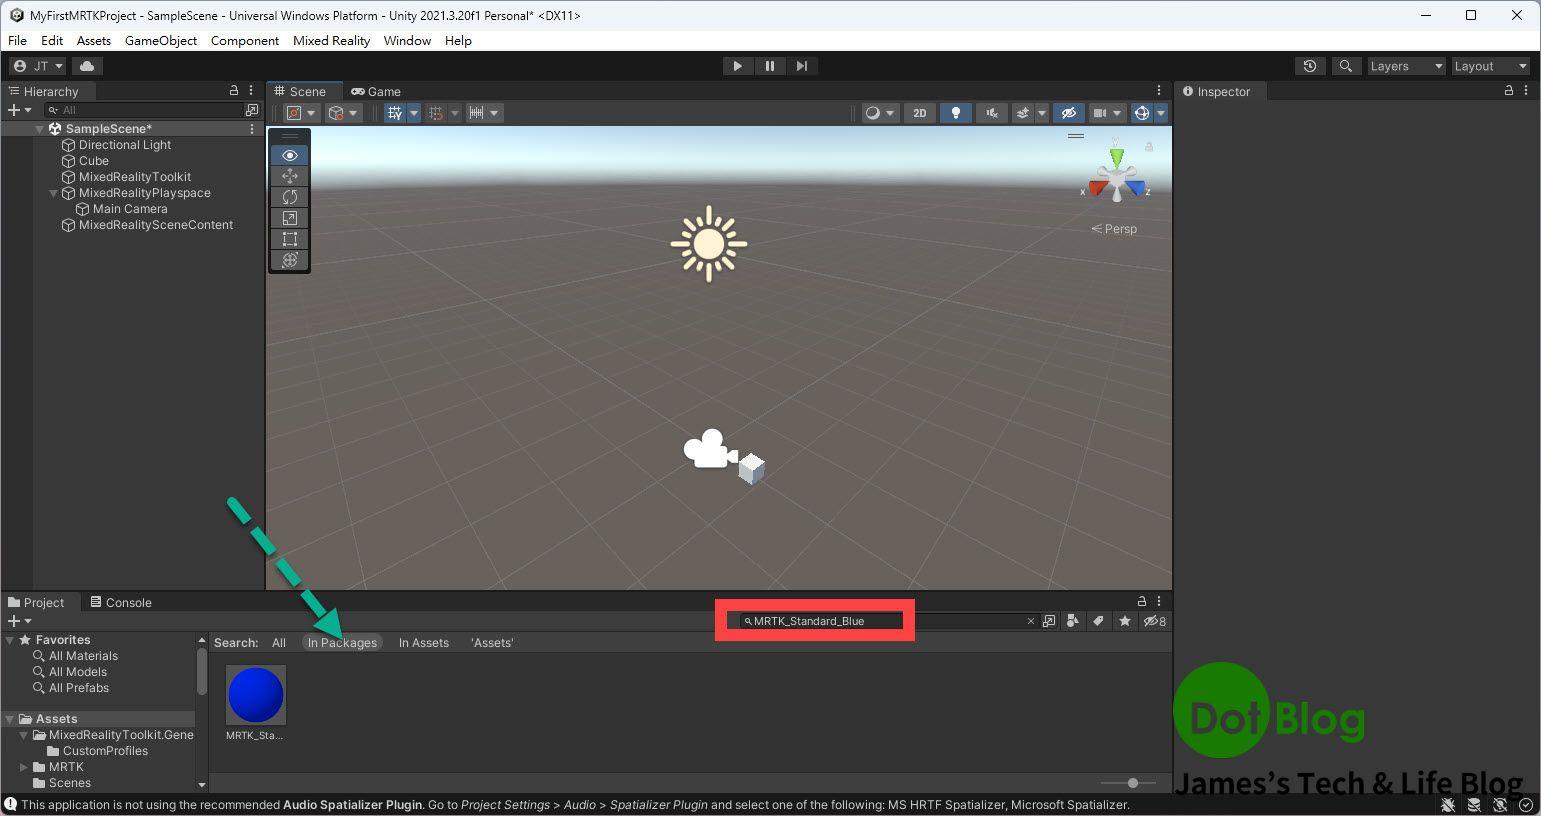
接著把該材質拉到 "Cube" 上附著。
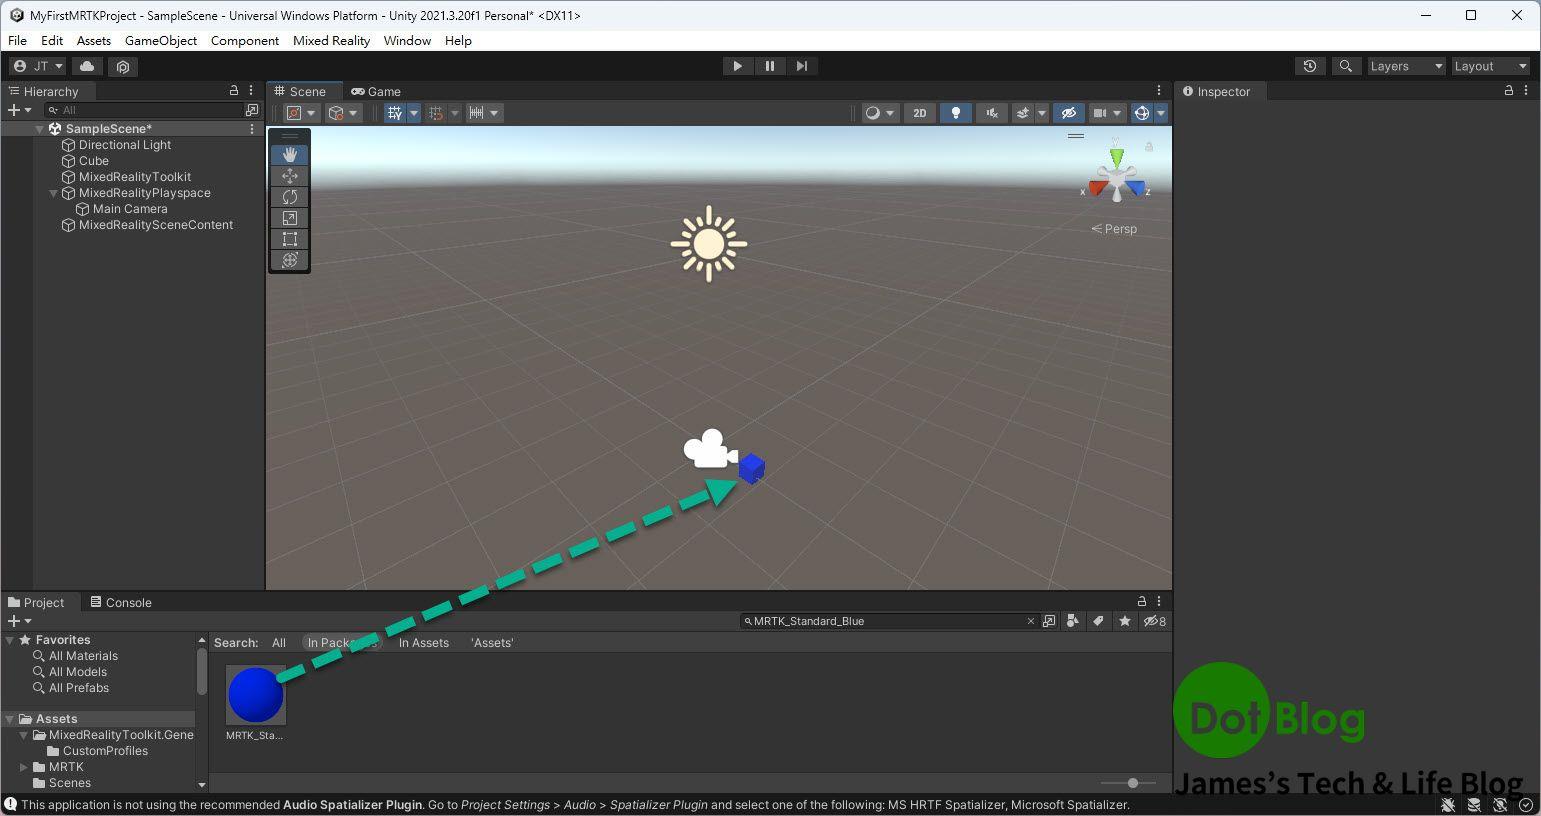
當然也可以從 Cube 透過 "Inspector" 去選取此材質。
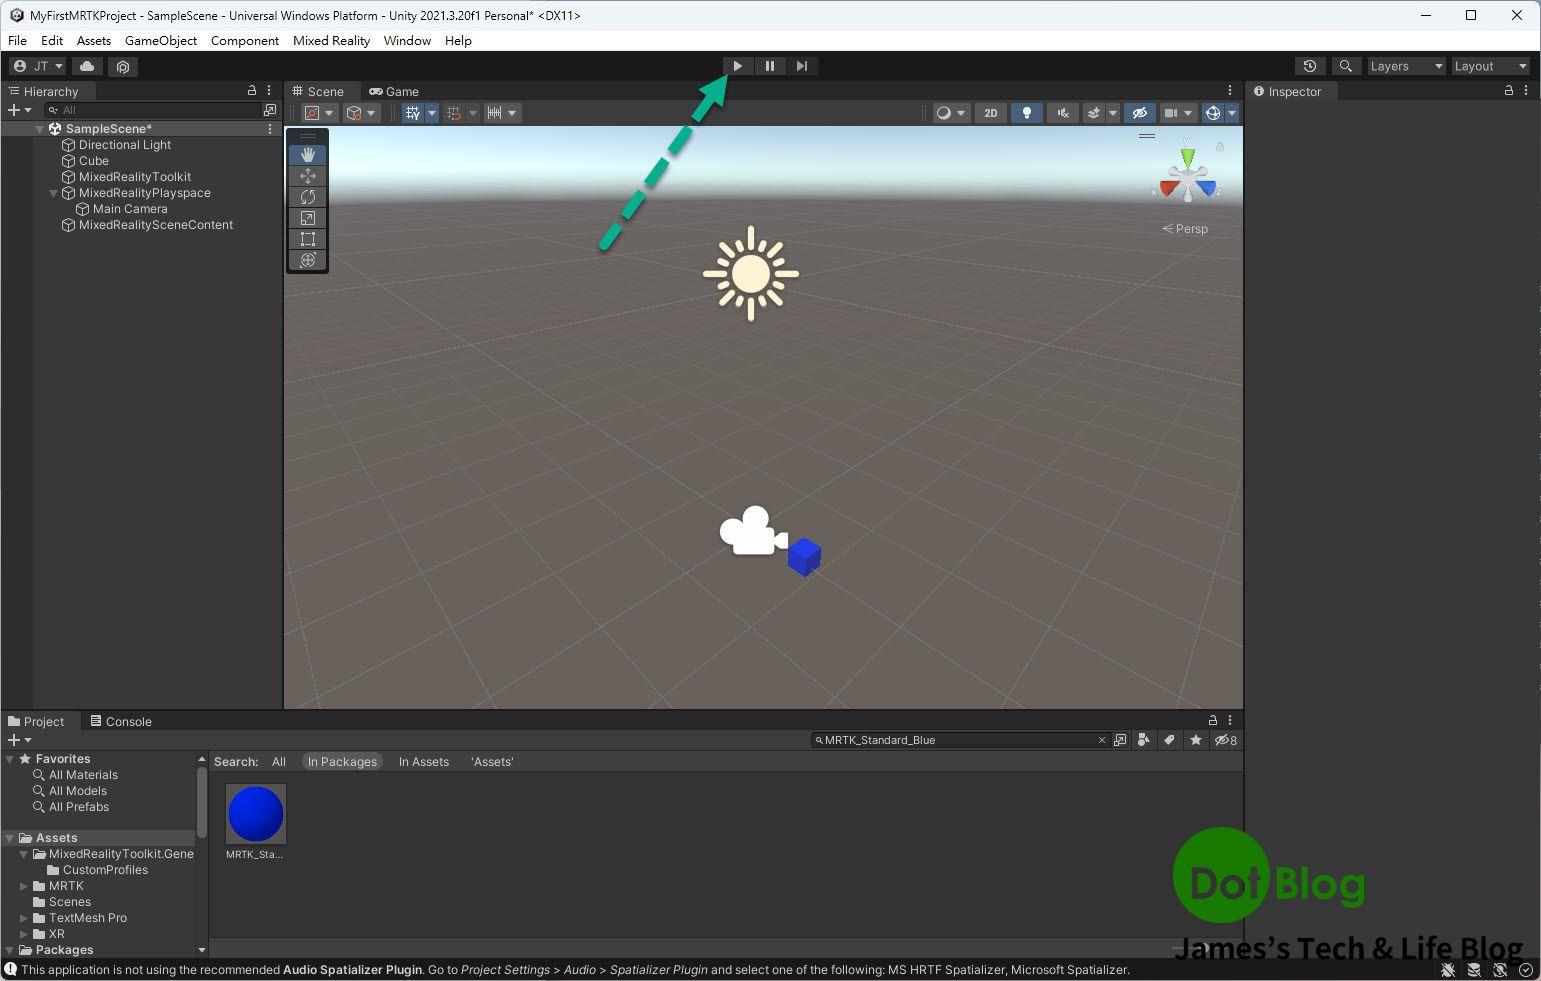
接著在 Unity Editor 當中點選 "Play" 切到預覽模式。
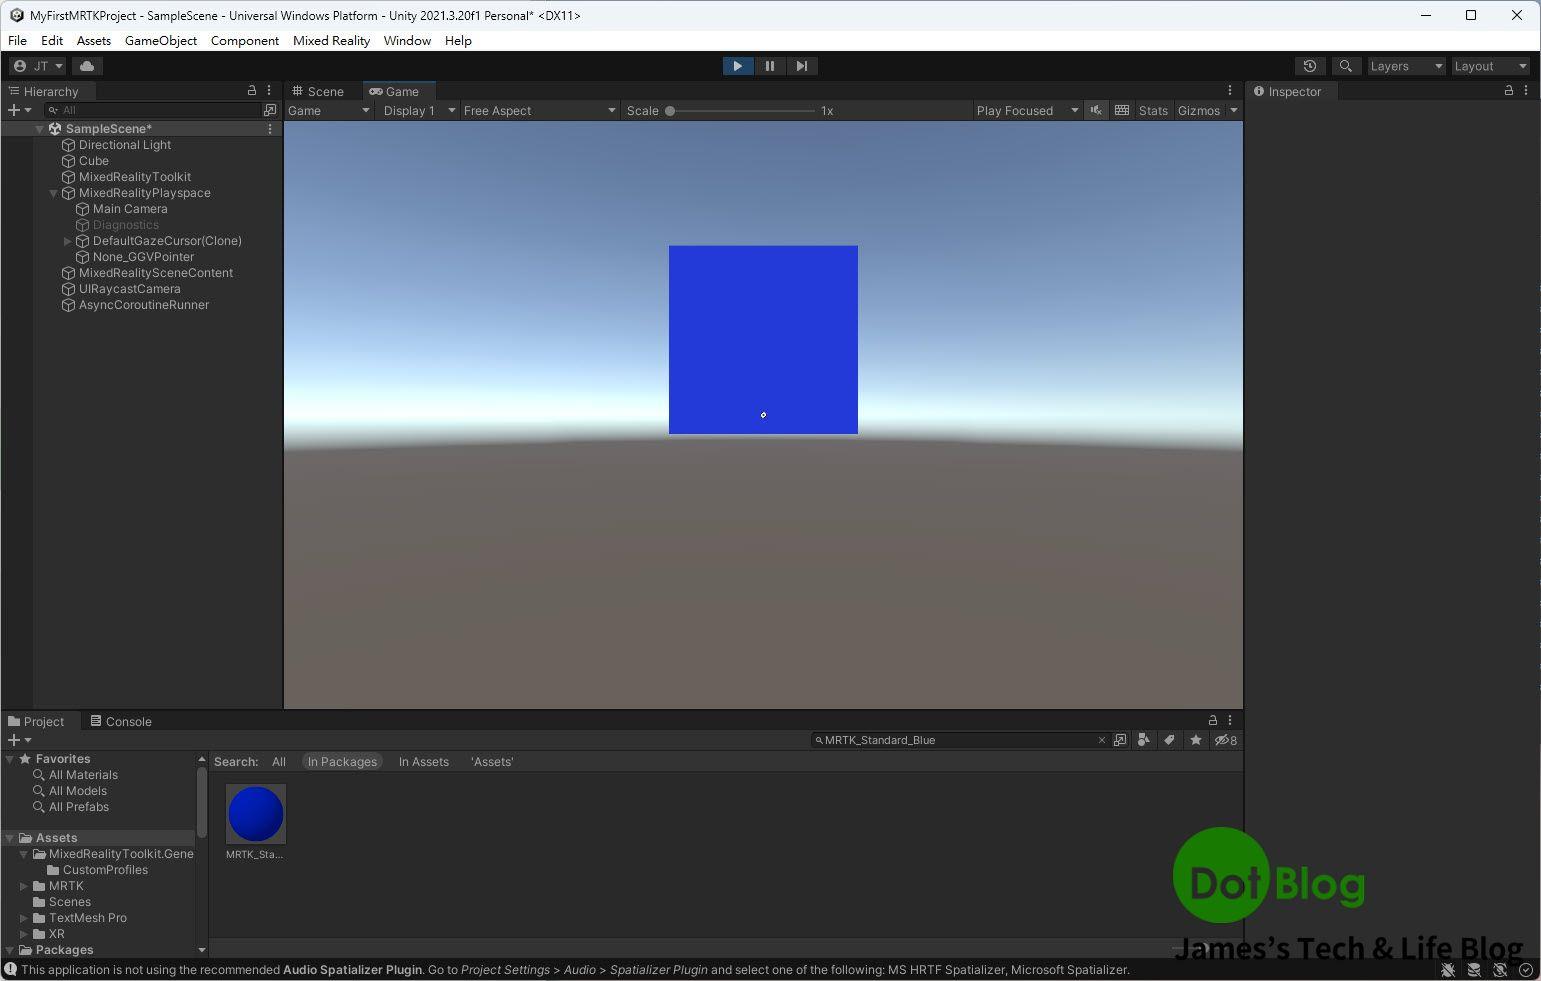
進入到預覽模式就可以看到此 Cube 的樣式有所不同。
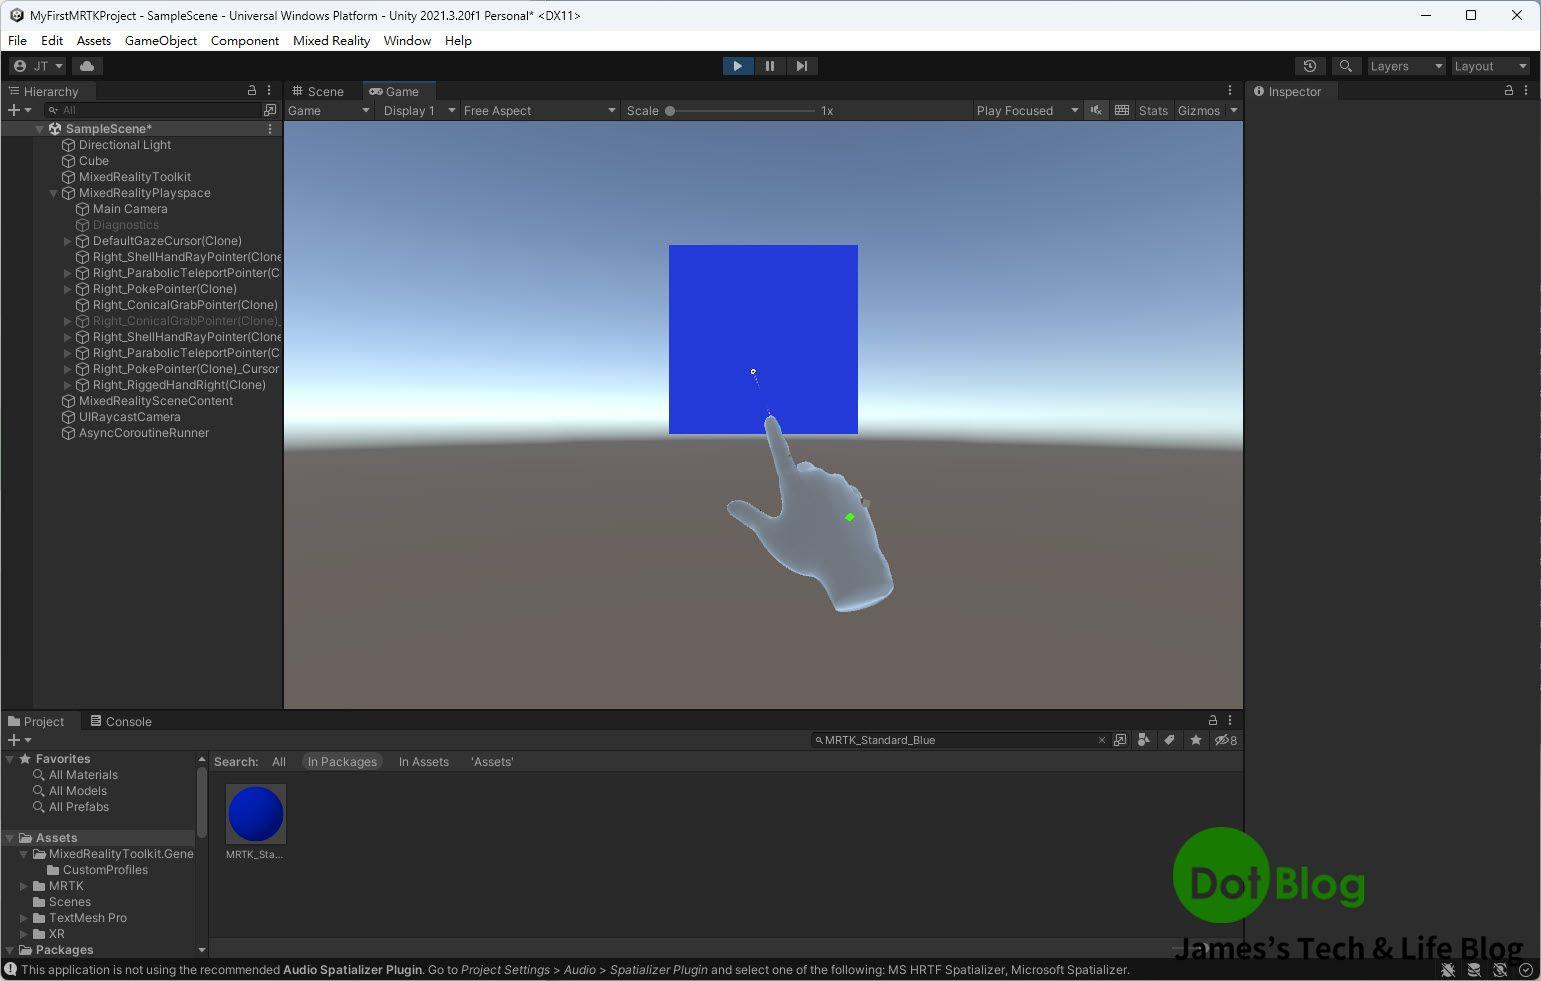
而由於有使用 MRTK 的互動模型,可以在預覽模式透過 "模擬手部" (按鍵盤 "空白鍵") 操控此 Cube。
下一回,來透過 "Playing Mode" 測試執行看看囉~~~
I'm a Microsoft MVP - Developer Technologies (From 2015 ~).
I focus on the following topics: Xamarin Technology, Azure, Mobile DevOps, and Microsoft EM+S.
If you want to know more about them, welcome to my website:
https://jamestsai.tw
本部落格文章之圖片相關後製處理皆透過 Techsmith 公司 所贊助其授權使用之 "Snagit" 與 "Snagit Editor" 軟體製作。